
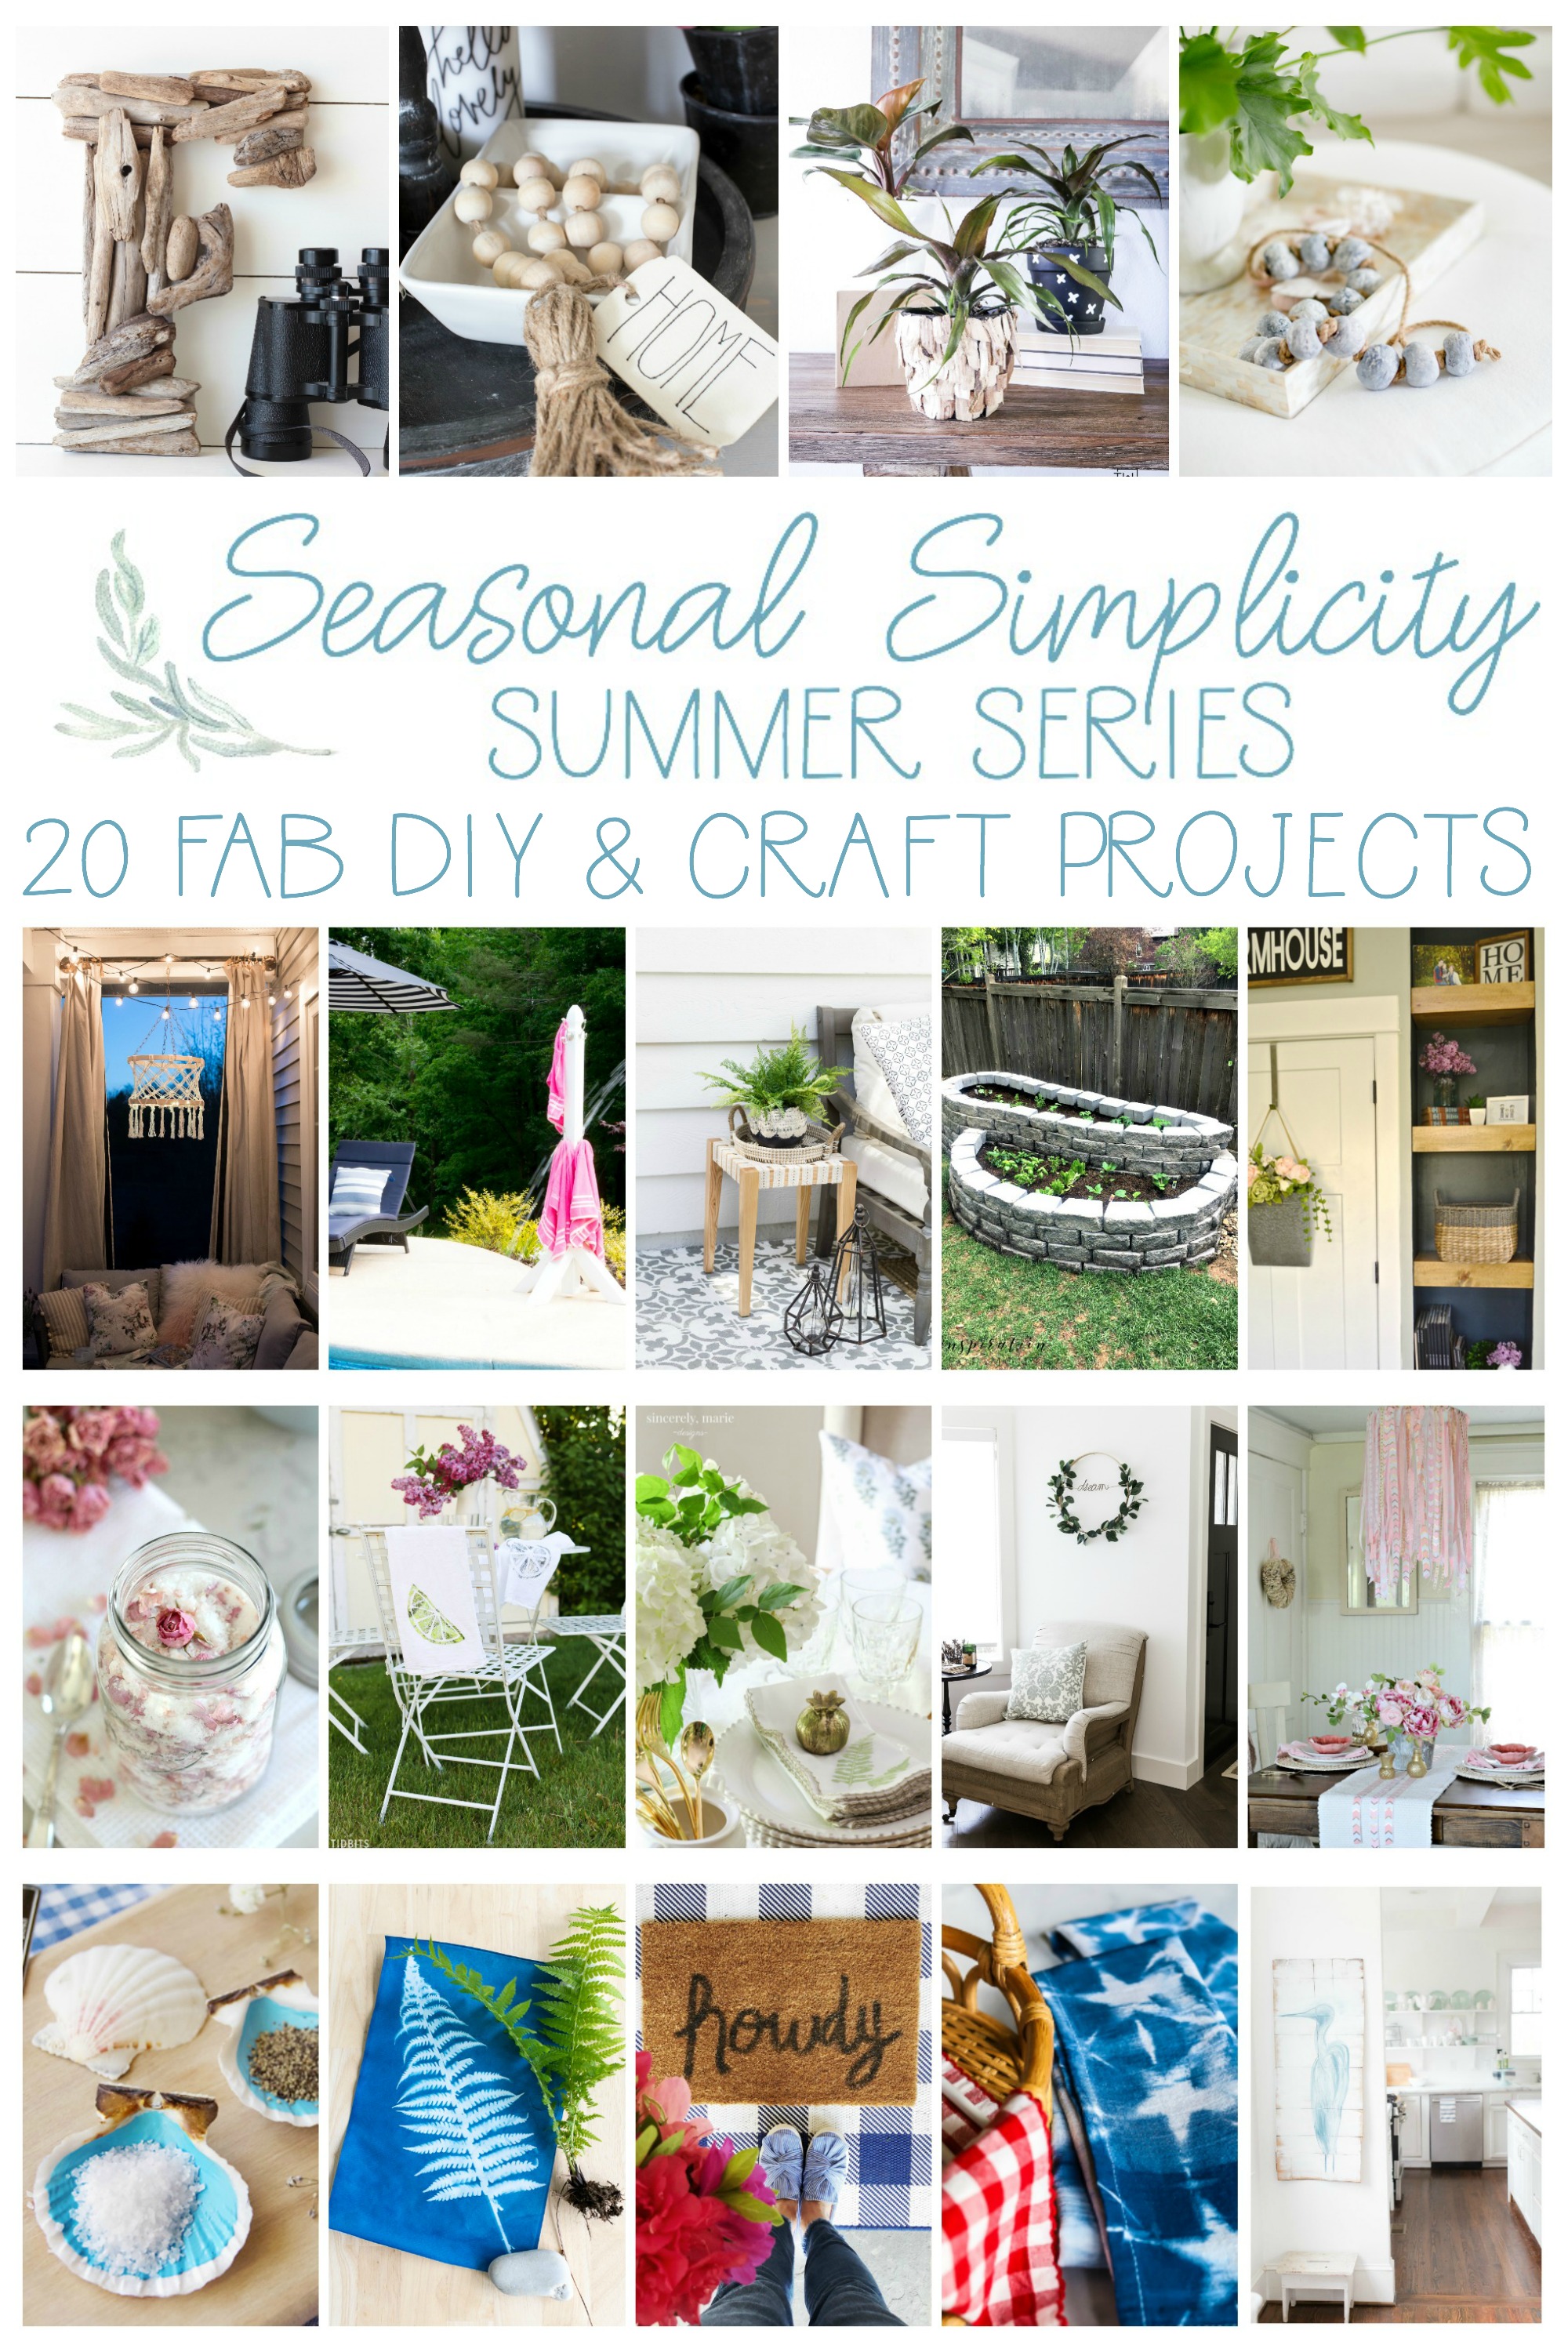
Seasonal Simplicity: Easy DIY Driftwood Letter
Today I’m sharing an easy DIY driftwood letter project; perfect for summer or for a gallery wall and a great way to use up those tiny pieces of driftwood you collect on beach holidays.
We’ve got liftoff!
The Seasonal Simplicity series has returned for summer!
For the next eight Wednesdays I’ll be hosting a group of my talented blogging friends and we will each be sharing summer DIY projects and ideas according to a theme. We’ll be creating summer DIYs/crafts, wreaths, mantels, recipes, outdoor spaces, and printables and there will even be a home tour full week series again this June! I’m pretty excited about all the upcoming summer inspiration (and even more excited about the summer season); how about you?
Driftwood Letters
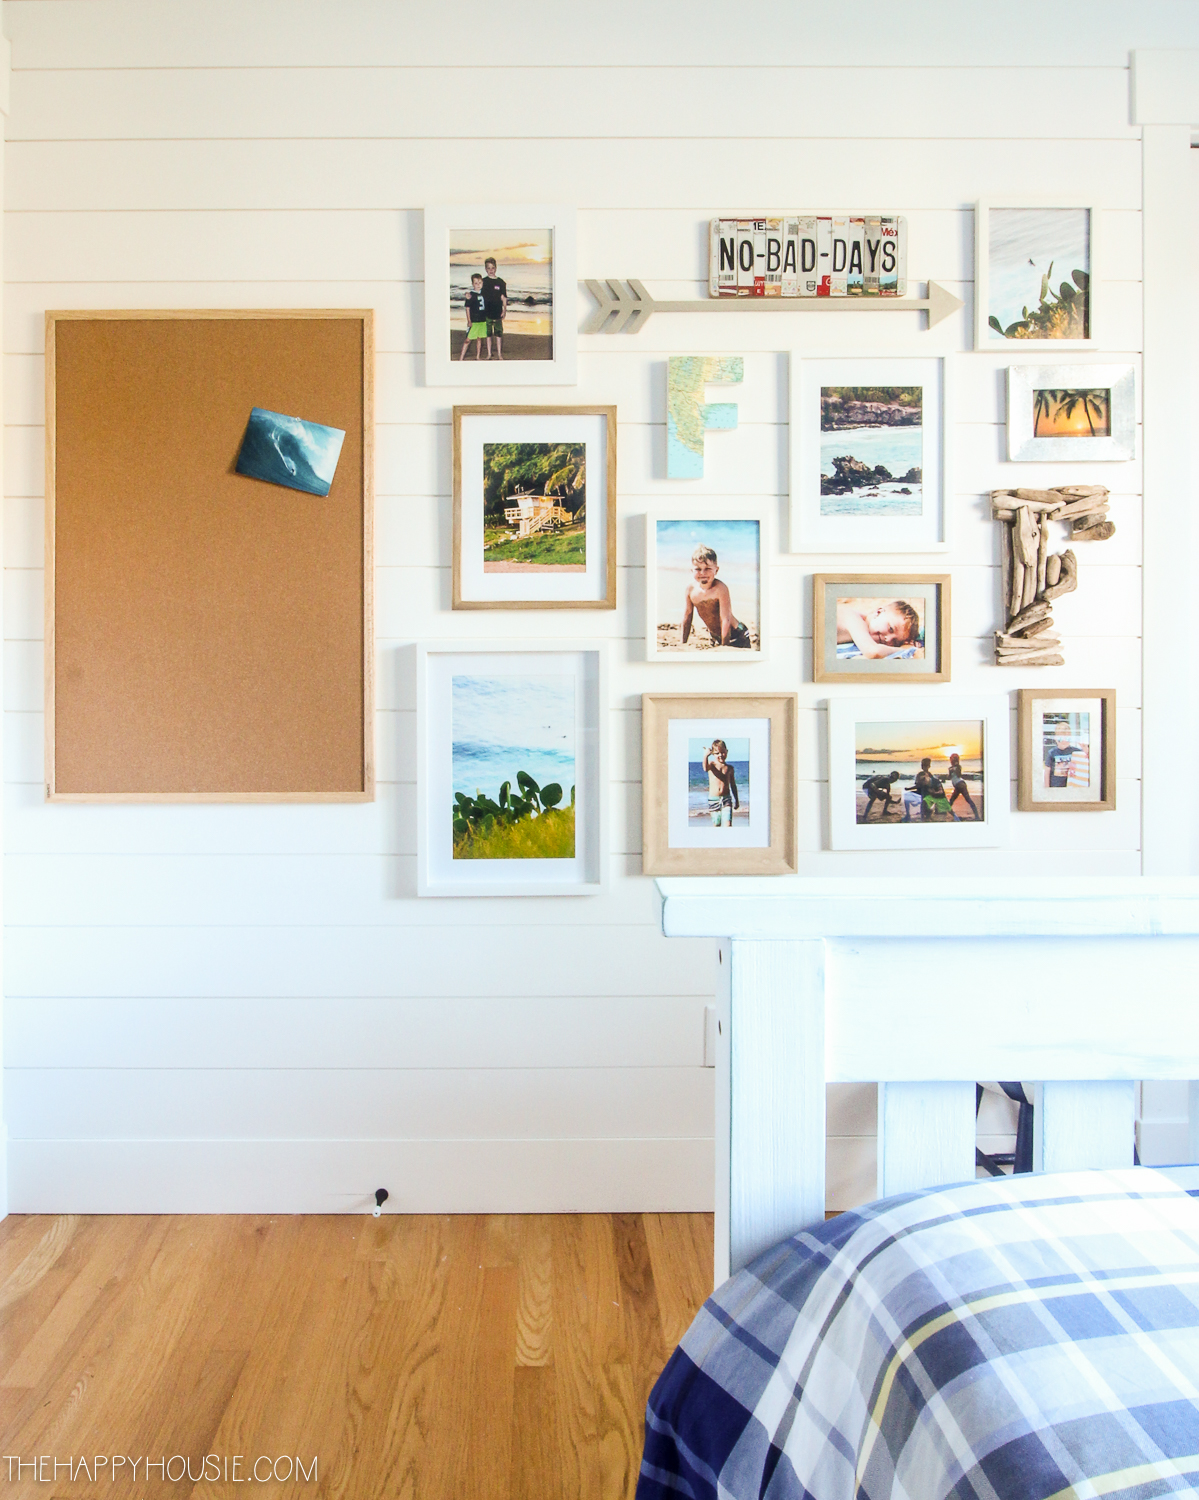
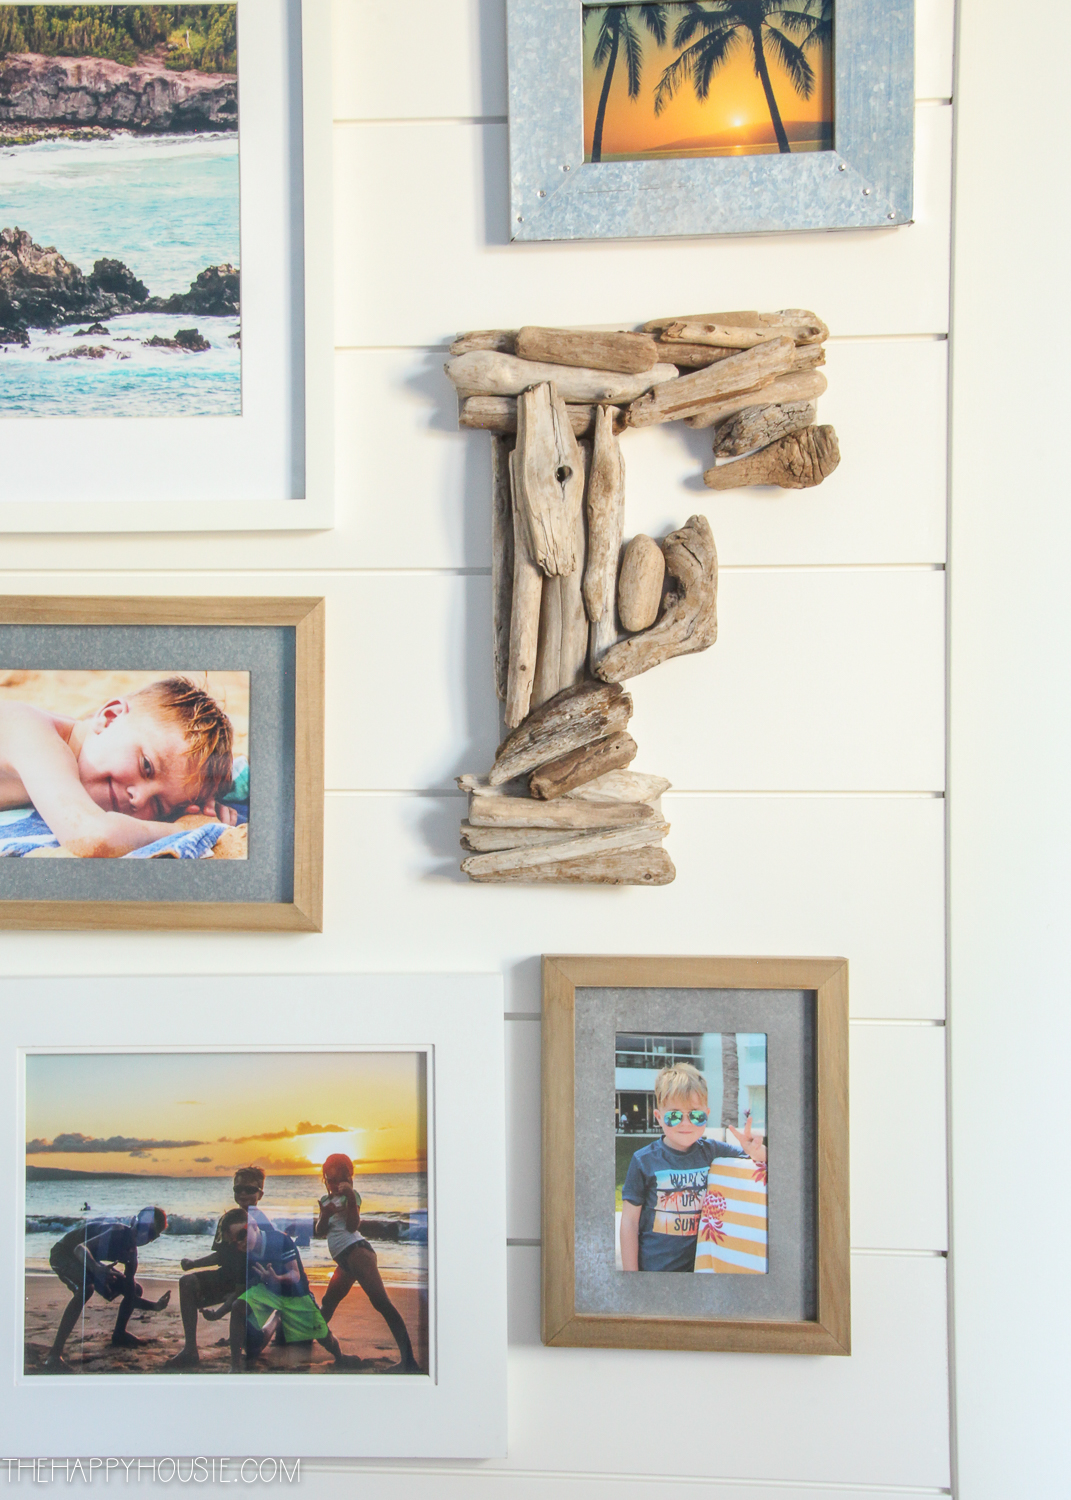
And today, to kick this series off, I’m sharing a simple summer DIY craft project that is also featured in my upcoming book. You may have spotted it in real life the other day when I shared Finn’s bedroom makeover…
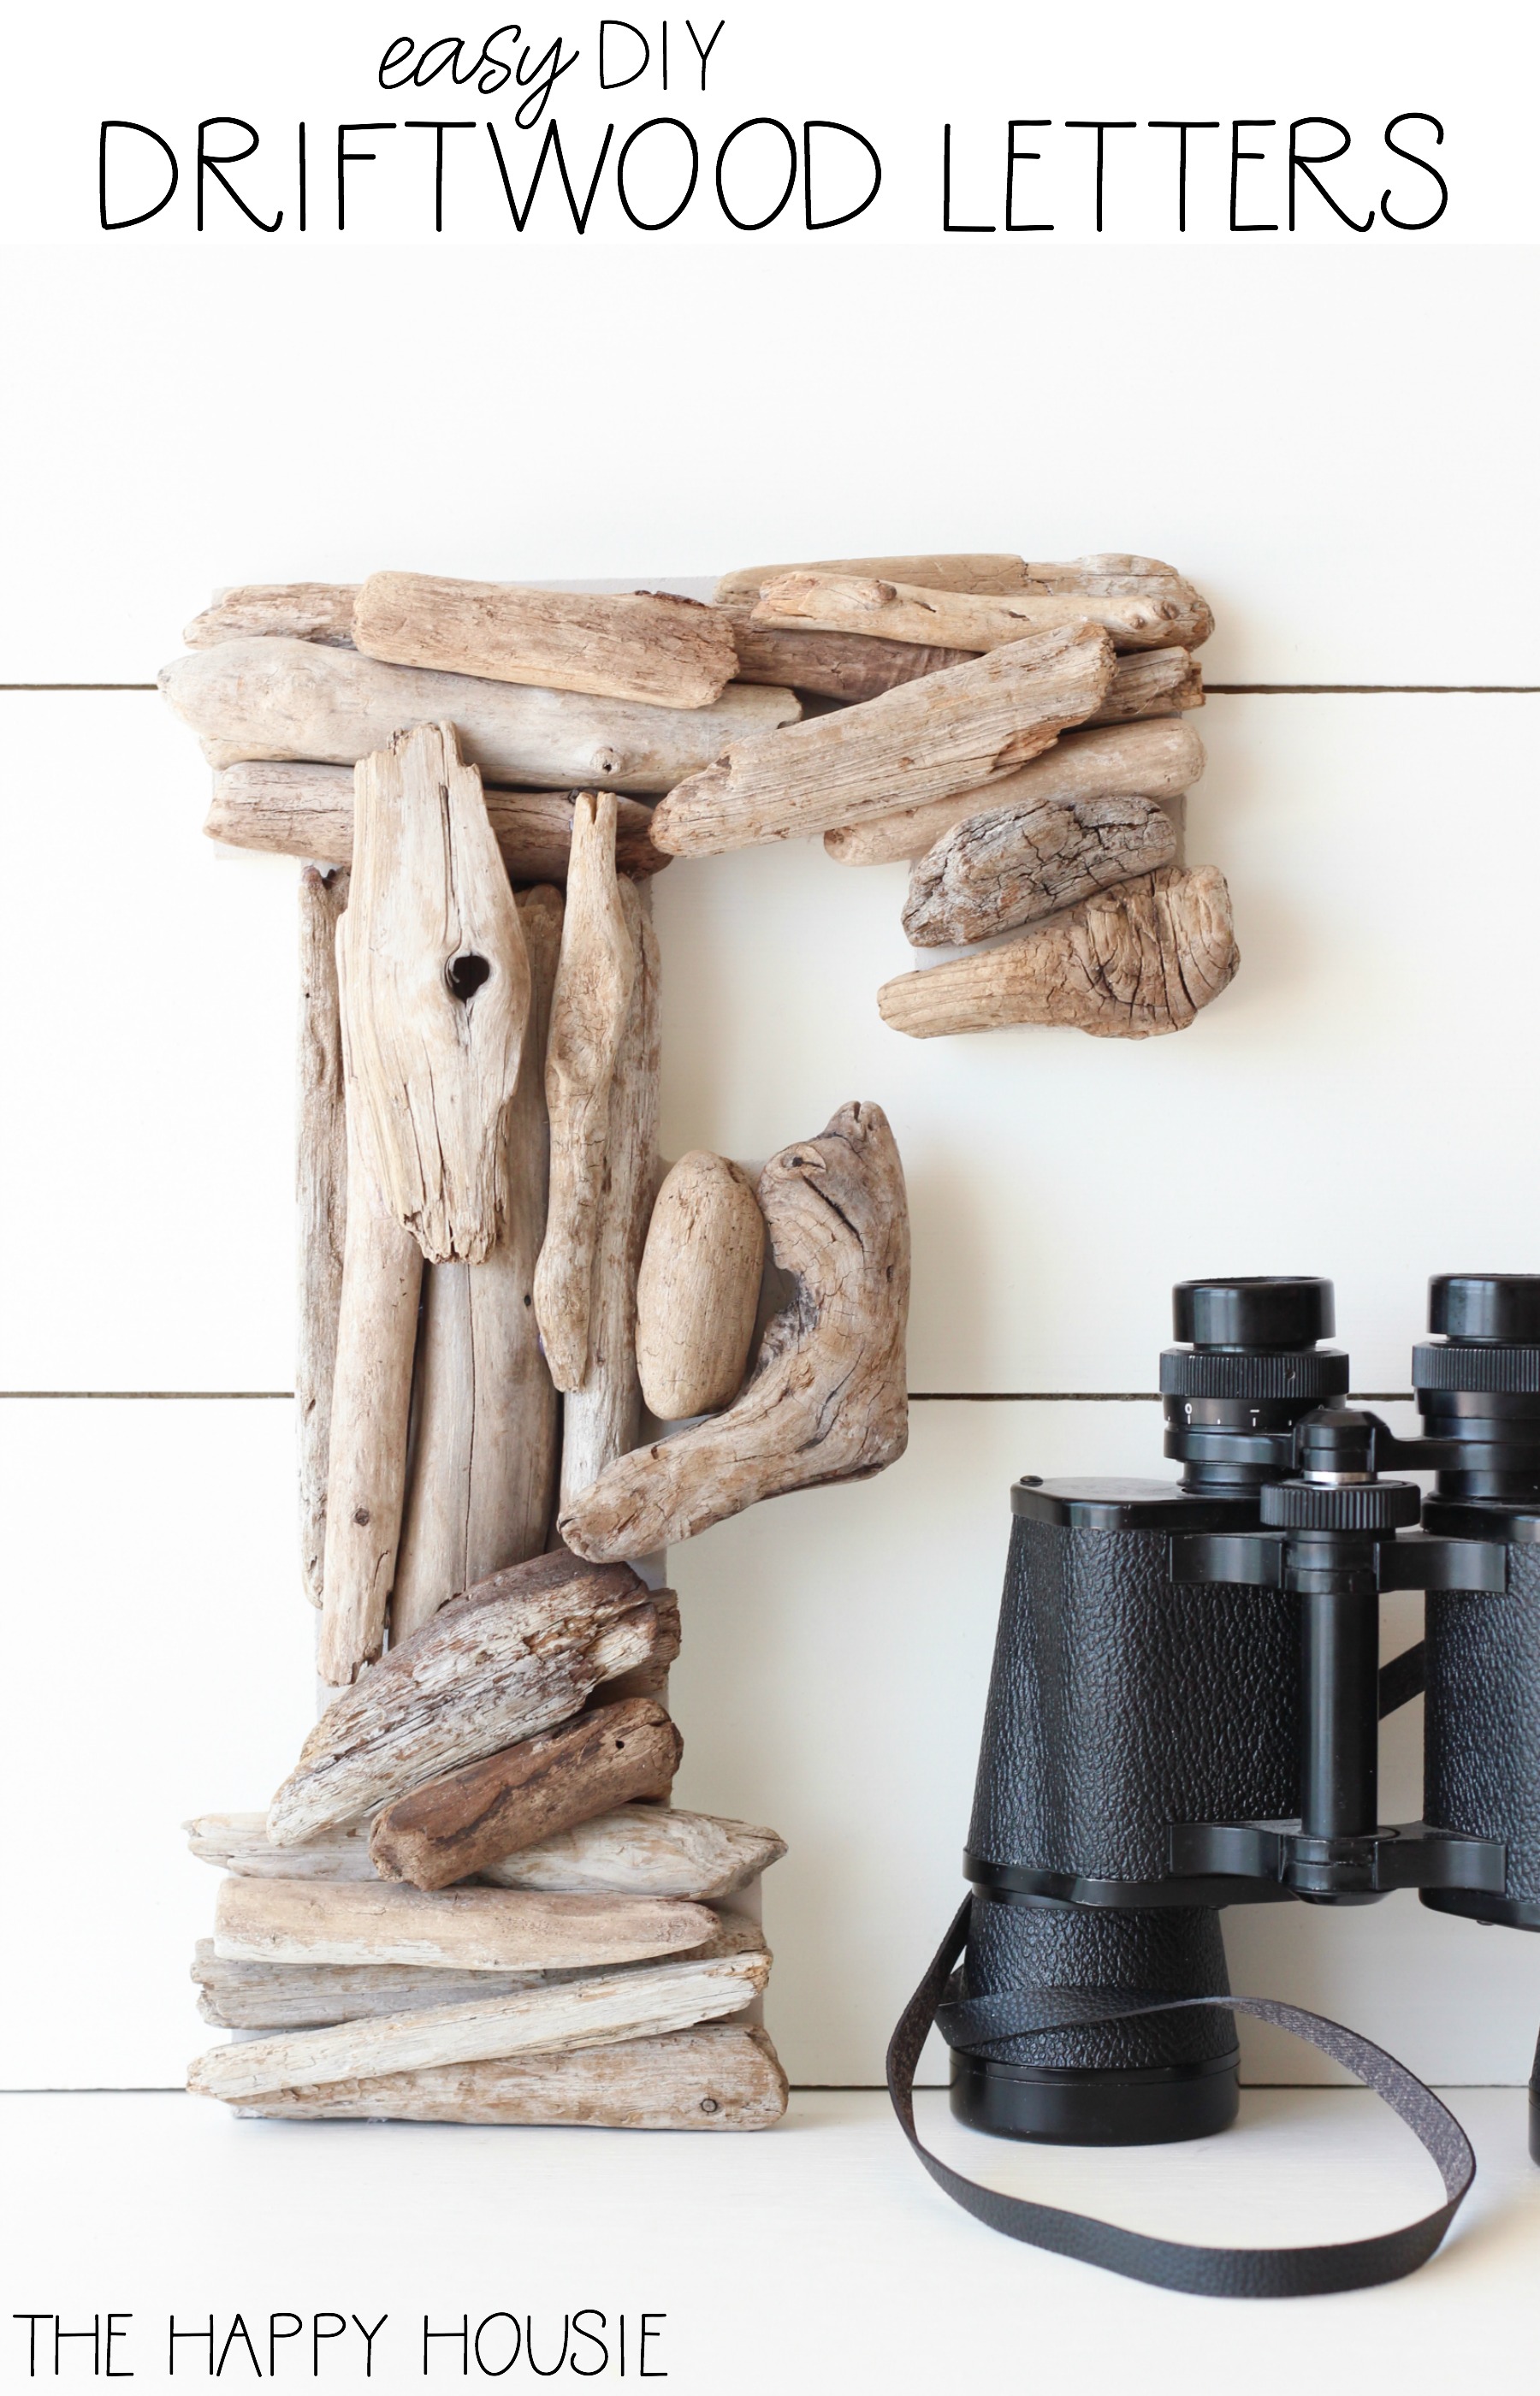

Cute, right?
I even had people emailing and commenting, asking where I’d bought it or if I’d made it, and now you know! I made it with a few simple items:
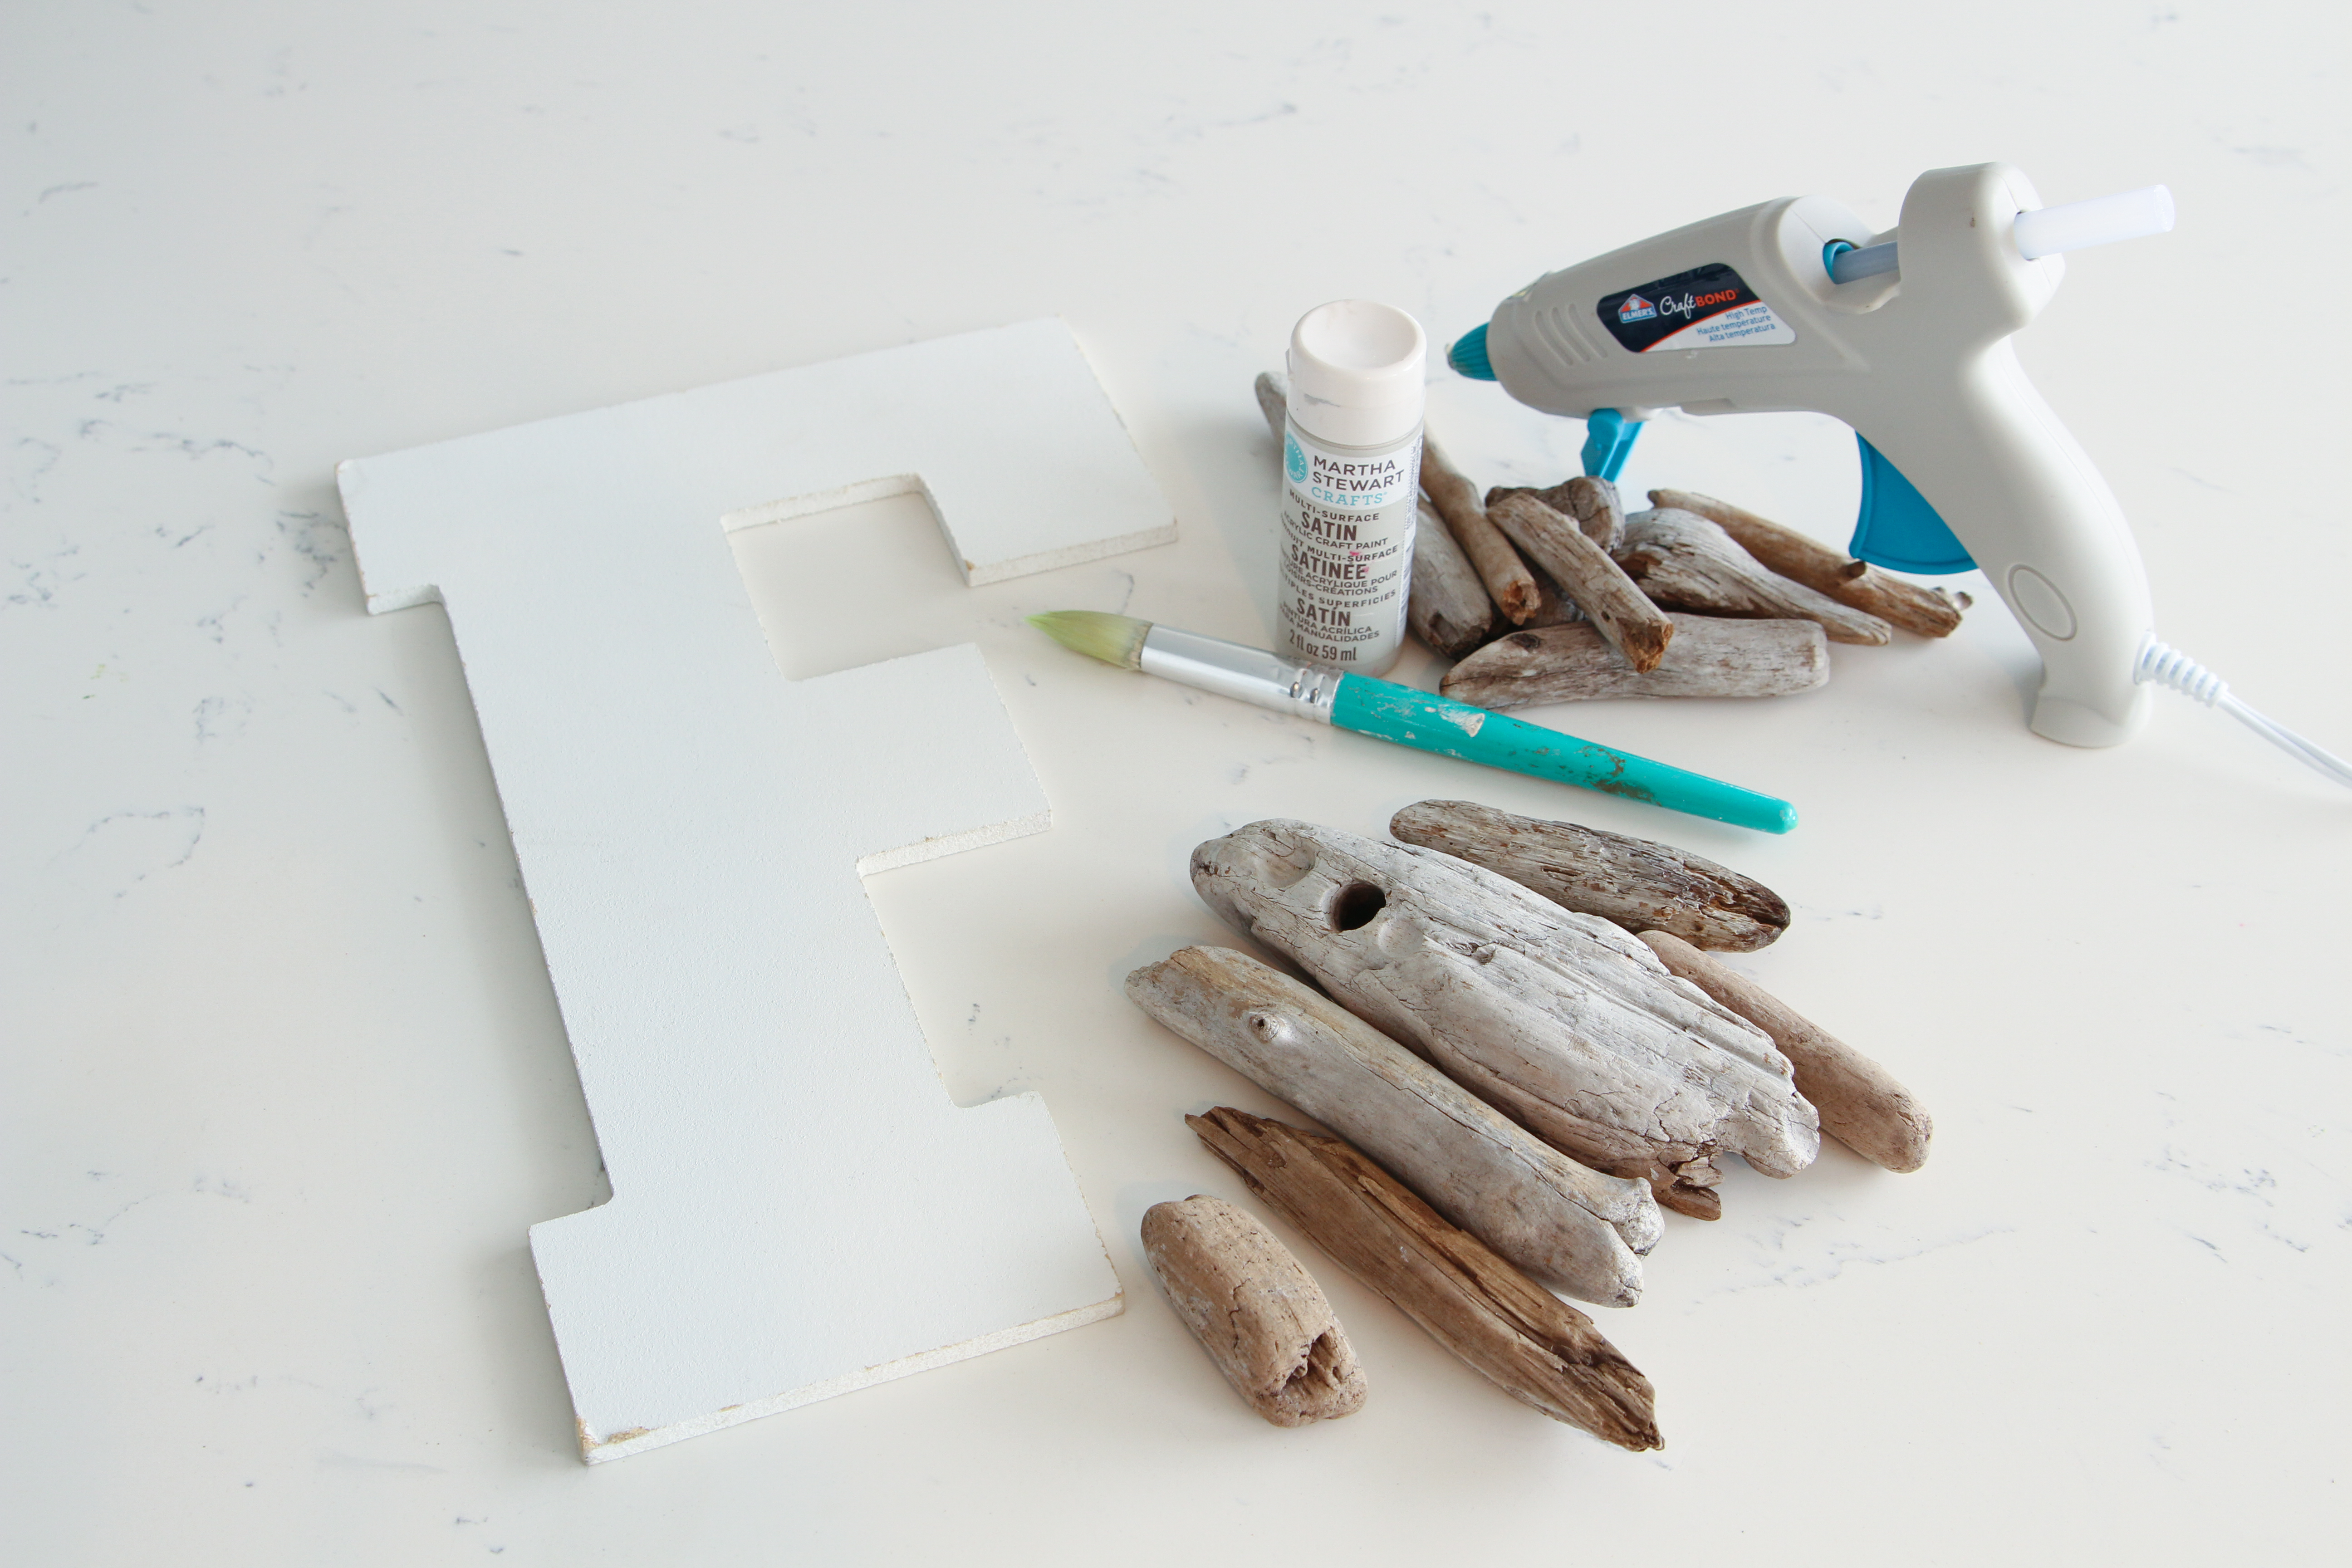
- several very small pieces of driftwood (collected from beach trips, off our lake beach, and even at parks and campgrounds over time – my boys have a thing with collecting wood and rocks)
- a wood letter in a flat, square style profile
- craft paint in a similar colour to your driftwood
- craft paint brushes
- a hot glue gun and glue sticks
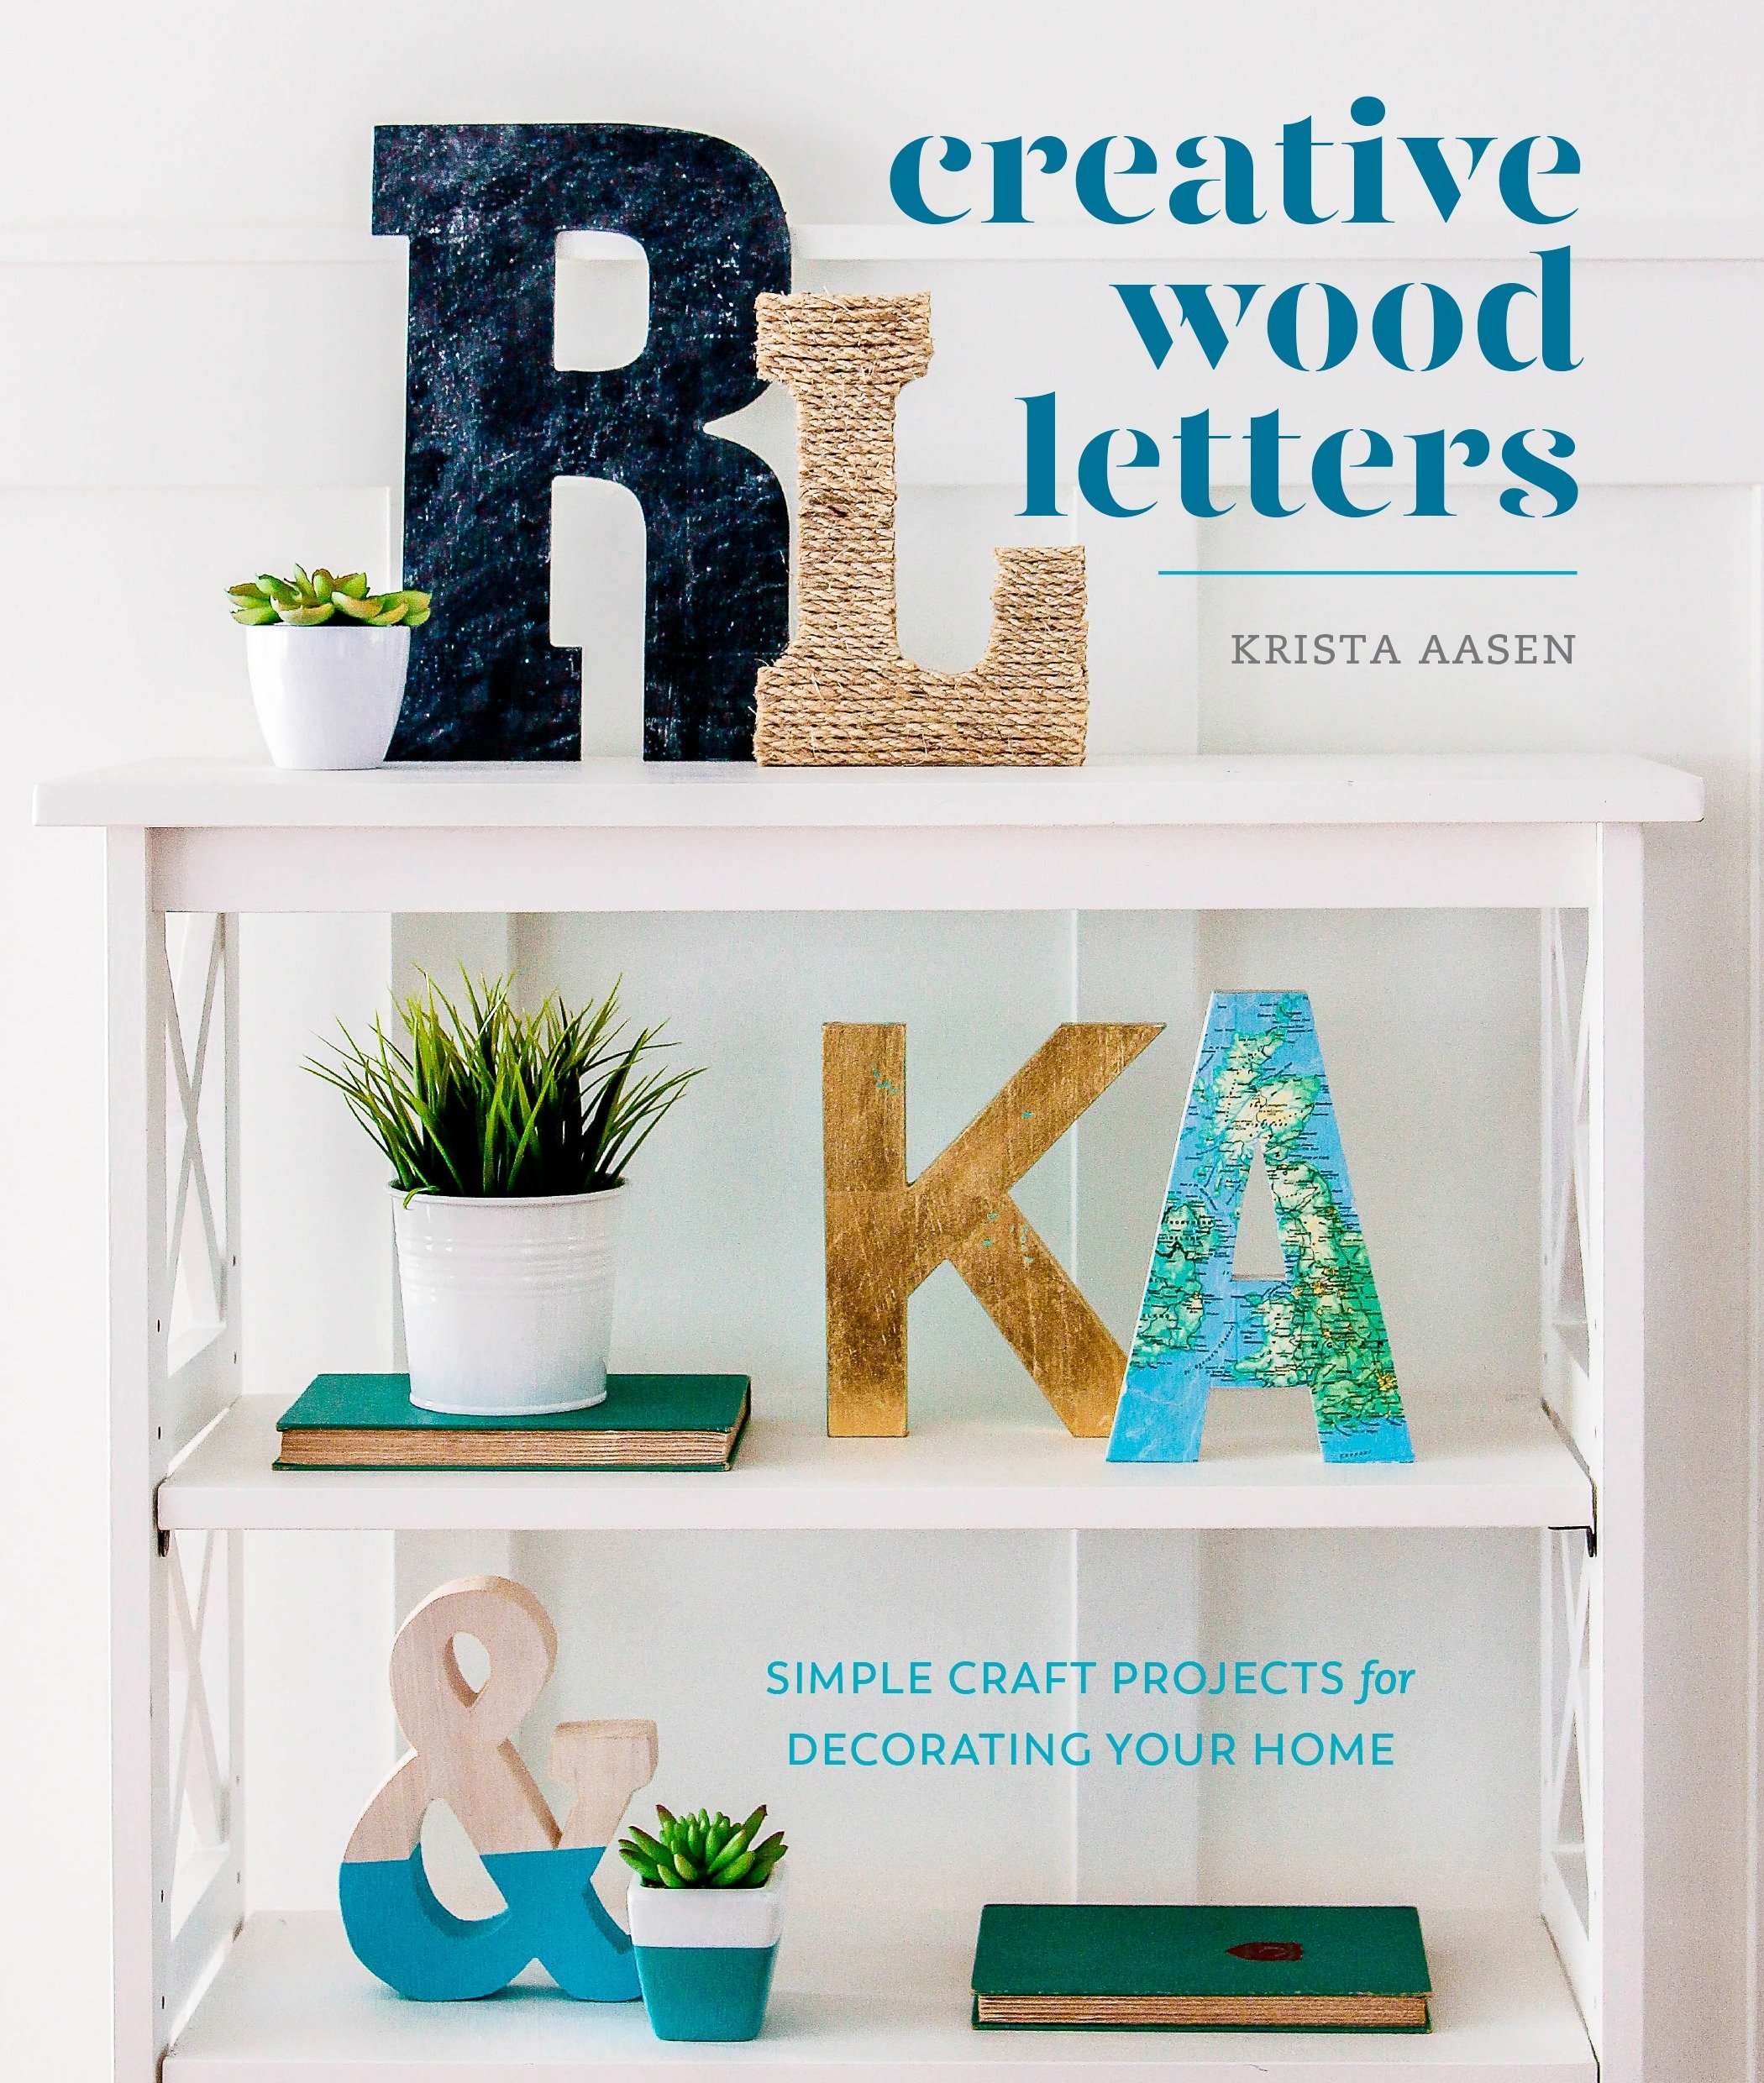
Today I’m sharing a written tutorial with you. For a full photographic tutorial along with the DIY for 34 other wood letter projects, you can pick up my new book (available for pre-order on Amazon).
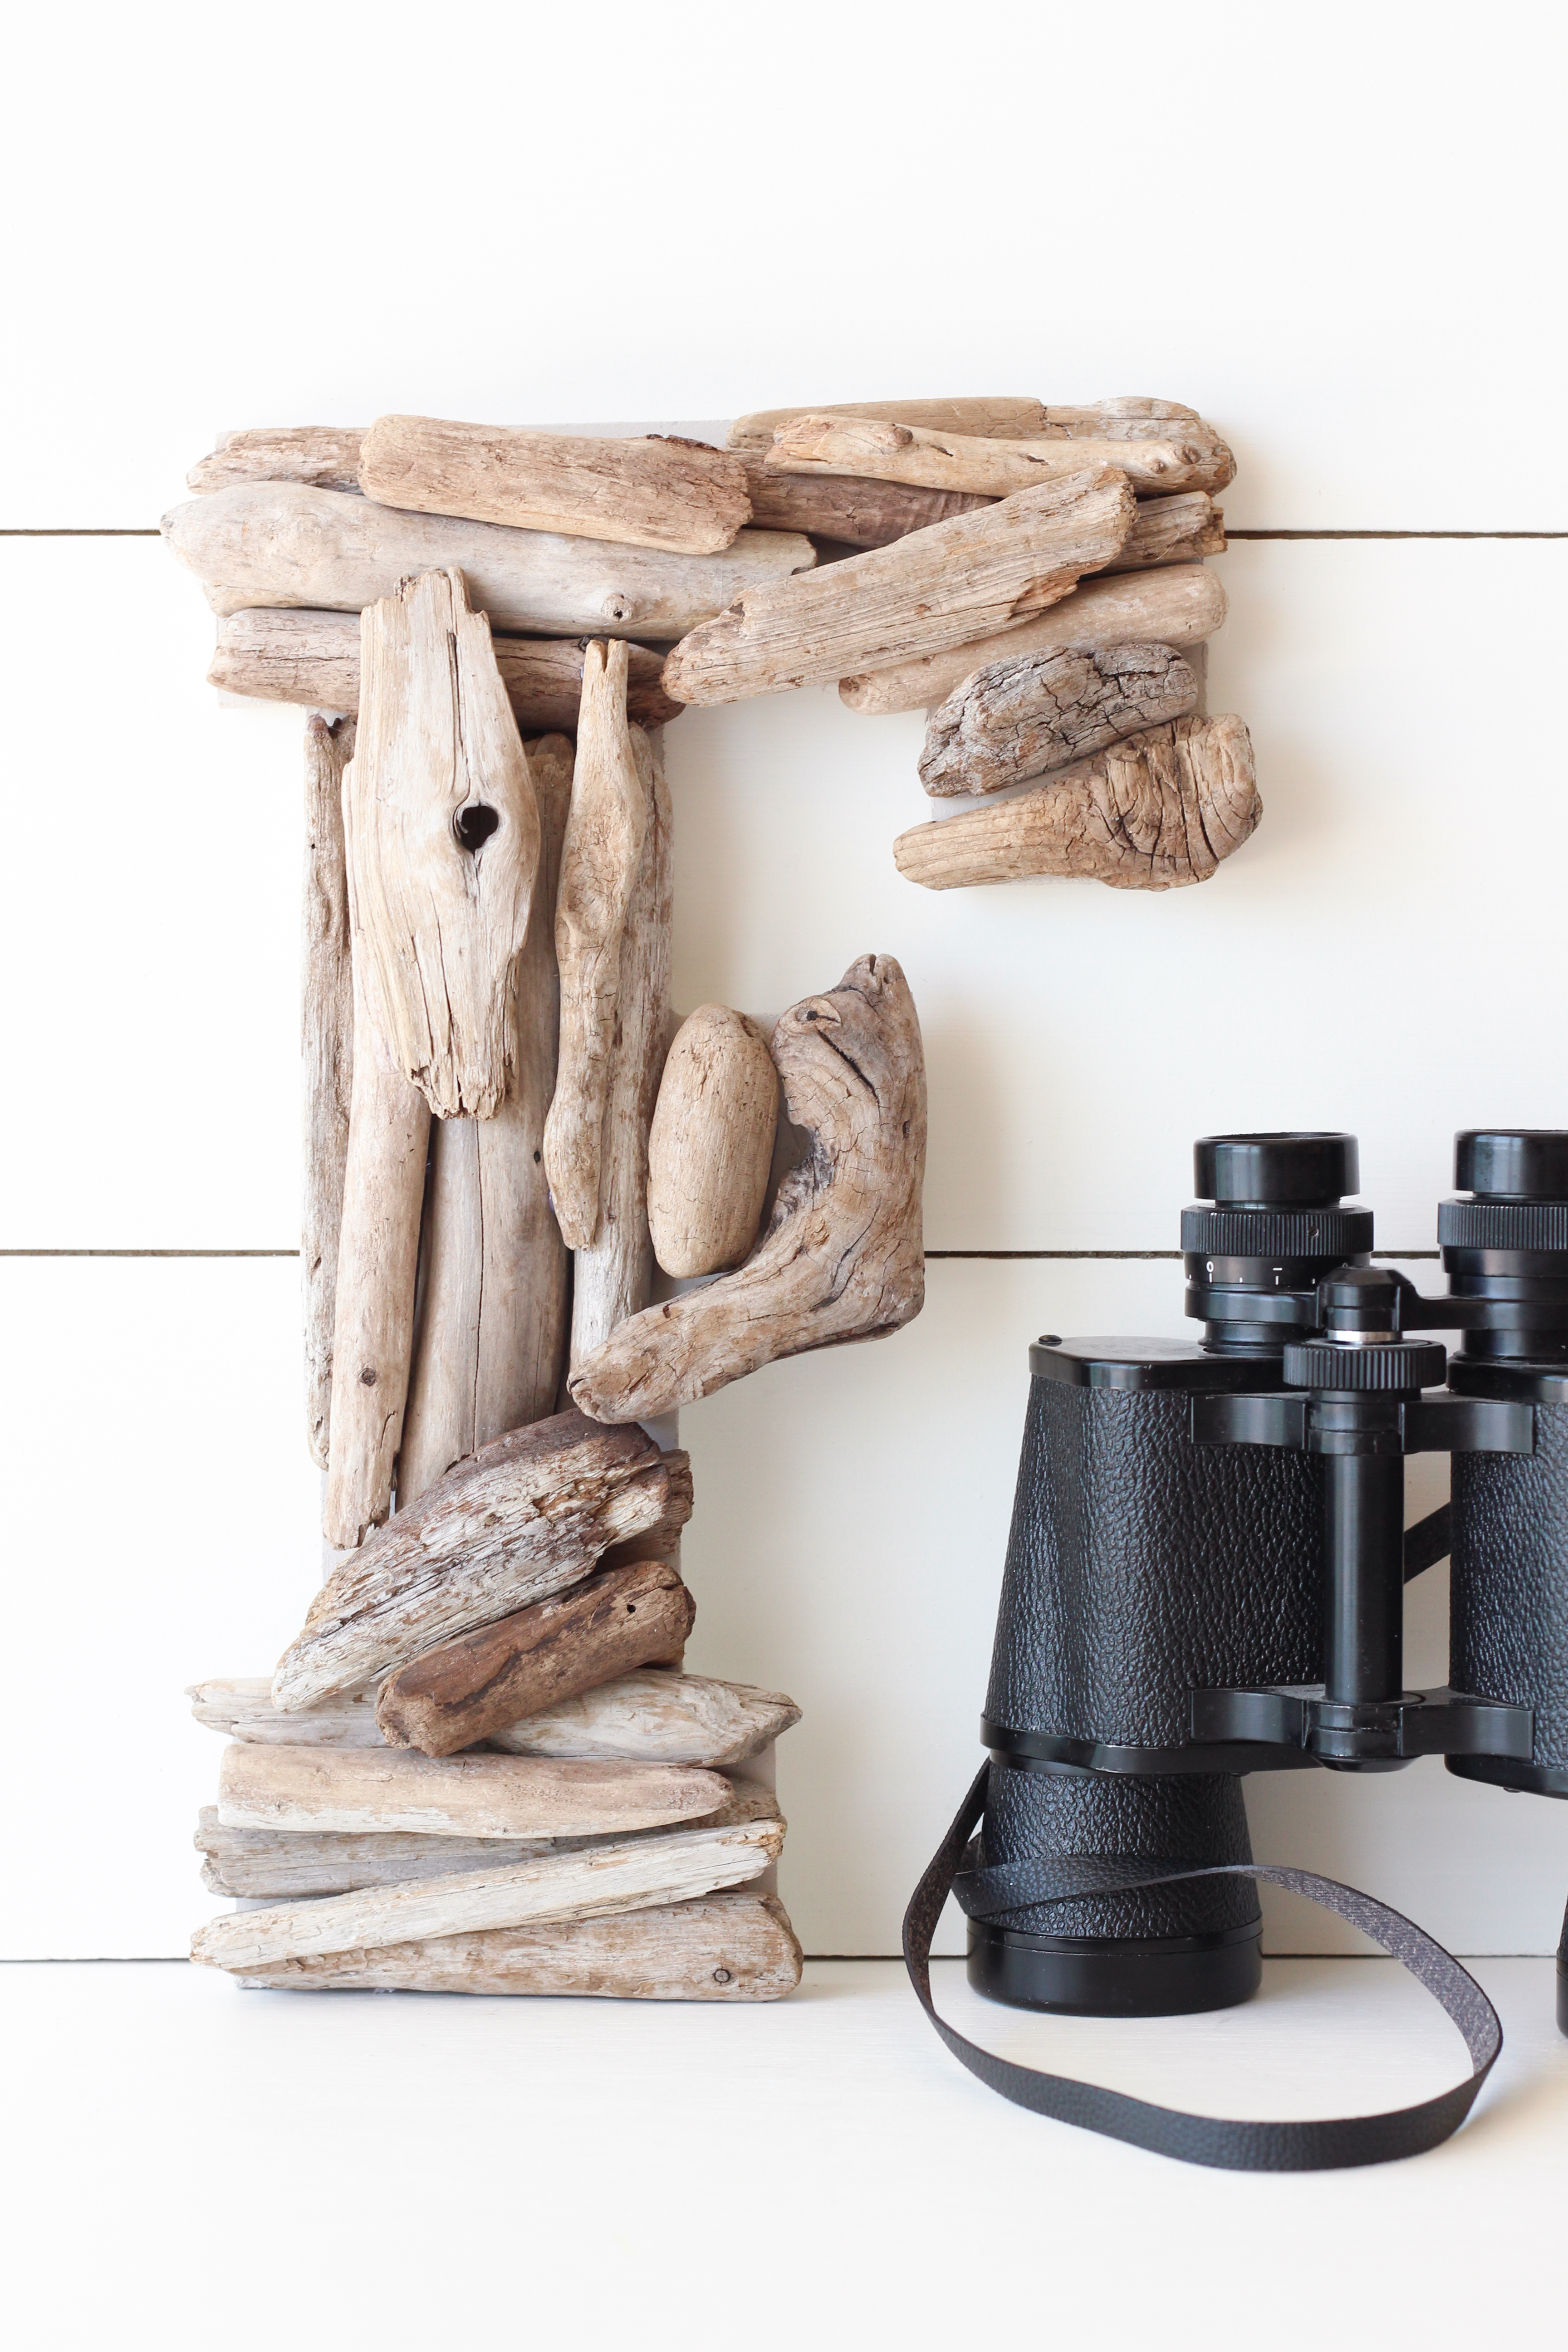
Start by painting the front, back, and sides of the wood letter (or primed MDF letter) with one or two coats of the base paint colour (a close match to your driftwood colour).
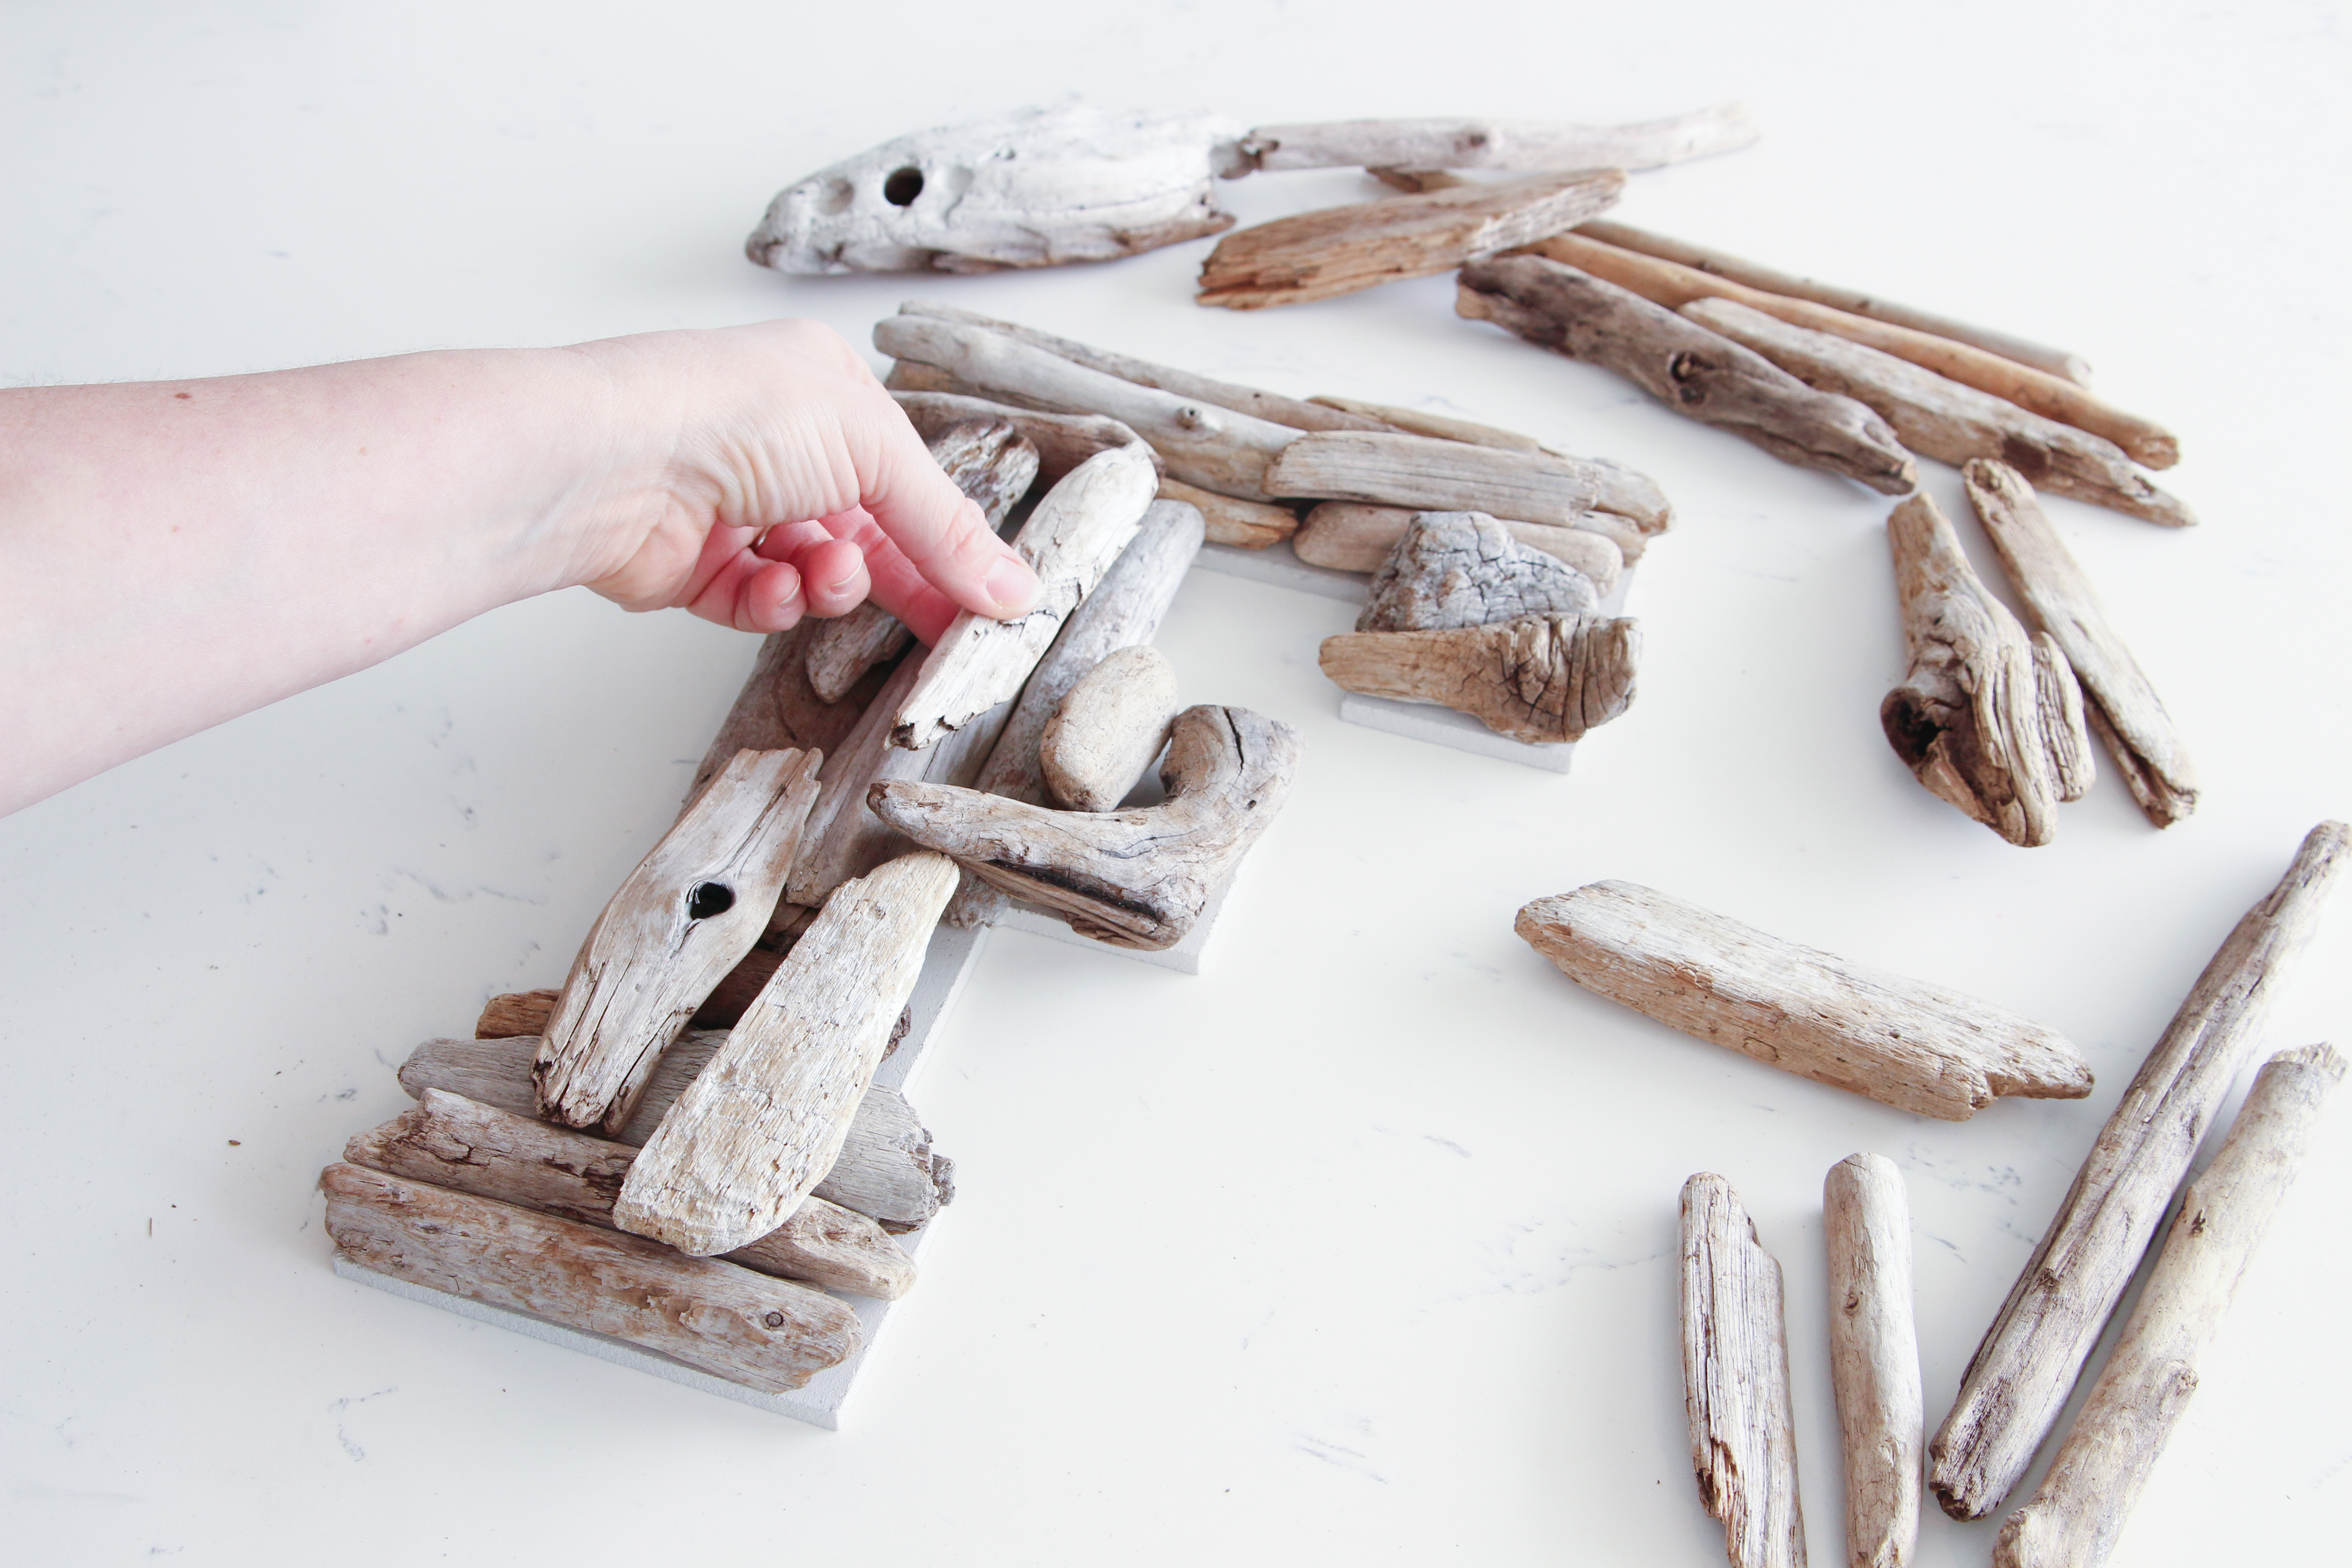
After that has dried, practice laying out your driftwood on the wooden letter until you find an arrangement that works well with the shape of it.
Starting with the larger driftwood pieces, use your hot-glue gun to attach the driftwood pieces one at a time to the base of the letter, holding each piece in place as you go until the hot glue sets.
Layer smaller pieces over the base layer of driftwood in order to build up the texture of the letter and to cover gaps.
I really love how this driftwood letter turned out!
And it’s perfect in Finn’s beachy bedroom. I think it’s a really summery DIY because you collect driftwood on trips to the beach! What’s more summery than that, amIright?
So!
Ready for some more summer DIY/Craft inspiration?

I’m so excited that the Seasonal Simplicity series is back again; and this time it’s to celebrate Summer! Today I’ve joined up with a talented group of bloggers to kick of this series by sharing a beautiful DIY or Craft project with you all! Enjoy the inspiration and ideas…
The Happy Housie / Home Made Lovely / Taryn Whiteaker / Craftberry Bush
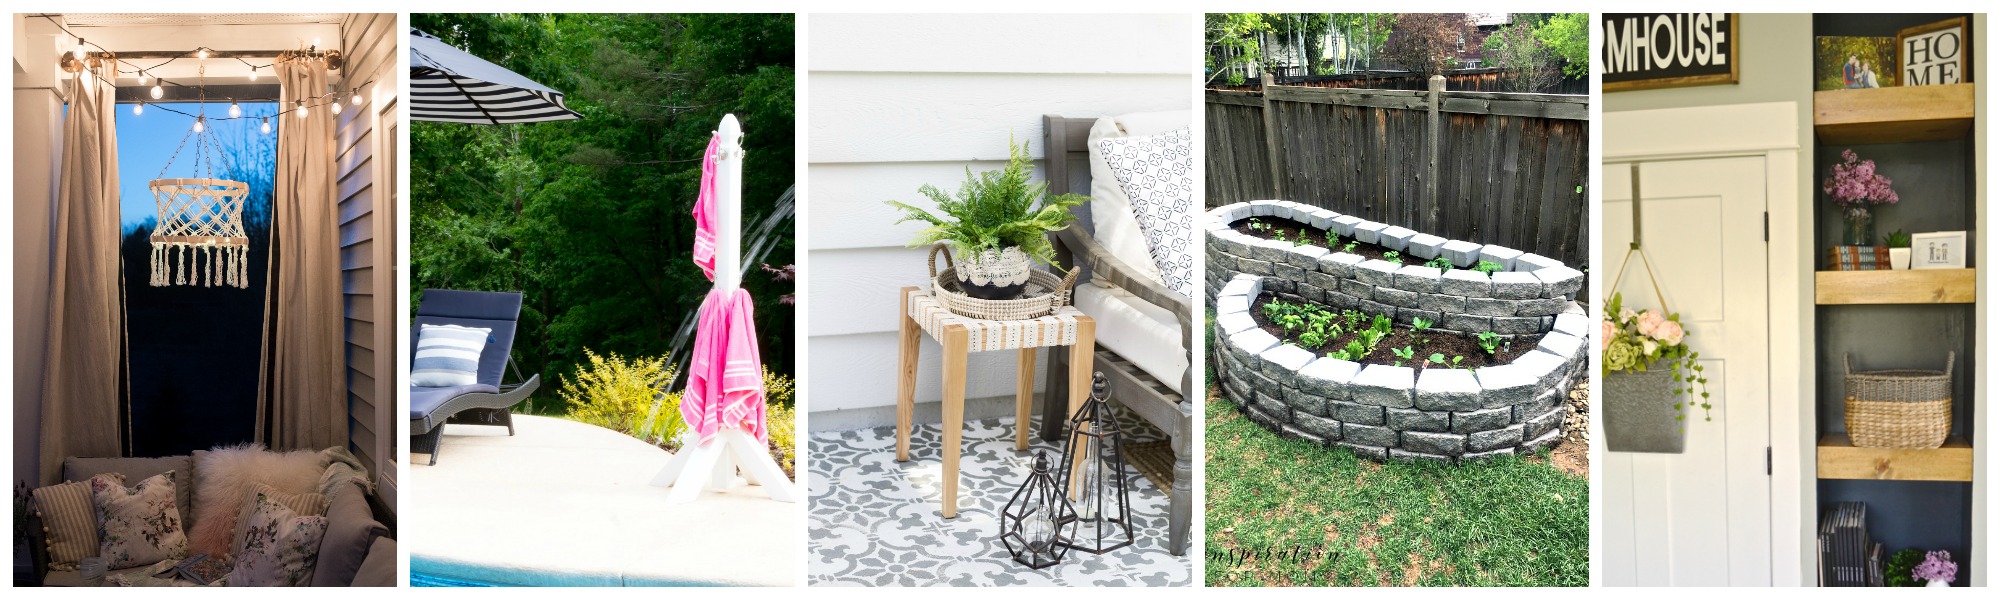
The DIY Mommy / Duke Manor Farm / Zevy Joy / Inspiration for Moms / Newly Woodwards
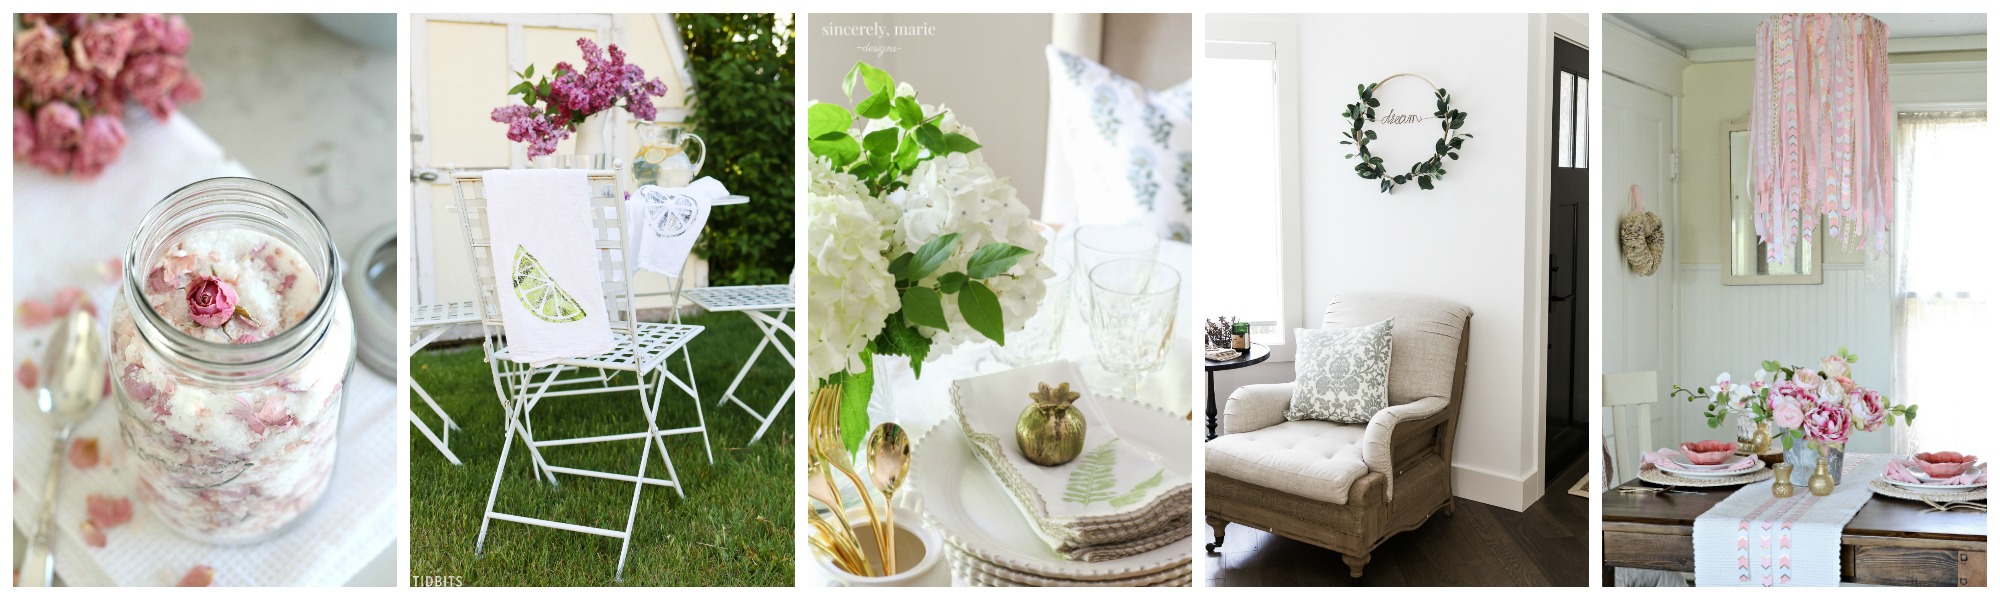
Satori Design for Living / Tidbits / Sincerely, Marie Designs / So Much Better with Age / Town and Country Living
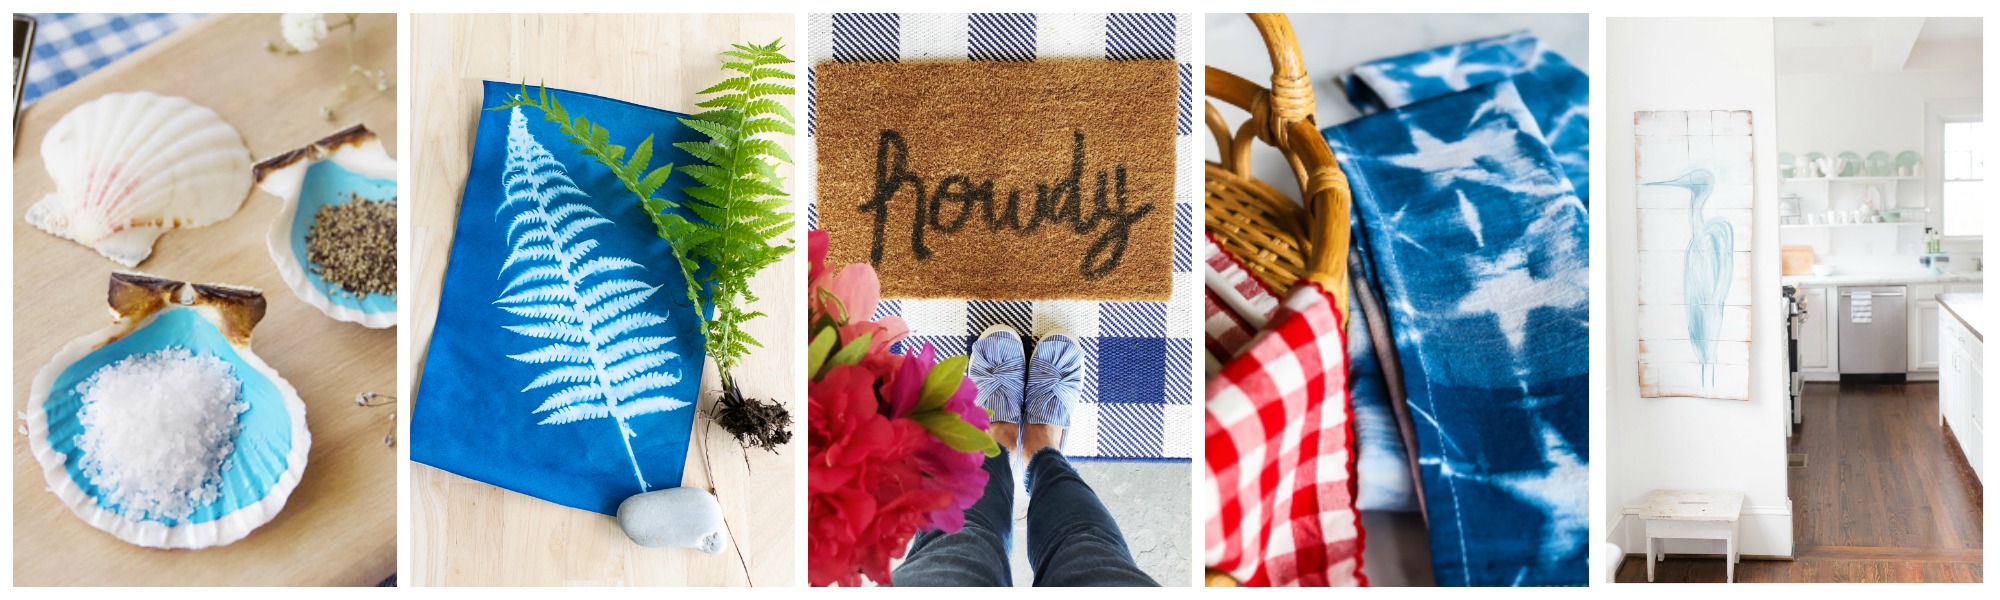
Paint Me Pink / Finding Silver Pennies / Southern State of Mind / The House of Wood / Amber Tysl
Want to remember all this goodness??

Hi. I’m making a bar sign for outdoor. How can I make the letters and keep them preserved from the weather?
Hi Dave,
You could order the letters online through a shop like “Craft Cuts” – they make them in all kinds of sizes and materials. Depending upon what kind of material you use, you may wish to seal them with varathane. Alternatively, you could use a solid piece of wood as the background and then create the letters on the wood just using the driftwood made into the letter shapes and nailed directly to the background.
What a great idea! This is such a great idea for our beach house renovation!!
Wow! I love this, Krista! The driftwood is quintessential summer – coastal and beachy… LOVE it!
Very cute. Love the driftwood letter!
This is beyond cute, Krista! That wall with those precious beach photos is gorgeous! I just love it!
Krista, this is the best! I’m so excited about your book, friend! Congratulations!! Thank you for having me on this awesome tour!
Hugs, Jamie
Krista – I love this project! My mom has always collected driftwood, and I’m going to make one for her. She’ll love it!
Such a cute project, Krista. And congrats on your upcoming book!! That’s so exciting. Thanks for organizing today’s tour – I truly appreciate being part of the group!
Oh my goodness, Krista!! I love this so much! I have tons of drift wood and now I know what to do with it! Thank you so much for hosting this Seasonal Simplicity summer blog hops -xoxo