
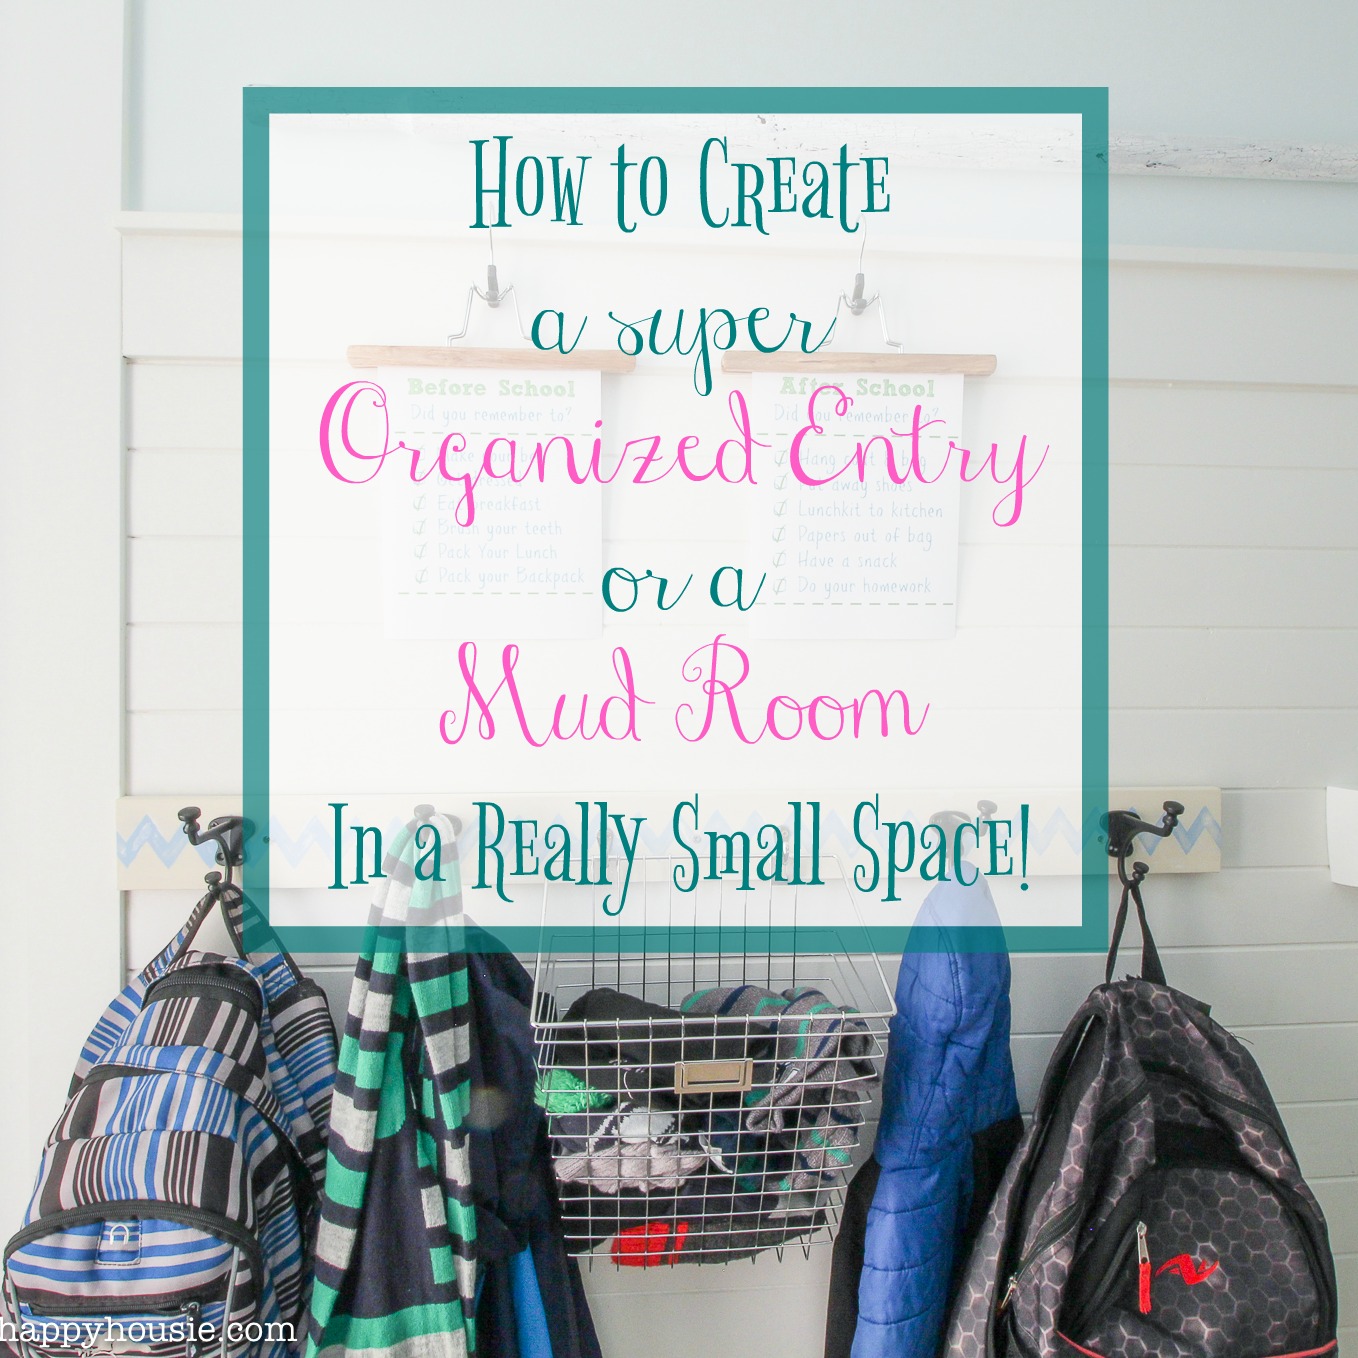
Five Steps to a Super Organized Small Space Mud Room or Entry
It’s been snowing around here again.
It started on Friday and snowed on an off throughout the weekend. And snow always leads to all kinds of outdoor fun… and requires a whole extra assortment of outdoor gear.
Snow makes me thrilled to have a “mud room”, however tiny it is, to deal with all that gear. And wetness.
And, much like a snowball growing as it rolls down a hill, this mud room and laundry room project certainly grew as well. It went from a nice little organization job to more like TWO organization jobs and a paint makeover…
But despite the extra work that went into getting it all finished, I can’t even express how much happier I feel about this space. Not just about the soft and pretty new look; but the function!
It may not be a palatial mudroom with walls full of built-in shelving and benches and hooks; but it now works well for our needs. And that’s the point of getting organized, right?
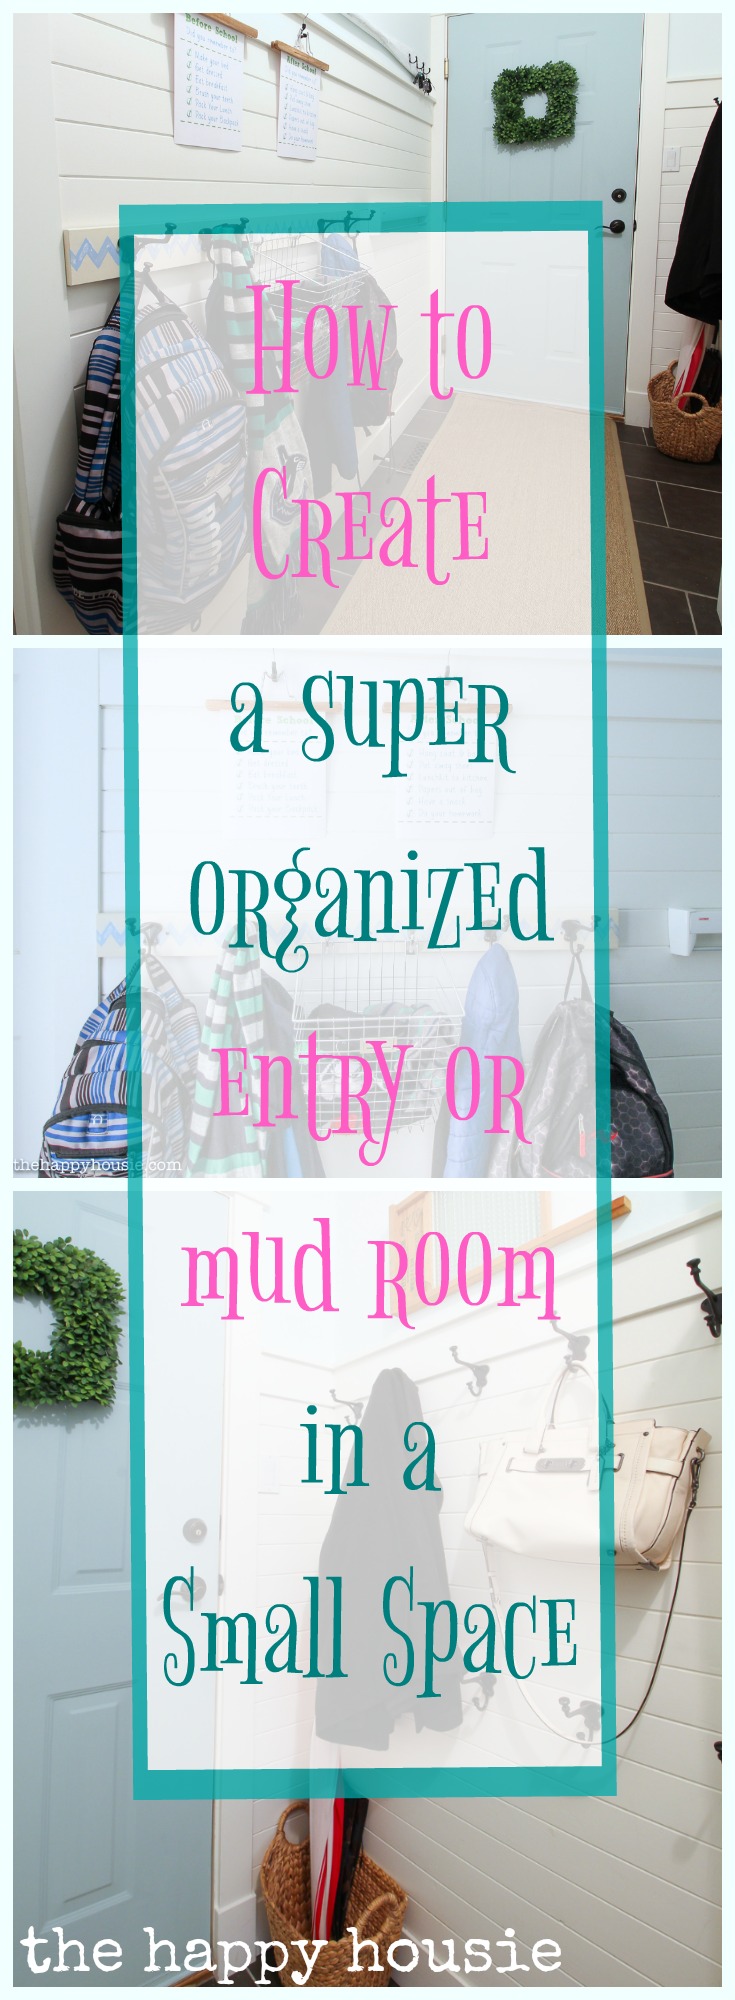
So today I’m here to share my thoughts and ideas with you about how to create a super organized entry or mud room in a small space.
Even in a really small space.
![]()
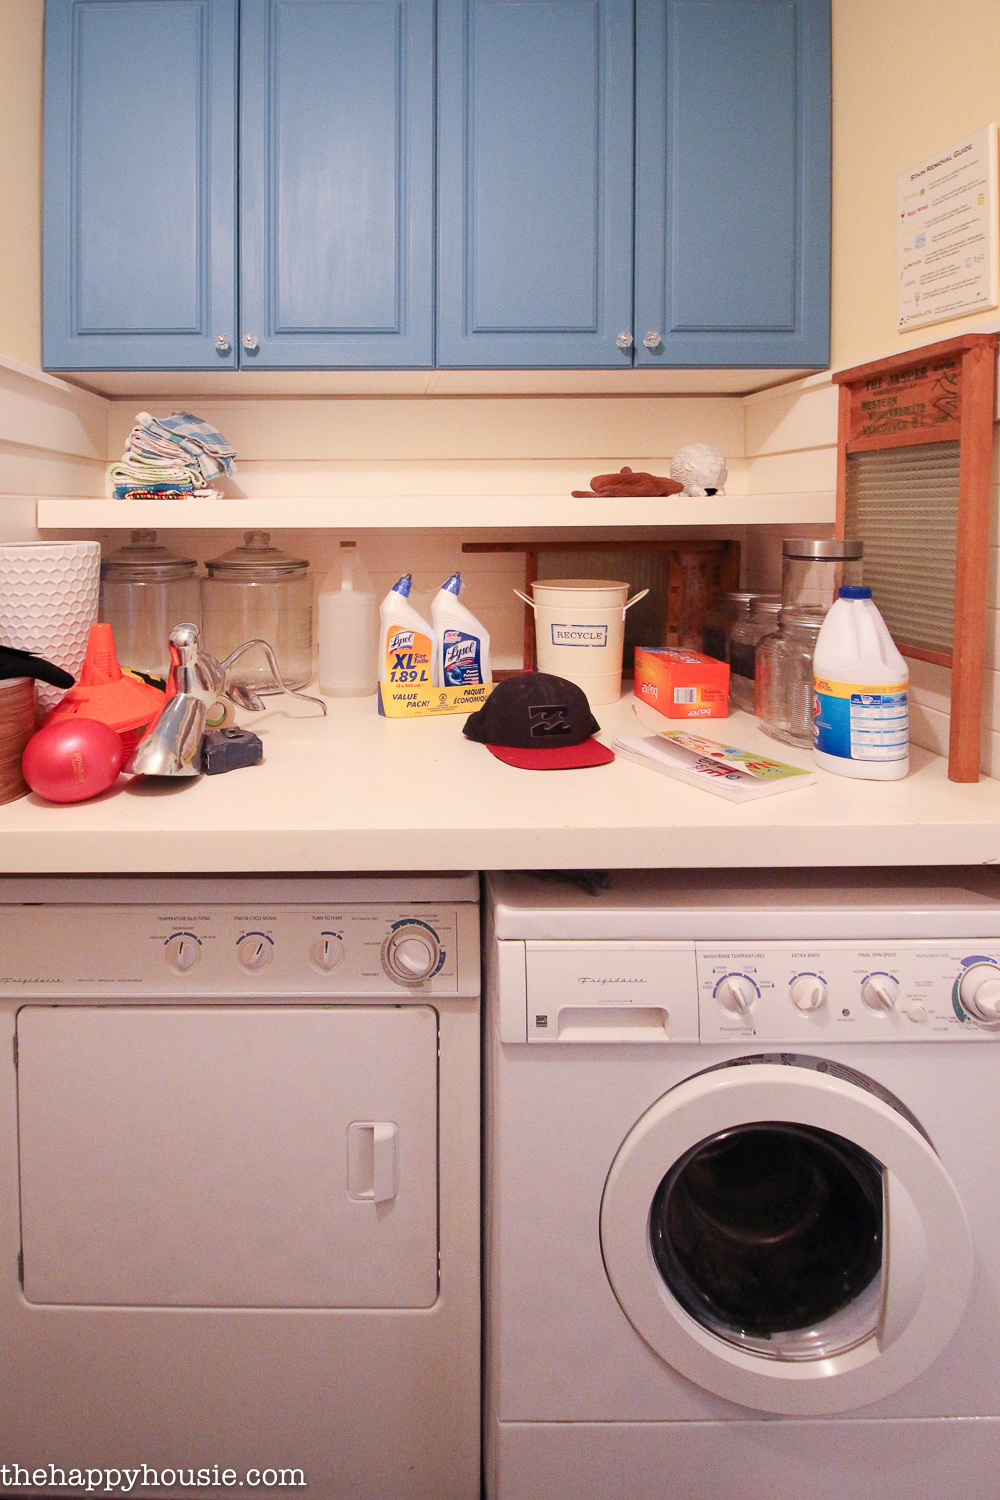
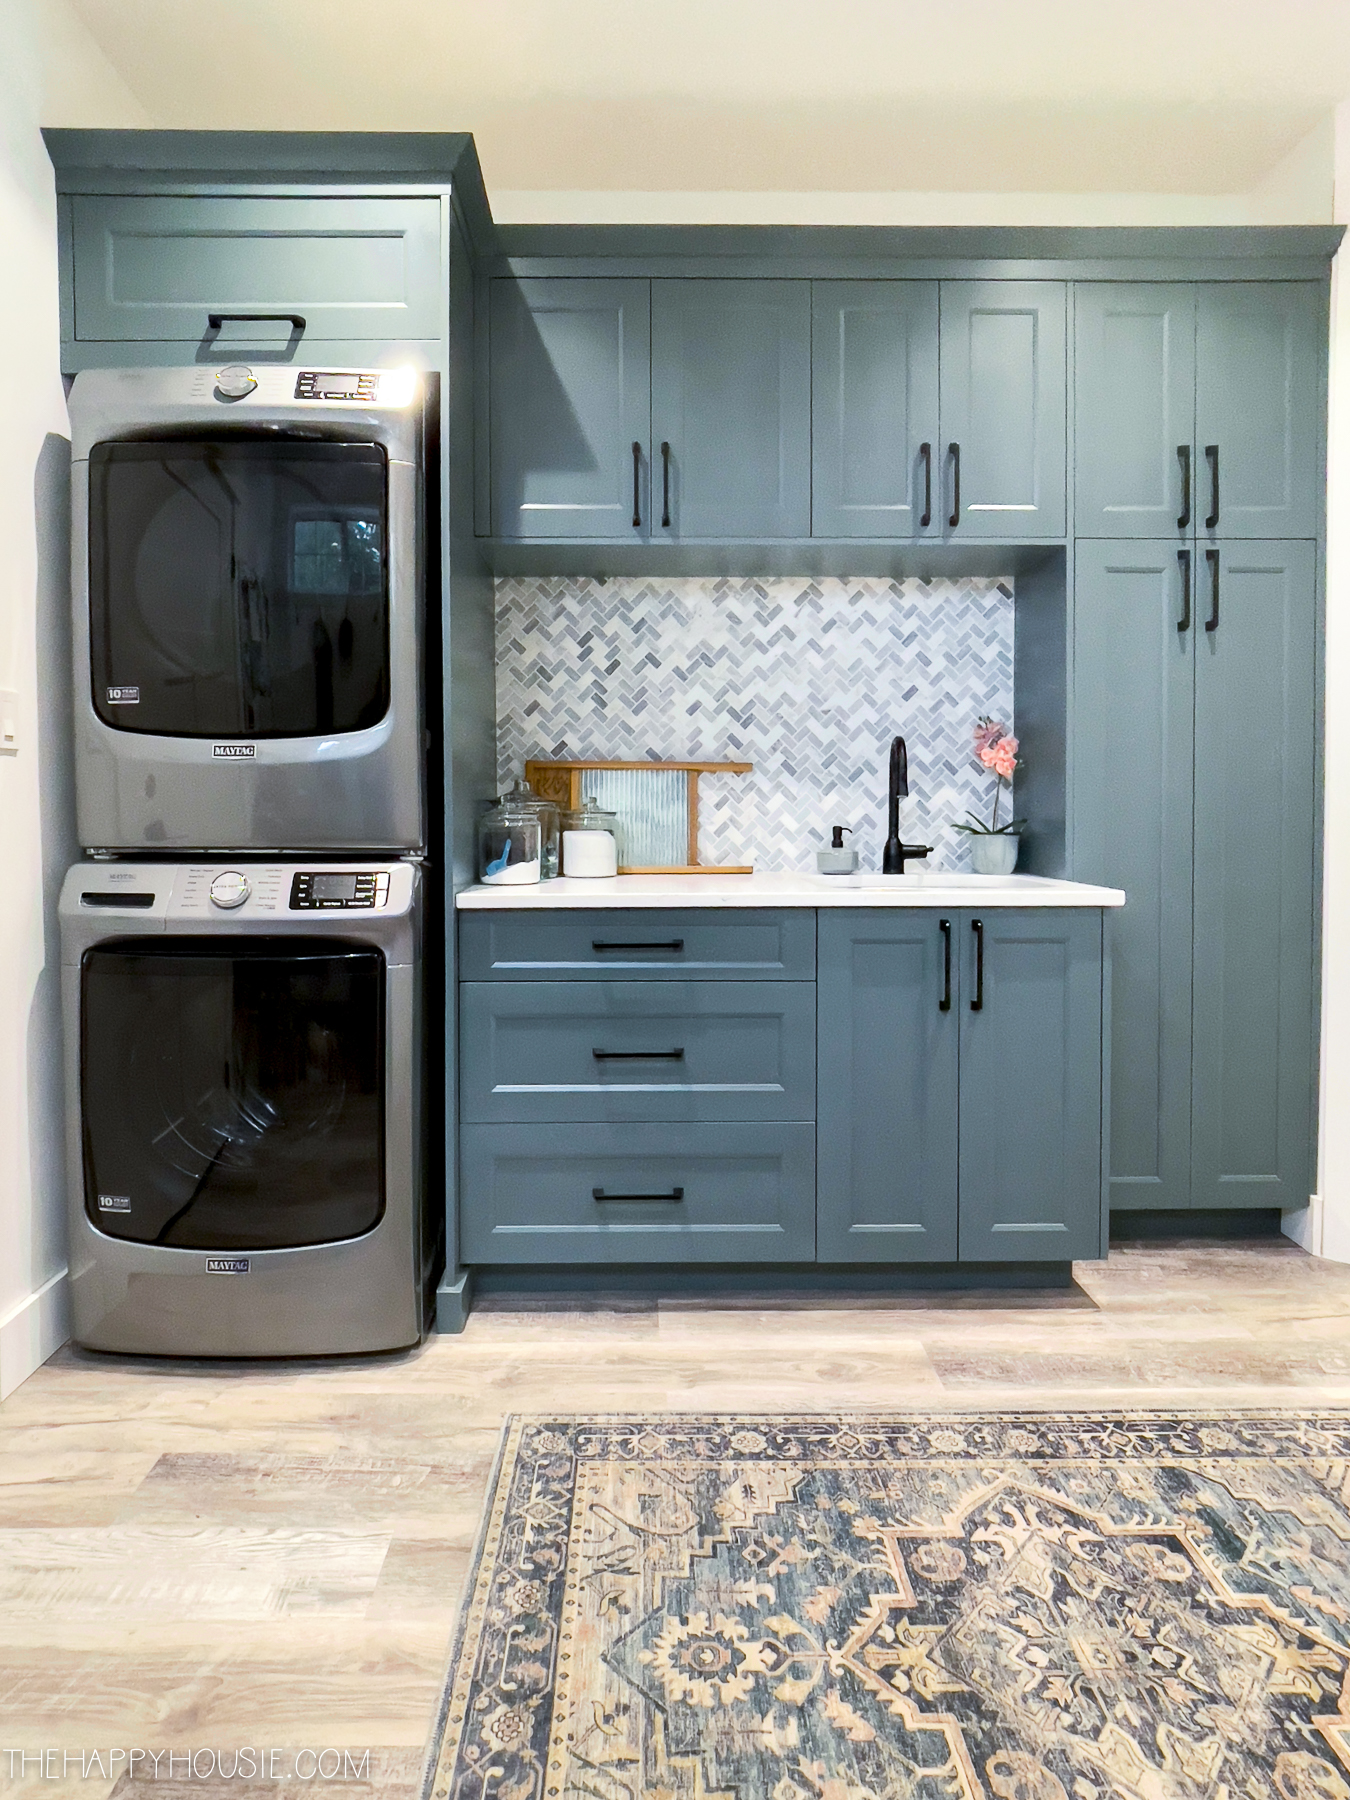
As I shared the other day, our laundry room zone {or alcove} got an organizational makeover as well – you can read all those details here. The room started out overcrowded. Disorganized. A drop zone. And also painted a combination of yellow and turquoise that I wasn’t loving anymore.
Note: We keep ALL of our shoes just outside that door in the garage. We have a mat and two shelving units setup that house all of our shoes, so they never have to enter the actual house. We use this room to store all of our coats, bags, gloves/hats/mitts, winter clothing etc. in addition to being a functioning laundry room, and the hallway that leads from our garage directly to the main hallway in our house.

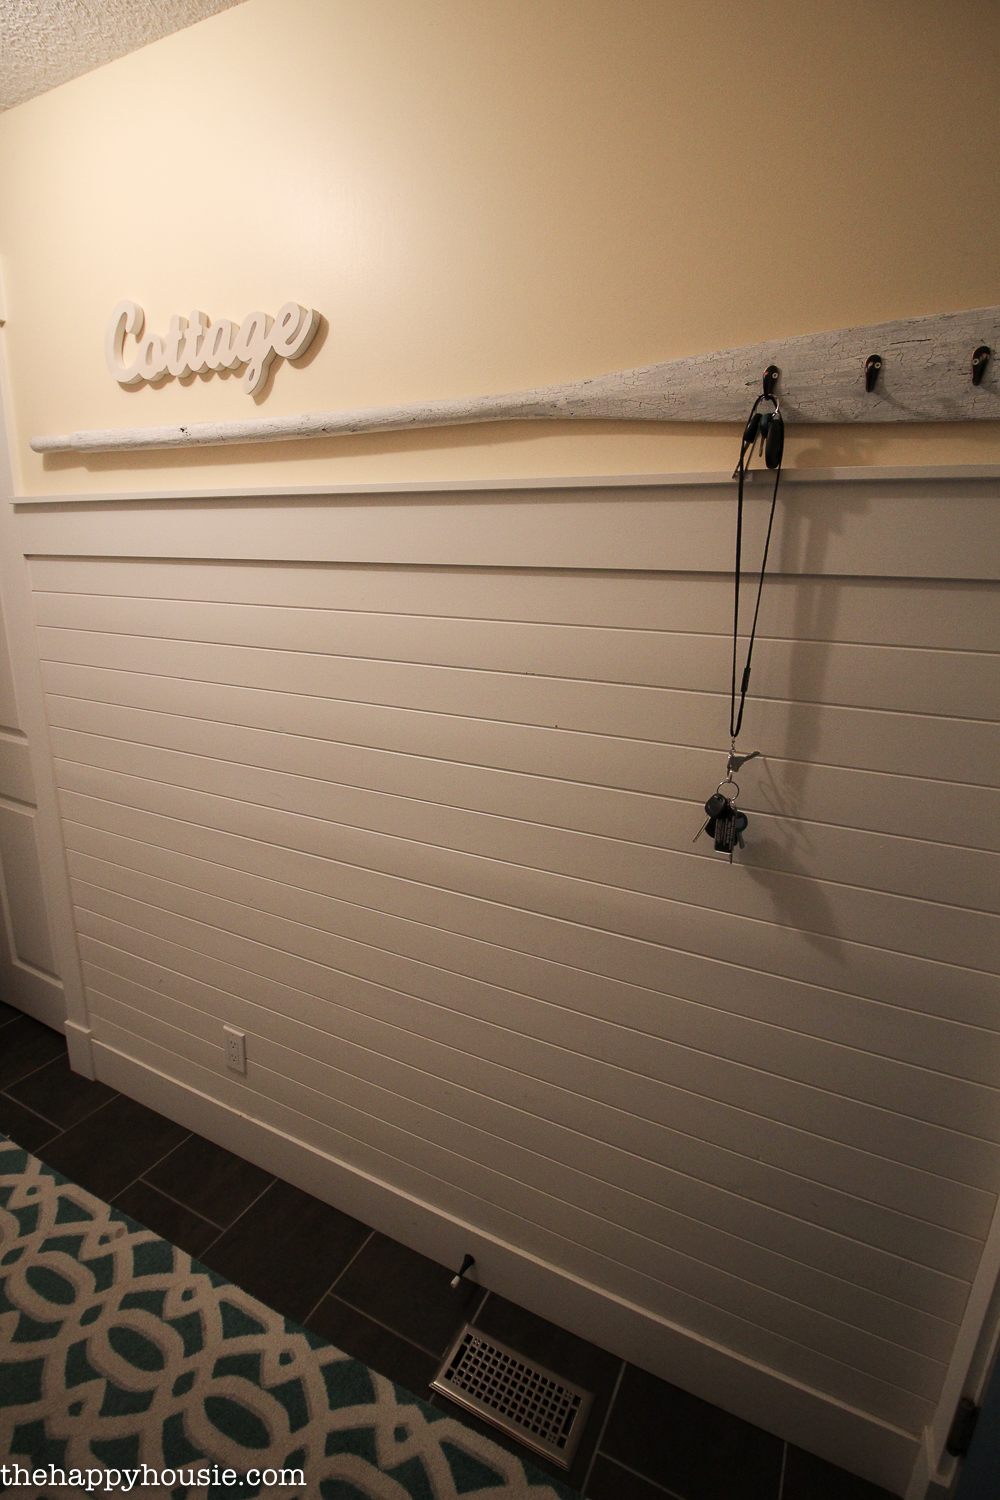
We had two rows of hooks in this little alcove space beside our door but it was always getting extremely overcrowded and the lower row of hooks is actually quite difficult to access. On the wall across from it, we had nothing aside from our oar key hook holder.
There is also a closet in this room that housed a messy assortment of cleaning supplies. During the laundry room organization makeover I shared how I took ALL of this out and managed to store all of our cleaning supplies neatly in the cabinets above the laundry counter.
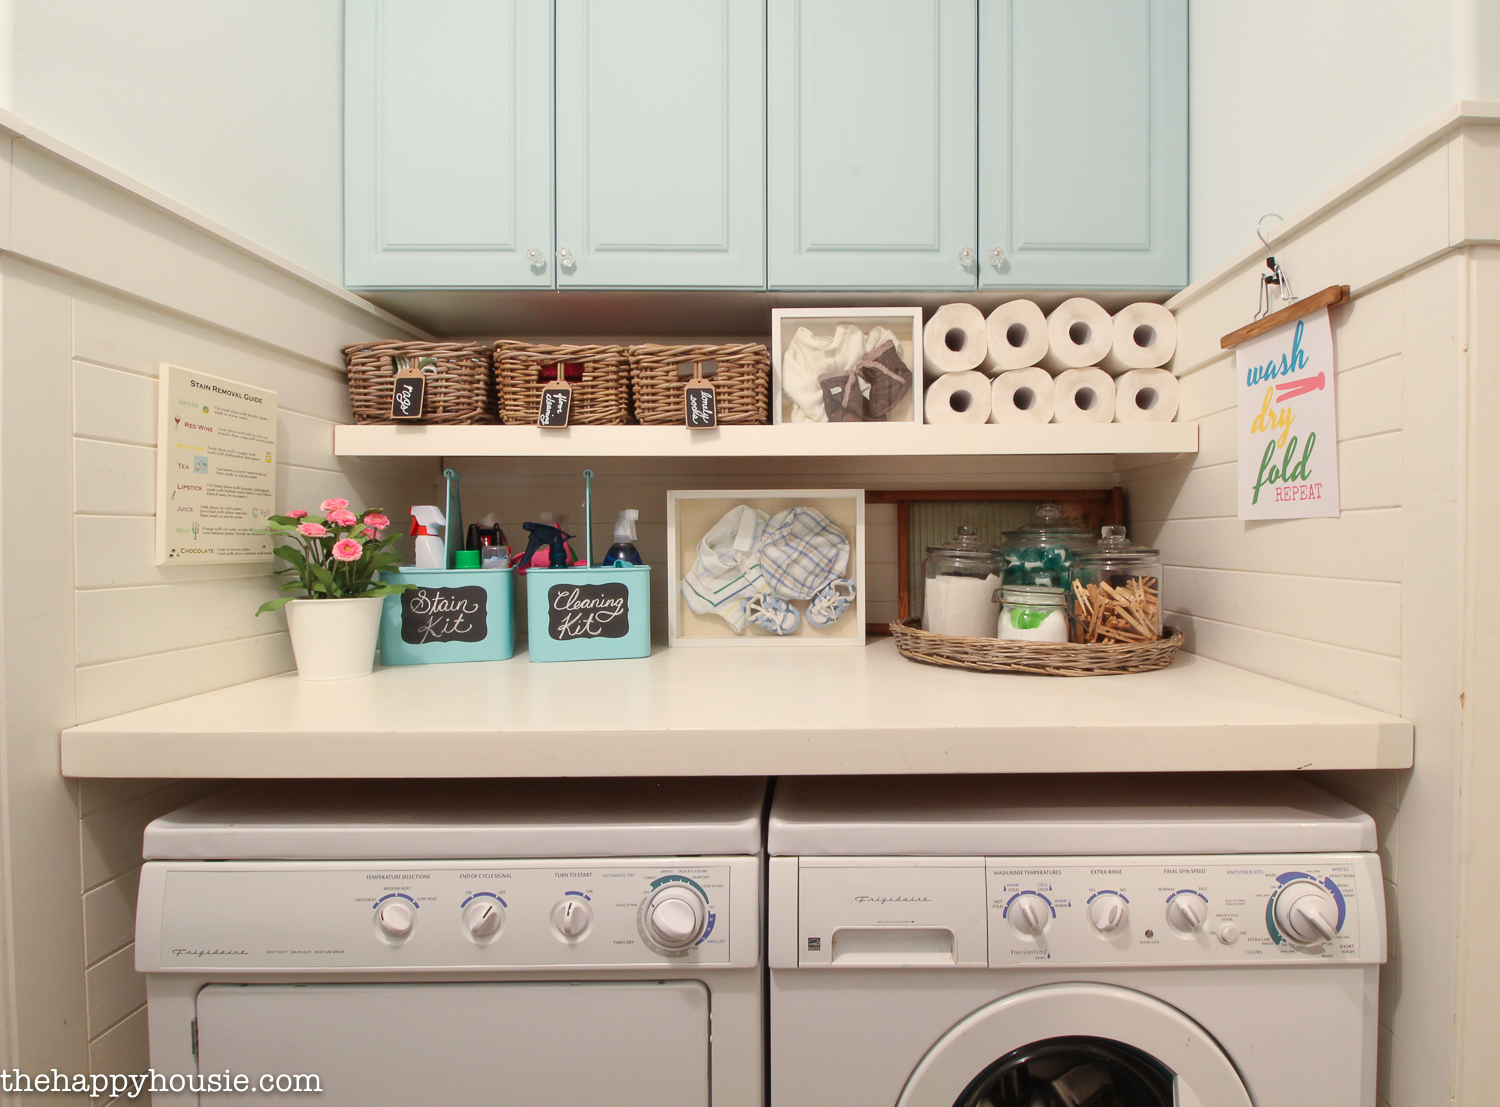
And another quick glimpse at the laundry zone…
So this is how that area is looking now…
So here are my best tips for how to create a super organized small space mud room or entry in FIVE steps!
Step ONE:
Assess what is working and what is not.
Make note of the areas that aren’t working.
For us, that was:
- Overcrowded Hooks (hooks are great, but two overlapping ayers of hooks are not-so-great)
- No dedicated backpack storage or spot for the boys’ stuff
- Additional coats were stored in the garage (not easily accessible)
- Gloves/Mitts/Hats were stored in the garage in unlabelled bins and were all mixed up (whose is whose?)
- Closet in the laundry/mud room was a waste of space – filled with random cleaning supplies etc.
- Grocery bags spread in every zone and never ready to grab
The main idea of this step is to figure out WHAT the problem is (or problems are) so that you can design a solution for them.
Step TWO:
Take everything out and sort it. PURGE. Assess what you have left.
At first glance, I thought I needed a lot more storage then I actually did. I was talking about switching closets and blowing out walls and doing a mudroom renovation. But since that is a bit of a bigger plan then we can handle at the moment, I focused on the space we have. And the space we need.
By purging our things first, I realized that we actually have a reasonable amount of “stuff”. I got rid of a huge pile of coats and some gloves/hats/mitts etc. that my husband or the boys and I never wear and haven’t worn for years. We managed to fit ALL of our coats in the one coat closet (including the boys’ coats); and we will generally keep our most frequently worn jackets on the hooks.
Step THREE:
Think about your WANTS and NEEDS in the space.
Make a quick list of areas or zones that you think would be helpful to get you more organized. I knew that I wanted:
- A dedicated zone for the boys’ stuff so that it is easier to keep them organized in the mornings. {Mornings are a big issue around here that I’m going to share more about tomorrow!}
- Hanging space for my husband and my coats, bags etc.
- A space to store our less frequently used coats and winter belongings
- A space to store our re-useable grocery bags and plastic grocery bags
- A space for old rags and towels (used for cleaning or painting/reno projects etc.)
- I also wanted a space for hanging things to dry – like hockey gear, wet shoes and gloves etc.
Step FOUR:
Think outside the box about space: Think Vertically!
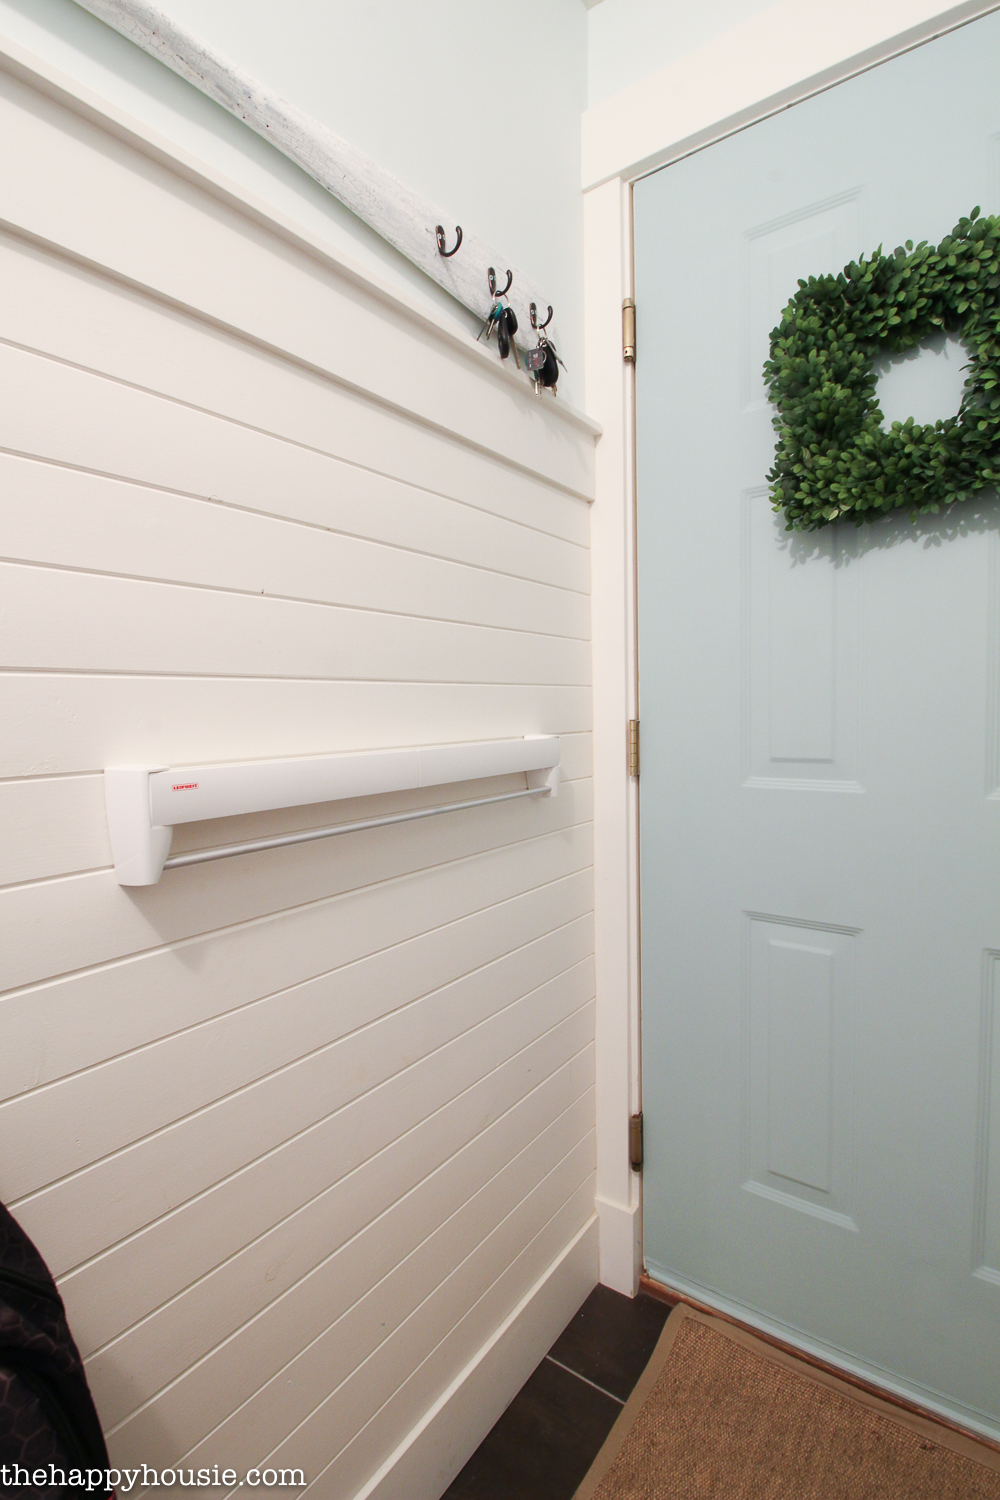
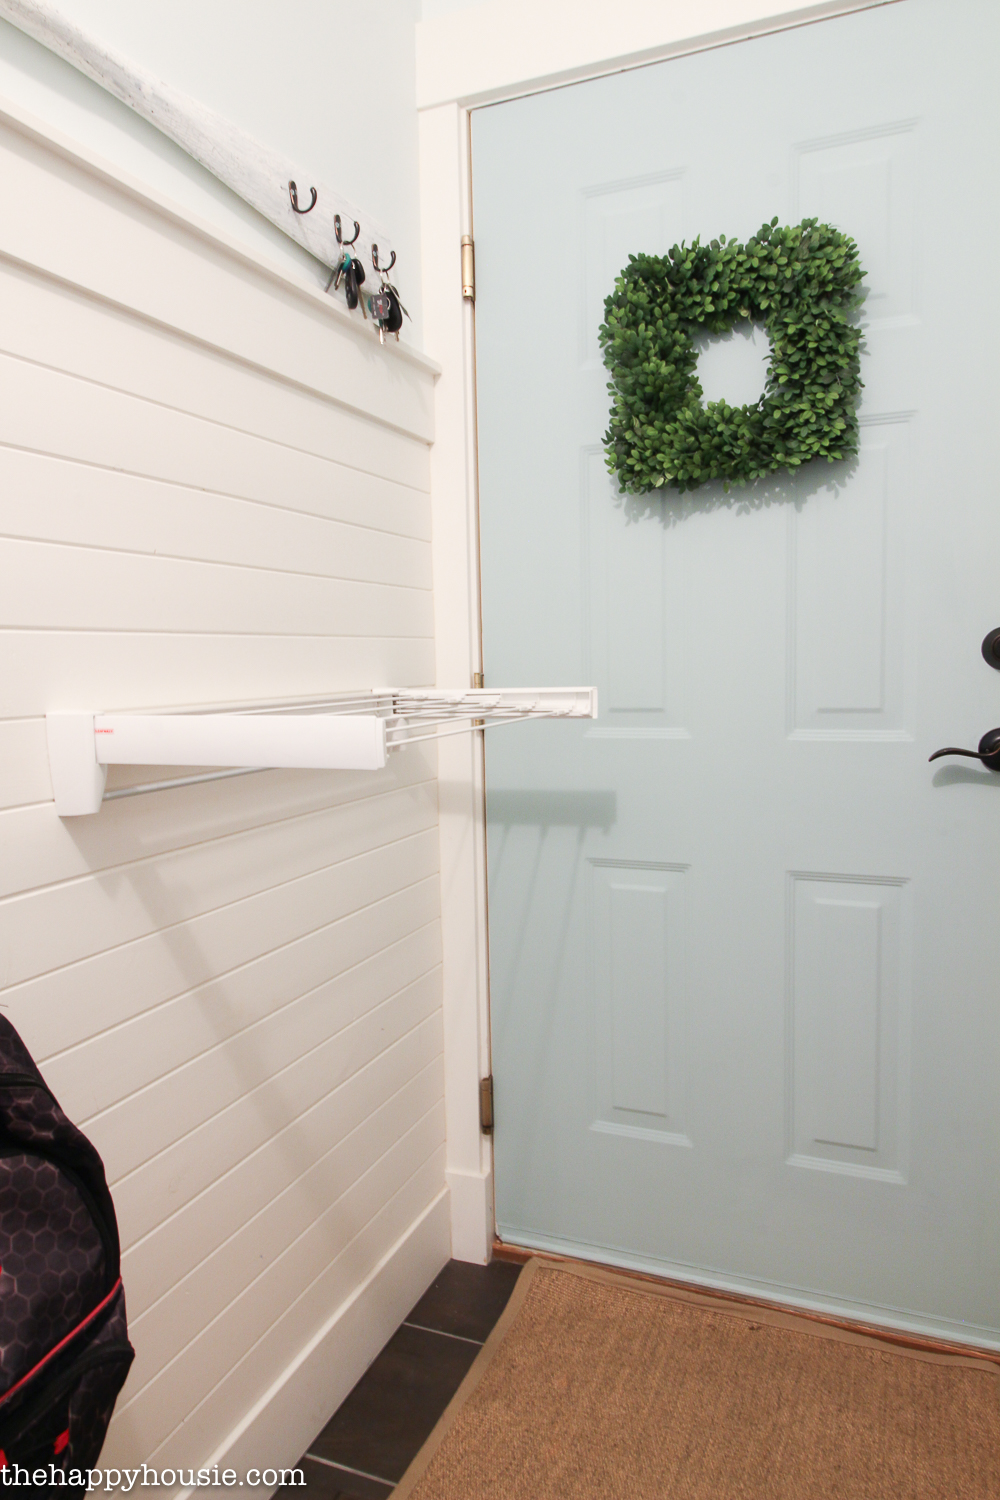
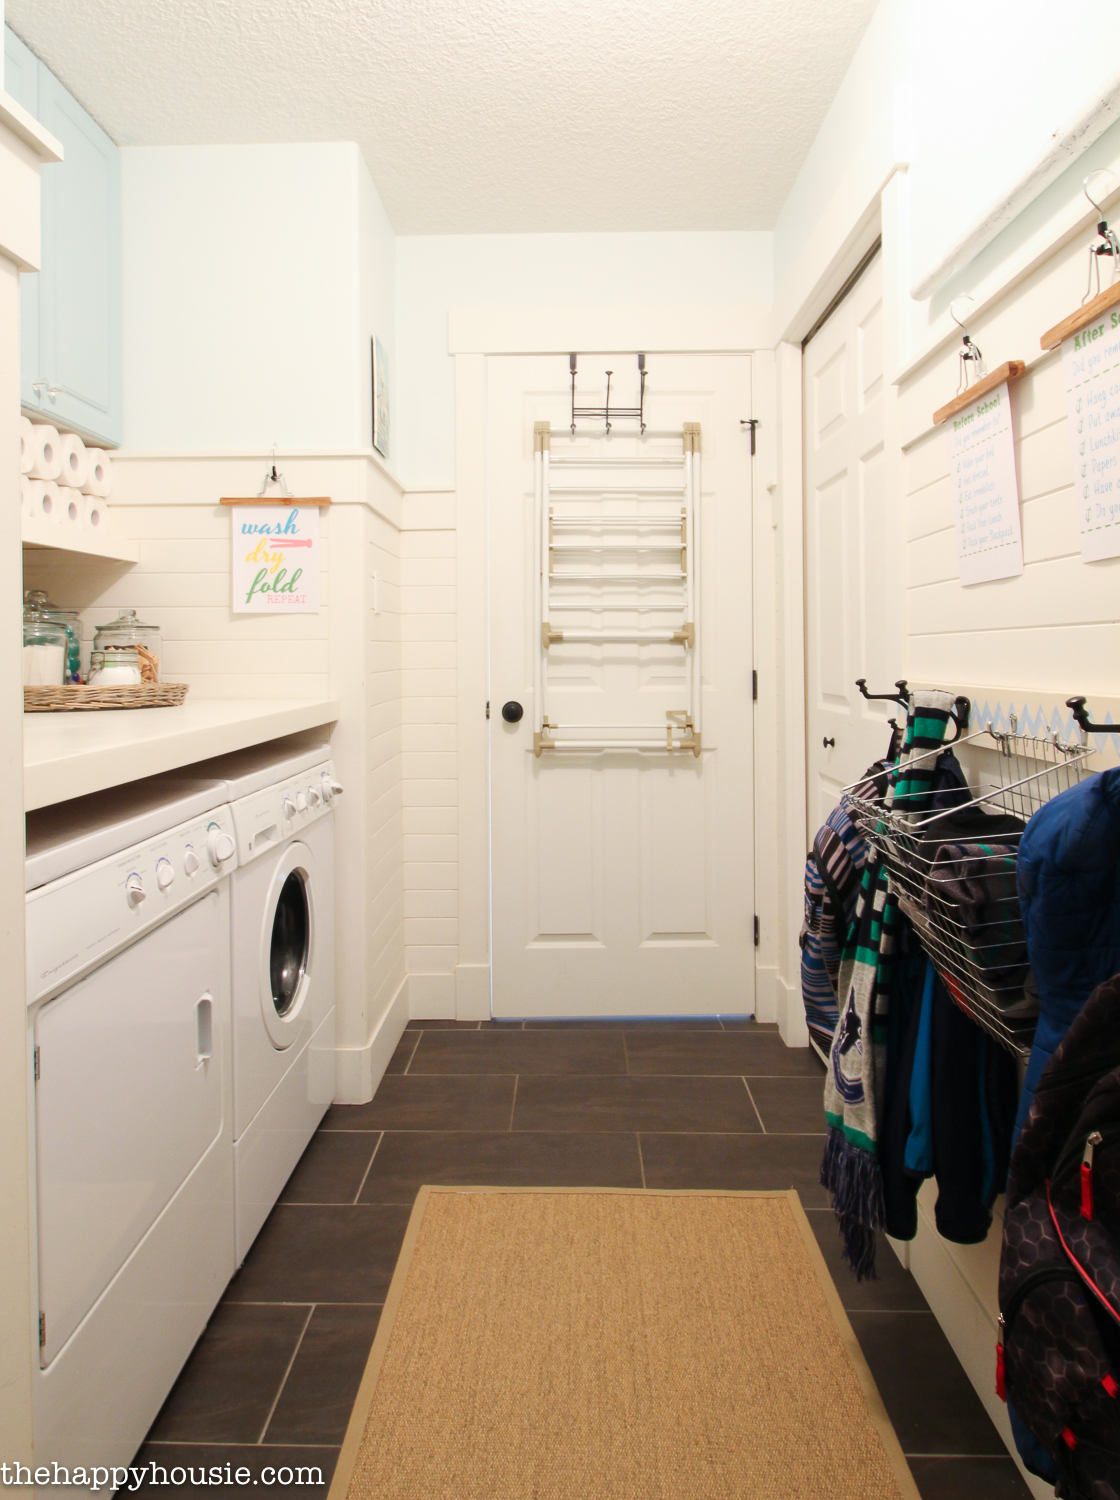
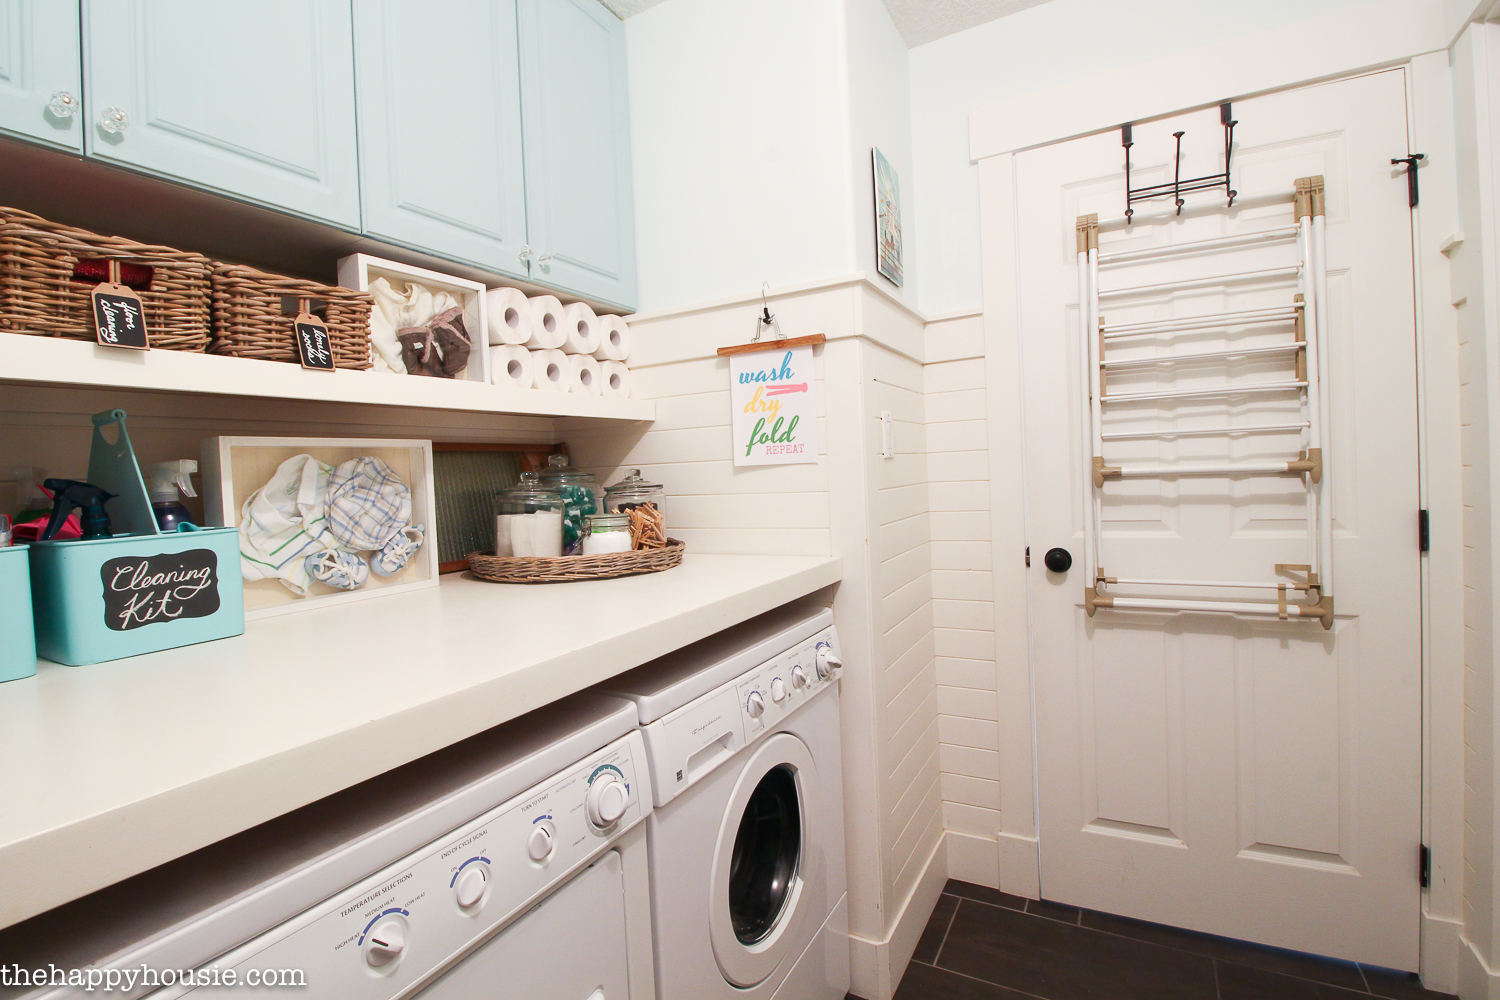
In a small room, you have to think about how to use every little bit of space that you have. So look up. The empty walls became the perfect spot to create a zone for the boys. It also became the perfect spot to hang a foldable drying rack! It stays flush against the wall except when we need to use it. {Although it’s behind the door, we plan to use it only at night when we aren’t going in and out of the house.}
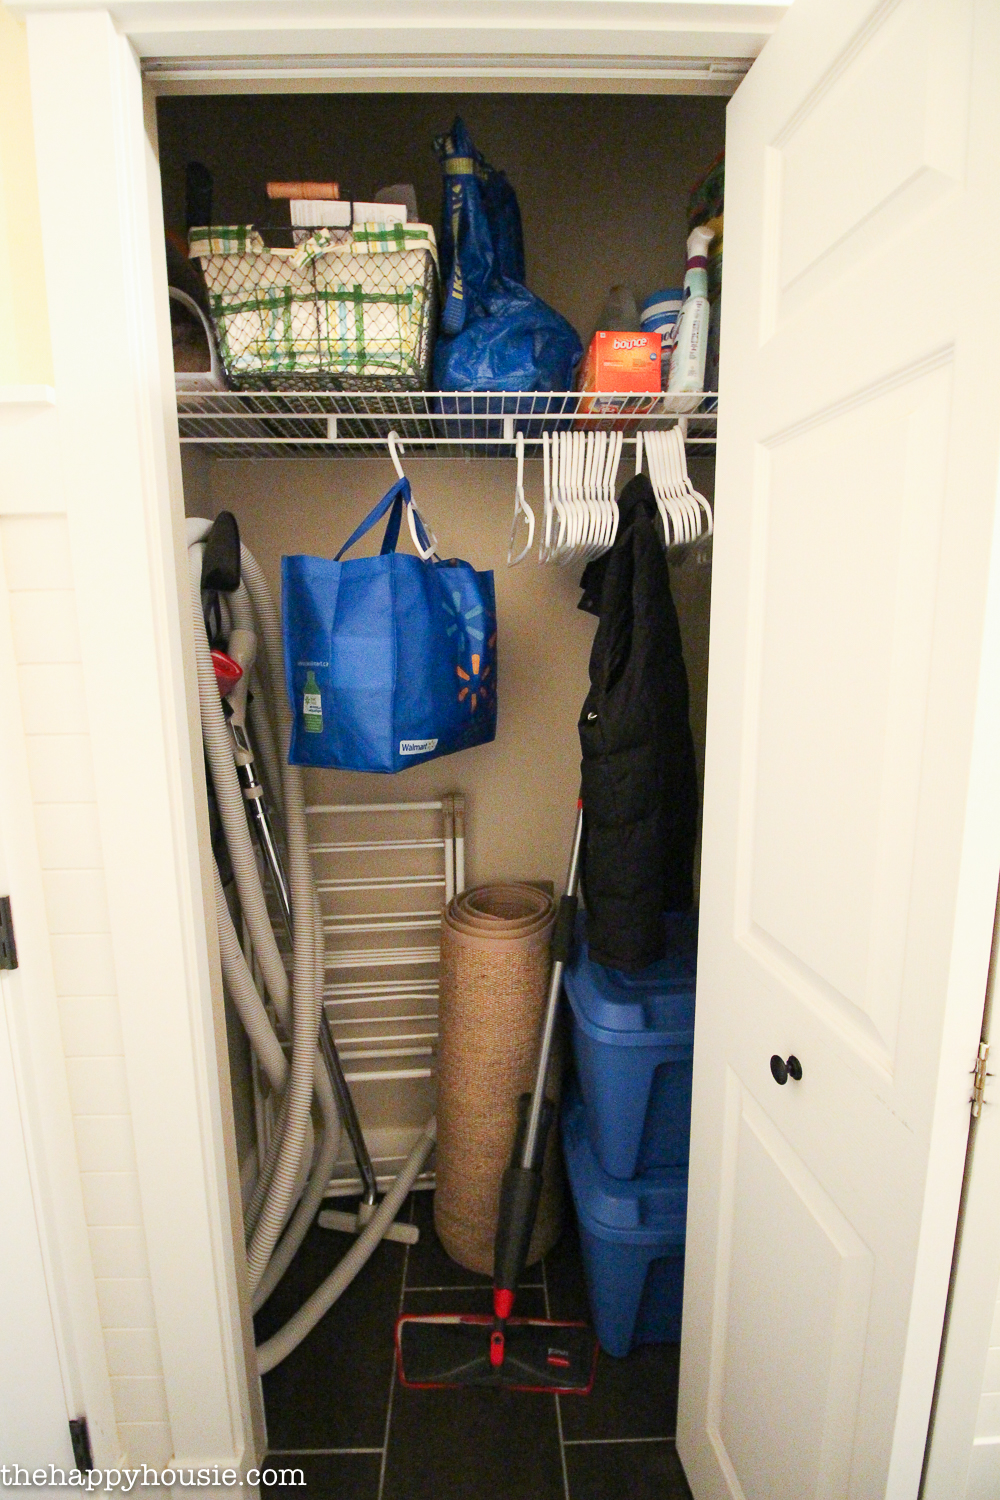
I also put a hanging hook on the back of our door to the hallway in order to hang our larger drying rack – using a space for storage that often goes unnoticed! In the closet I used the shelves above the coatrack for storage in baskets; but I also used the floor. Yes, the floor. Why not? I have two bins and two bags that storage our: reusable grocery bags, plastic grocery bags, and extra boys’ sports bags. All right there, ready to grab when we need it!
Step FIVE:
Get to work: carve out the zones you need!
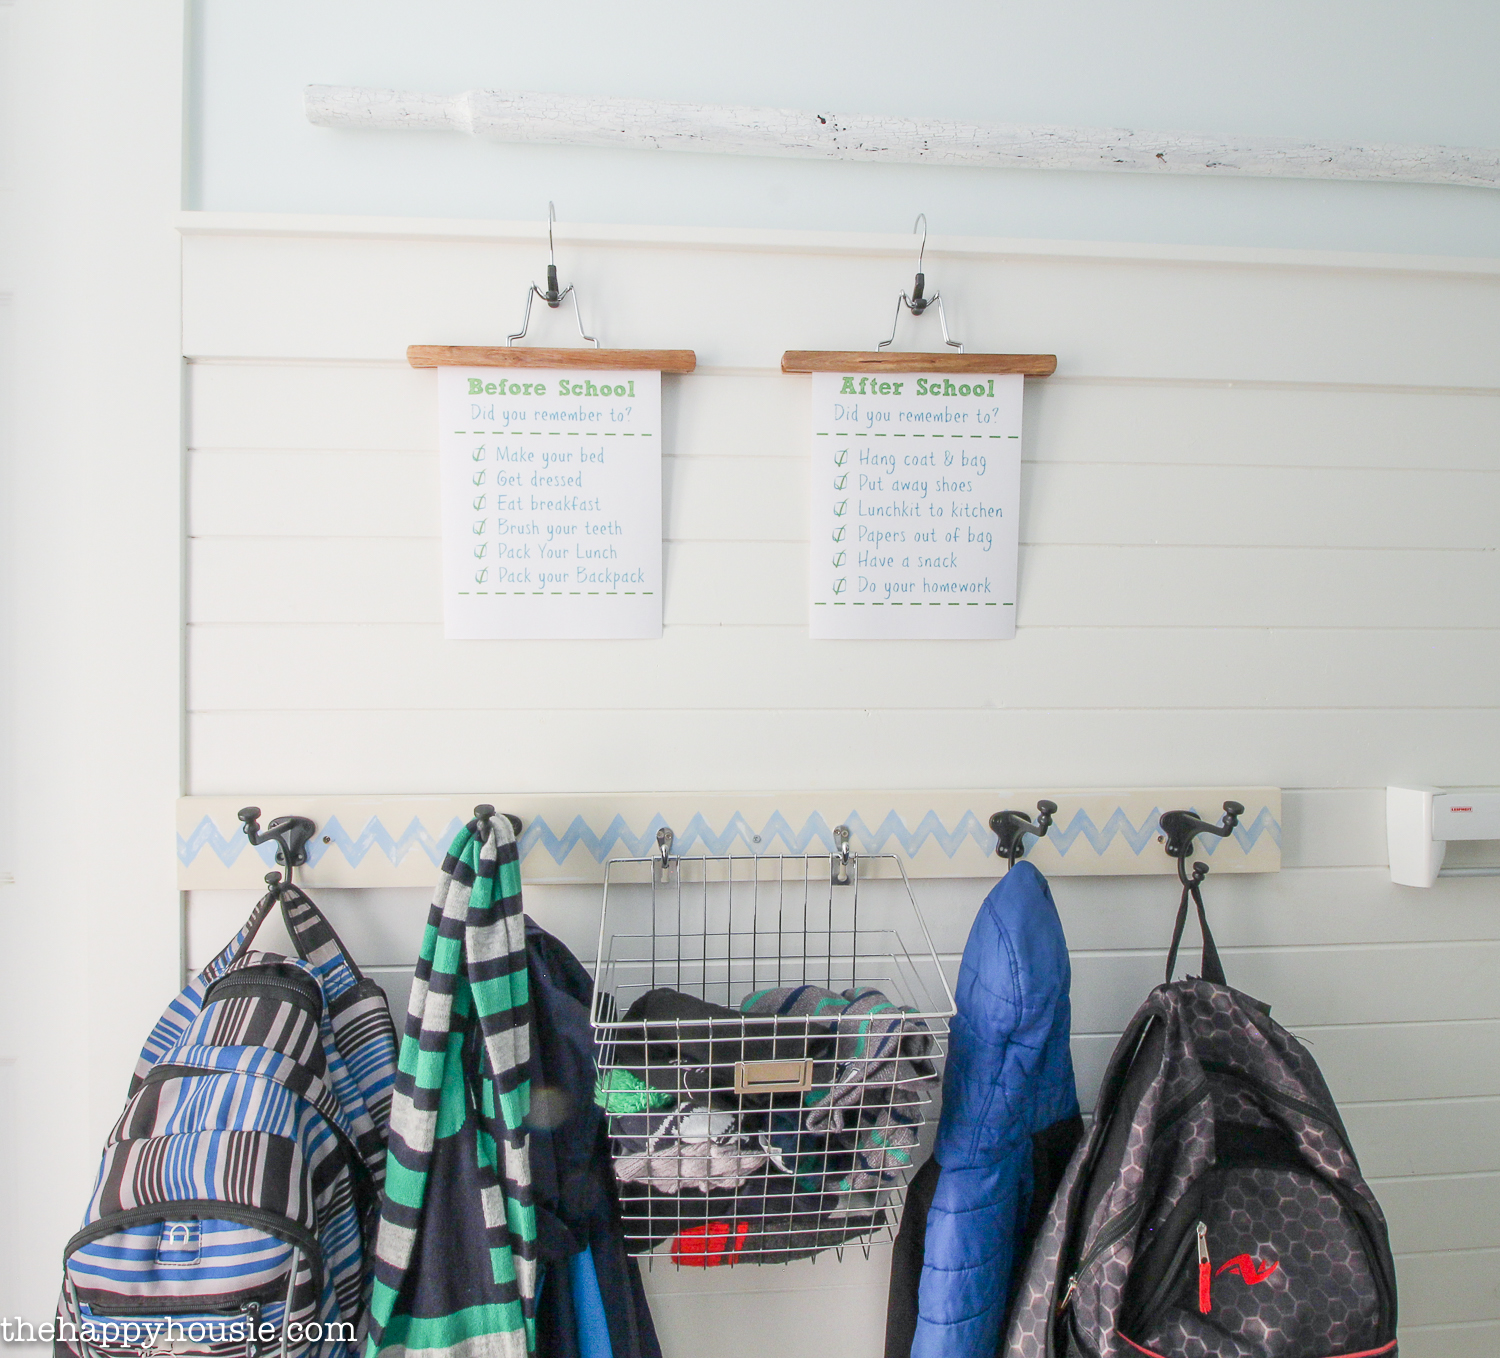
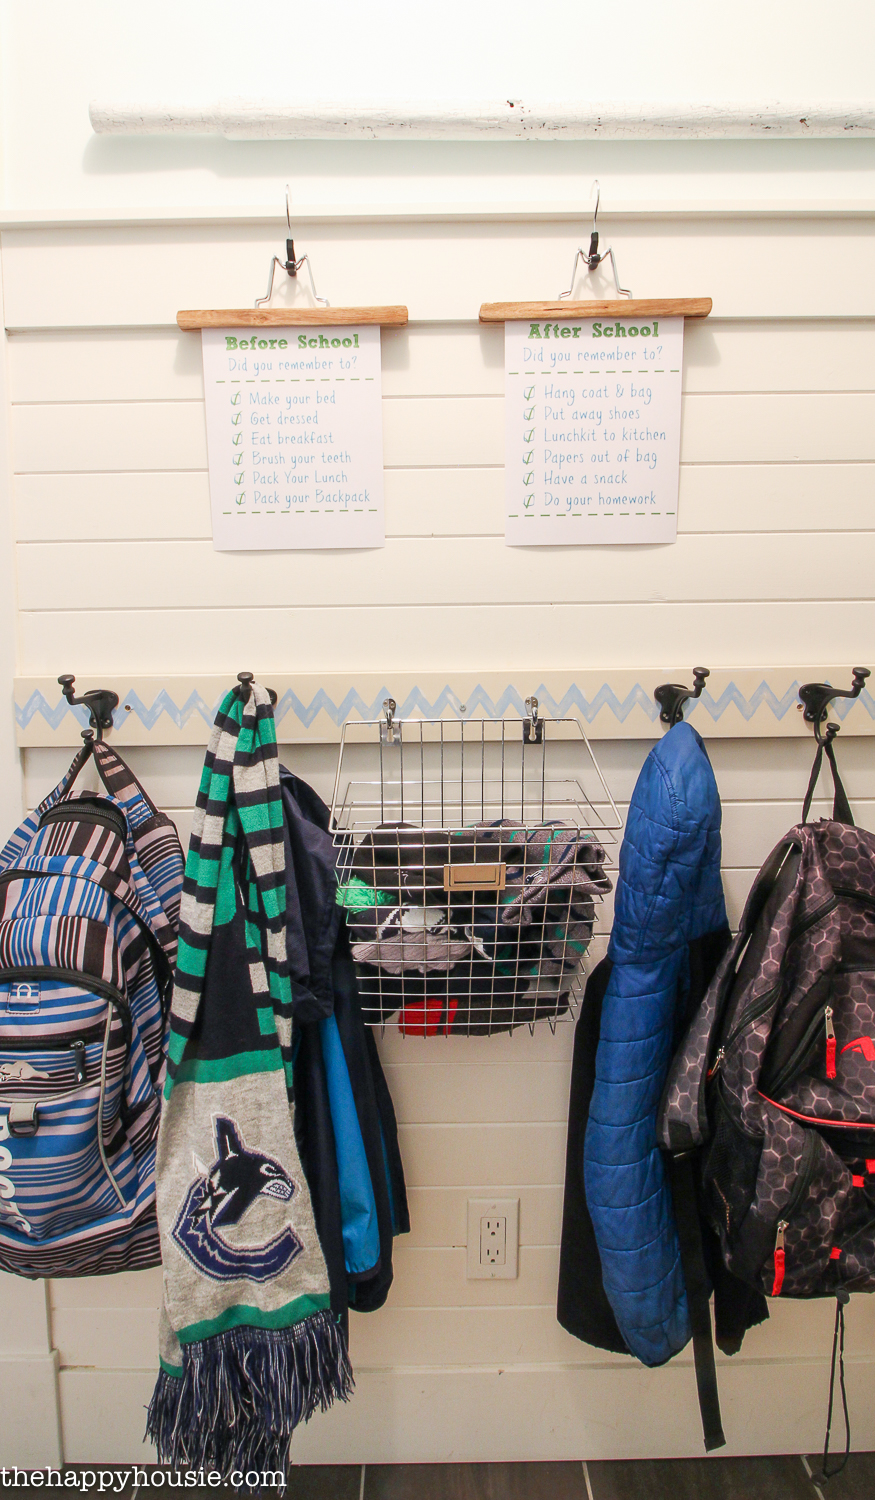
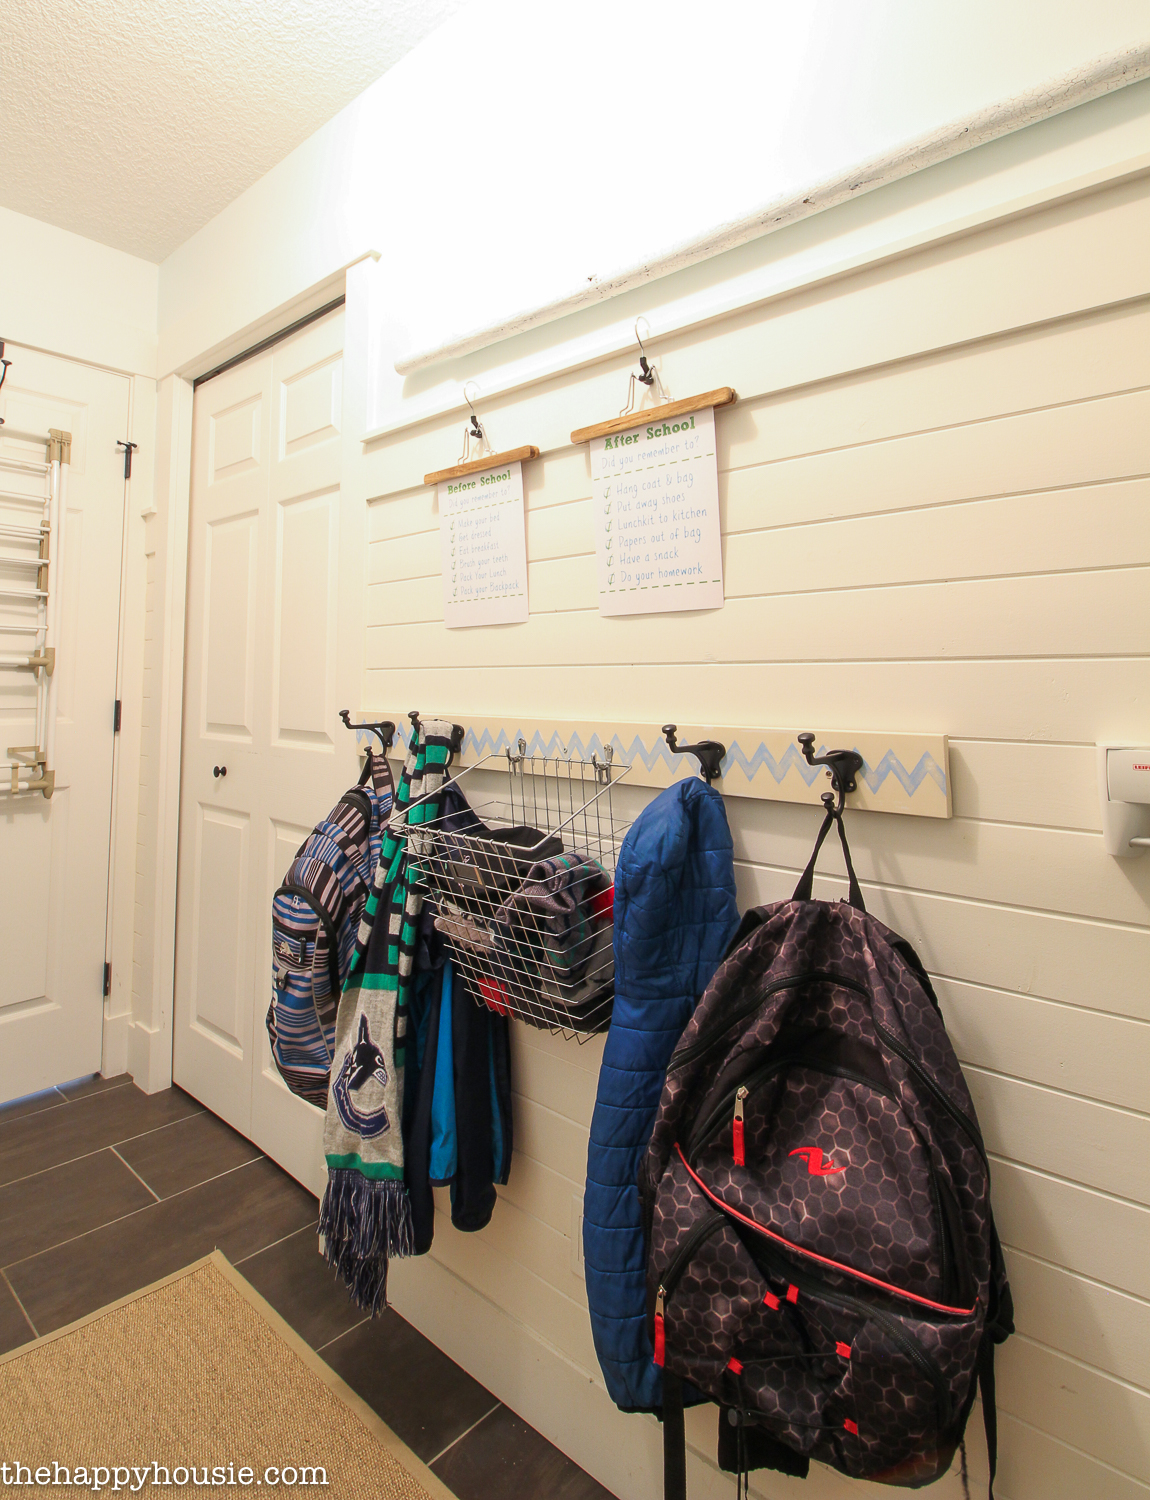
To create a special zone for the boys, I hung a series of hooks and a hanging basket. They each have two hooks for their backpacks/coats etc. and the bin is for their winter gloves, hats, scarves etc. I have one more of those hanging baskets and I’m thinking about hanging it below the current one – then we could have a basket for items they need to remember to return to school; or for something else. At this point, I’m going to let the need’s arise naturally again and see if I need a second basket before I commit to screwing it to the wall!
For the boys’ “zone”, I also created these little printable routine charts that I’ll be sharing tomorrow if you want to print your own copy! I’ll talk more about them tomorrow as well…
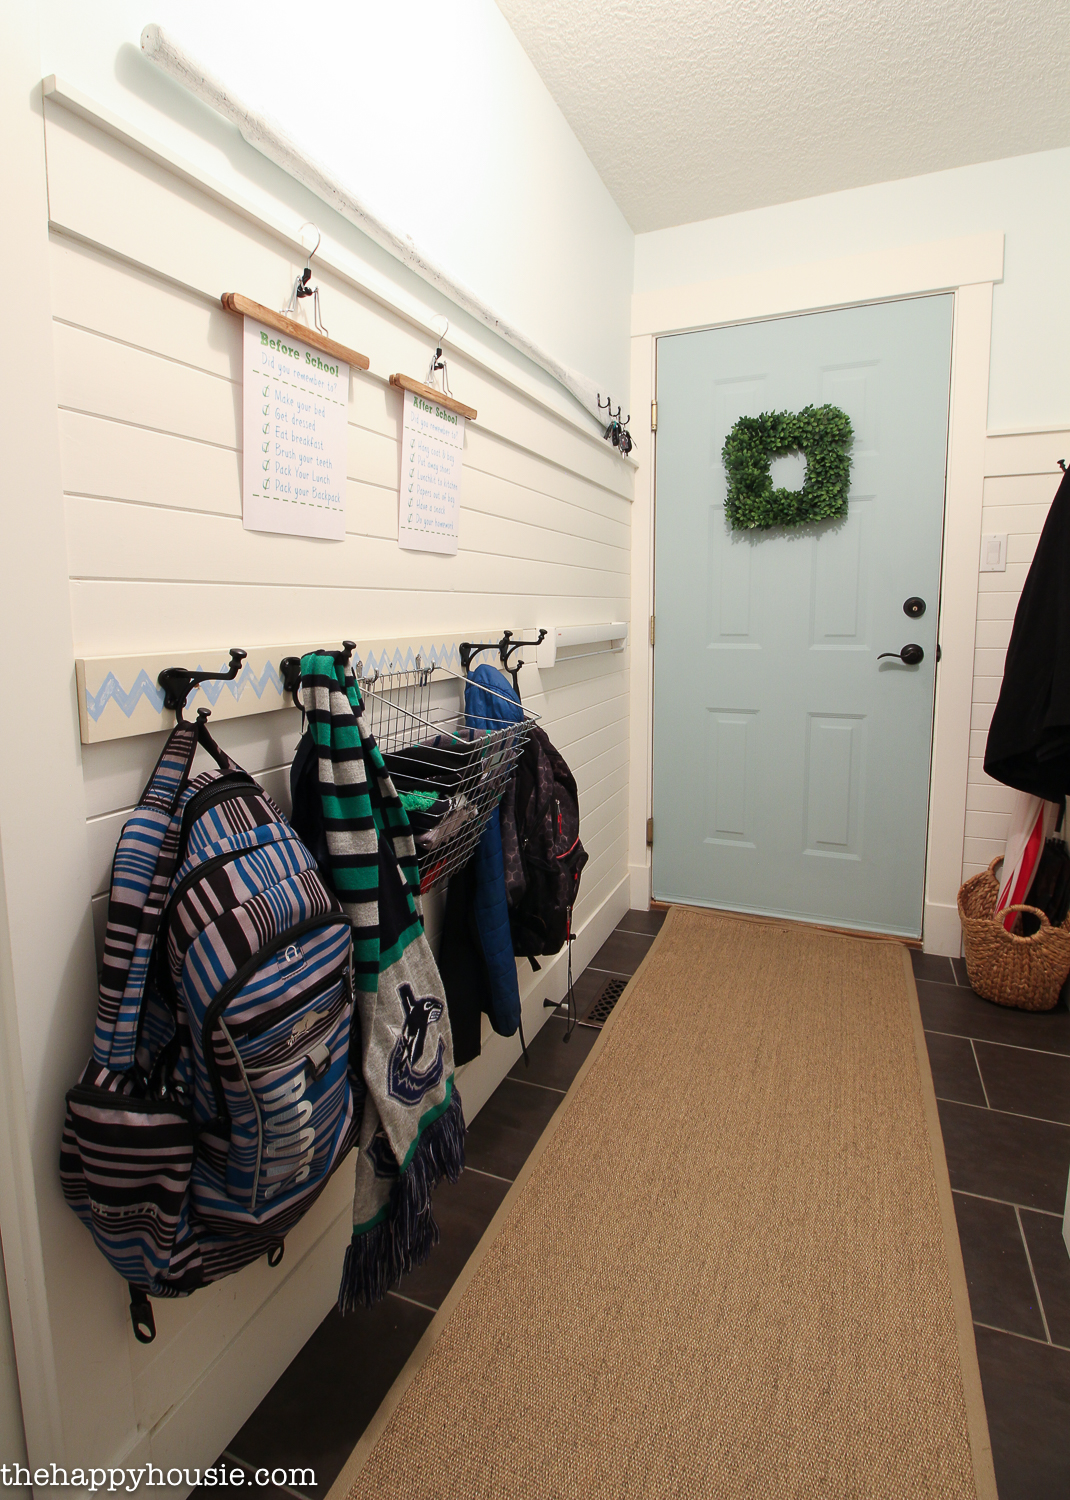
Now that you know my problems and solutions; let’s check out the rest of the Mud “Room” – our newly organized Entry area!

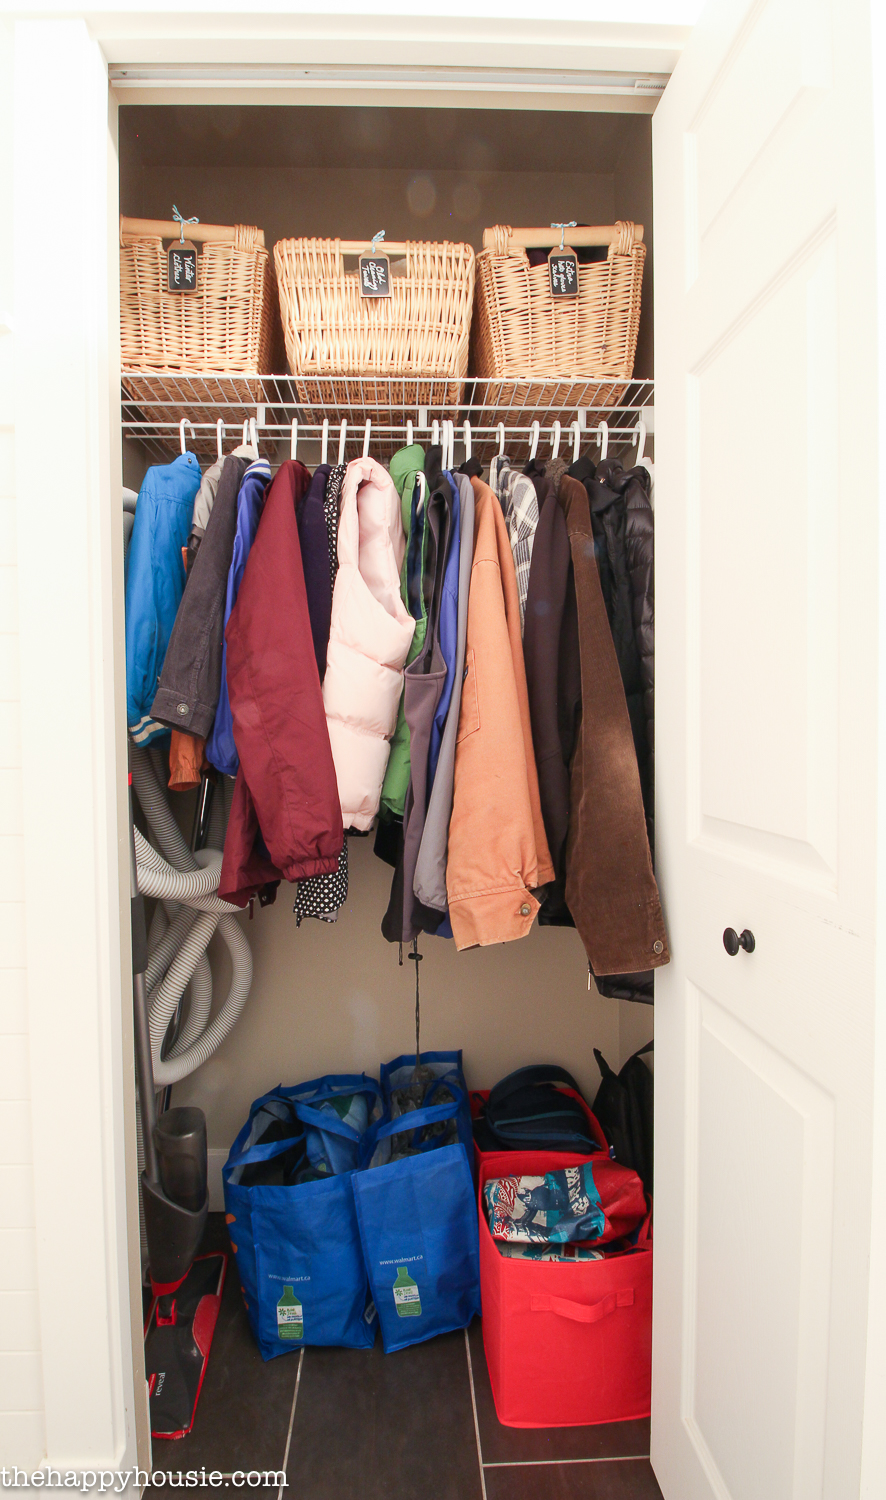
In the closet I’ve got three labelled baskets: Winter Clothes (snow pants etc. – we don’t have a ton), old cleaning towels, and extra hats/gloves etc. that survived the purge. This is not necessarily a “pretty” picture. Those are ALL our coats. But I wanted to show you reality – nothing staged, here! The vacuum hangs on the wall, our mop is tucked beside it, and the bags on the floor house our re-useable and plastic grocery bags as well as extra small backpacks/storage bags that the boys use. It’s full but functional and easy to use.
And here is that drying rack I was telling you about!
Such a great product… I love how compact it is for those small drying jobs, installing of hauling out our giant drying rack every time!
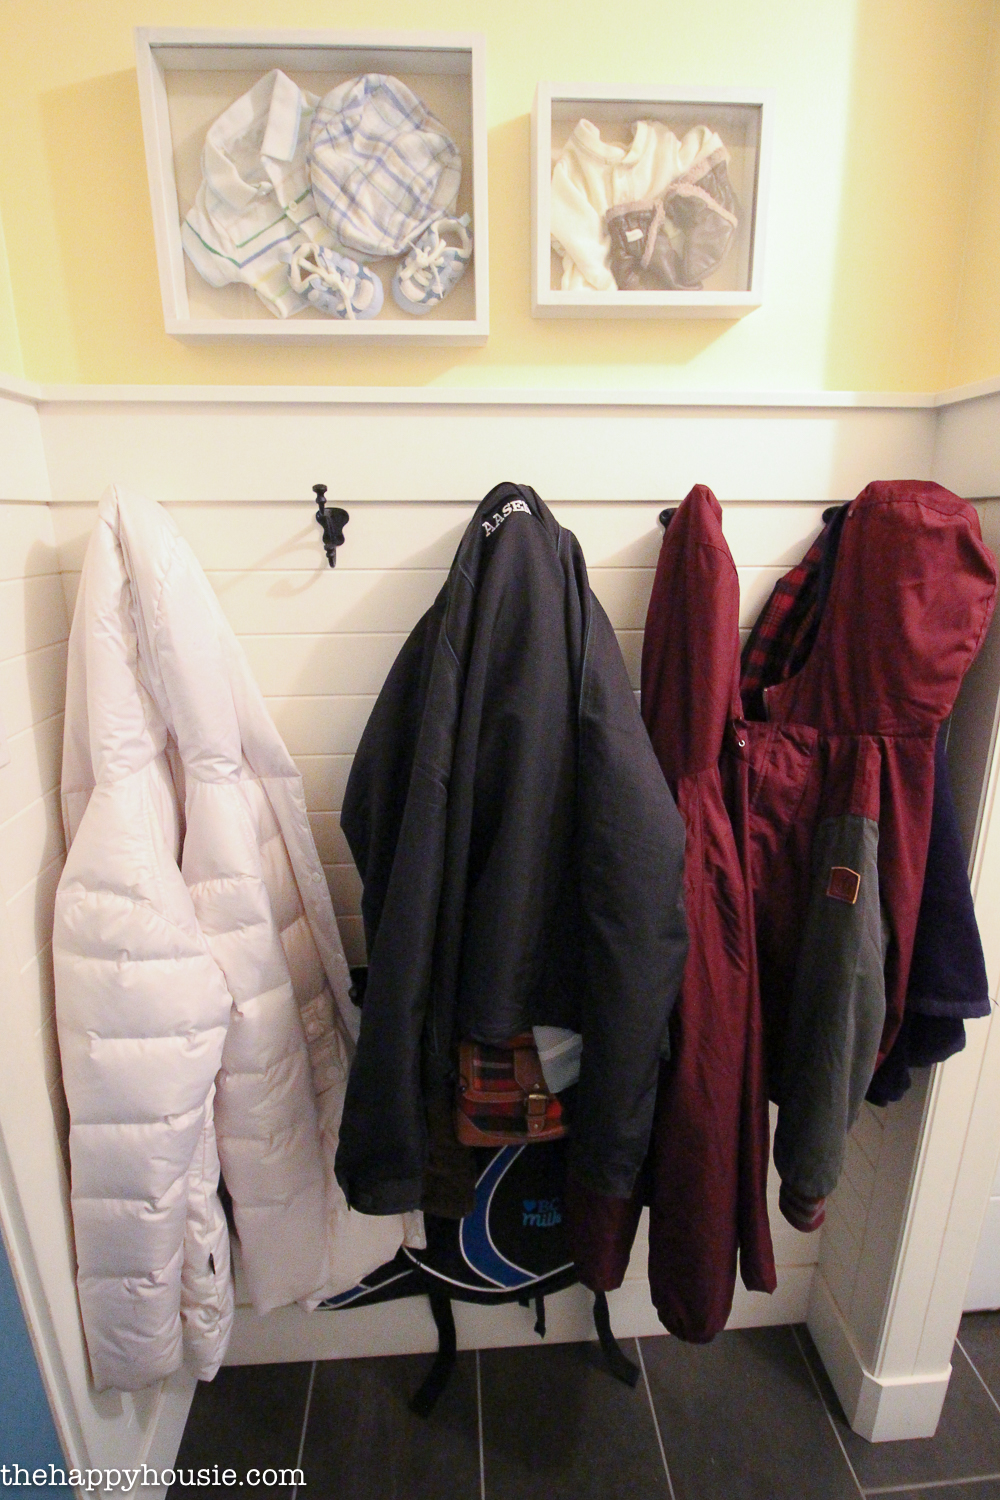
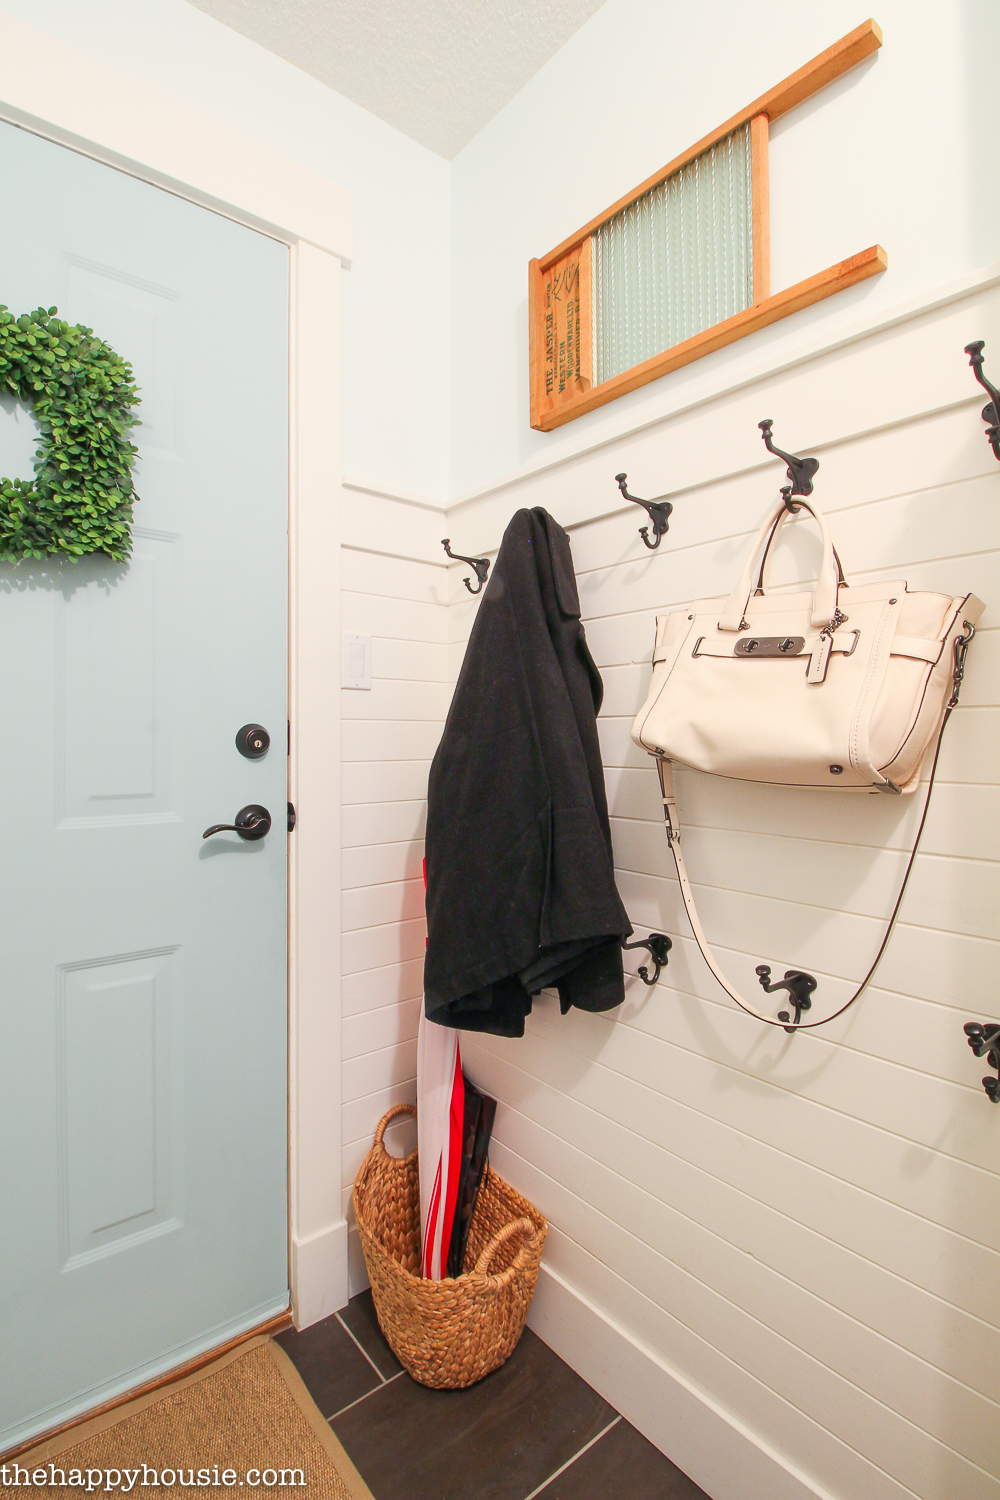
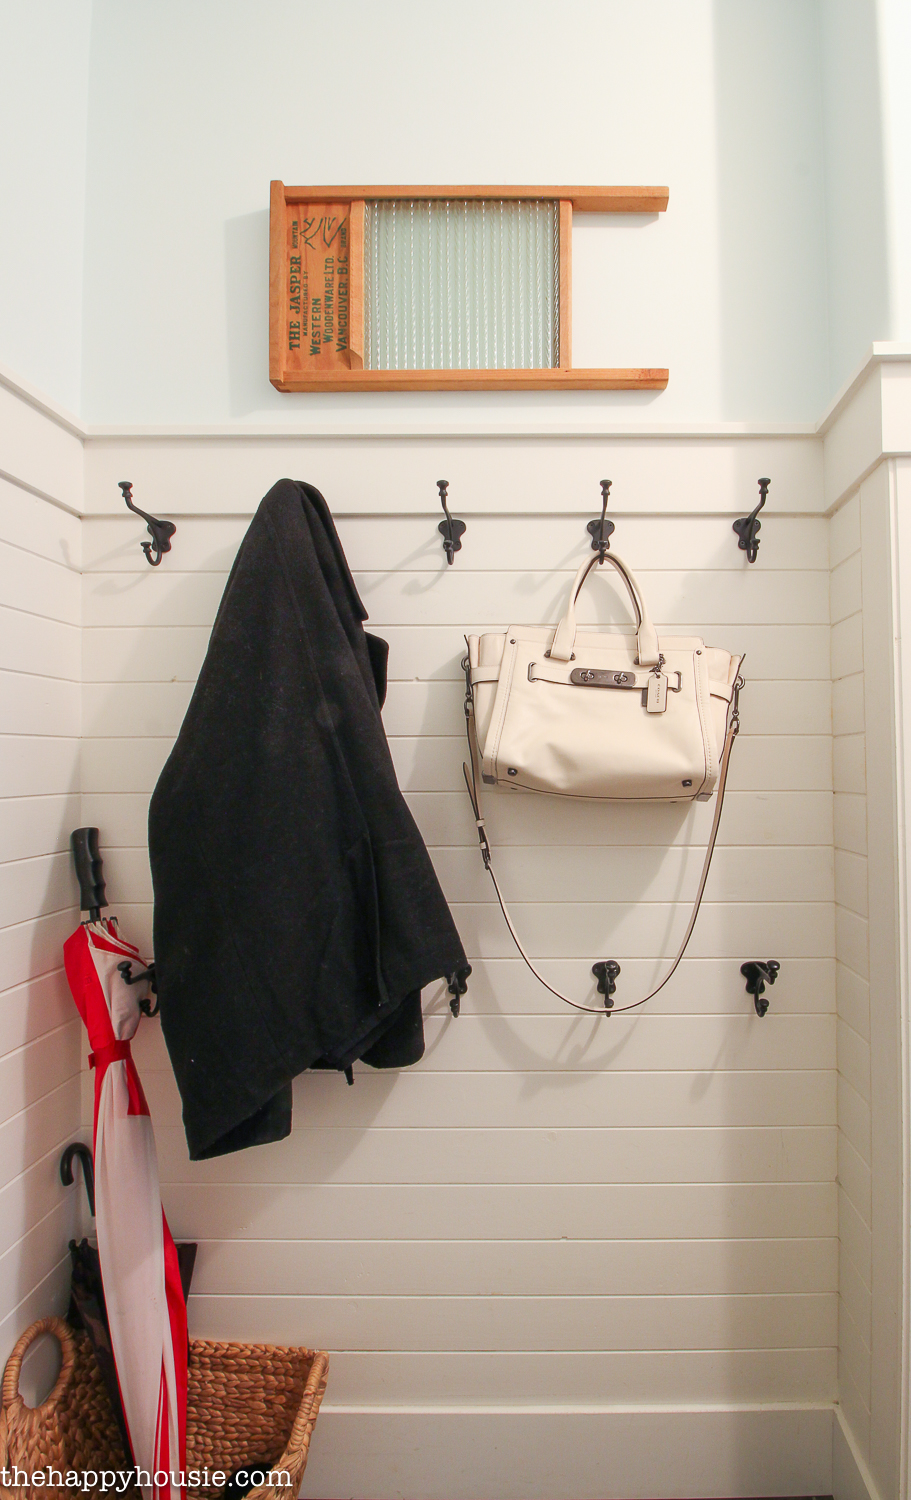
On the other side, we kept our two layers of hooks but now it will just be my husband and I hanging out belongings on it. I tucked a basket beside the door for our umbrellas and out hats/gloves etc. so we can grab them as we are heading out of the house.
There is the back of our door that leads out to the hallway – the perfect spot to store our big drying rack! It comes out a couple of times a week to dry the hockey gear in the front hall.
Not my favourite solution, but until I have that palatial dream “mud room” this is the solution that works best for our real-living-breathing-playing family.
Don’t forget that I completely organized our laundry alcove and cleaning supplies and shared all the details about that too: Laundry “Room” Organizational Makeover HERE!
Or head over here to see the rest of this series and join in on this organizing journey…
Looking for some key pieces to help you create an organized entry or mud room area? Or did you like some of the finds I shared in my laundry room organization project?


Want to remember this? Then…

Join the challenge!
Sign up to have The 10 Week Organizing Challenge sent to you weekly!

![]()
![]()
![]()
![]()
![]()
![]()
![]()


A lot of good tips in there. I really like that drying rack.
Thanks for sharing at Funtastic Friday!
Loving all these tips! I have a very small spaces entryway/mudroom also!
We’ve got a similar closet, laundry room, “mudroom” combo coming in from the garage that I’ve been trying to figure out how to rework, so this gives me a few ideas even though our layout is different! Is your garage heated? I would love to keep our shoes out in the garage but it seems like they would get super cold in the winter! (We’re in Ontario).
Hi Amy! We are in coastal BC so it’s not quite (or maybe, anywhere near) as cold as it may be where you are! But no, our garage isn’t heated, and we haven’t had issues with the shoes feeling too cold. They always seem to warm right up once we put them on – but we only ever get to the low minus’ (though this year we dipped all the way to -10 one week which was record-breaking!). If I had to store my shoes in this current mudroom I’d probably purchase some shoe shelving and store them against the wall – or maybe eliminate the hooks that are in the alcove and put built in shelving floor to ceiling in that space for shoes. Good luck with your organizing projects!
Krista your space looks amazing! I love it. PINNED!!! xoxoxo
Thank you Christine! It feels great to have this space under control!