
How to Give Old Dated Flat Panel Doors a New Lease On Life
I will show you how to update old flat panel doors that will make a huge difference to the look in your home!
There are some things that are a dead giveaway for age.
Like, wrinkles and grey hair and “mom jeans”.
I guess I’m in trouble because I’ve got two outta three.
But, you know what I mean. There are always things in a house that can giveaway it’s age.
Things that you might forget when you are renovating a home. But things that definitely need your love and attention all the same.
It’s the little things. Those tedious home projects. The trim work. The hardware. The flat panel old brown doors.
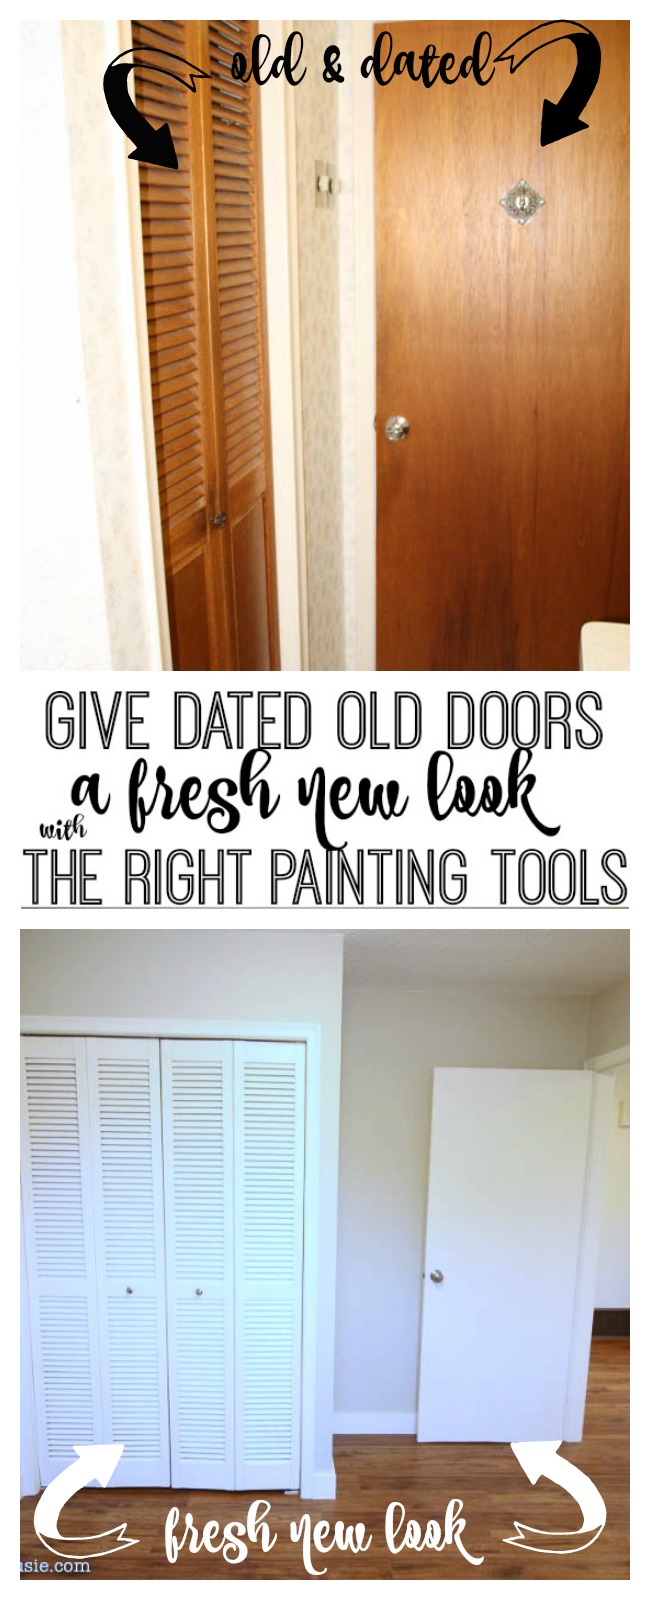
I can’t believe what a difference tackling those old brown ugly flat panel doors made to this complete home makeover. It elevated the space completely and gave it a whole fresh new look. If we had stopped short and not painted out the doors or switched out all the hardware, the space would have still had an old and dated feel. So, truly, it’s worth going the extra mile in this case.
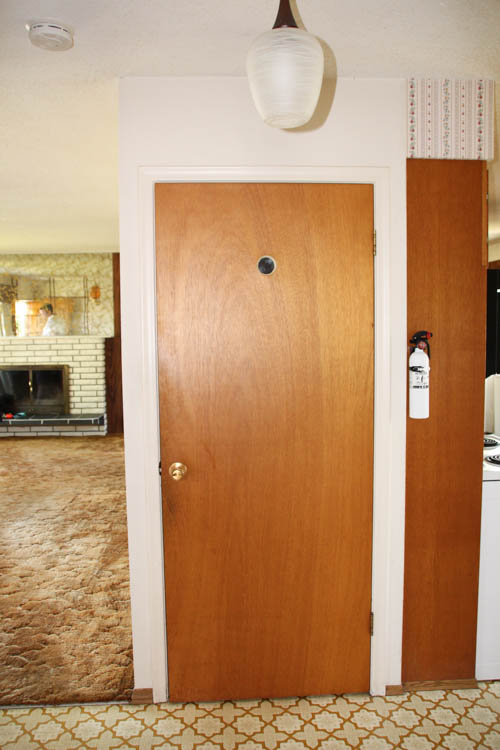
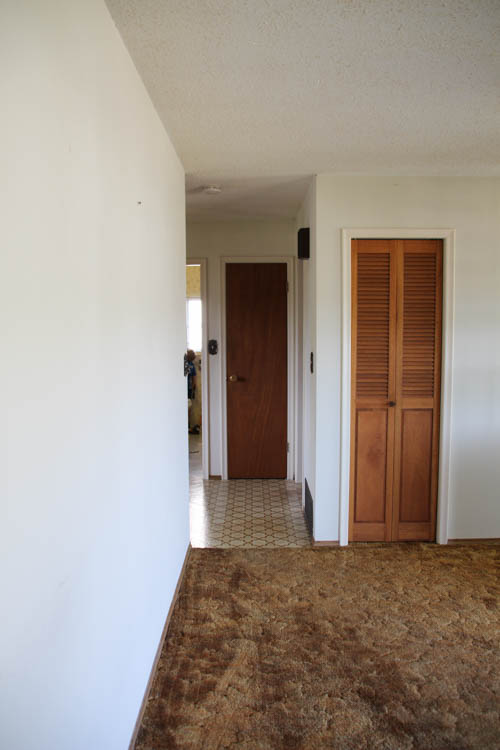
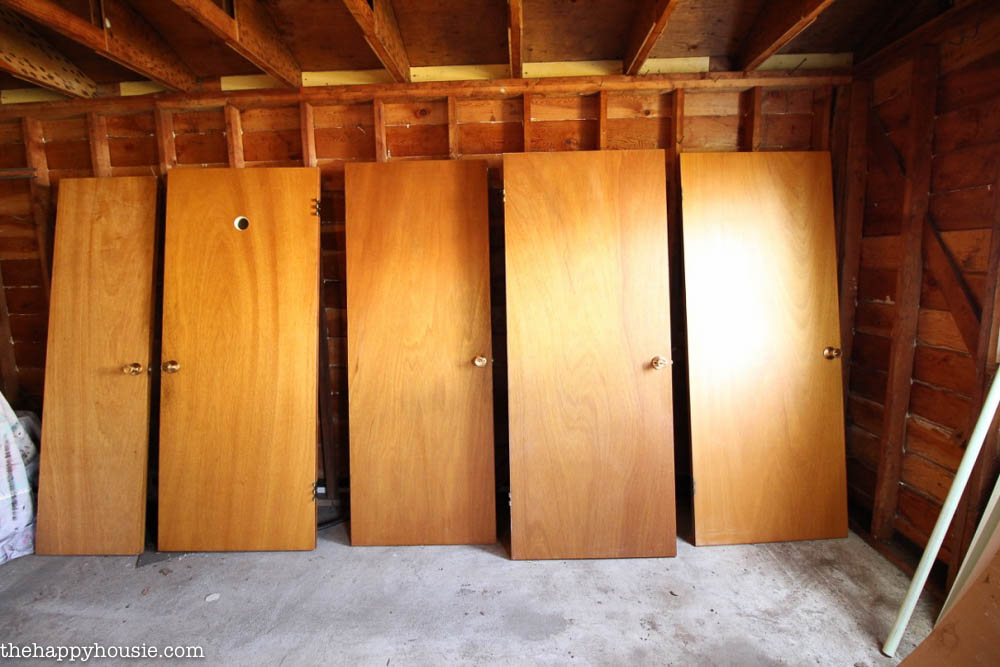
When we started this renovation, all the doors in the house looked like that, and like this….
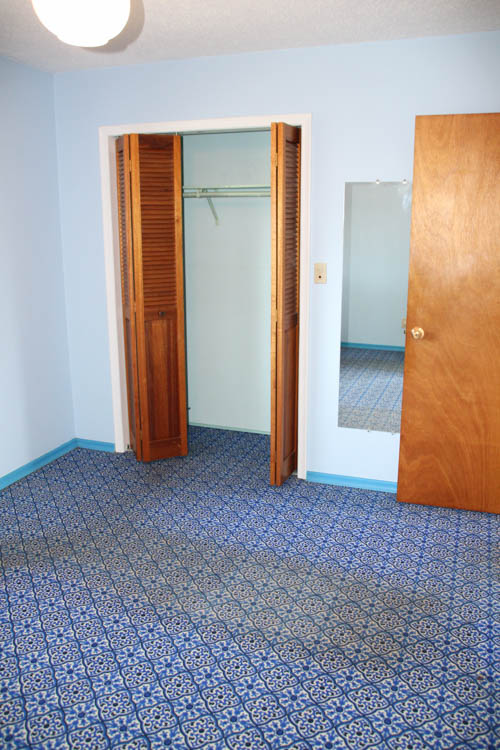
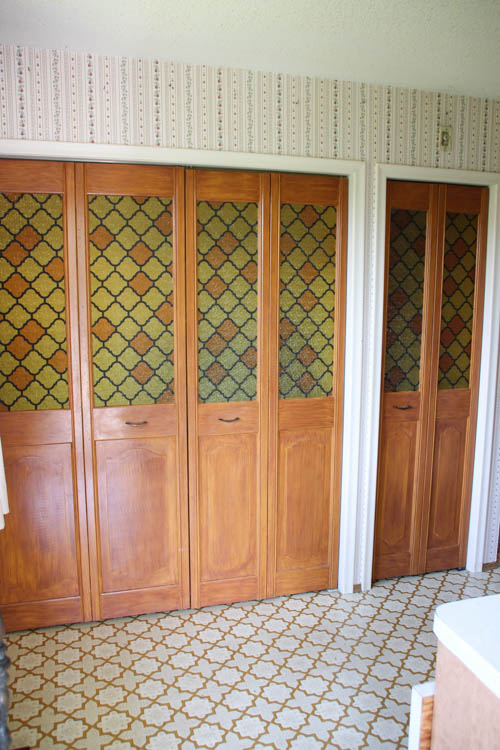
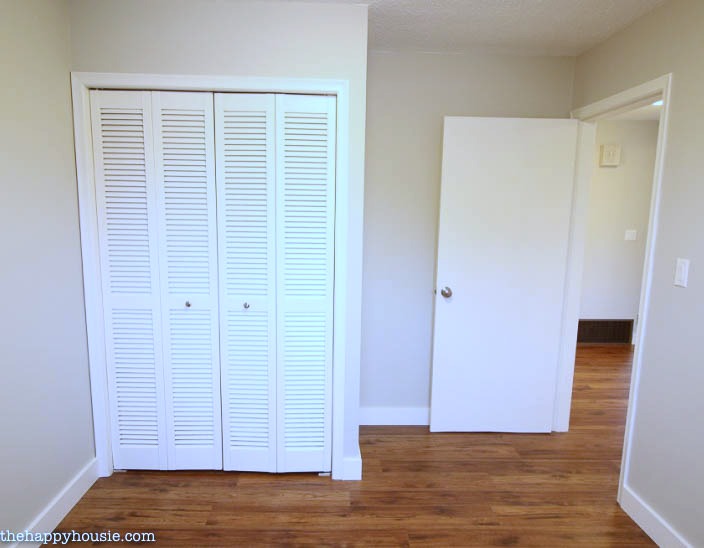
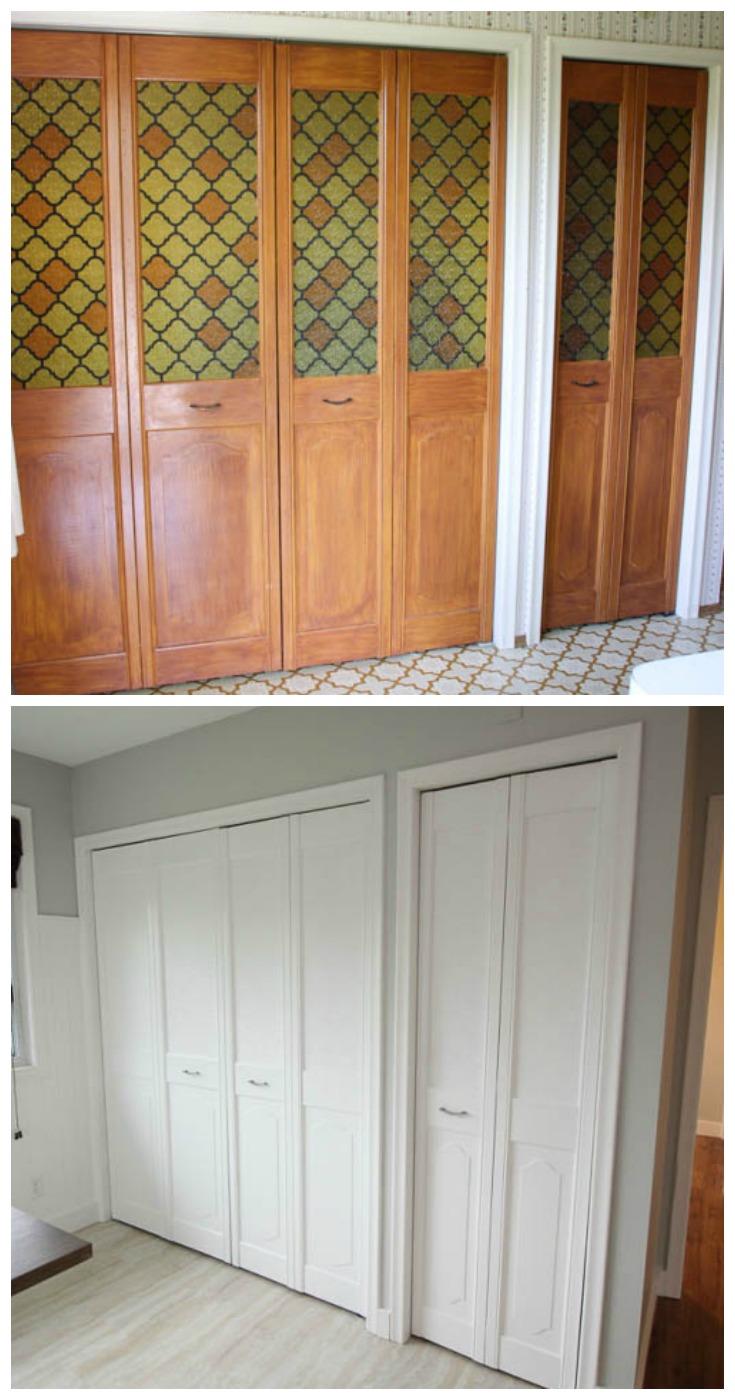
And my personal faves are these outdated closet doors…
So what do you do when faced with a sea of dated-ugly-brown-flat-panel-doors?!? The replacement cost would have been high – in addition to all the time it would have taken to fit new doors in place.
So, of course, we turned to my favourite renovation friend.
PAINT.
And the most important parts of painting?
The prep. And the tools. And we were very particular about both.
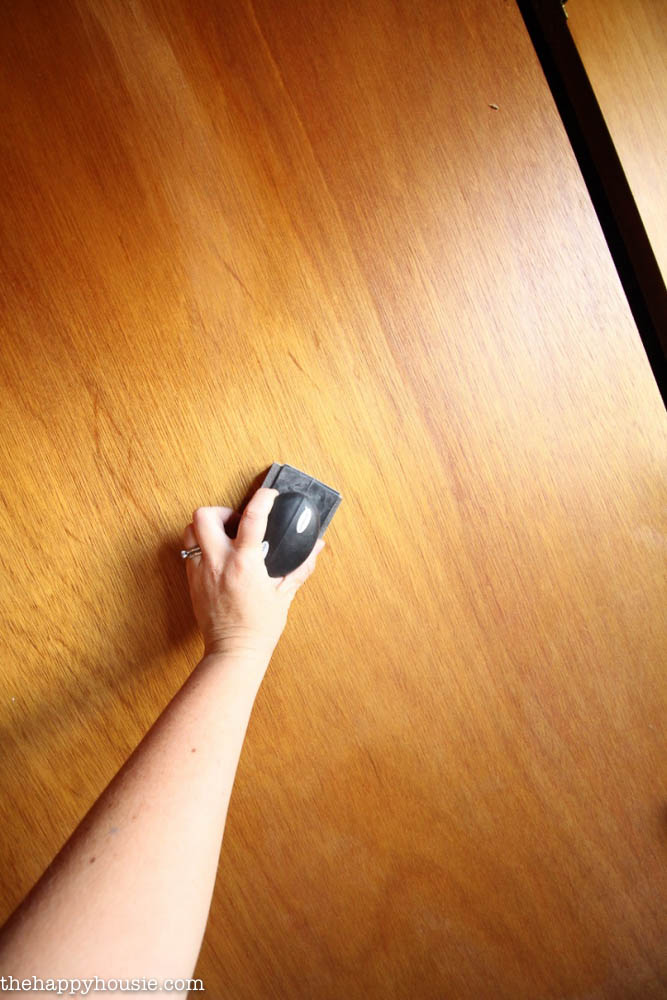
We created a clean work space in the garage and got to work with a light sanding, then cleaned them off with a broom and finally a TACK cloth. You know, those sticky little cheesecloth thingys that you can buy to remove all sources of dust. They are fabulous for projects like this.
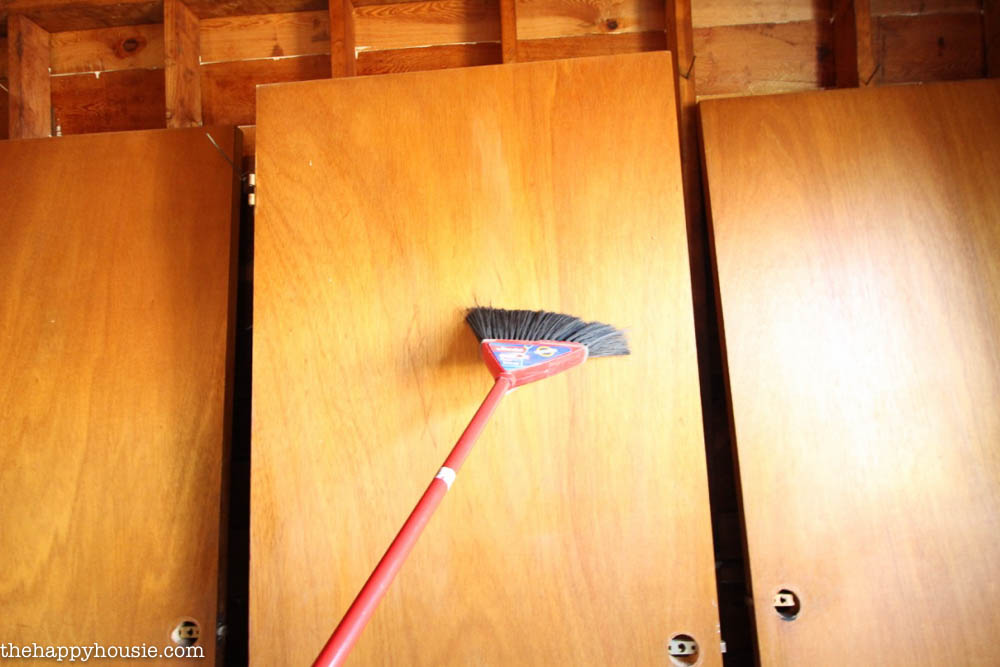
That was critical to making sure we had a perfectly clean finish to apply our paint too.
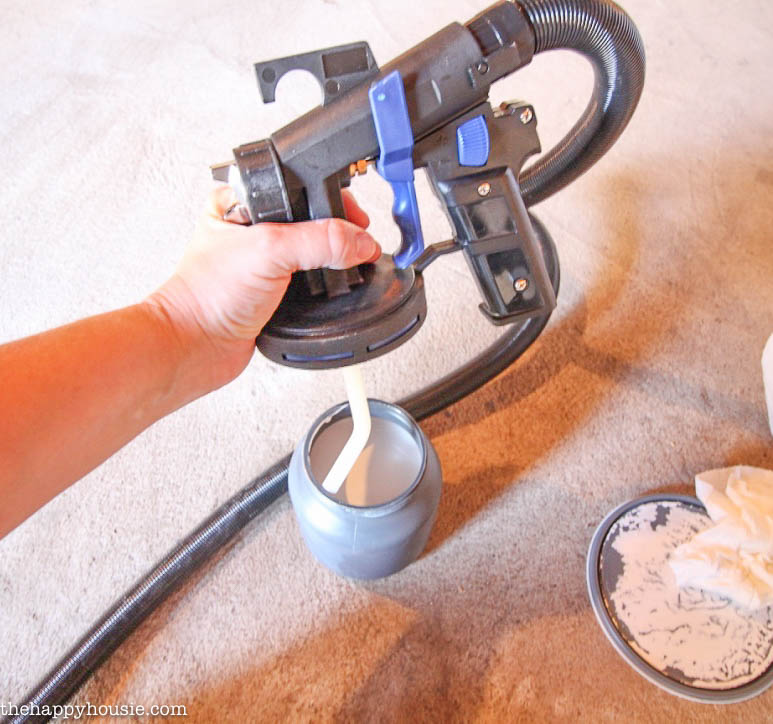
And my tool of choice?
The HomeRight Finish Max Pro sprayer, of course. Maybe you saw what an incredible job and finish it created when we tackled painting the old kitchen cabinets??
Well, I was sold, and I couldn’t wait to use it again to help put this giant-sea-of-doors project behind me in no-time flat.
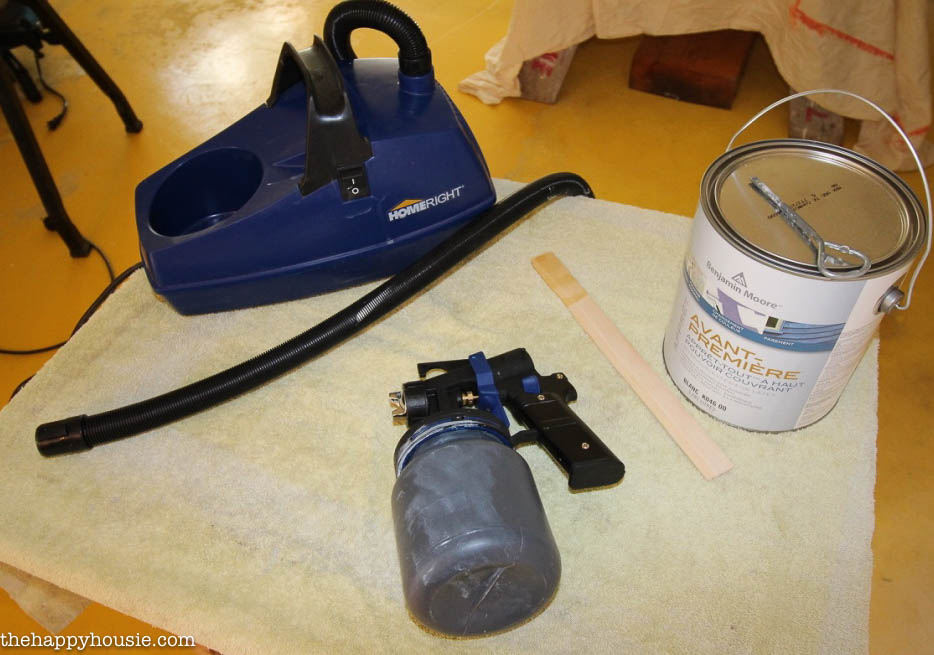
We used a high quality primer (which had to be thinned – HomeRight has great instructions for using their special tool to make sure your paint is the right viscosity). After a coat of primer on each side, I did two coats of Benjamin Moore Simply White in a semi-gloss finish to give them a little more sheen and washability.
The Finish Max Pro is super easy to use – and as long as you clean it properly by following some simple instructions, it should last you through an ocean {not just a sea} of doors and more. I can’t wait to try mine out again really soon on some furniture, this time!
My BEST Tips for using a sprayer on your doors:
- Always practice with your sprayer before you start using it on your project so that you get comfortable with the spray motion and speed first.
- Make sure that your piece-to-be-painted is very clean and that the whole area is free of dust. The air from the sprayer can kick up hidden dust and deposit on your freshly painted doors, which is the last thing you want!
- To get all the edges properly, paint one flat side, both sides, and the top of the door at once then let dry. Flip it upside down to paint the other flat side and the bottom.
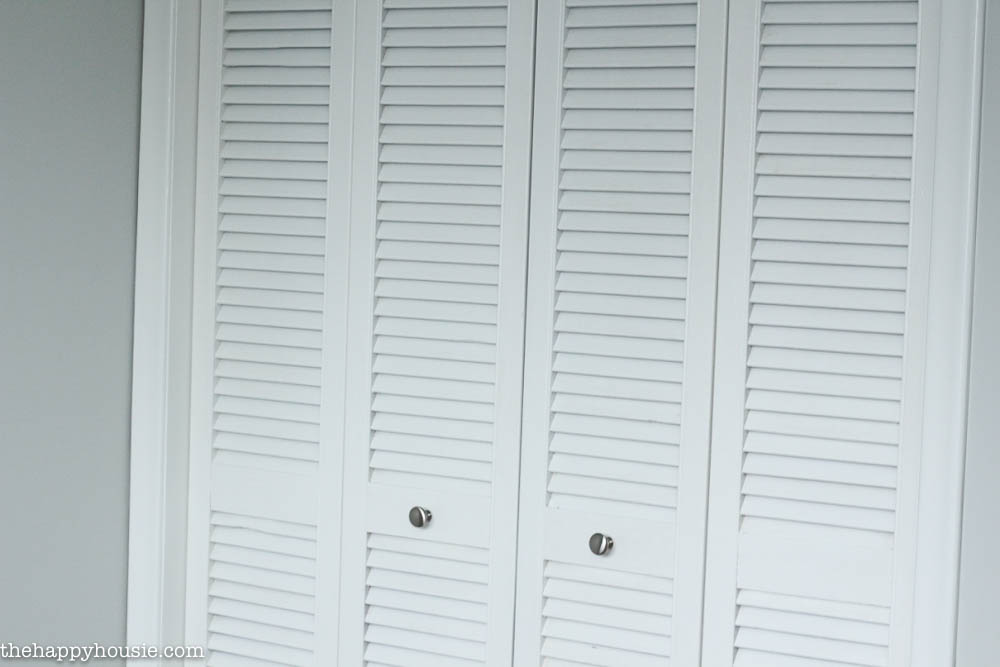
And, after one coat of primer and two coats of Simply White, they give the space a completely different look… And they look so smooth and fresh. No brush strokes!
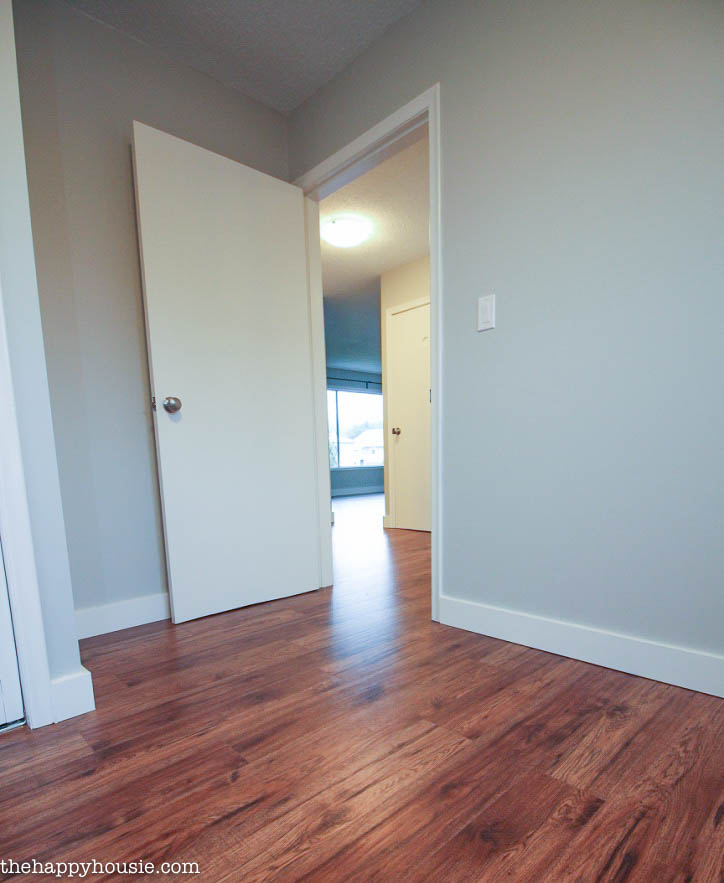
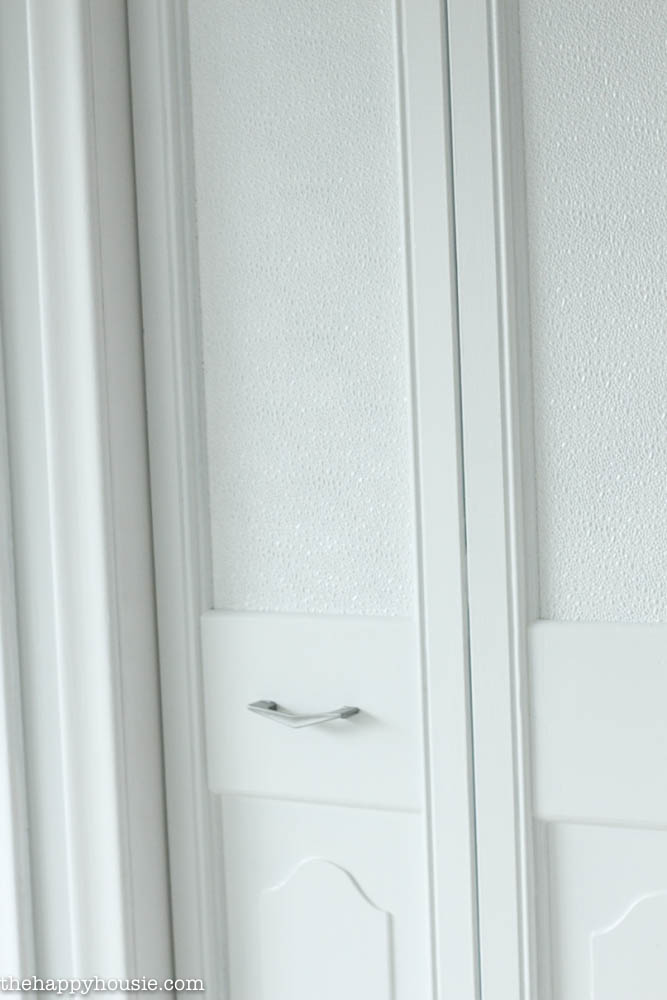
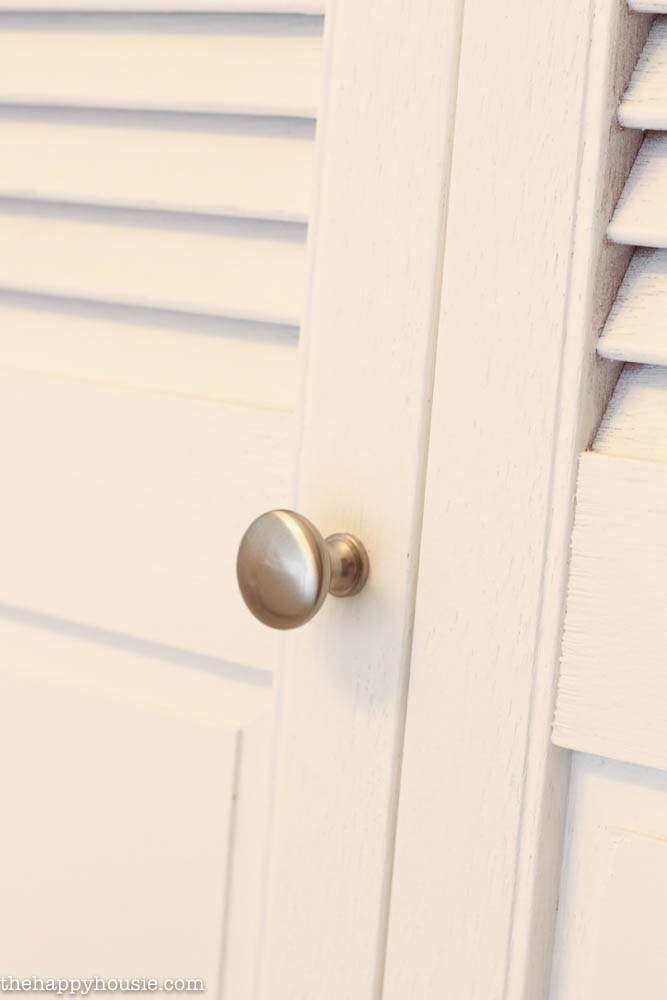
Switching out the hardware also made a big difference.
We decided to go with these beautiful Copper Creek Passage Door Knobs in a Colonial Style throughout the whole house, all from D Lawless Hardware. Not only are they really pretty, but they are a crazy-good value!
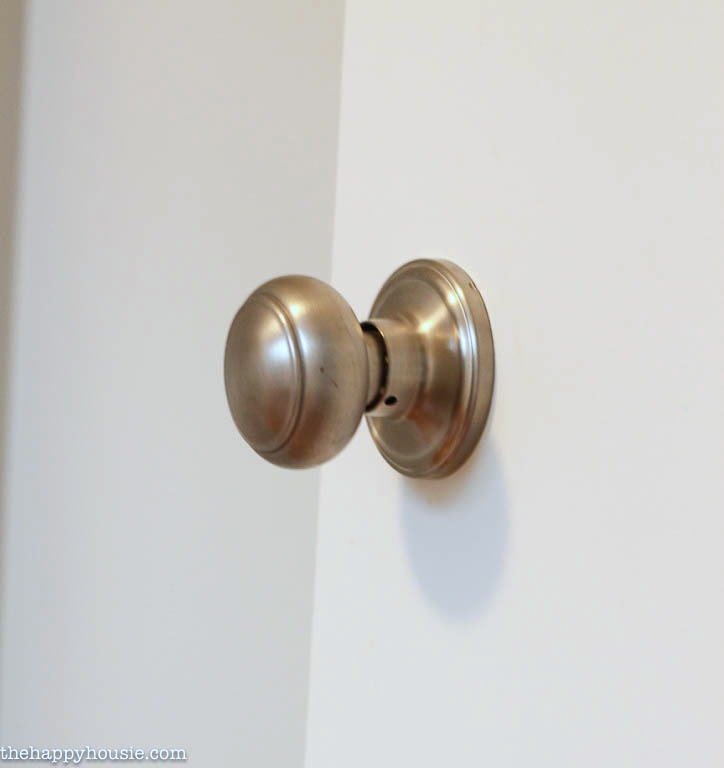
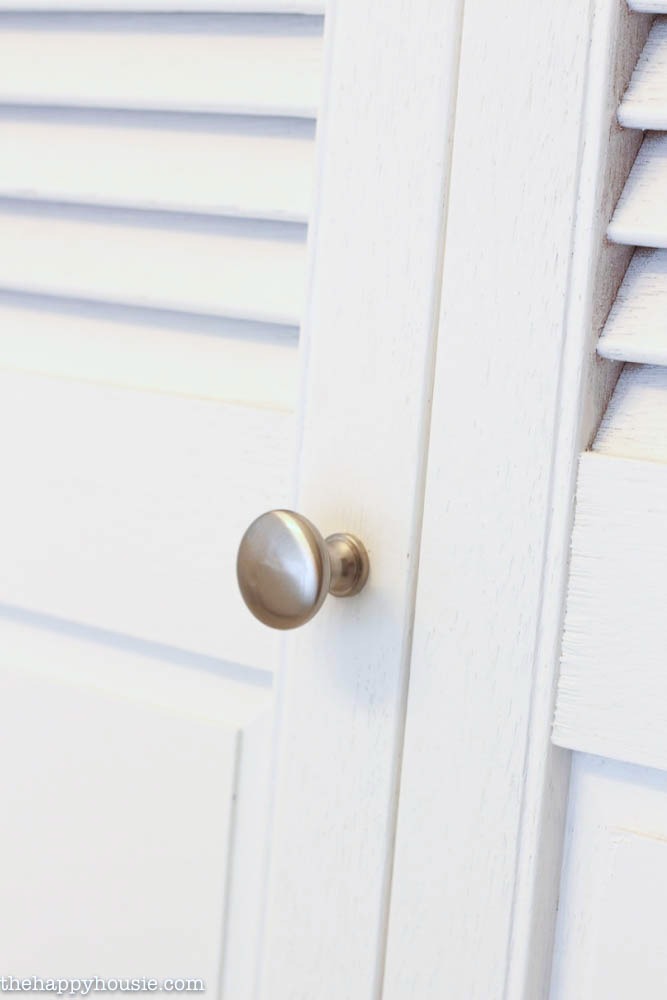
For the closet doors we used these simple 1 1/4″ Satin Nickel Knobs, also from D Lawless. Classic and pretty – and a great value, once again!
With those original-glass-paneled-funky-crazy-laundry-closet doors we just stuck with the original hardware and I spray painted it, because the size was really odd and I couldn’t find anything new to match.
The laundry closet area is probably my favourite before and after…
What do you think? Should we have kept them original?
Did you find some inspiration? Then pin it to remember it!

Have you been following along on this renovation series?
Here are the other projects we tackled in this house!
{Click on the image to be taken to the full post}
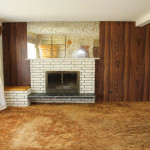
The BEFORE
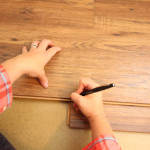
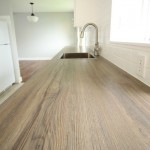
10 Great Tips for a DIY Laminate Installation
How to Install New Countertops on Old Cabinetry
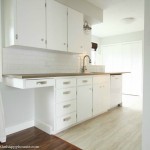
Thrifty White Kitchen Makeover Reveal

How to Achieve a Super Smooth Finish On Old Kitchen Cabinets
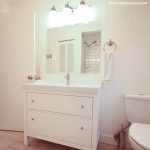
Bathroom Makeover Reveal with Ikea Hemnes Vanity

![]()
![]()
![]()
![]()
![]()
![]()
![]()
Disclosure: Thank you to HomeRight and D Lawless for collaborating with me on this makeover DIY project. All opinions and words are 100% my own.
I may link up at some of these fabulous places below, for more info check out housie parties: Monday Funday , Inspiration Monday, Nifty Thrifty Tuesday, Project Inspire{d} , Inspire Me Tuesday, The Scoop, Hit Me With Your Best Shot, Wow Me Wednesday, Whimsy Wednesday , From Dream to Reality, The Inspiration Exchange, Wow Us Wednesday, Live Laugh Rowe Live Laugh Linky, Thursdays Are Your Days, Inspire Me Please, Catch as Catch Can, Fabulously Creative Friday, Party Junk, Pinworthy Projects , Link Party Palooza,, Weekend Bloggy Reading, Strut Your Stuff Saturday, Spotlight Saturday, Suburbs Mama , That DIY Party

Wow what a difference! I got a paint sprayer for Christmas but haven’t even opened the box yet. You just reminded me about it! You guys really did a fabulous job with your reno from what I’ve seen so far! XO
Thanks Christy! I will be sharing the reveal next week, I think! It did turn out well -quite a change:) I bet you could paint the town with a sprayer!! We used our friend’s super high powered professional one on the basement walls and ceilings – now that was a crazy experience. I felt a calling to change careers to professional painter after using that tool!
Hi Krista –
I just got a HomeRight sprayer and will be transforming all the brown bi-folds in my 1970’s house into white beauties very soon. It is going to make a HUGE difference. Yours turned out fabulous.
Thanks Diane! I can’t wait to see the change at your place!!
You’ve done a great job with your doors! Personally I like louvered /bi-fold doors! And yours are especially nice now that you have painted them! I would have done the same! The hollow core doors look much better as well. The addition of molding to hollow core doors can sometime mimic the look of panels but molding can get expensive and care has to be taken so that the obvious isn’t…”oh look…. hollow core doors with molding!”
Hi Sarah! I totally agree that adding some moulding can make a huge difference! I thought about doing that (as well about adding moulding in the kitchen), but we were on such a tight timeline with this renovation project that we left that out. I agree – that you have to be careful with that process!! Thanks for you kind words:)