
Ikea Tarva Dresser Hack: Nautical Style Dresser with Dock Cleat Handles
You know how even though a room might be “finished”, it is never really finished?
How, after you live in a space for a while, you realize that there are some ways to make it more functional.
Like, when I first finished our boys’ bedroom and shared the reveal, the space seemed perfect.
But then the dressers became a situation.
Dressers are supposed to be used for storage, right? Well, the vintage dresser I’d painted up with a flag for my youngest son was not opening and closing very smoothly.
Which meant that he couldn’t operate it properly himself and his clothes were constantly just piling up on the floor underneath the dresser and the drawers were always hanging half open. Sometimes vintage is great – sometimes, not so great.
So, in came some new matching dressers that we picked up at Ikea. Functional, inexpensive, and the perfect size for their room.
But…. kinda boring.
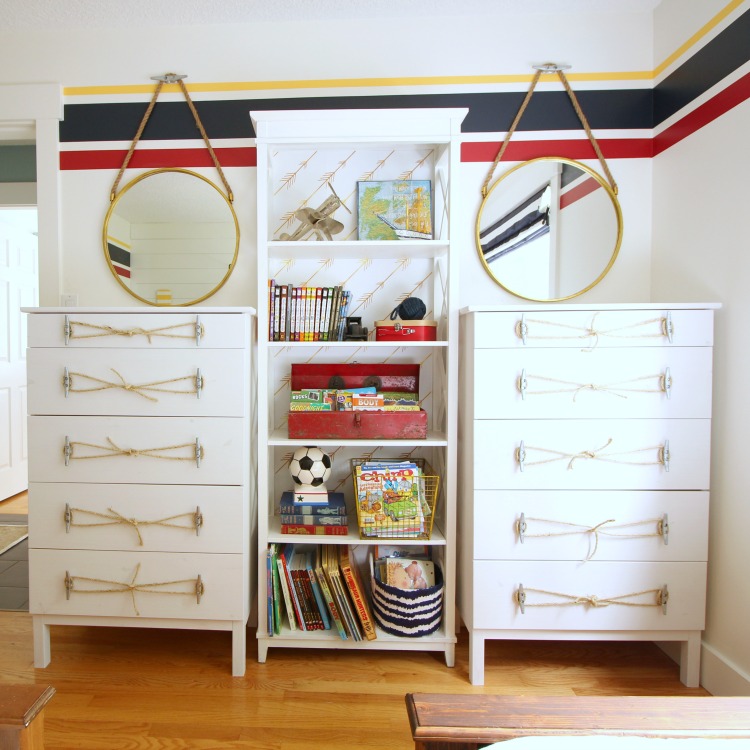
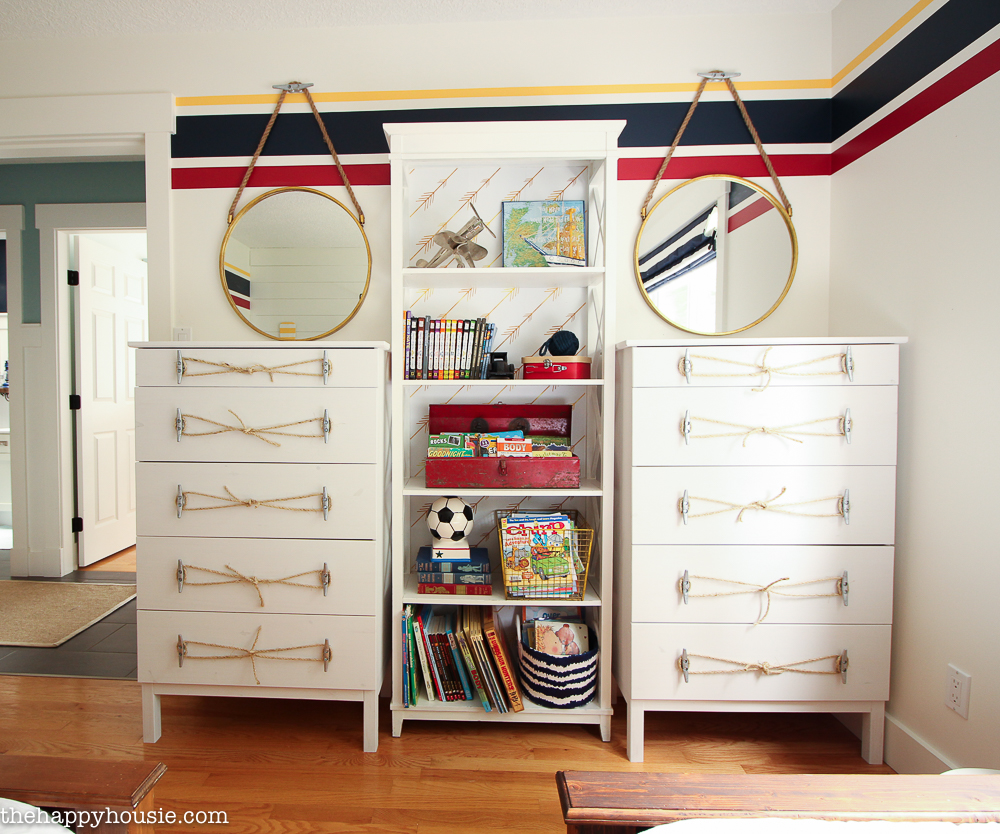
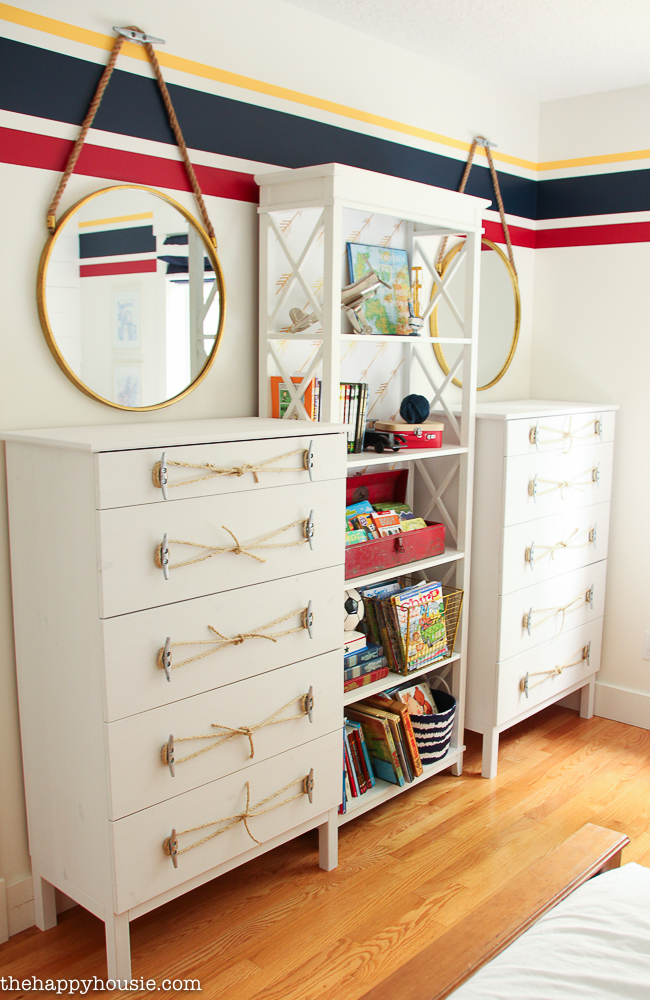
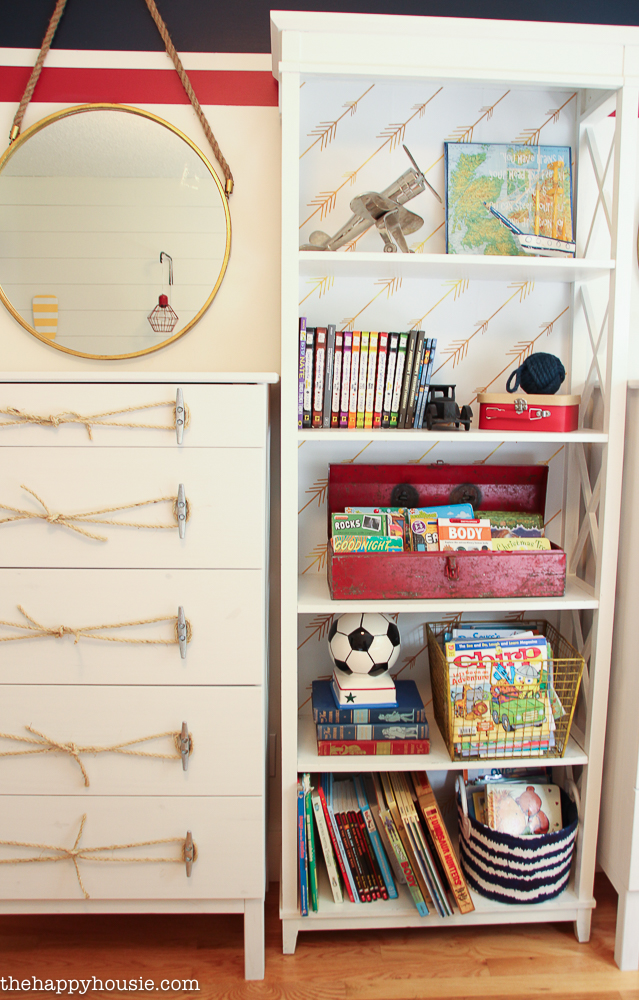
So in keeping with the campy-beach style of their bedroom, we came up with this Ikea Tarva dresser hack in a nautical style with dock cleat and rope handles.
It was also the perfect way to add a little bit of calm and symmetry to this busy part of their room
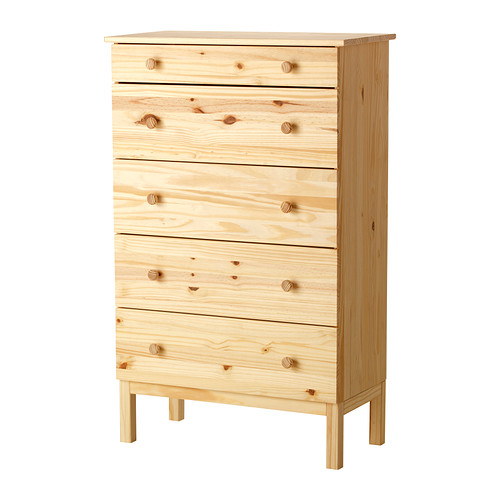
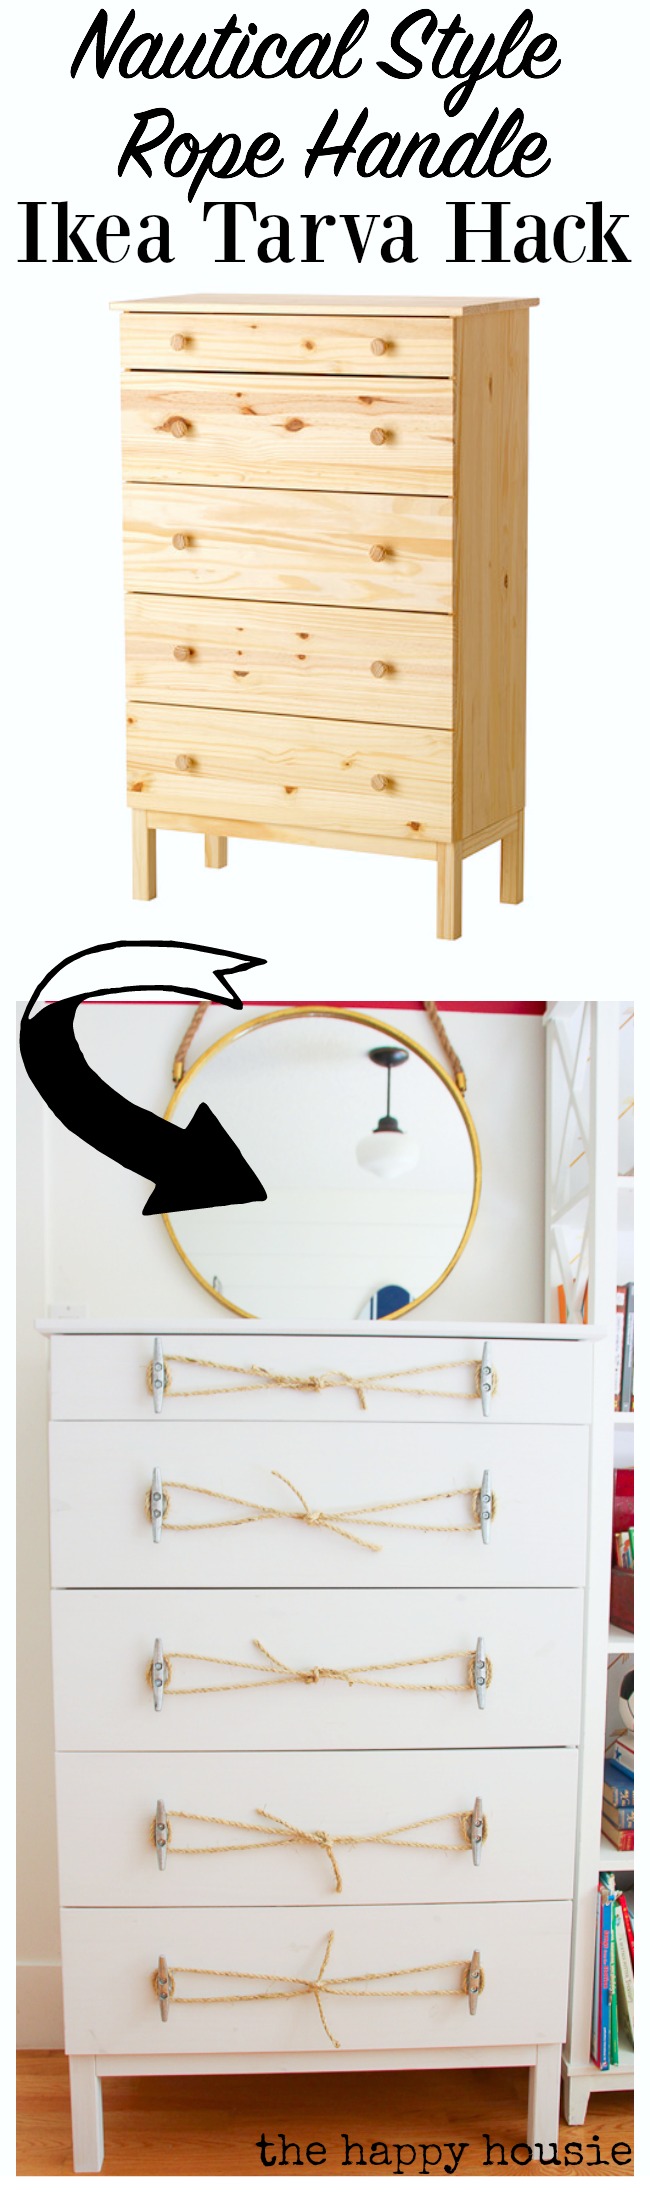
We started out with two of these basic Tarva dressers from Ikea…
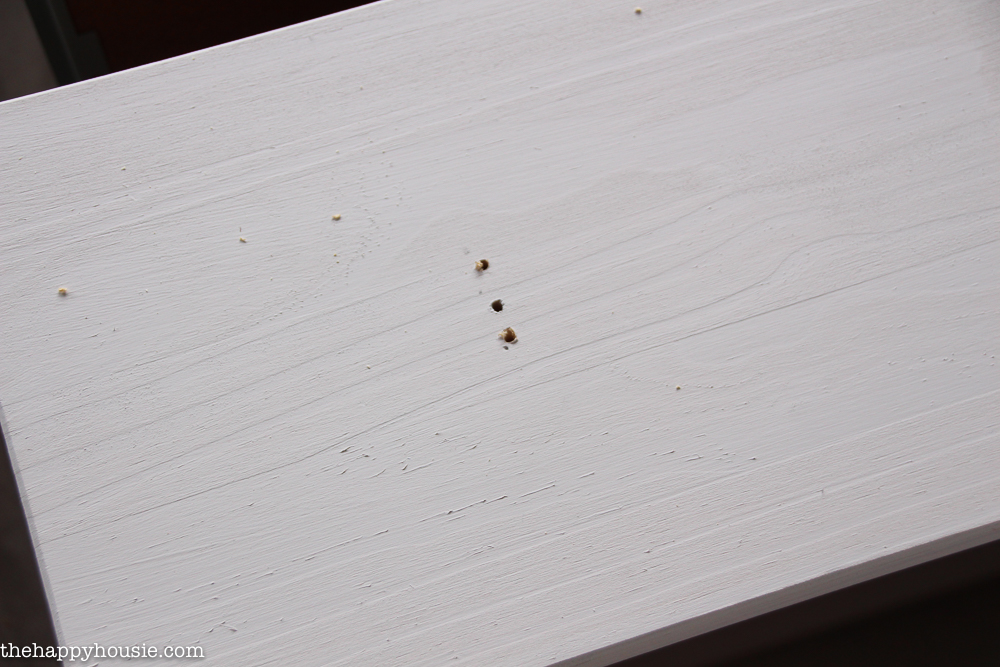
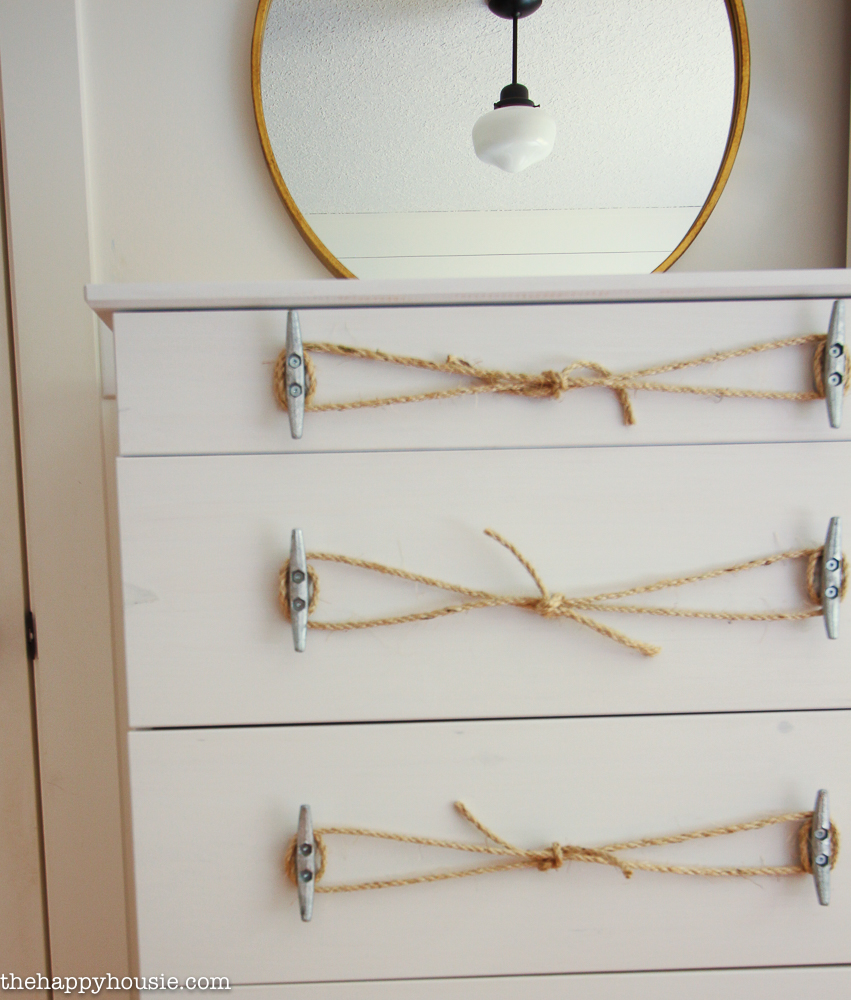
First I gave them one coat of white chalk paint. I could have done more and given it a more solid finish but I liked the rustic feel of one coat – almost like they had been stained.
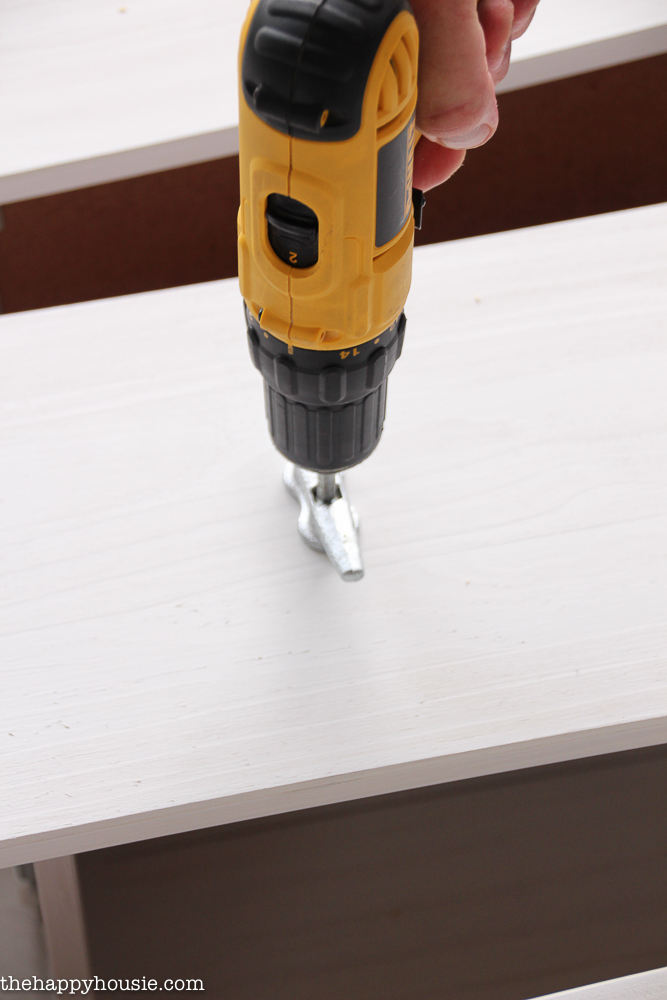
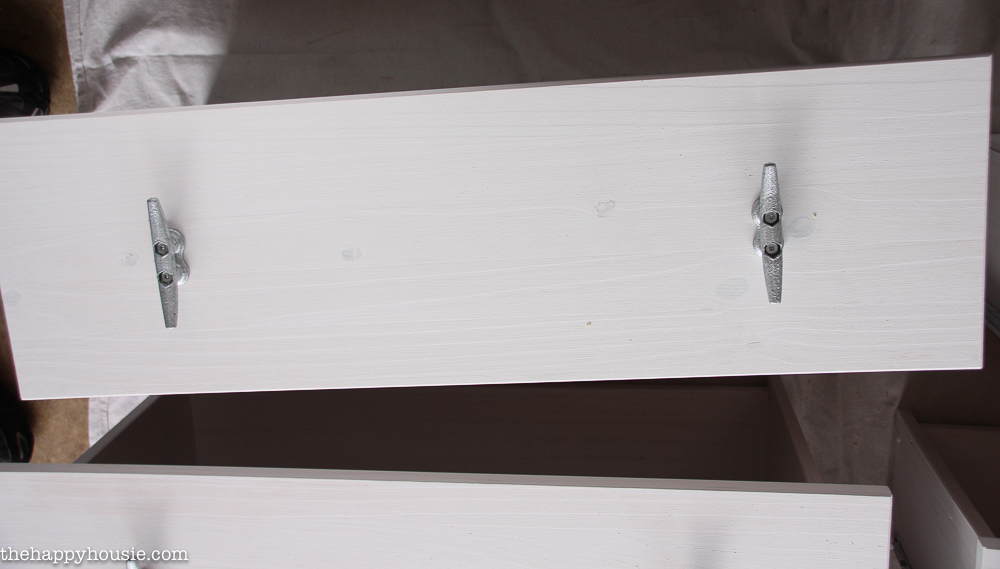
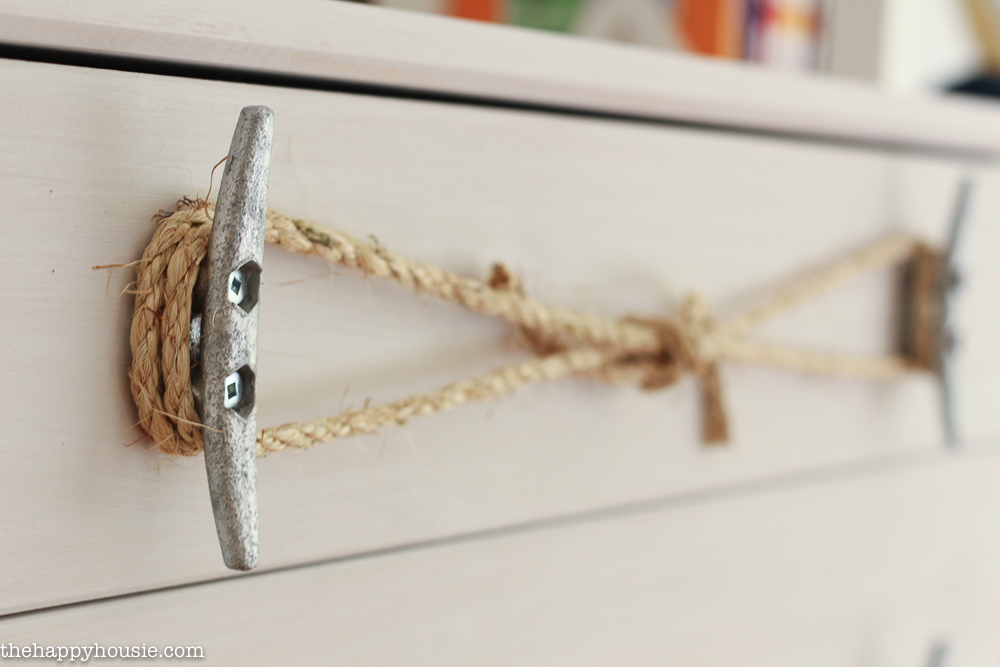
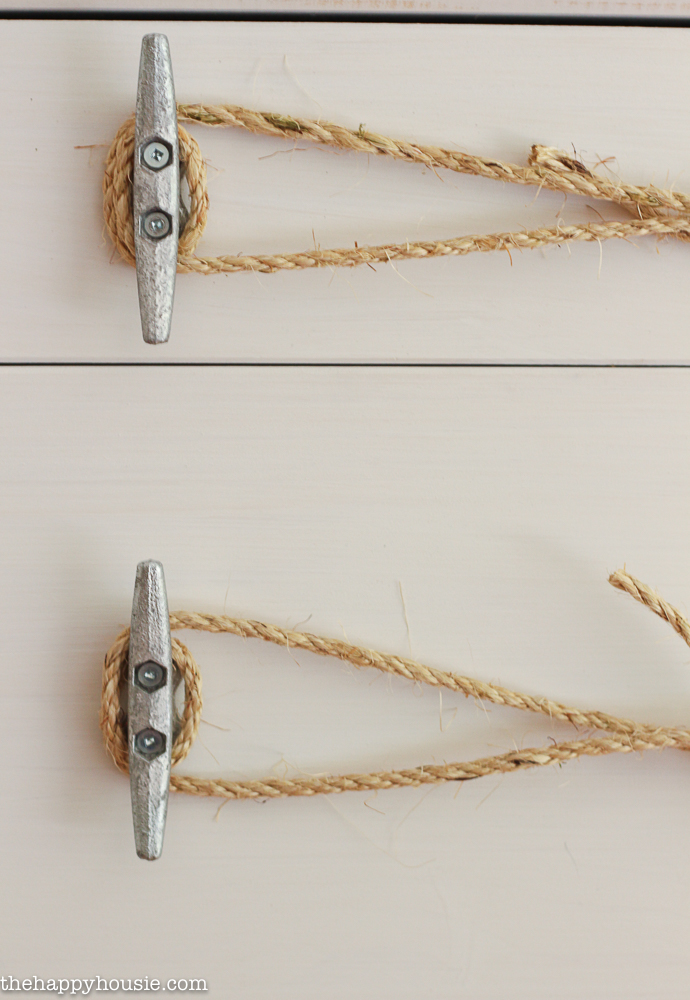
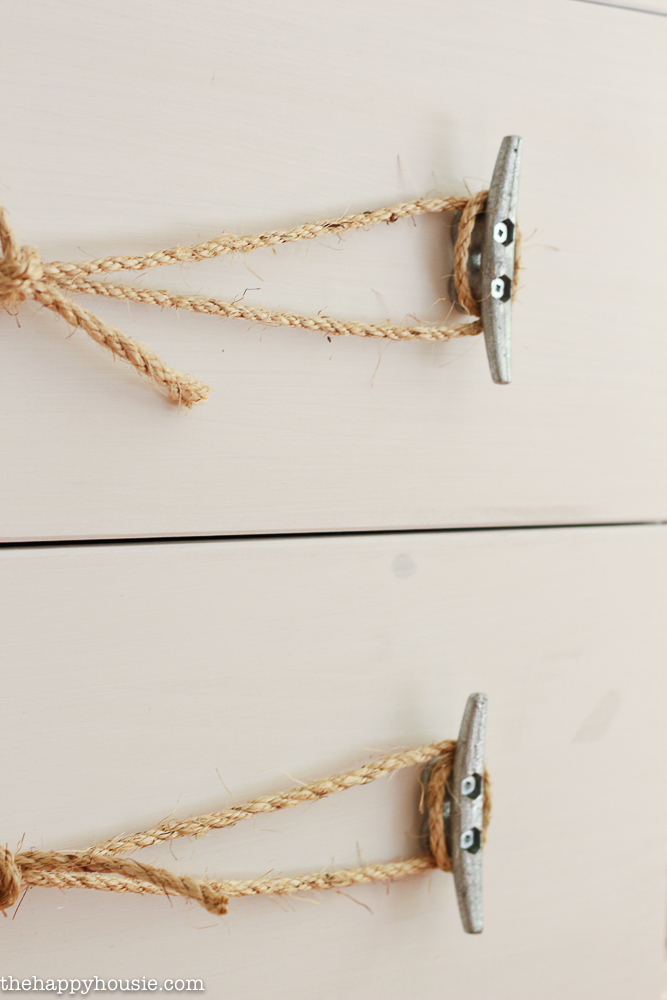
I ordered these 4″ dock cleats – two per drawer.
We measured and predrilled the holes using our Dewalt Cordless drill to install them through (the middle drill hole is the one that was already on the dressers when we got them from Ikea.
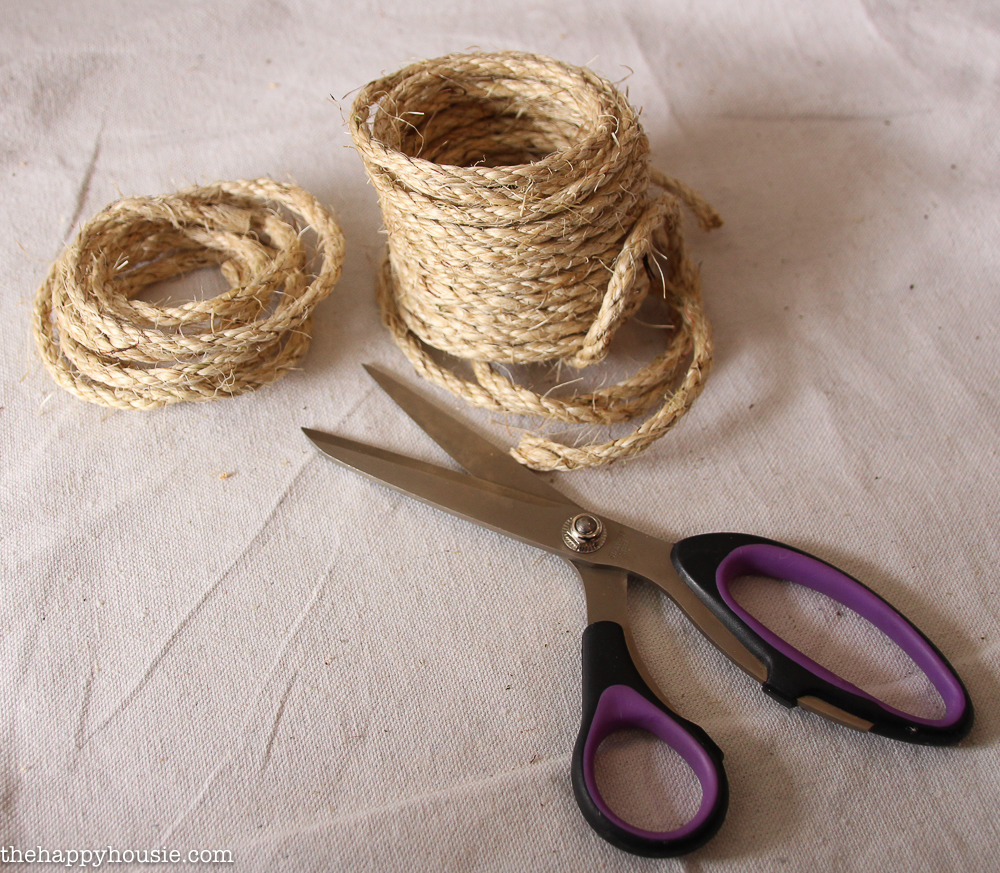
I picked up this jute rope at the Home Depot as well though I have also purchased similar Jute or Sisal rope from Amazon and Walmart in the past. It took just about exactly one roll of it to make the handles for these two dressers.
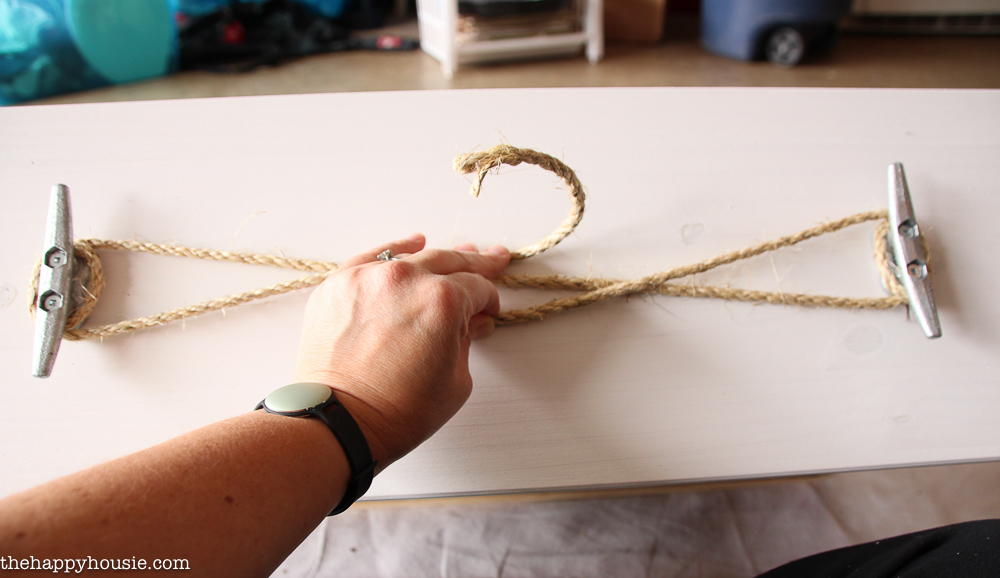
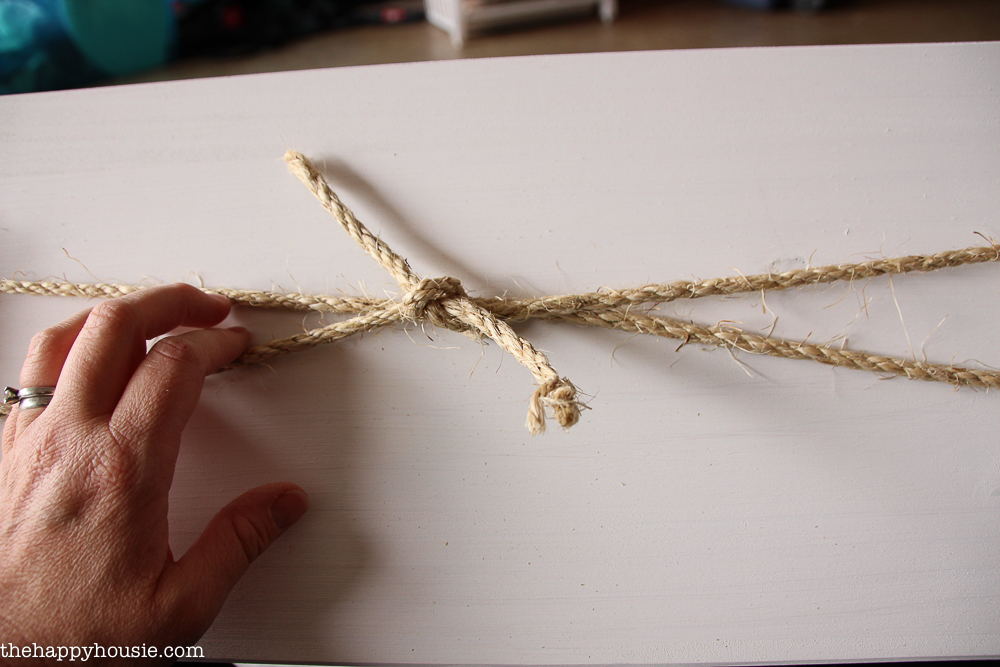
I played around with the way I wanted to tie the rope before cutting it all to the correct length… I ended up wrapping it around the dock cleats once and then overlapping it and tying it all together with one knot in the center.
Done! I think it gives these very basic dressers a completely different look. The round porthole mirrors hanging on rope and dock cleats above ties it all together and gives this wall a calm and organized feel.
Plus, the dressers actually work properly and my boys can put their clothes away with no problem! No more piles on the floor…. most of the time.
Find a little inspiration for a dresser hack?

Products Used:
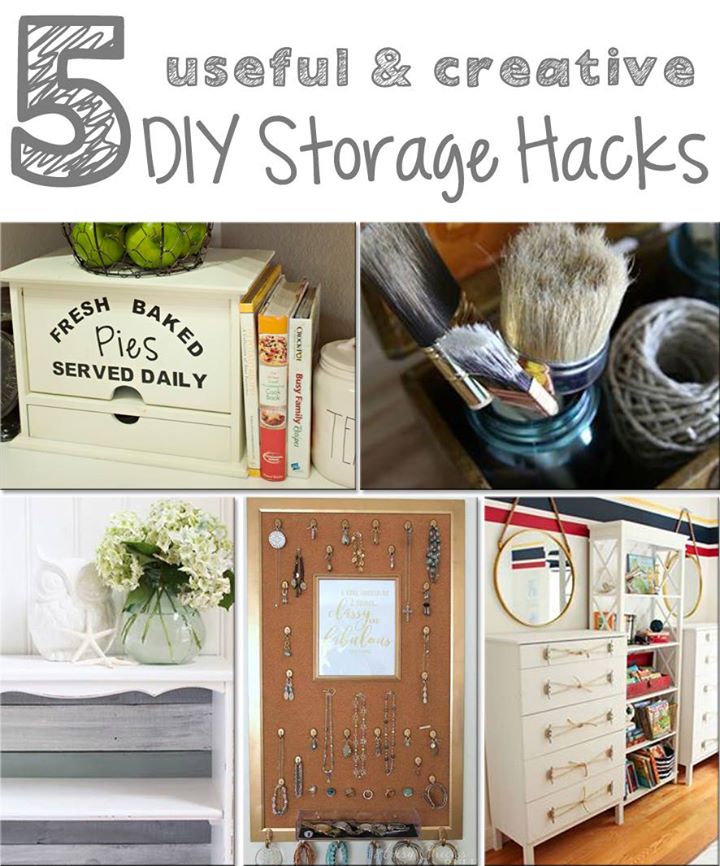
This Sunday is our monthly DIY Challenge Party, so my cohosts and I are all sharing DIY Storage Projects today!
Here is what they came up with for this challenge…
Electronic Dock Charging Station for the Kitchen at The Hankful House
Vintage Container Craft Storage at House by Hoff
Bookcase Makeover at Confessions of a Serial DIYer
DIY Jewelry Organizer at Artsy Chicks Rule
Ikea Tarva Hack Nautical Dressers at The Happy Housie (You are HERE!)
So come back this Sunday and share your own DIY Storage Idea with us!!


![]()
![]()
![]()
![]()
![]()
![]()
![]()
Disclosure: This post may contain affiliate links which won’t change your price but will share some commission. Cheers!


Oh my gosh Krista, those dressers are amazing!!! I really love the dock cleat handles, that’s so clever. I just wanted to let you know that this project was my pick for Rockstar of the week over at the Creativity Unleashed party, so thanks for sharing over there! Voting is now open for MEGA Rockstar of the week, so feel free to stop by and vote, and I really hope you win! http://www.practicallyfunctional.com/creativity-unleashed-no-146-glidden-diamond-paint-giveaway/
These look great! Love the handles you created. Thank you for sharing at Merry Monday!
This is amazeballs! I love how you can added cleats and rope to change the entire look of the dresser. Pinned!
What a creative and colorful room. Your dressers are pretty awesome, as well!
These look amazing, Krista!! I totally get it about liking the vintage feel of something vs function. The cleats and rope were such a creative and cool choice! XO
Thank you Christy – I’m still pretty thrilled with how they turned out (even though my six year old does like to practice tying and untying them:)