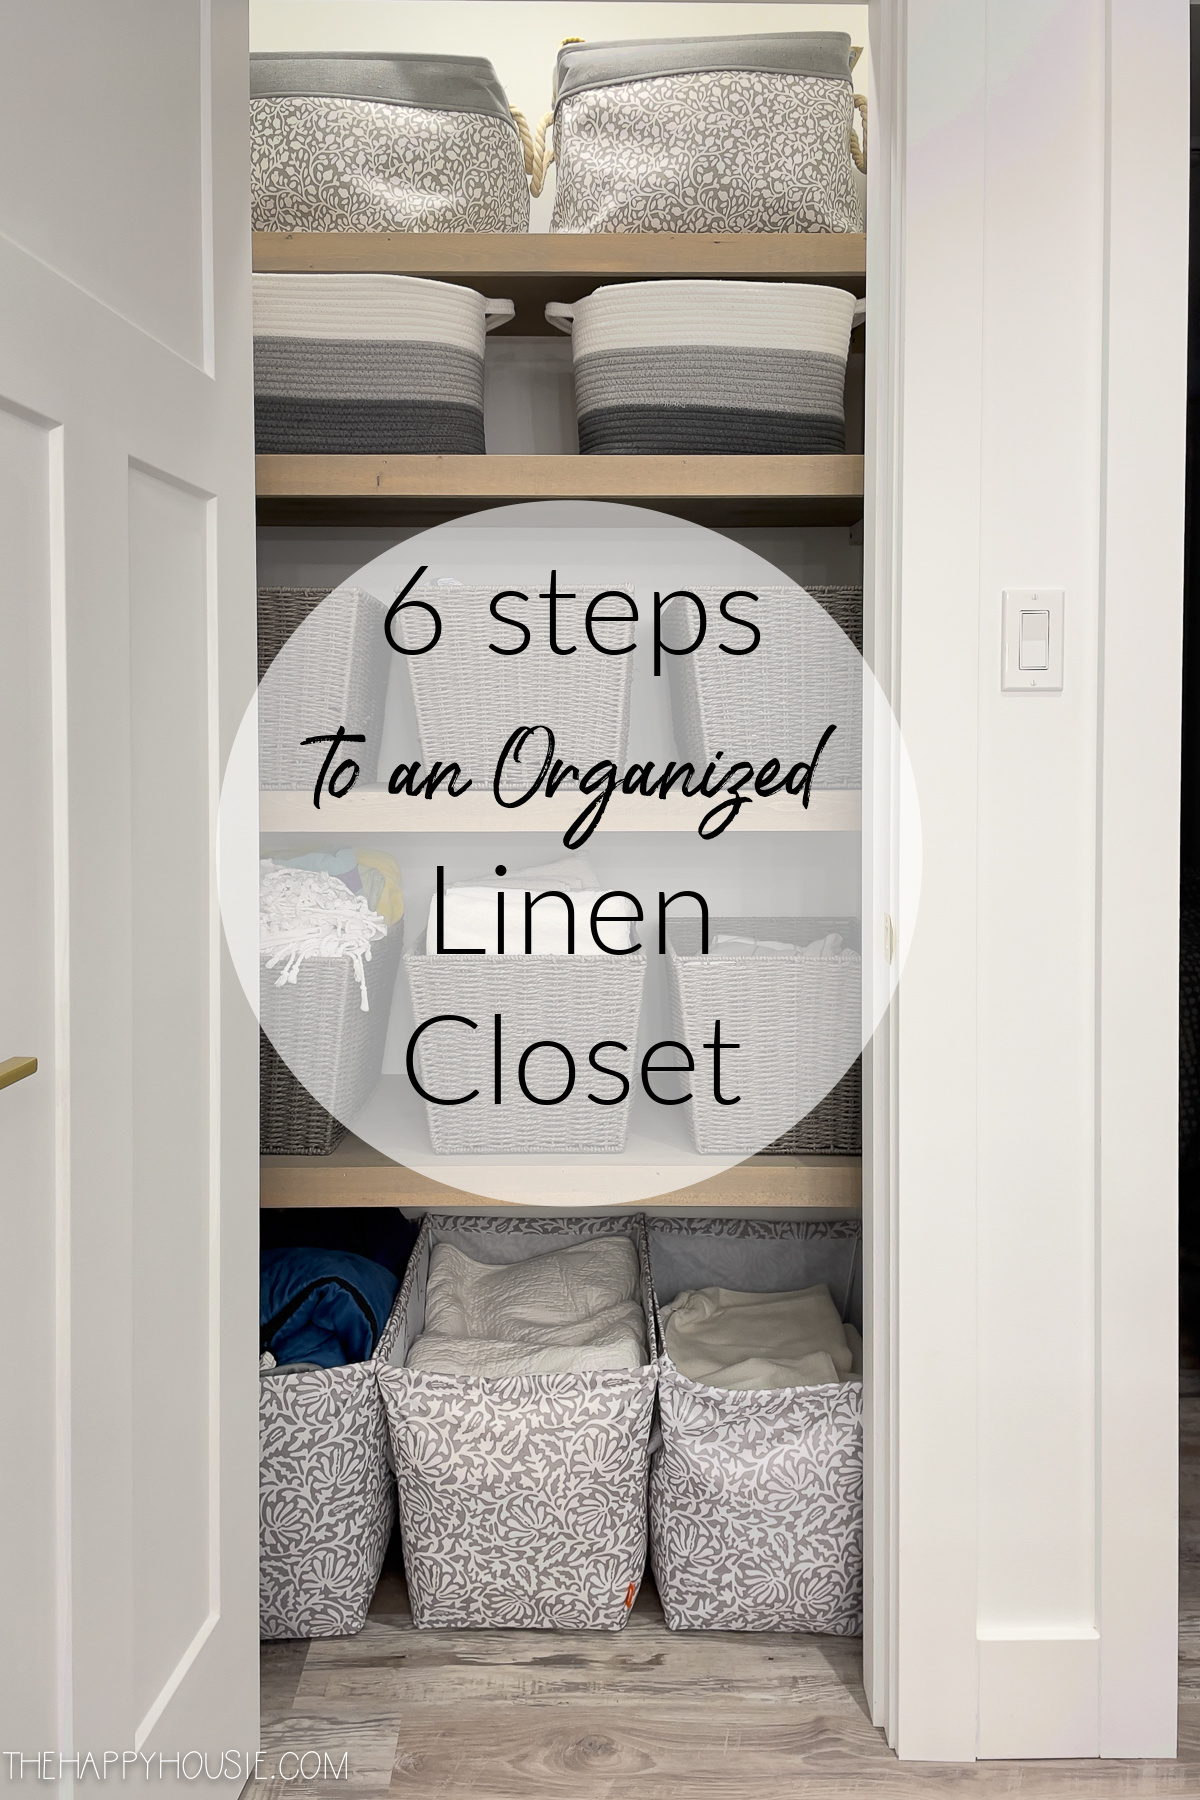
Linen Closet Organization
How to organize your linen closet to make it a functional and pretty space in a few simple steps with tips for linen closet organization.
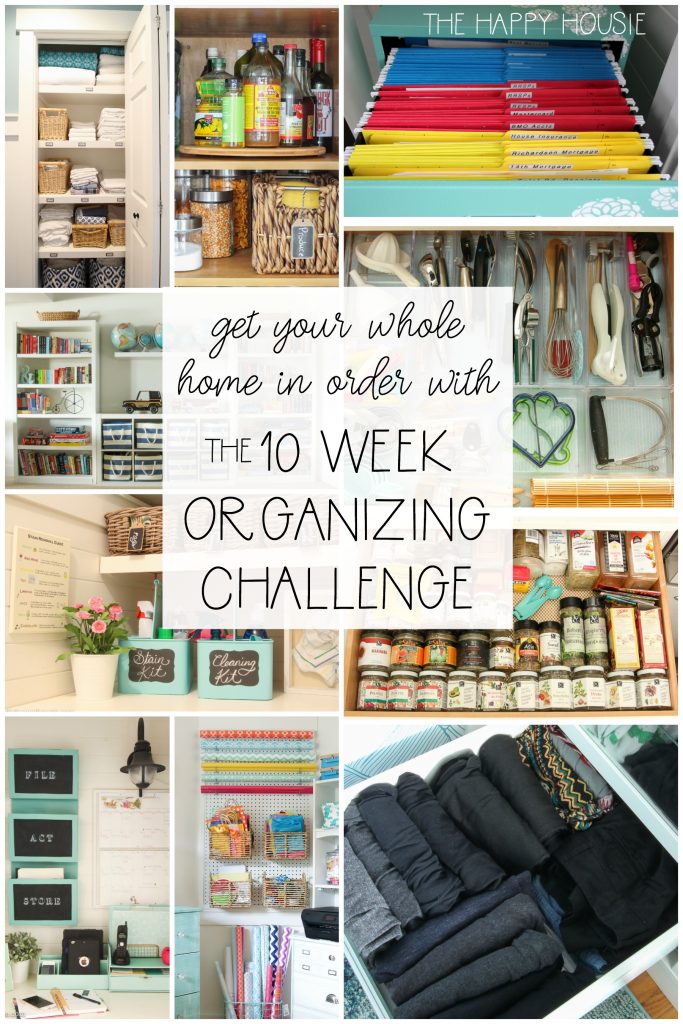
It’s Week Five! We are halfway through the 10 Week Organizing Challenge!
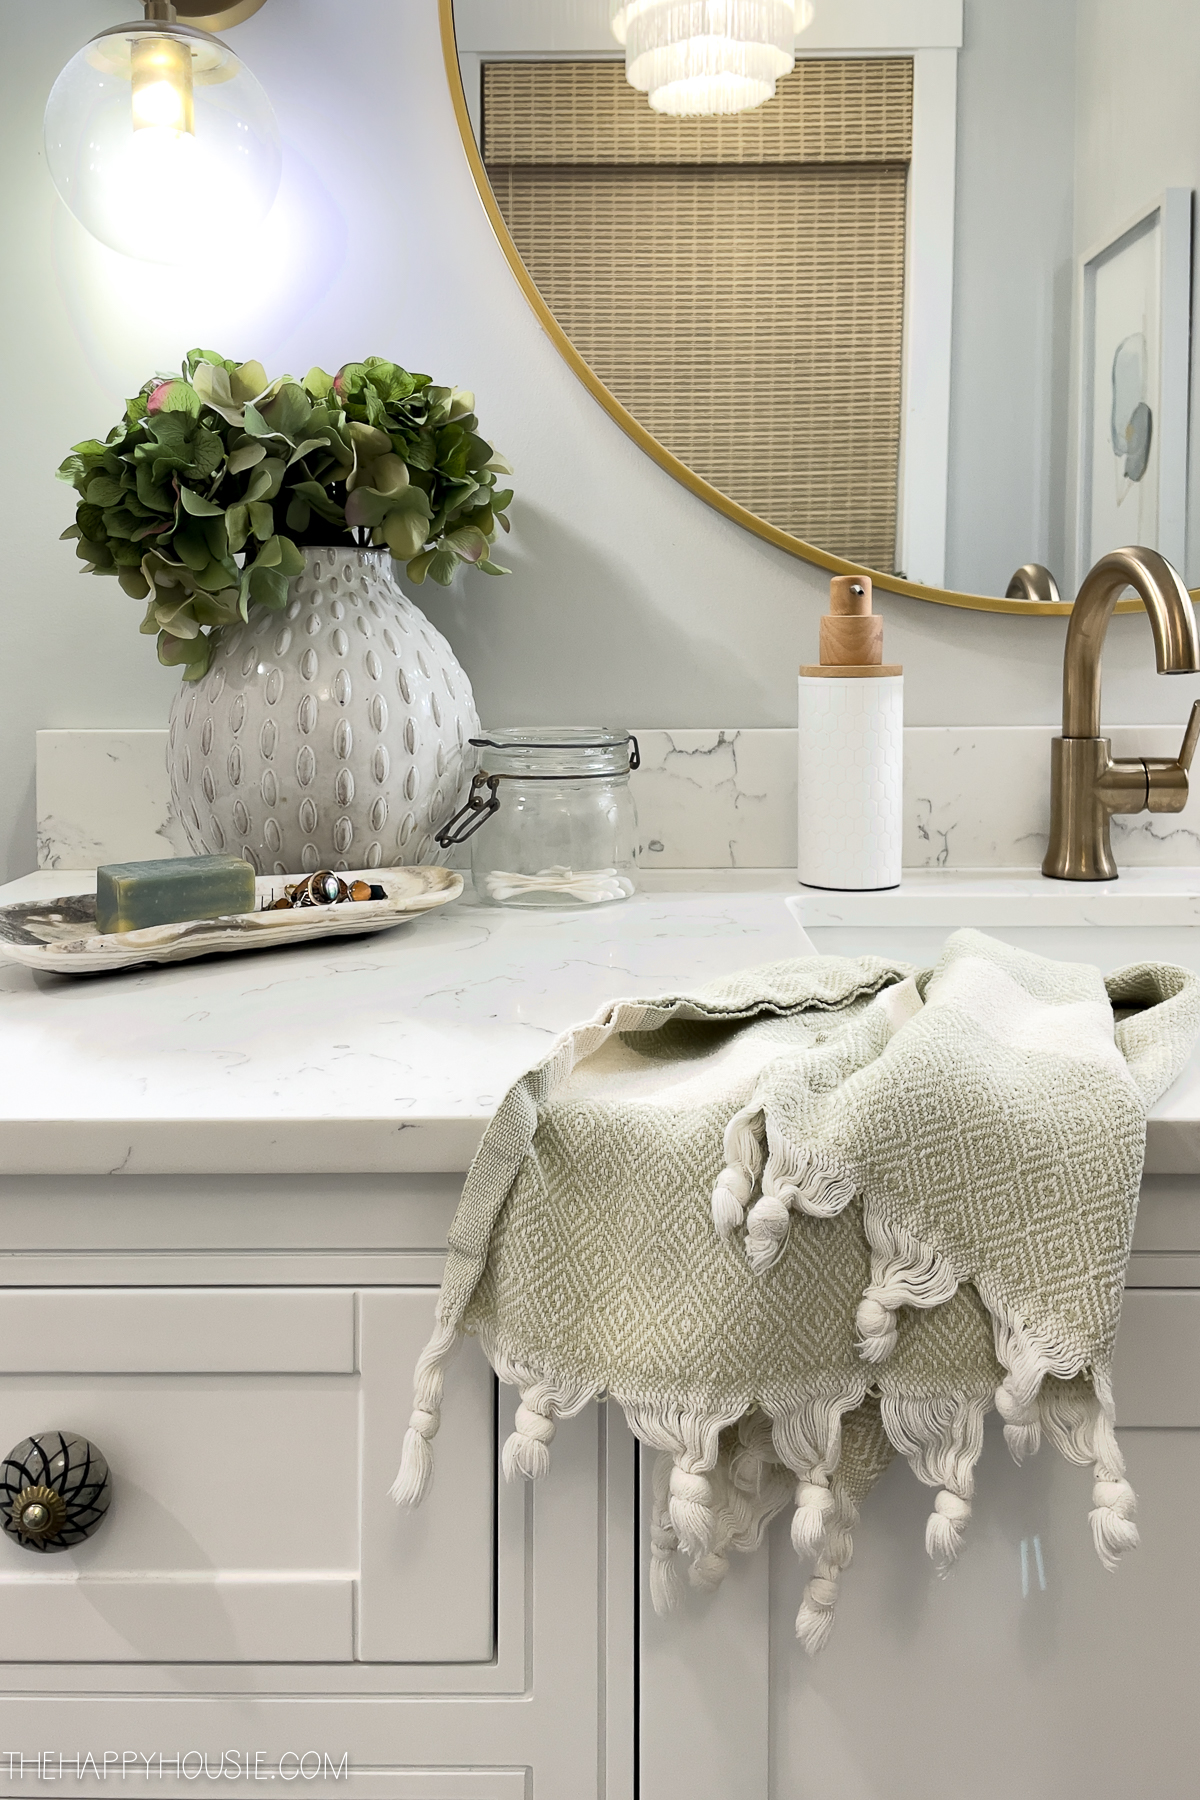
Hopefully some parts of your home are feeling really good to be in, use, and function in again after dealing with clutter and setting up organizational systems. I am really enjoying our organized kitchen and laundry/mudroom, as well as using our family command center regularly. It was also a real treat to open my bathroom drawers all week and know exactly where everything was.
I know some people find organizing a boring task or think it’s a waste of time, but having the spaces in our home purged, organized, tidied up, and functional again really brings me a lot of joy and adds peace to my busy days. When everything has a home in your home, it all just works so much better and it’s easier to keep things tidy and organized.
This week I tackled our linen closet…
Even though it is a small space, it can still take a few hours to get it into shape. We often have more than we need lurking in a closet that might be so stuffed that it starts to fall out on you as soon as you open the closet door! It can also create stress when we have closets and cupboards that look disorganized and overflowing; I find a lot of peace in seeing things neatly corralled in their own designated spaces. Call me a nerd, but it is what it is.
Last round of the challenge, I wrote this article with my Simple Tips to Organize and Refresh Your Linen Closet. And back when I originally tackled the organizing challenge in 2017, I shared this article about How to Completely Organize Your Linen Closet.
I also shared this article featuring 20 Beautifully Organized Linen Closets for ideas and inspiration.
Organizing the linen closet:
Let’s get started!
Here is how the linen closet was looking when I started out this week…
Not tooooooo bad. A bit messy, and definitely had some items that we no longer used or needed. Here are the steps I followed in order to whip this little area of our home into shape.
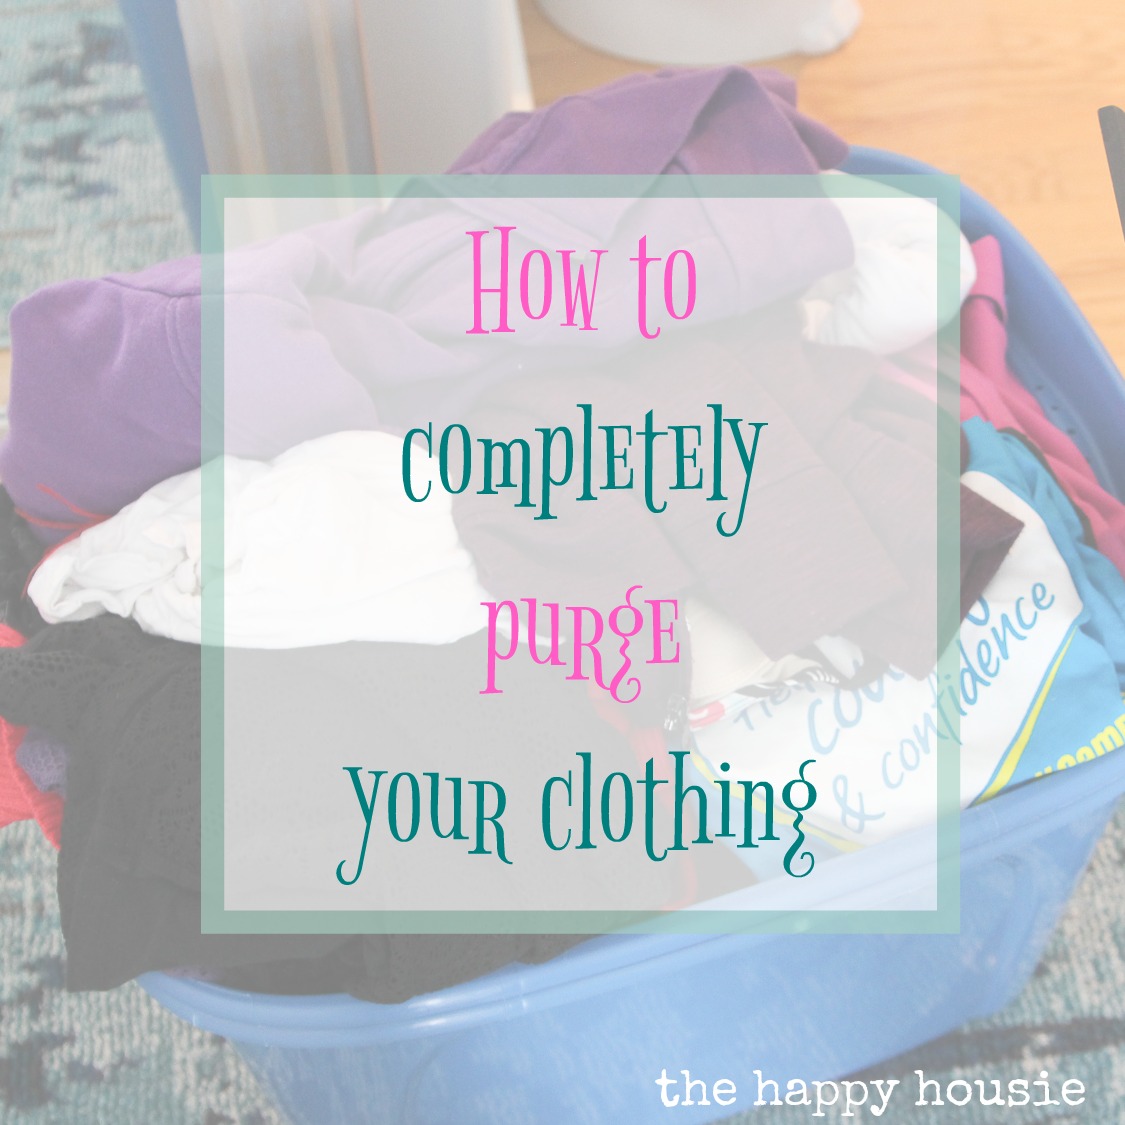
Step One: Take it all out and purge what you don’t need or use
What do you need and use? Are there things that are really worn or stained and you aren’t using them?
I had a rag rug and some cute throws from our Forest house that I have never used in this house so I decided to part ways with them and list them on FB marketplace. We also had several towels that were old, worn, or stained and I put them in our old towel drawer in the laundry room since we will use them more like cleaning rags at this point.
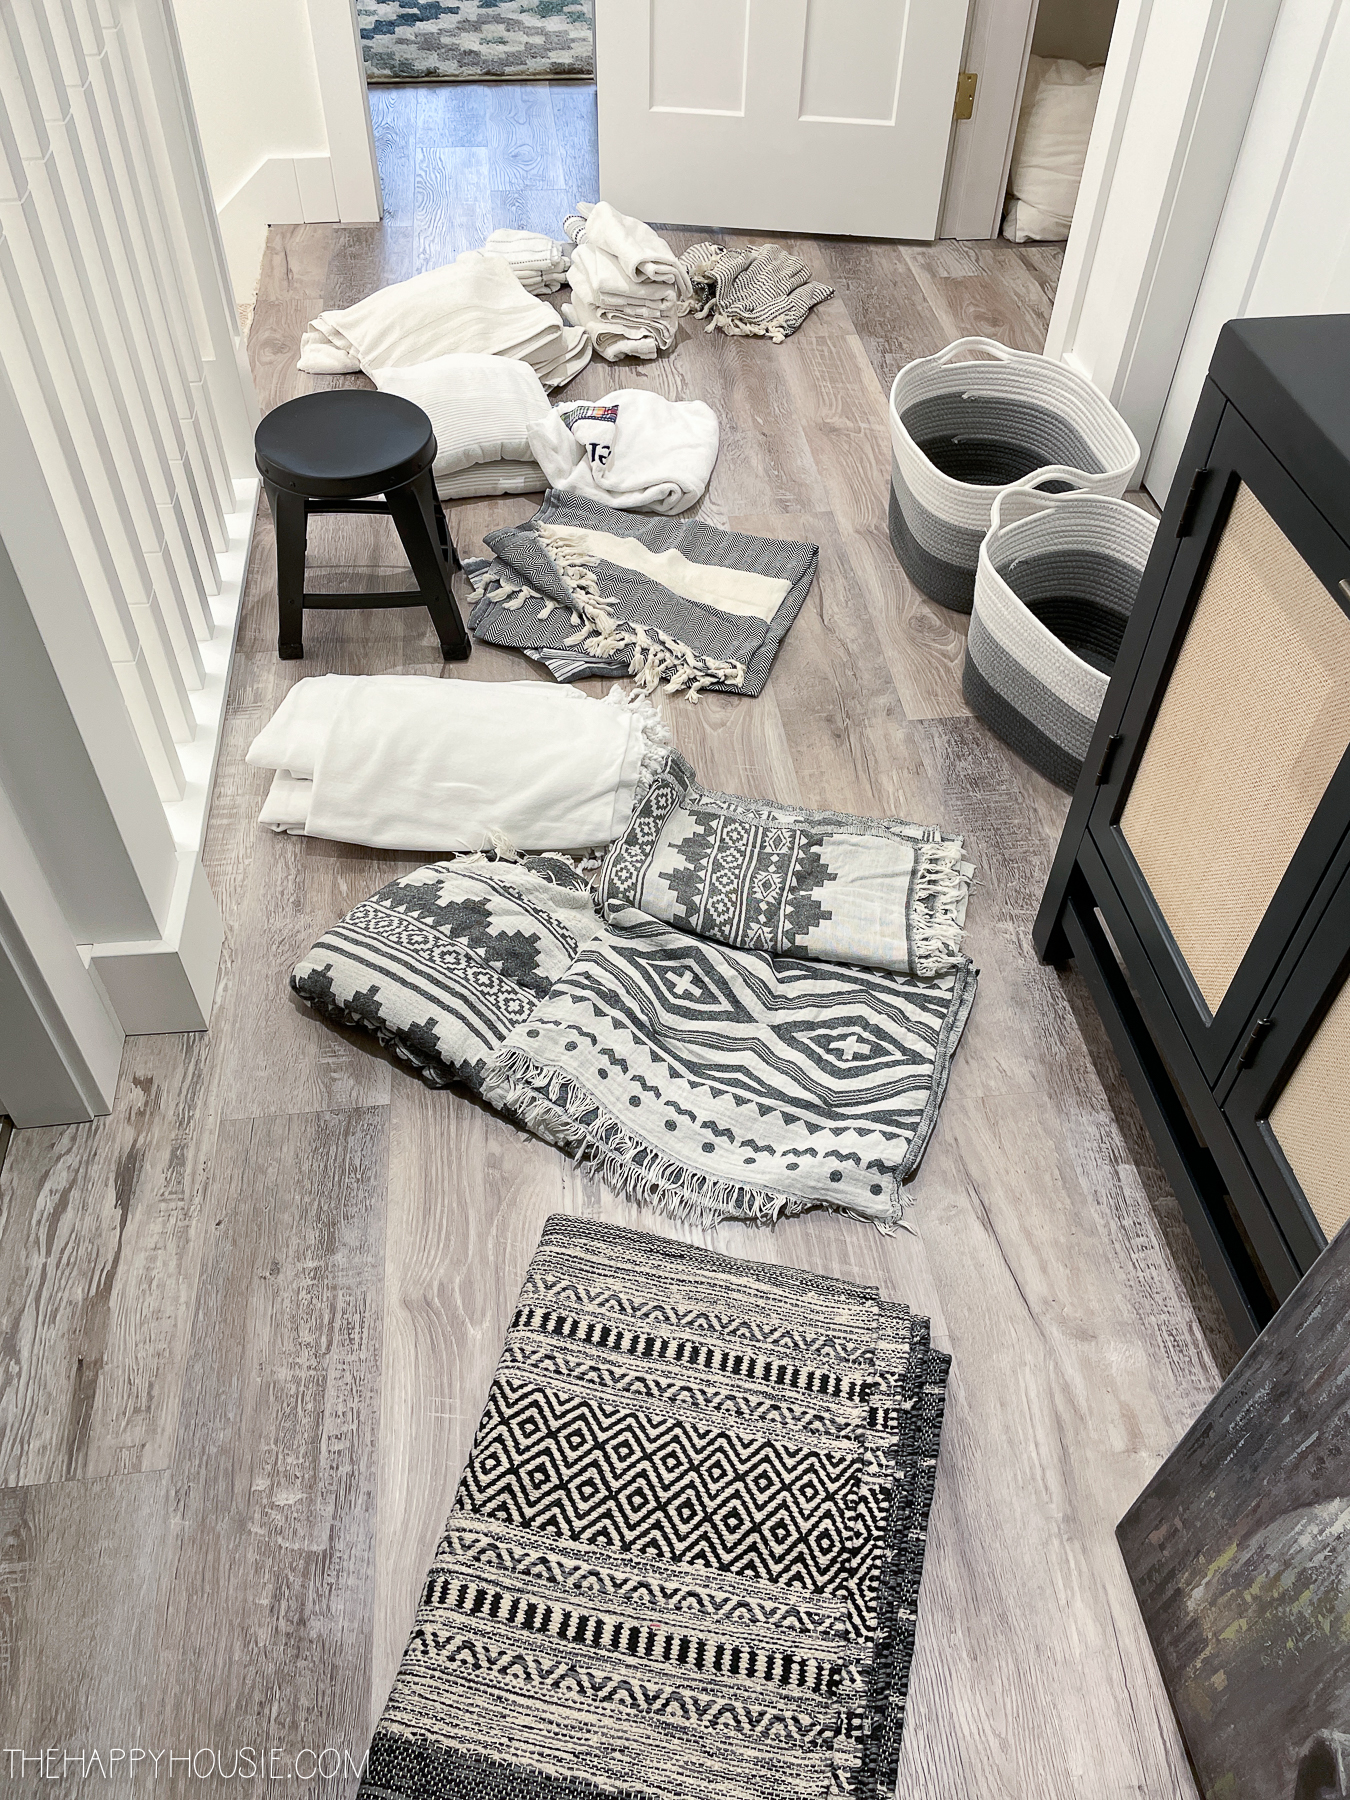
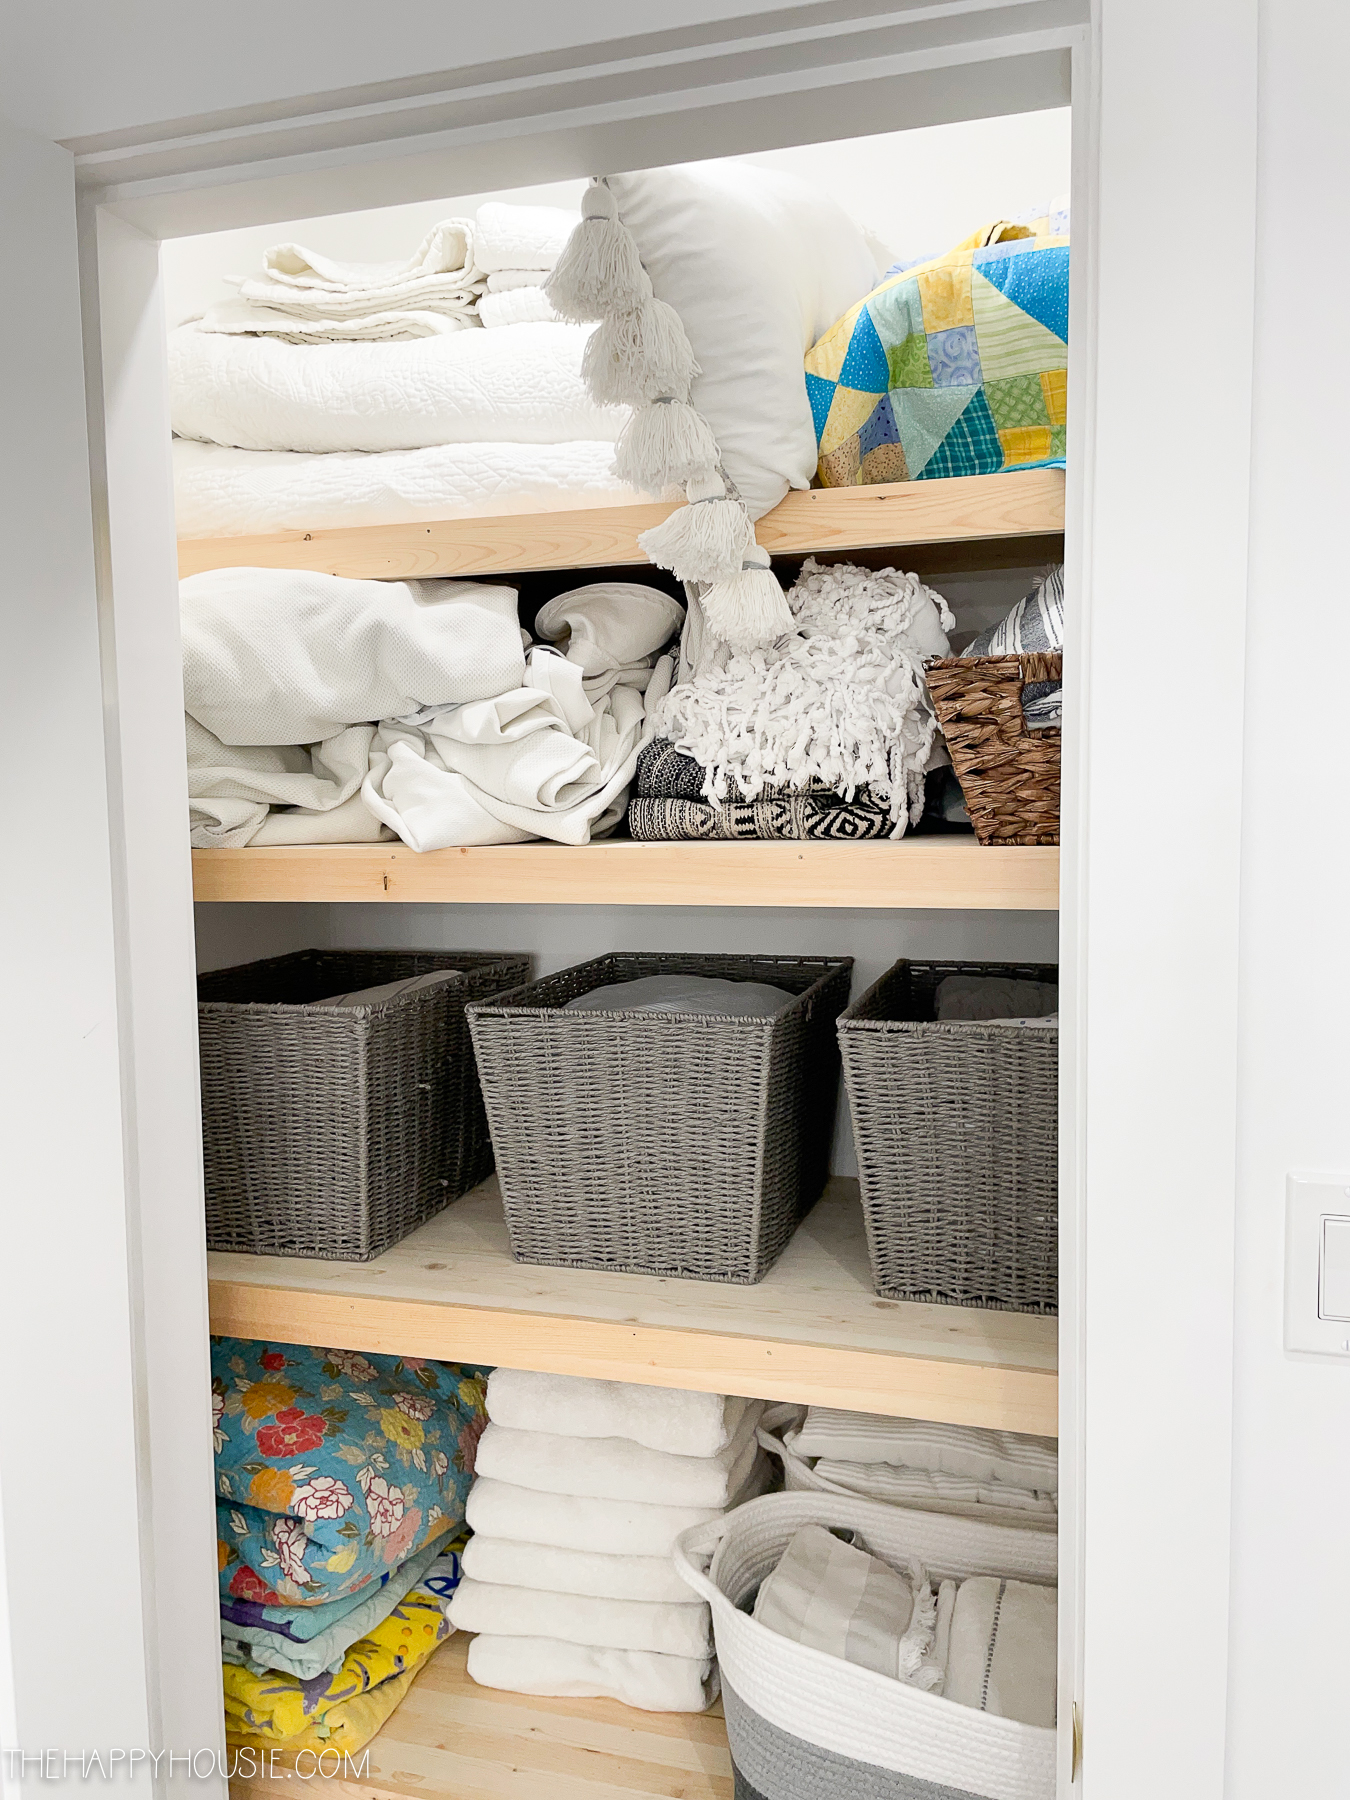
Step Two: Sort and fold everything by category
I had these basic categories to address in our linen closet:
Towels: bath towels, beach towels, other clothes/towels
Bedding: fitted sheets, pillow cases, duvet covers, flat sheets
Quilts/blankets
Sleeping Bags
Slipcovers etc.
Of course, you may have other or different items that work together in a category. It’s important to make your system work for you and the items you own and store in your linen closet.
Step Three: Consider where in your house each type of linen is best stored
I sorted through our towels and moved all the towels that the boys use into their main bathroom space on the open shelving in there. We also keep our hand towels in each bathroom so they are easier to access on a regular basis. This means that we don’t need very many spare towels in our linen closet, which frees up a lot of room for bedding and other linens. We also store tablecloths and dining/kitchen related linens directly in those spaces as well.
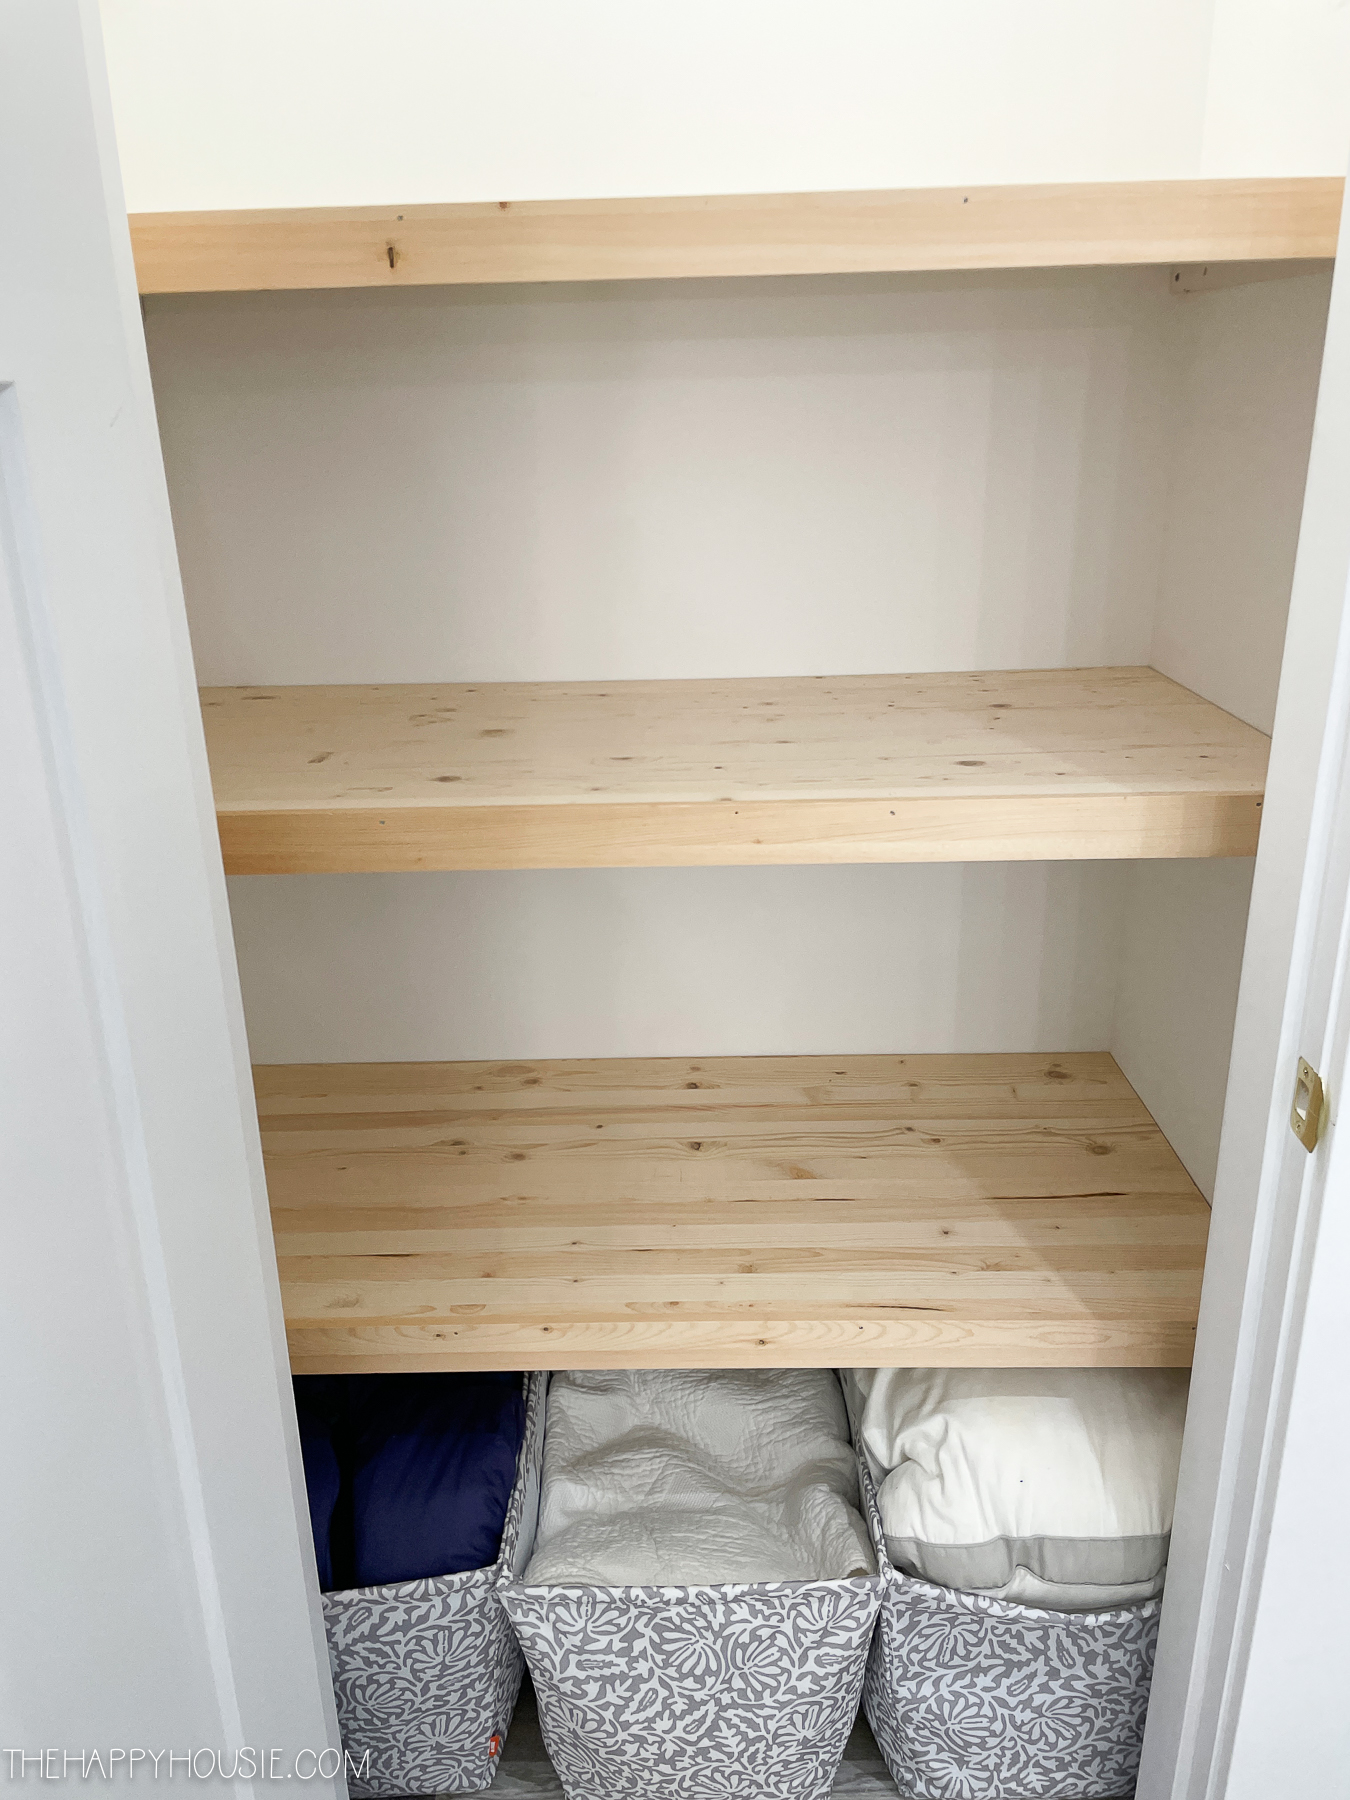
Step Four: Consider giving the backdrop/shelving a little upgrade
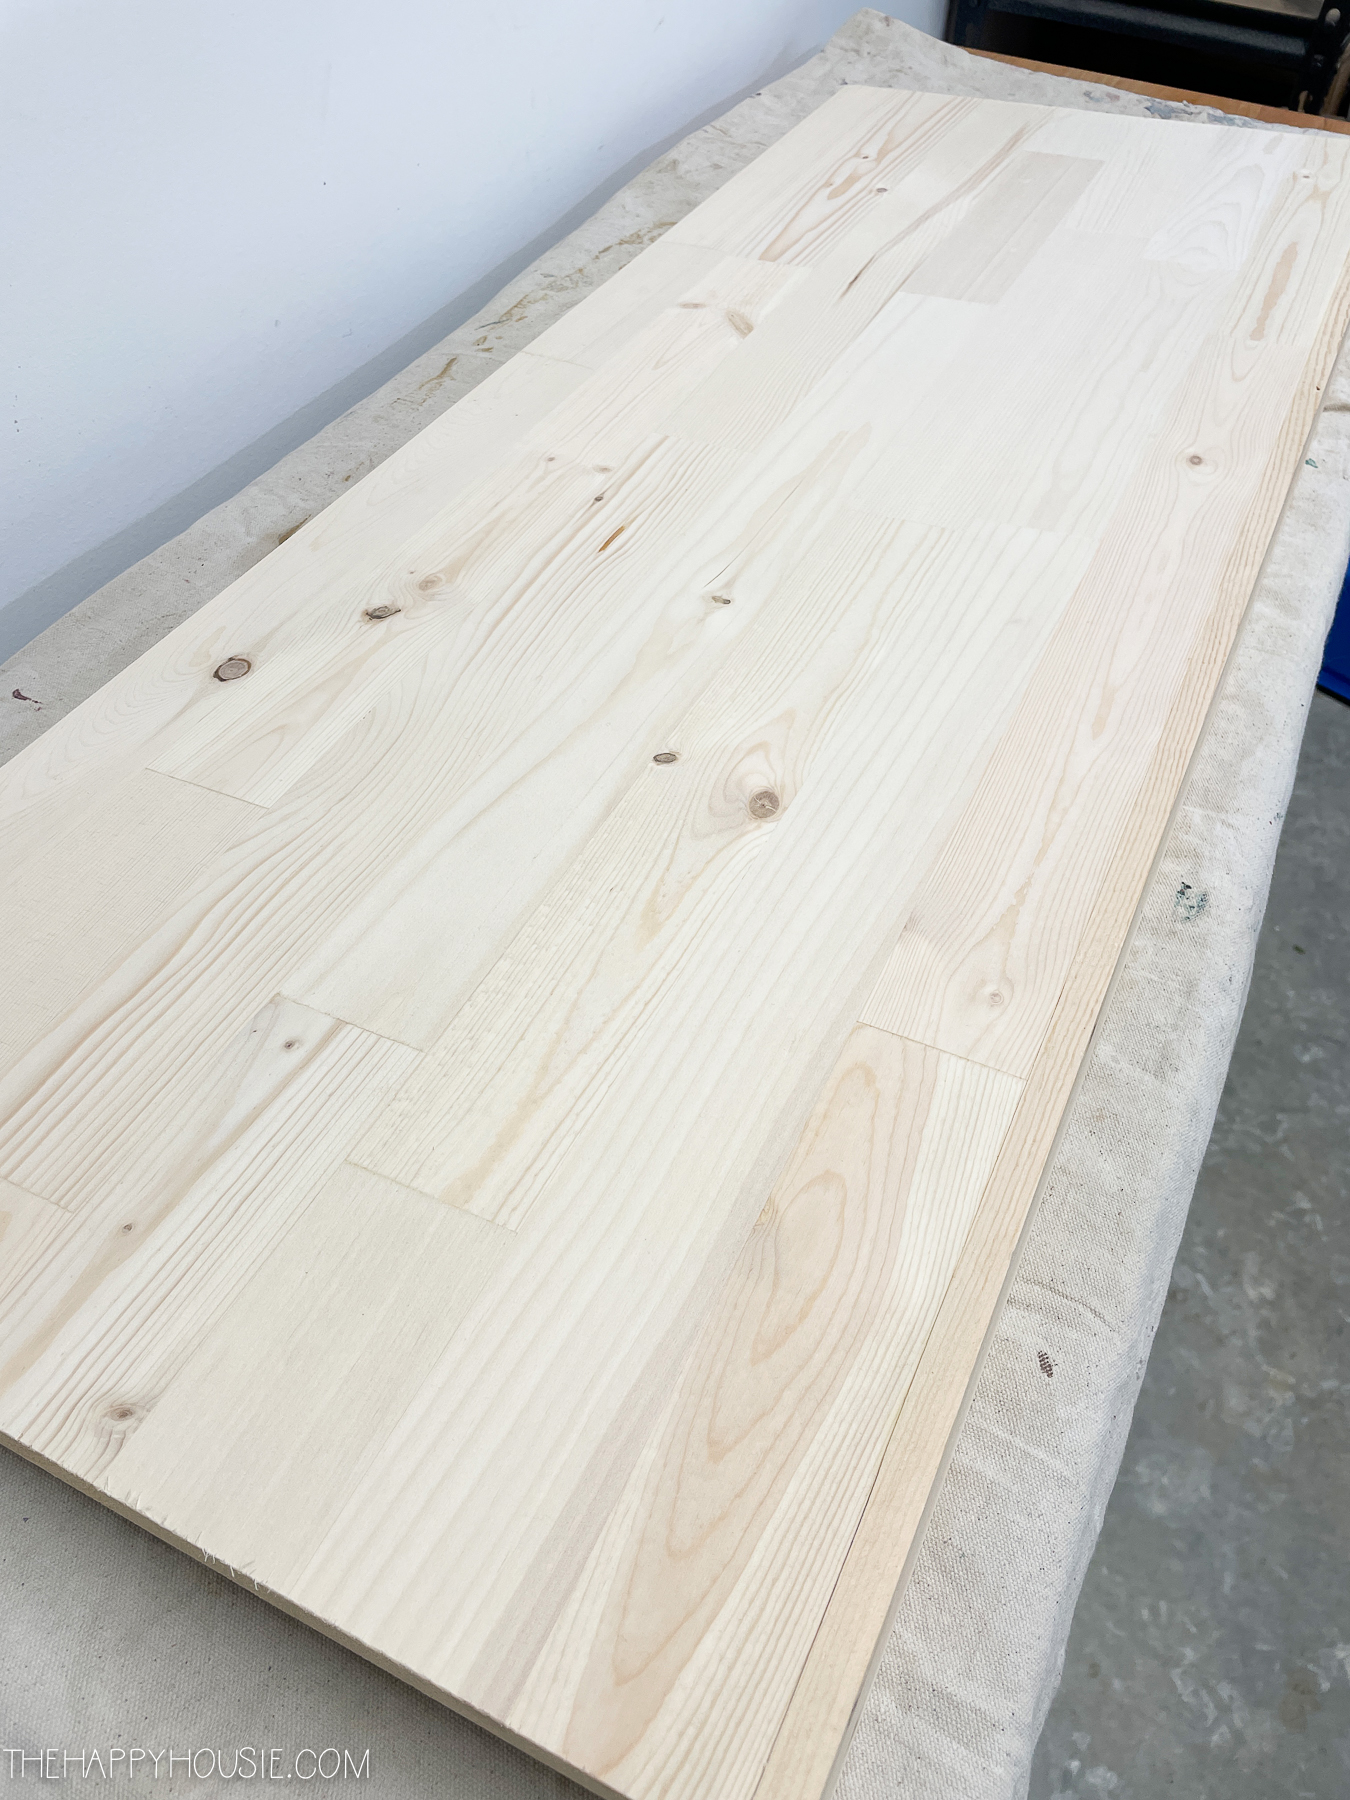
Our linen closet is a good size in this house and when we built it my Dad kindly built wooden shelves for our linen closet instead of us having to install wire ones. These wood shelves are a fairly simple DIY job if you have some basic skills and tools, and back when I originally tackled this challenge I wrote an article about how to replace wire shelves with DIY wooden shelves.
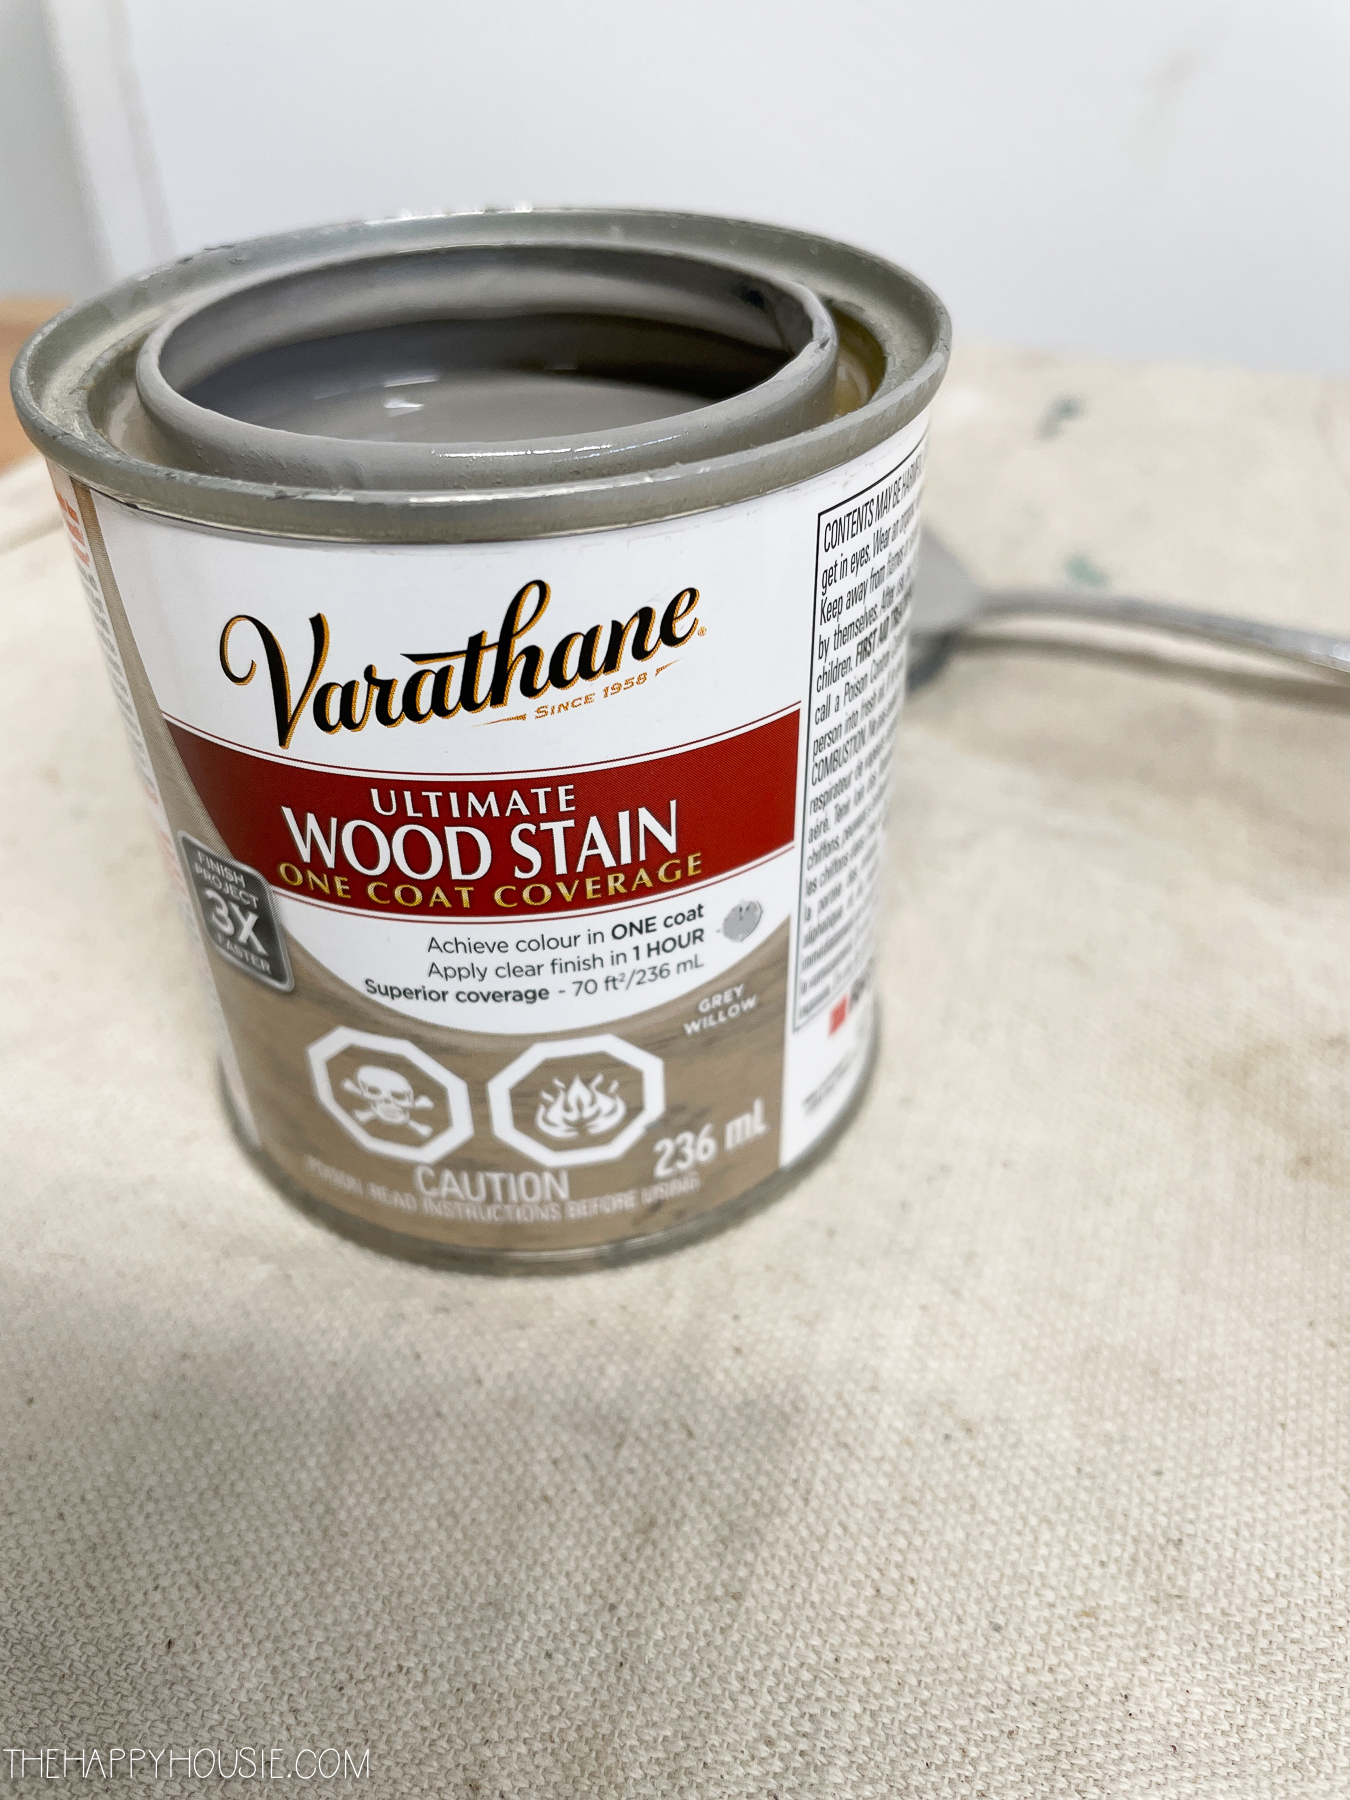
They are pretty basic pine shelves on a wood side brace. We also have these wood shelves in our office and family/rec room, but have not painted or stained them in any of these spaces. We ran out of time to do that job before we moved in, so I decided it would be a great thing to do as I worked my way through the challenge. I did a coat of this all-in-one stain finish in order to give the wooden shelves a more finished feel that ties in with the colours in our flooring.
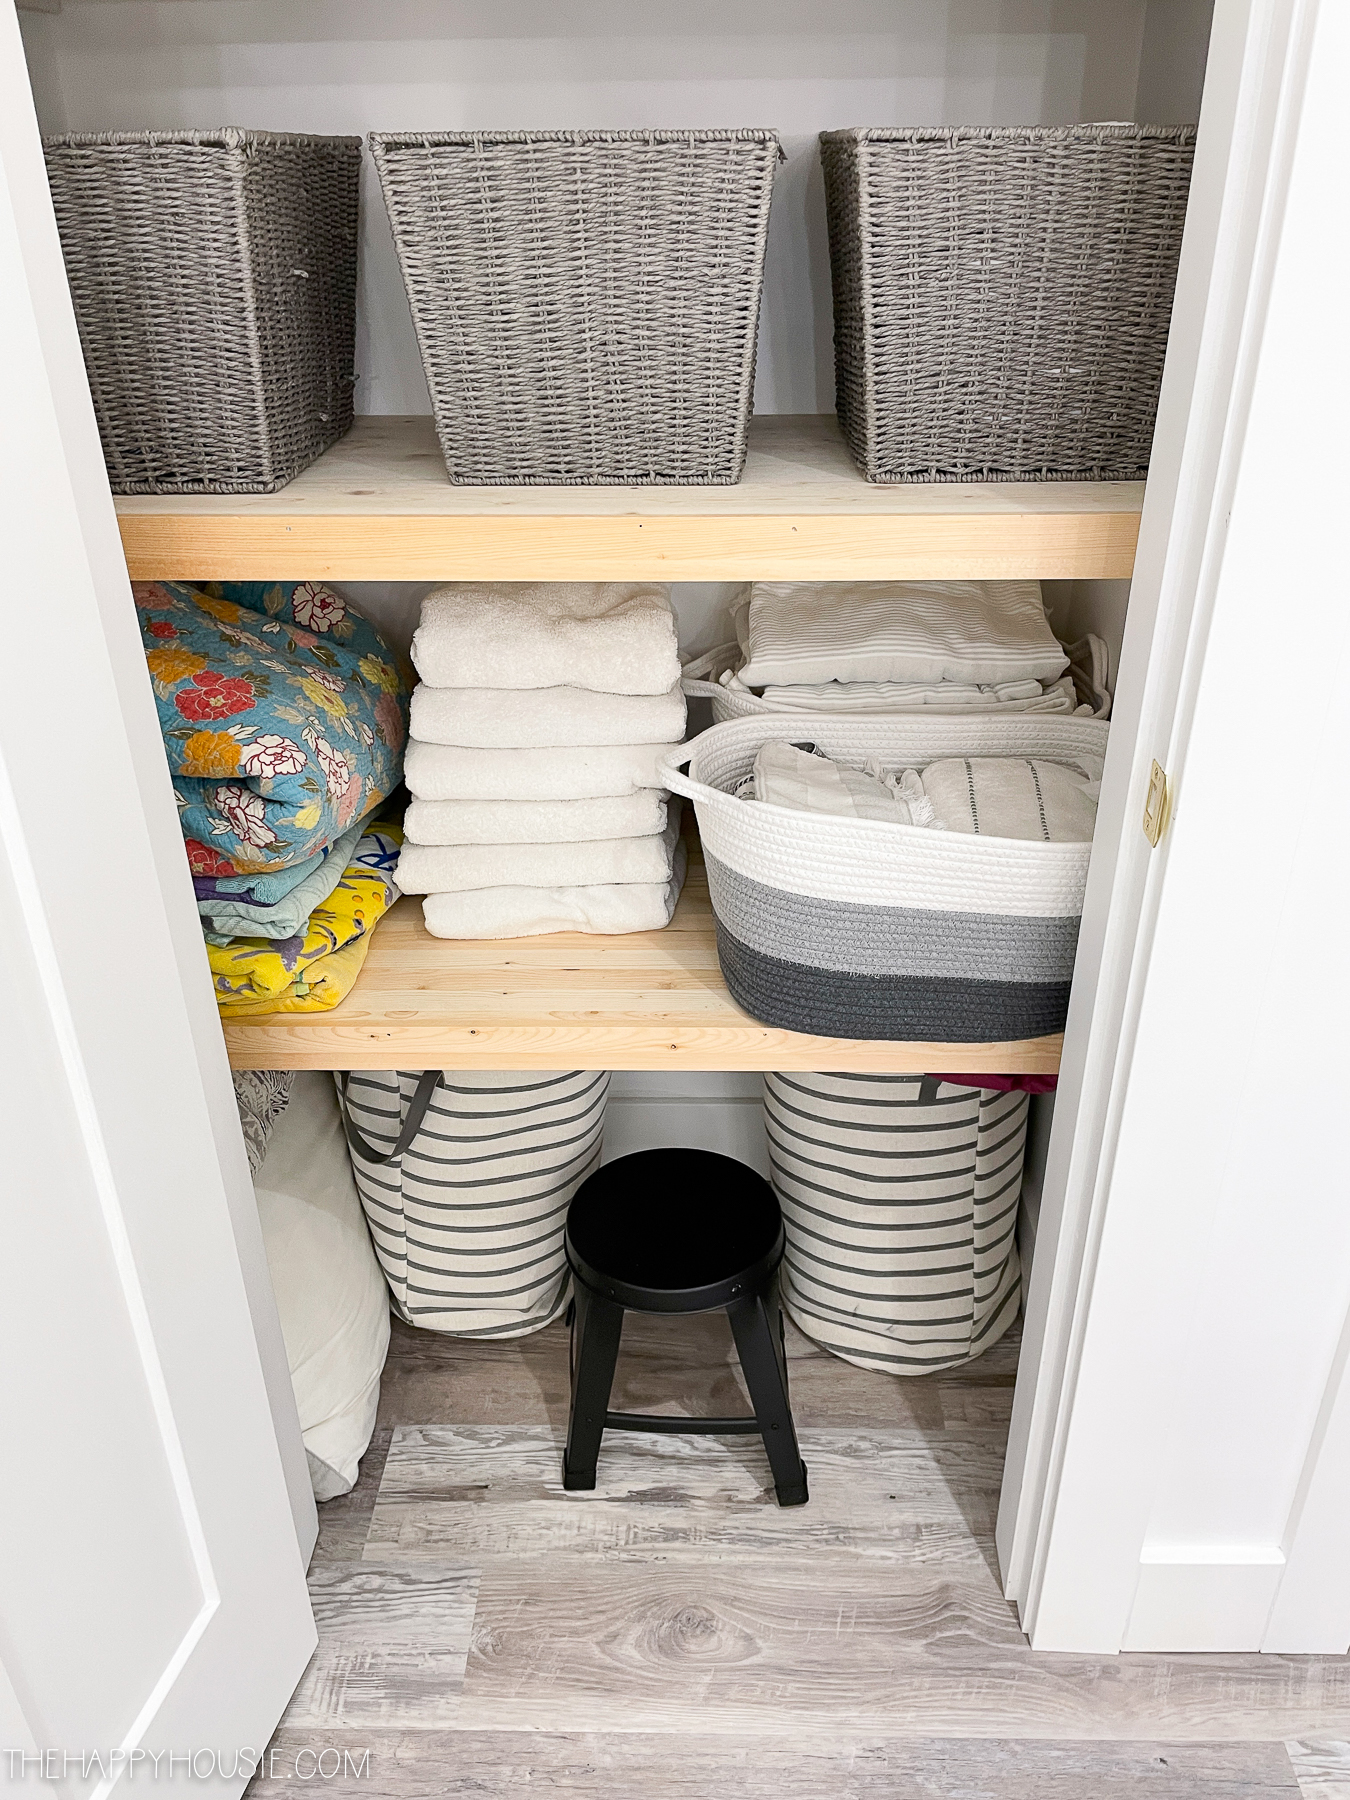
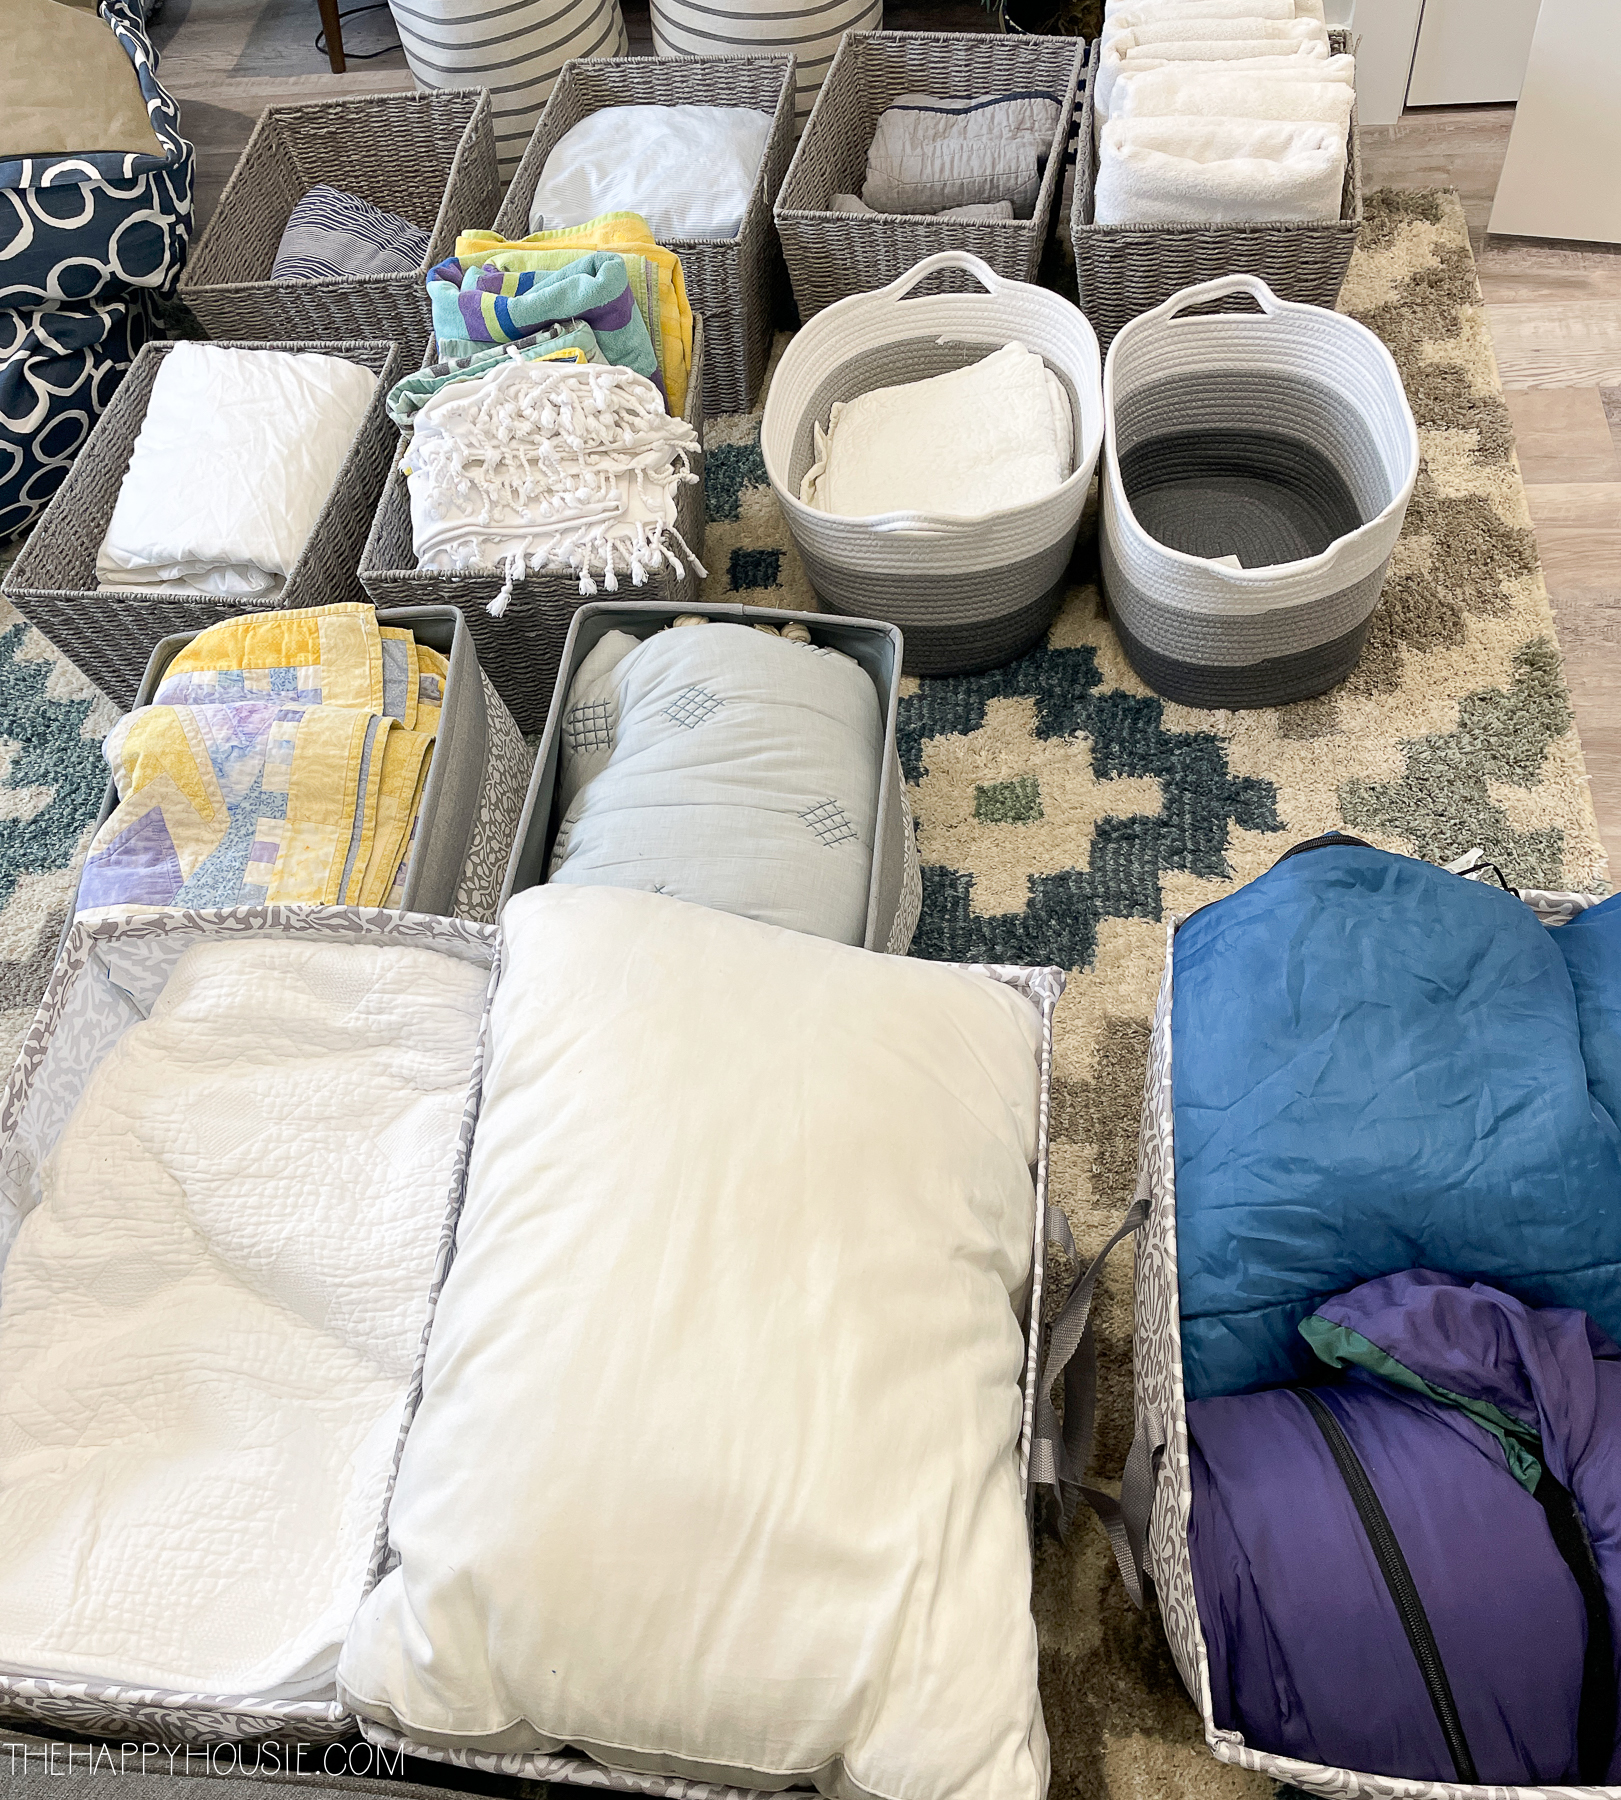
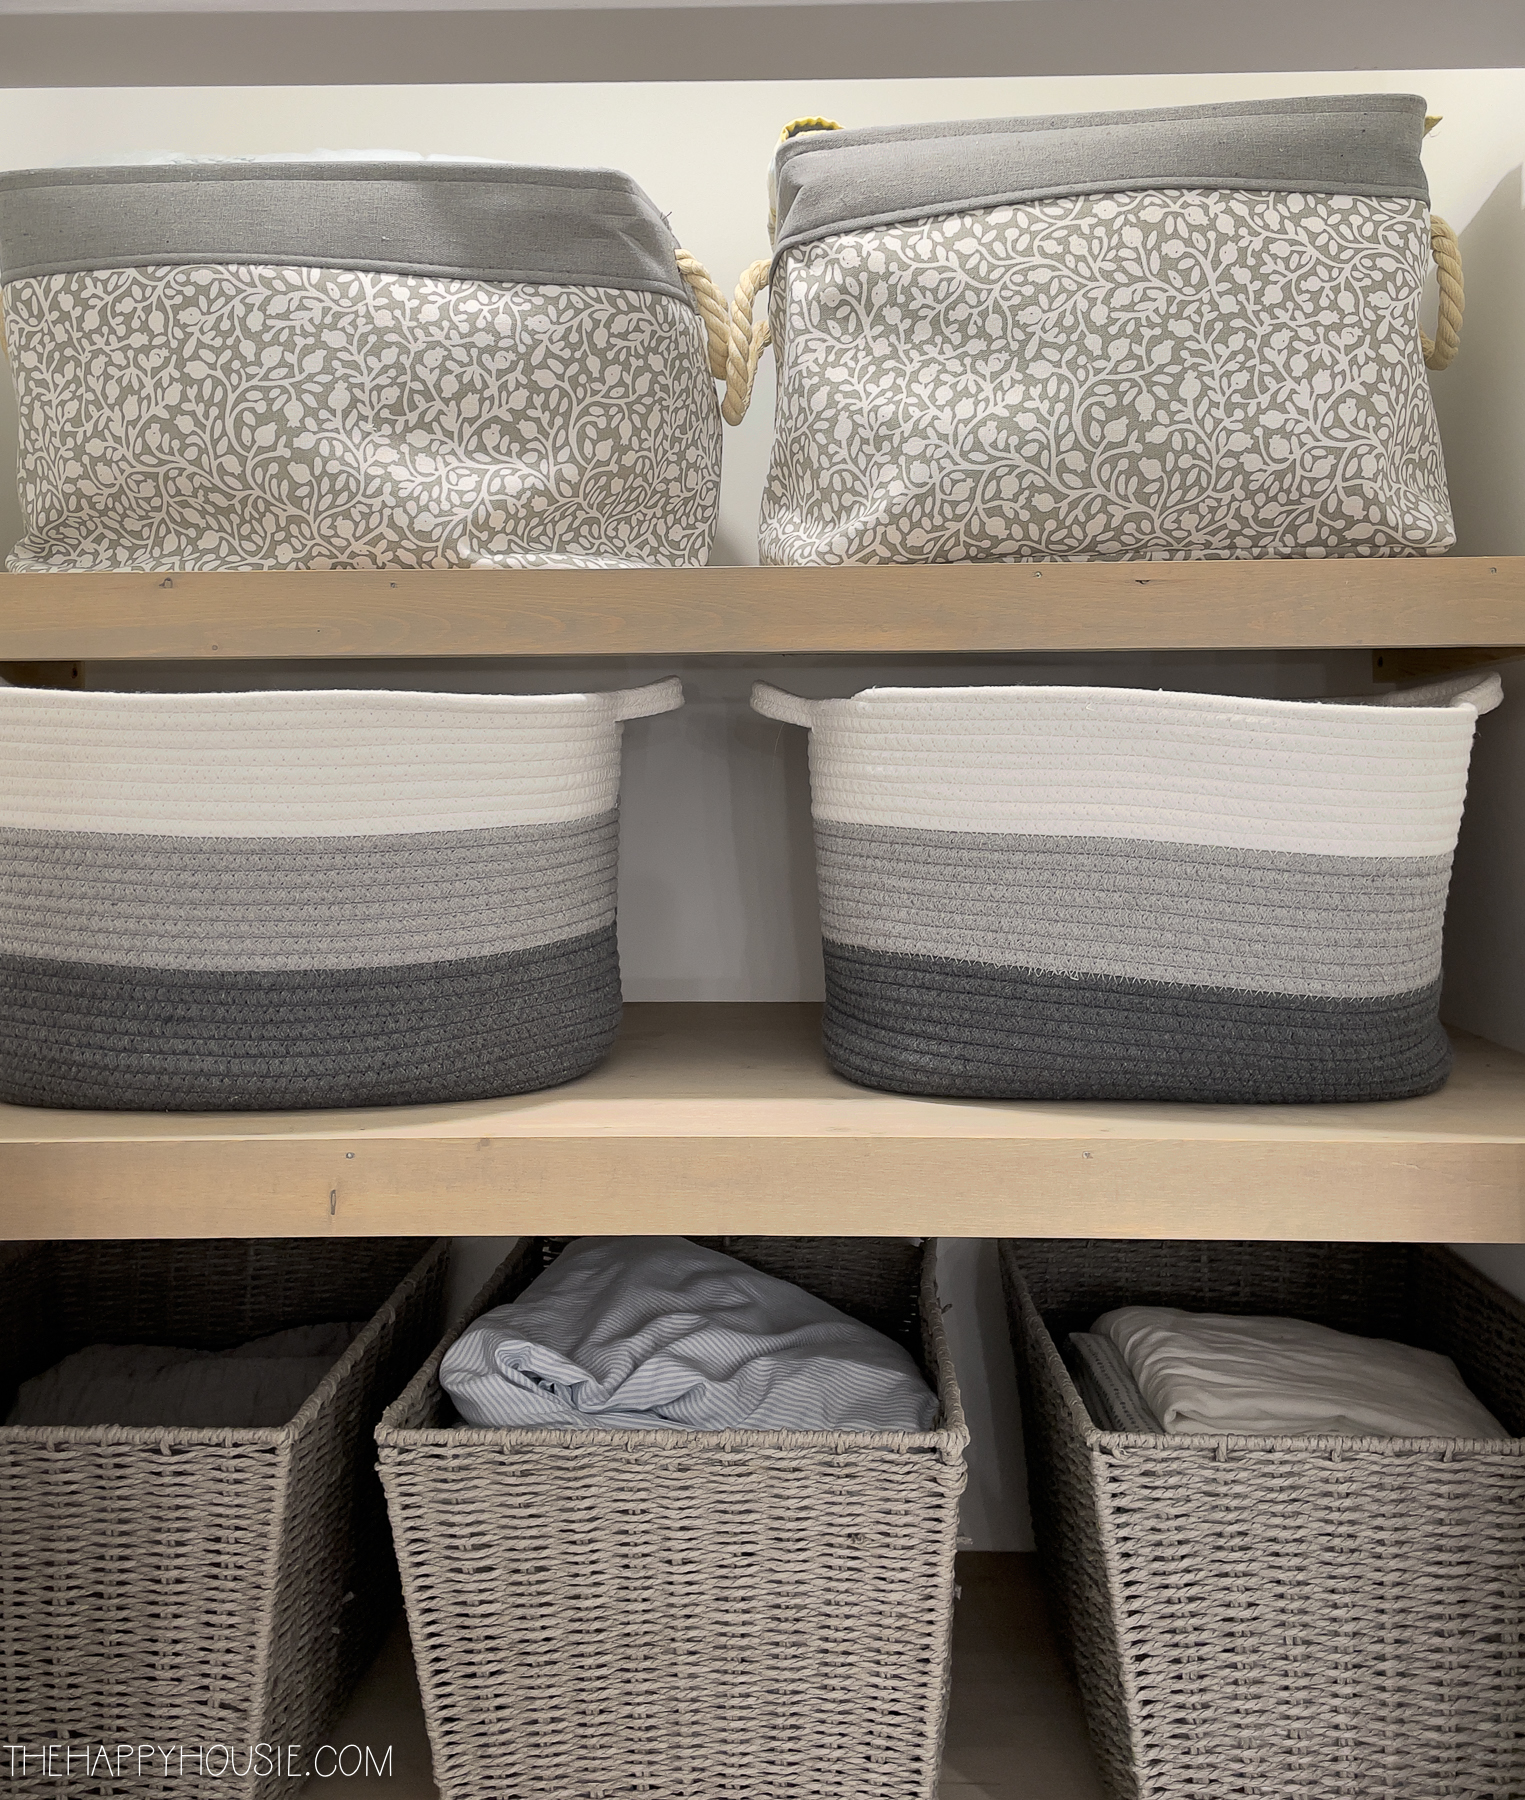
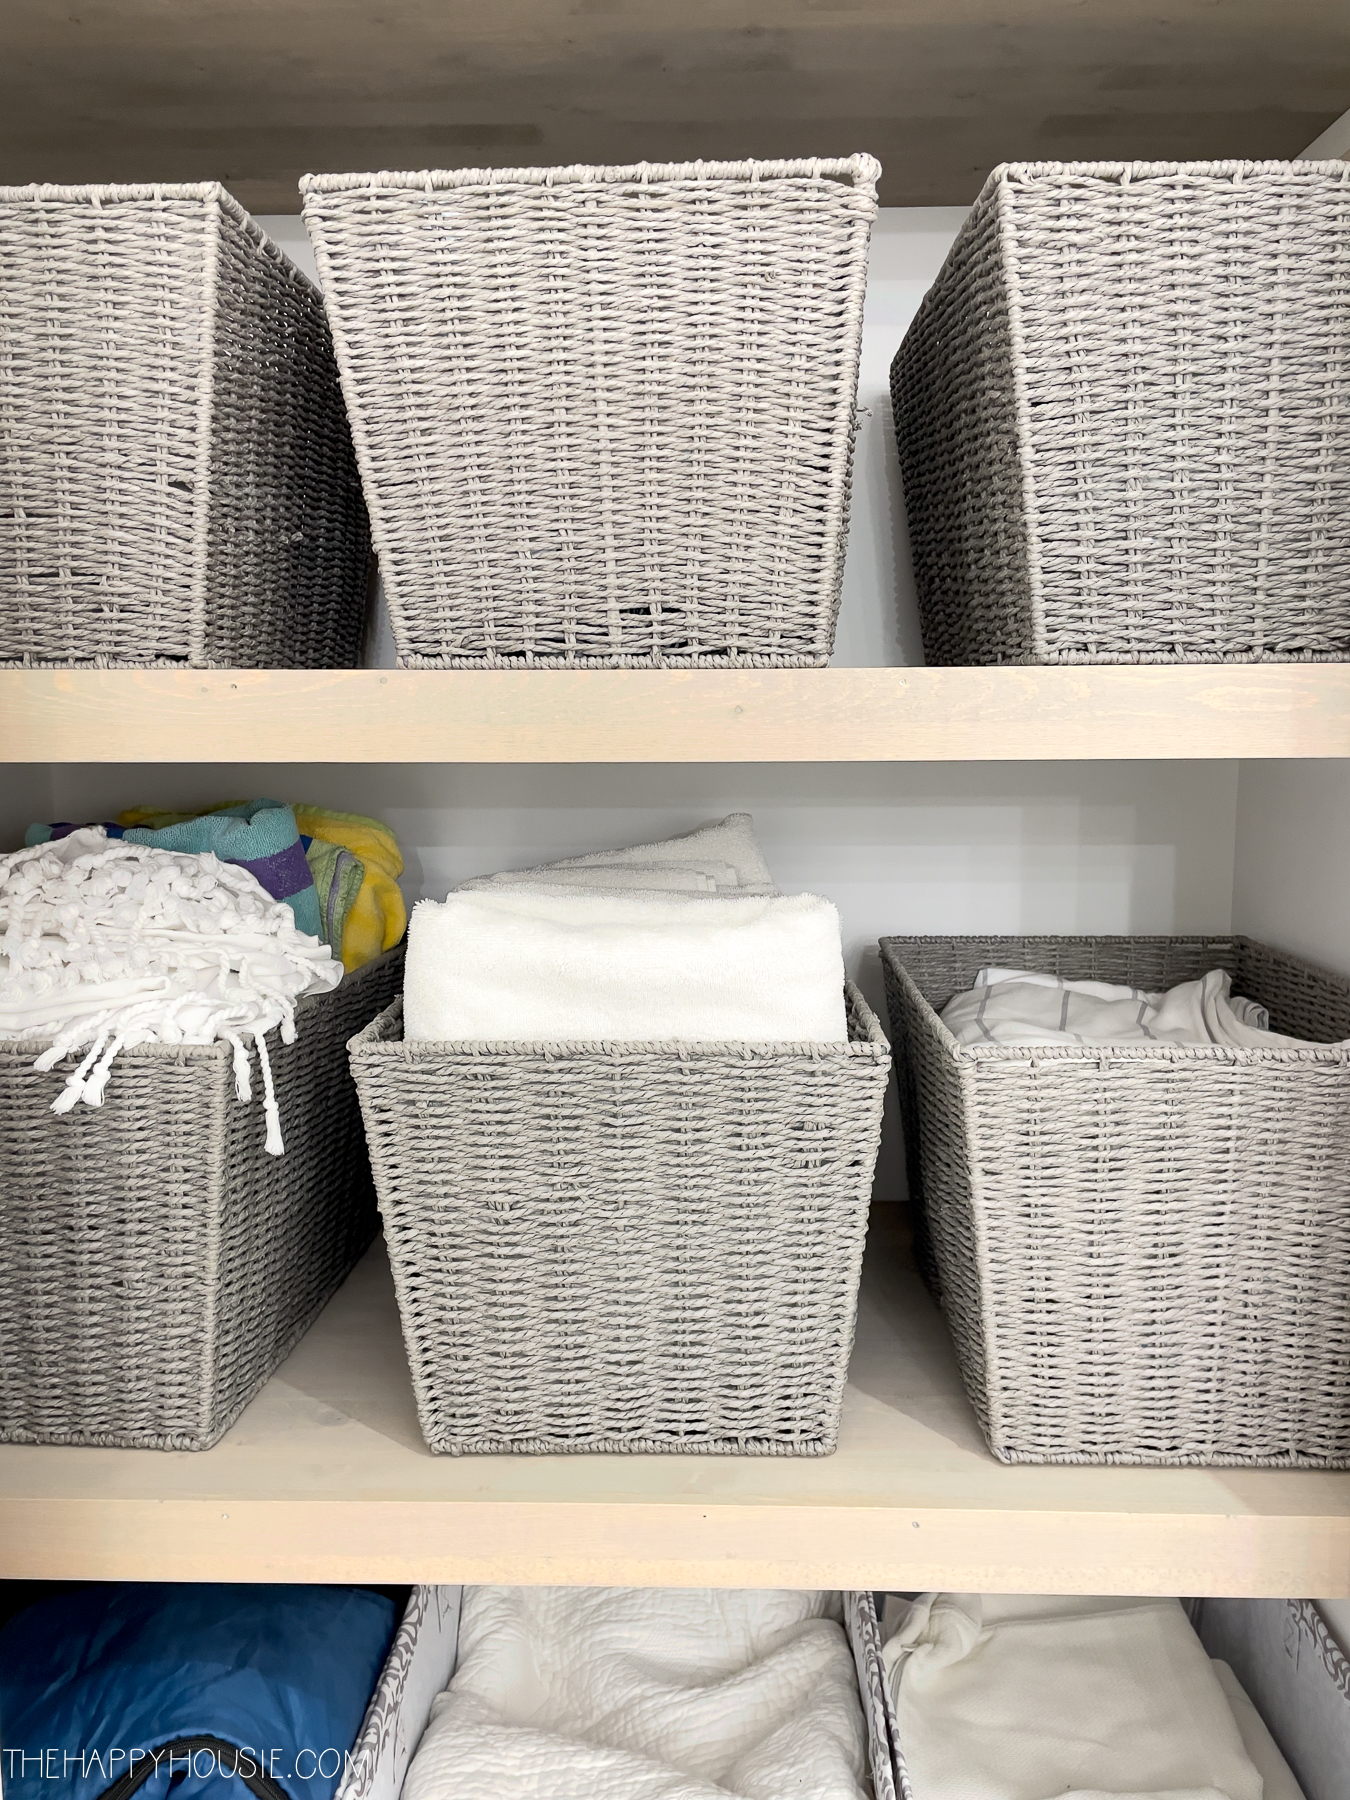
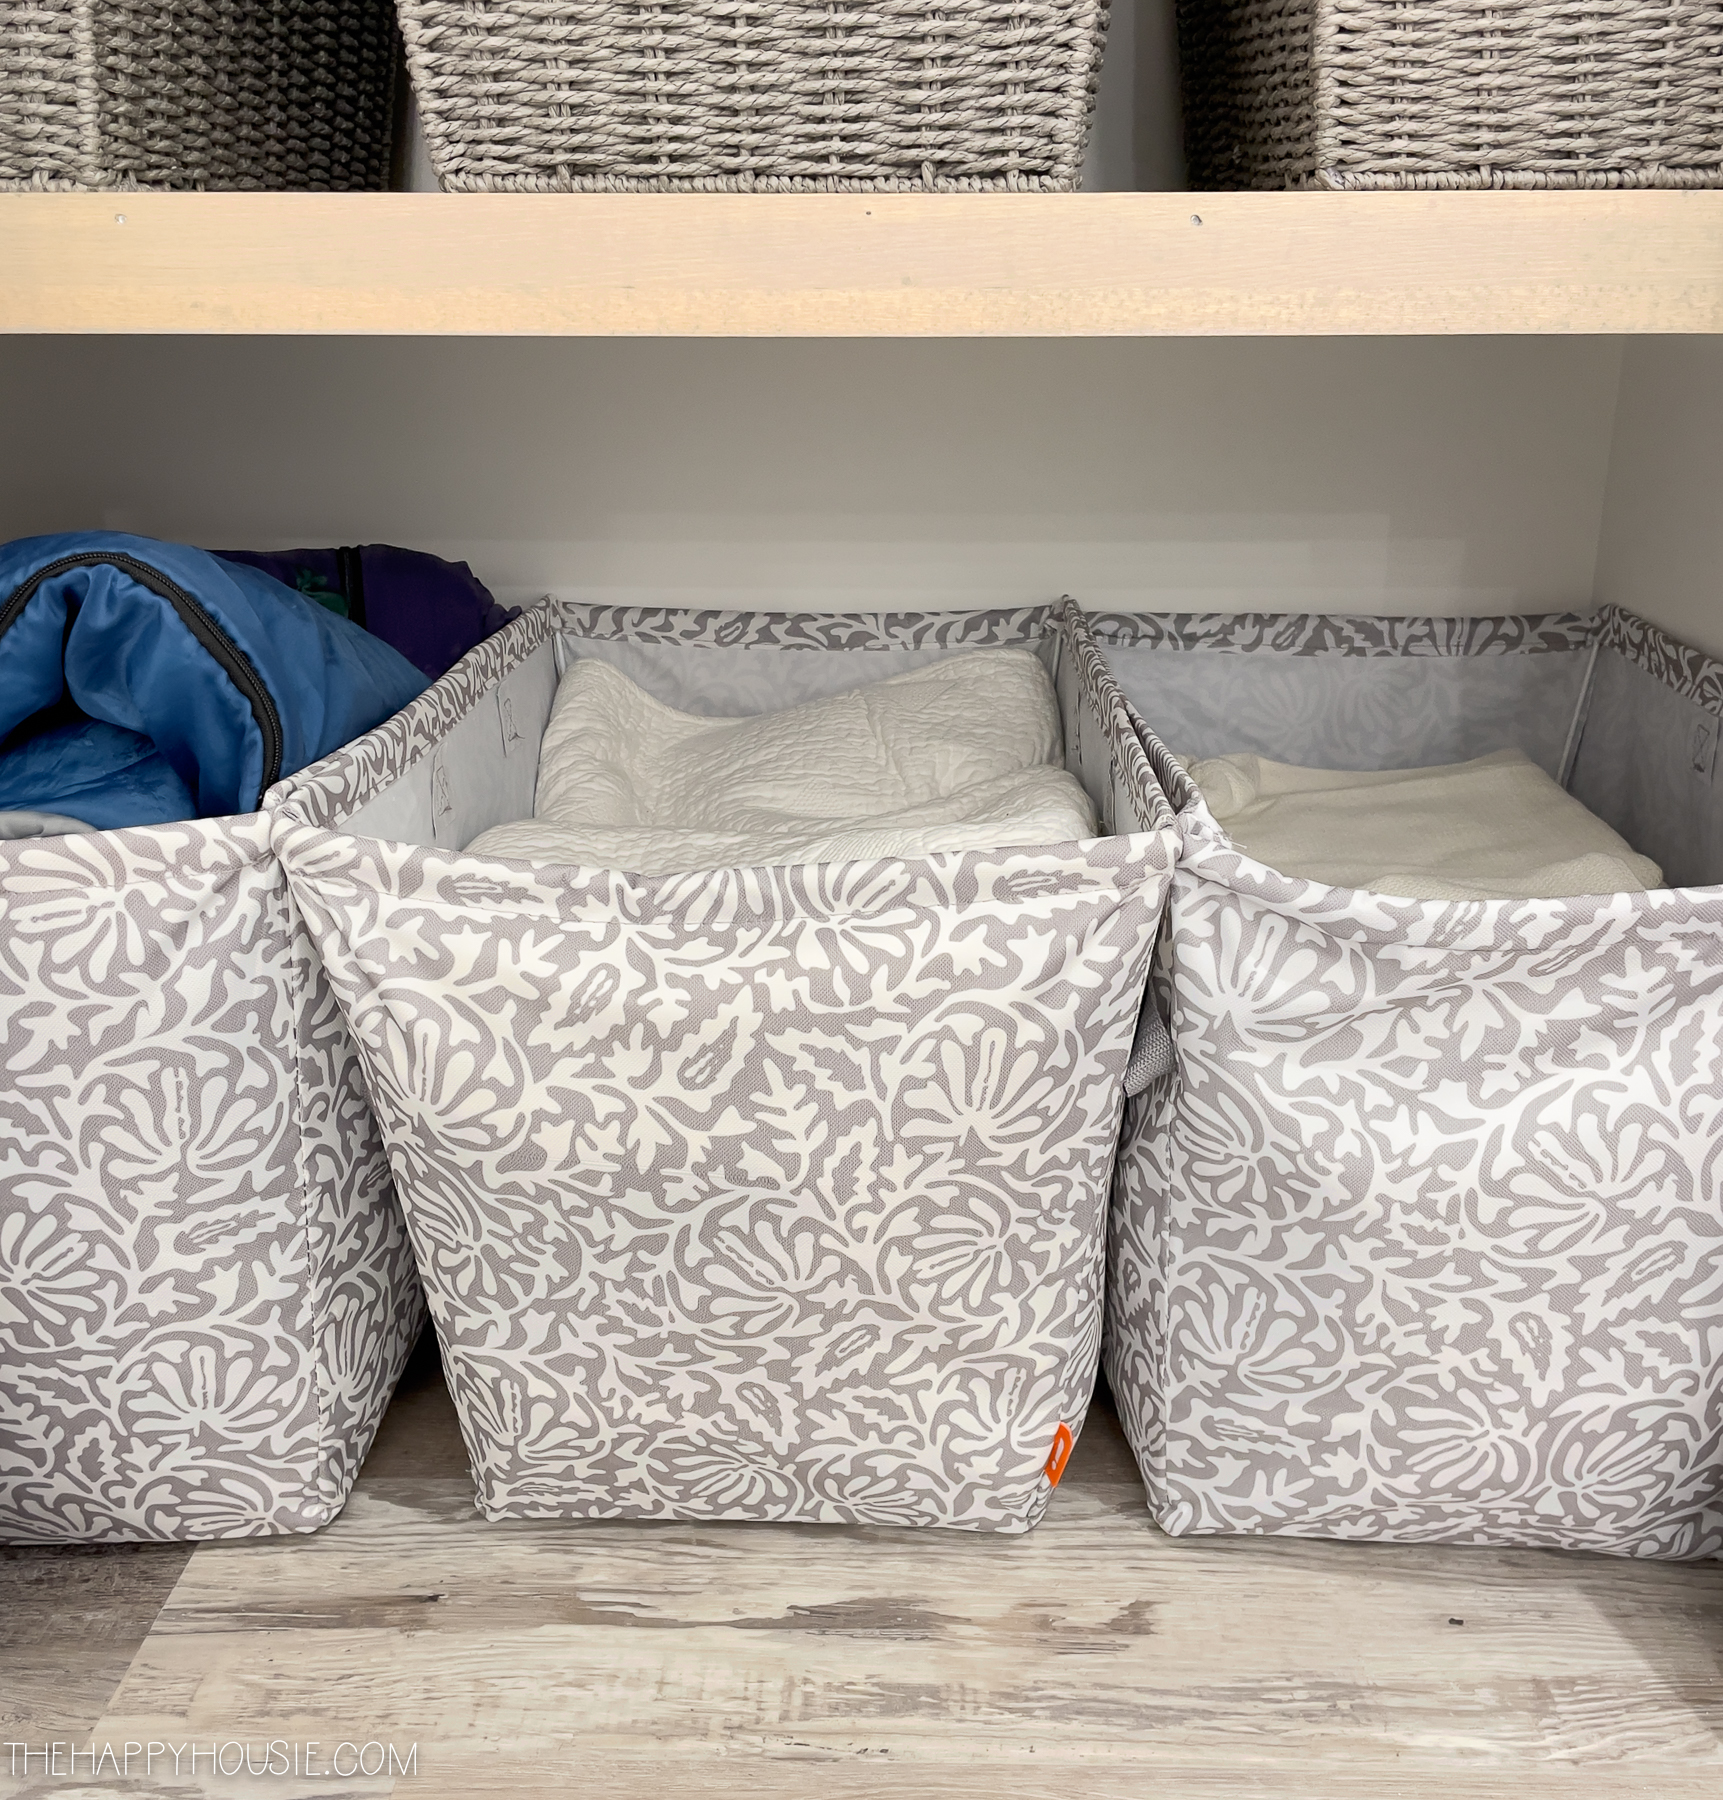
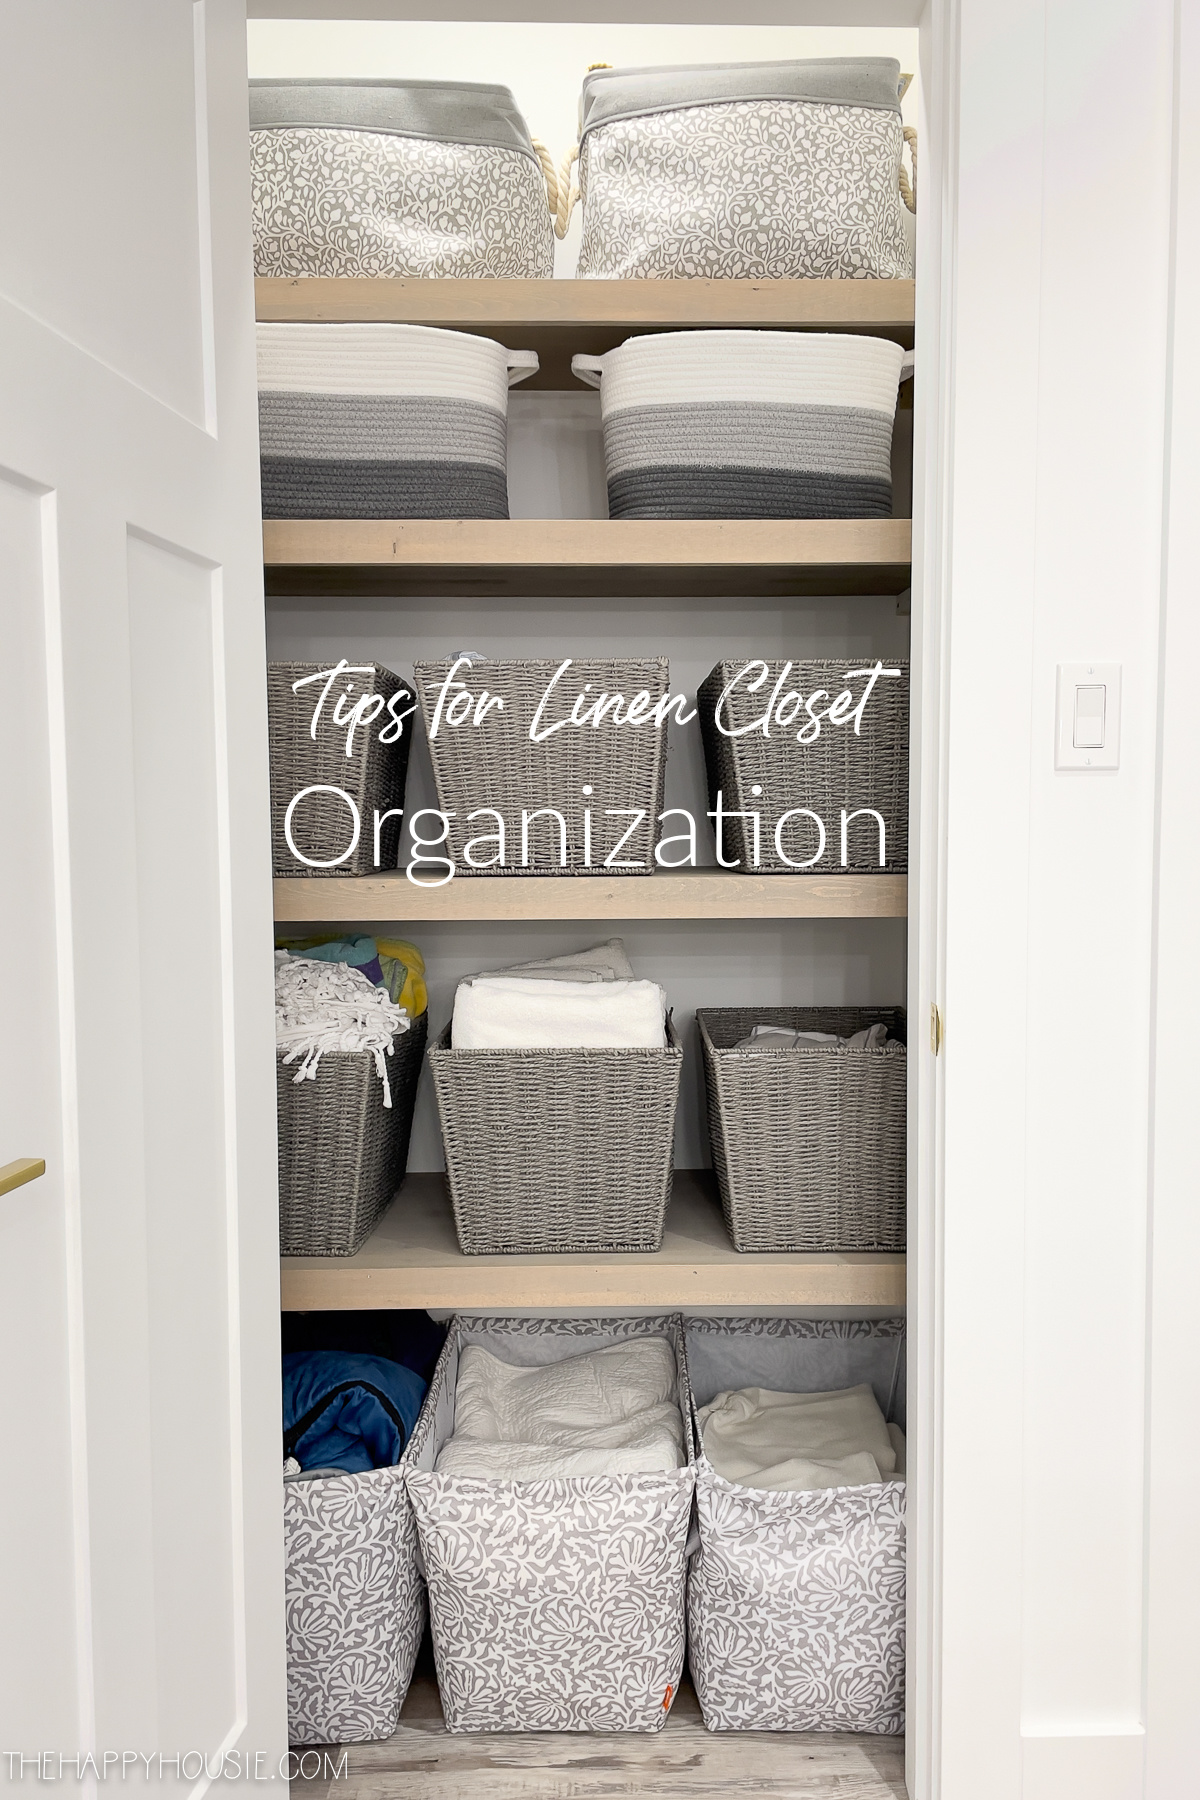
Step Five: Source baskets or bins as needed
As I was organizing, I realized that our space wasn’t being used very efficiently. There was a lot of space on the floor level that could be used, but it felt weird to put linens directly on the floor. I found some big somewhat flexible fabric tote bags at Walmart, and placed three of these on the bottom of our closet. They are perfect for larger items, like our spare sofa slipcover.
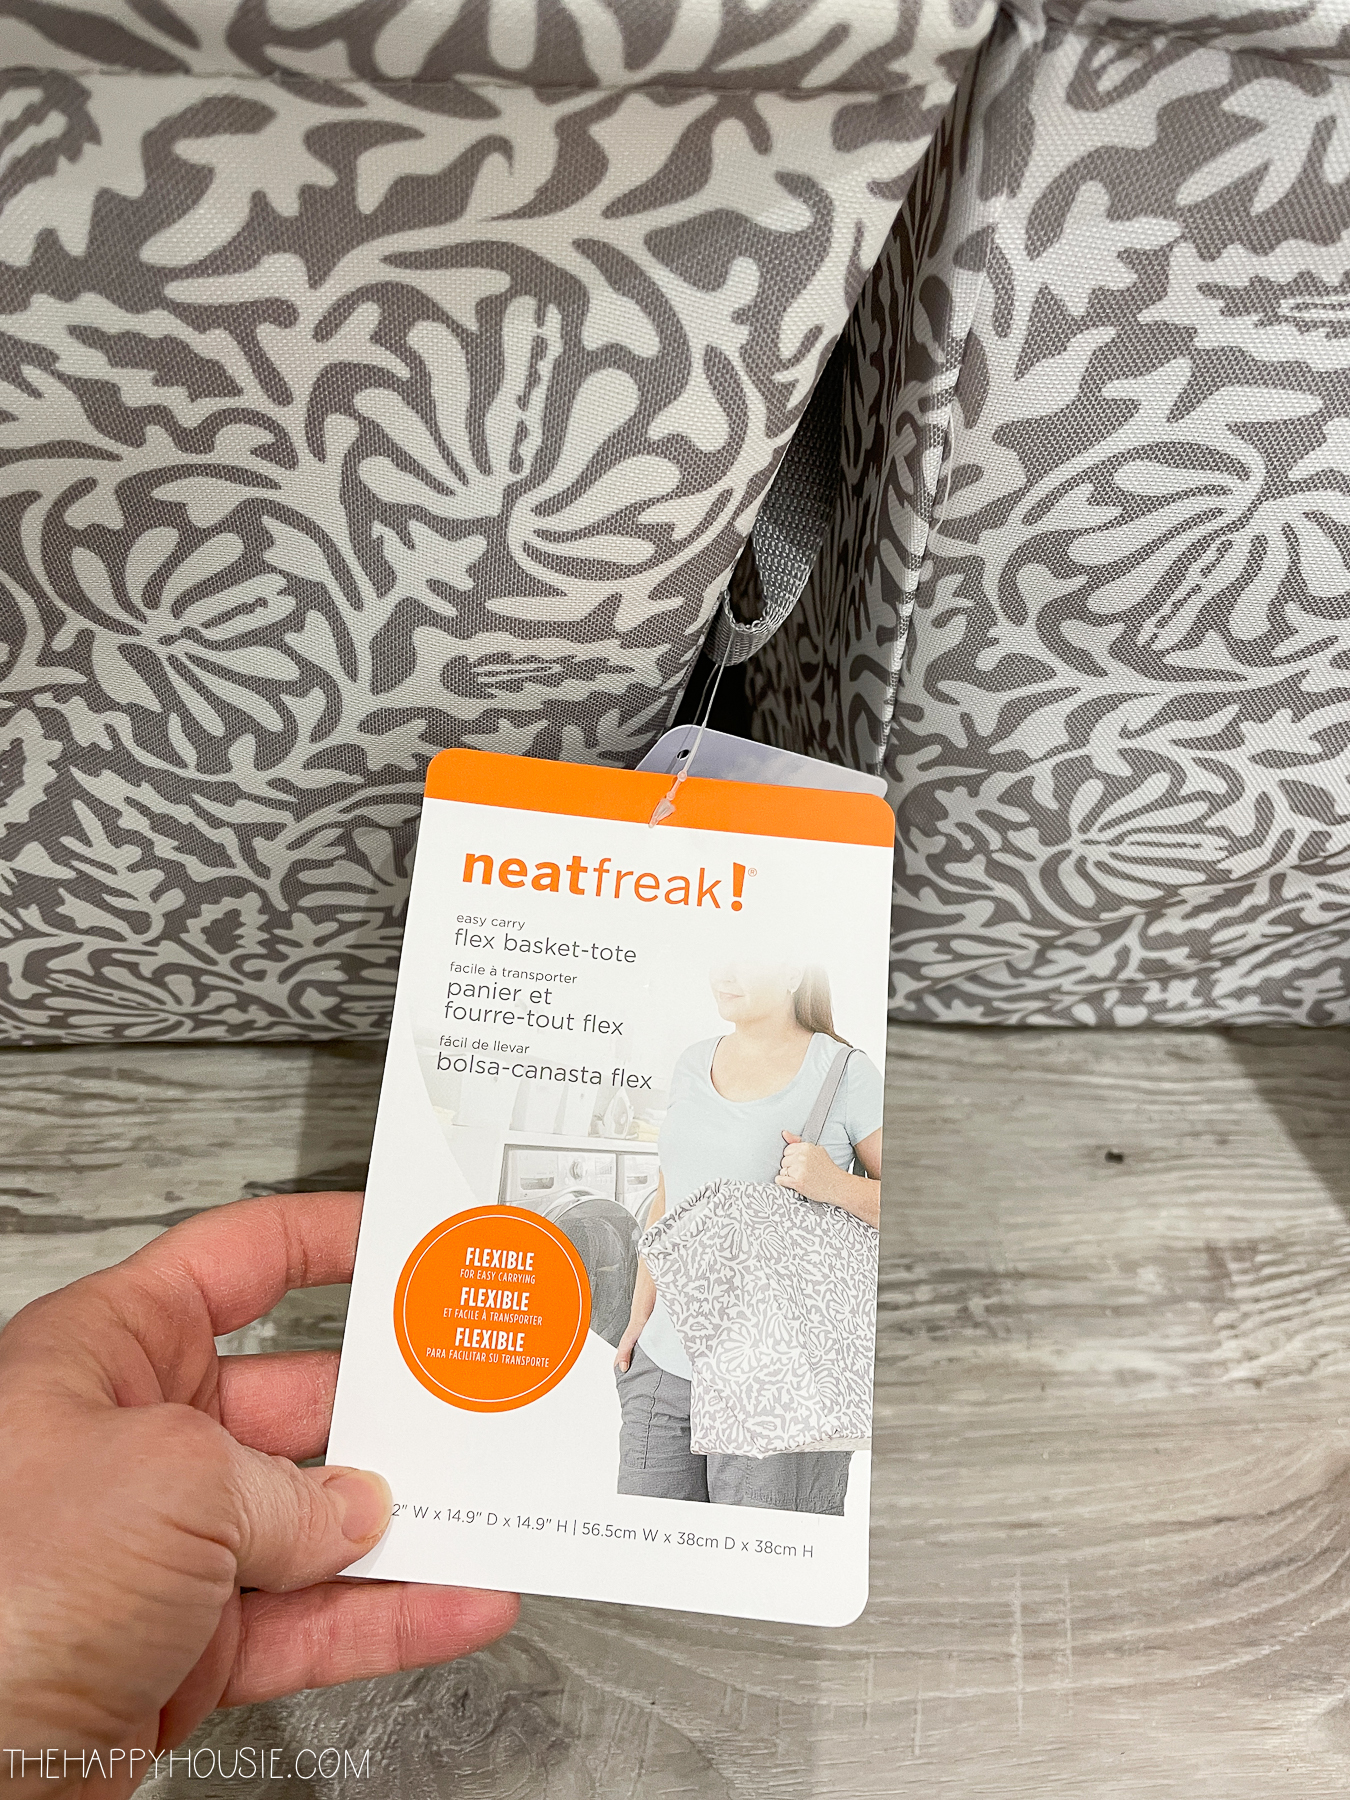
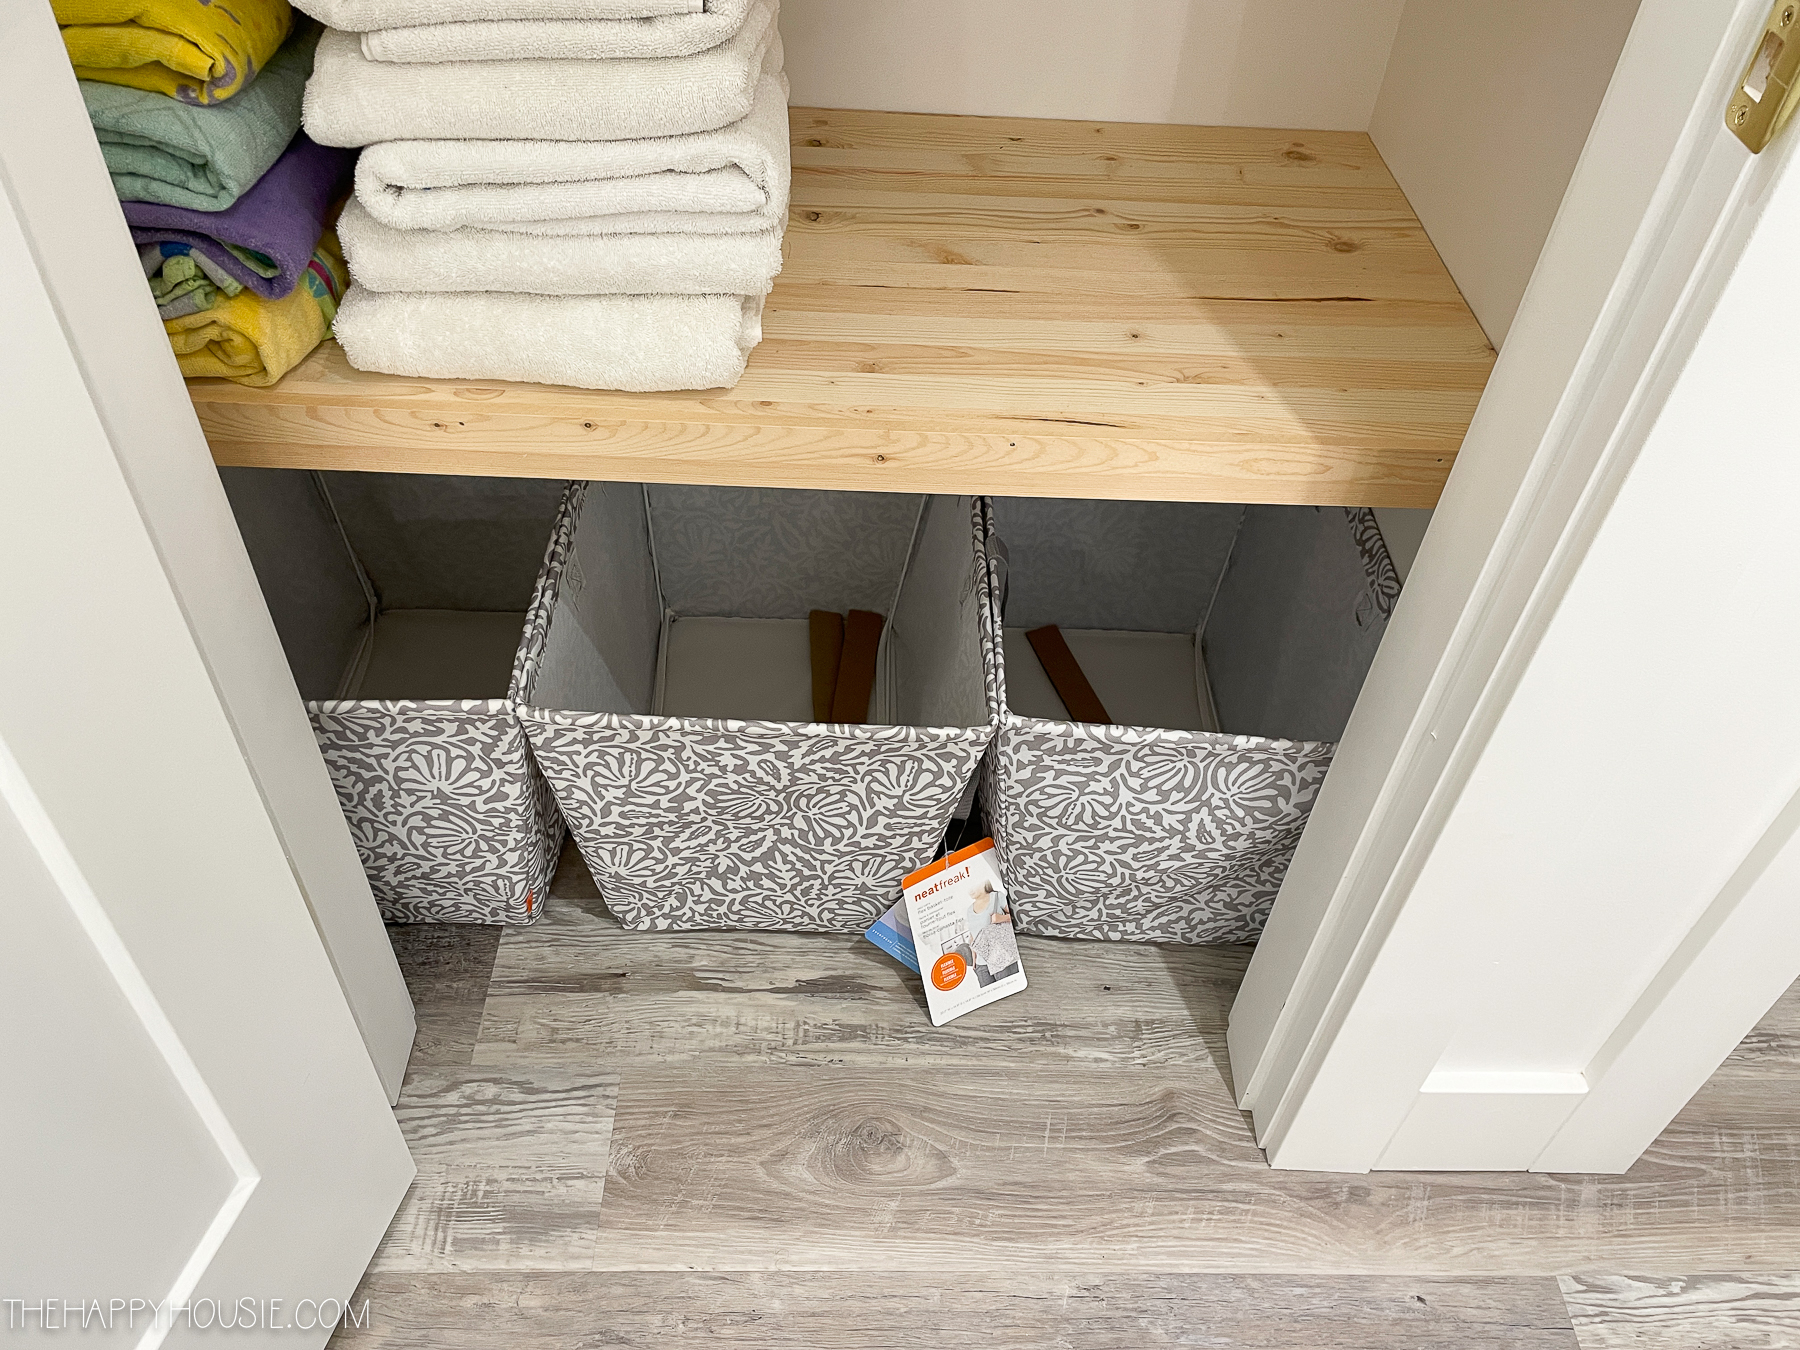
I already owned three of these grey baskets from when I tackled this linen closet organizational makeover in the Forest house. I decided to grab three more of the same at Walmart, as well. I also I had two rope totes from organizing our mudroom at the Forest house, and used those along with two more pretty floral bins that I picked up at Walmart to house things on the very top shelf.
Step Six: Put it all back together
I organized everything according to category in the bins and baskets that we had…
And then put it all back in the closet with our newly stained wood shelves…
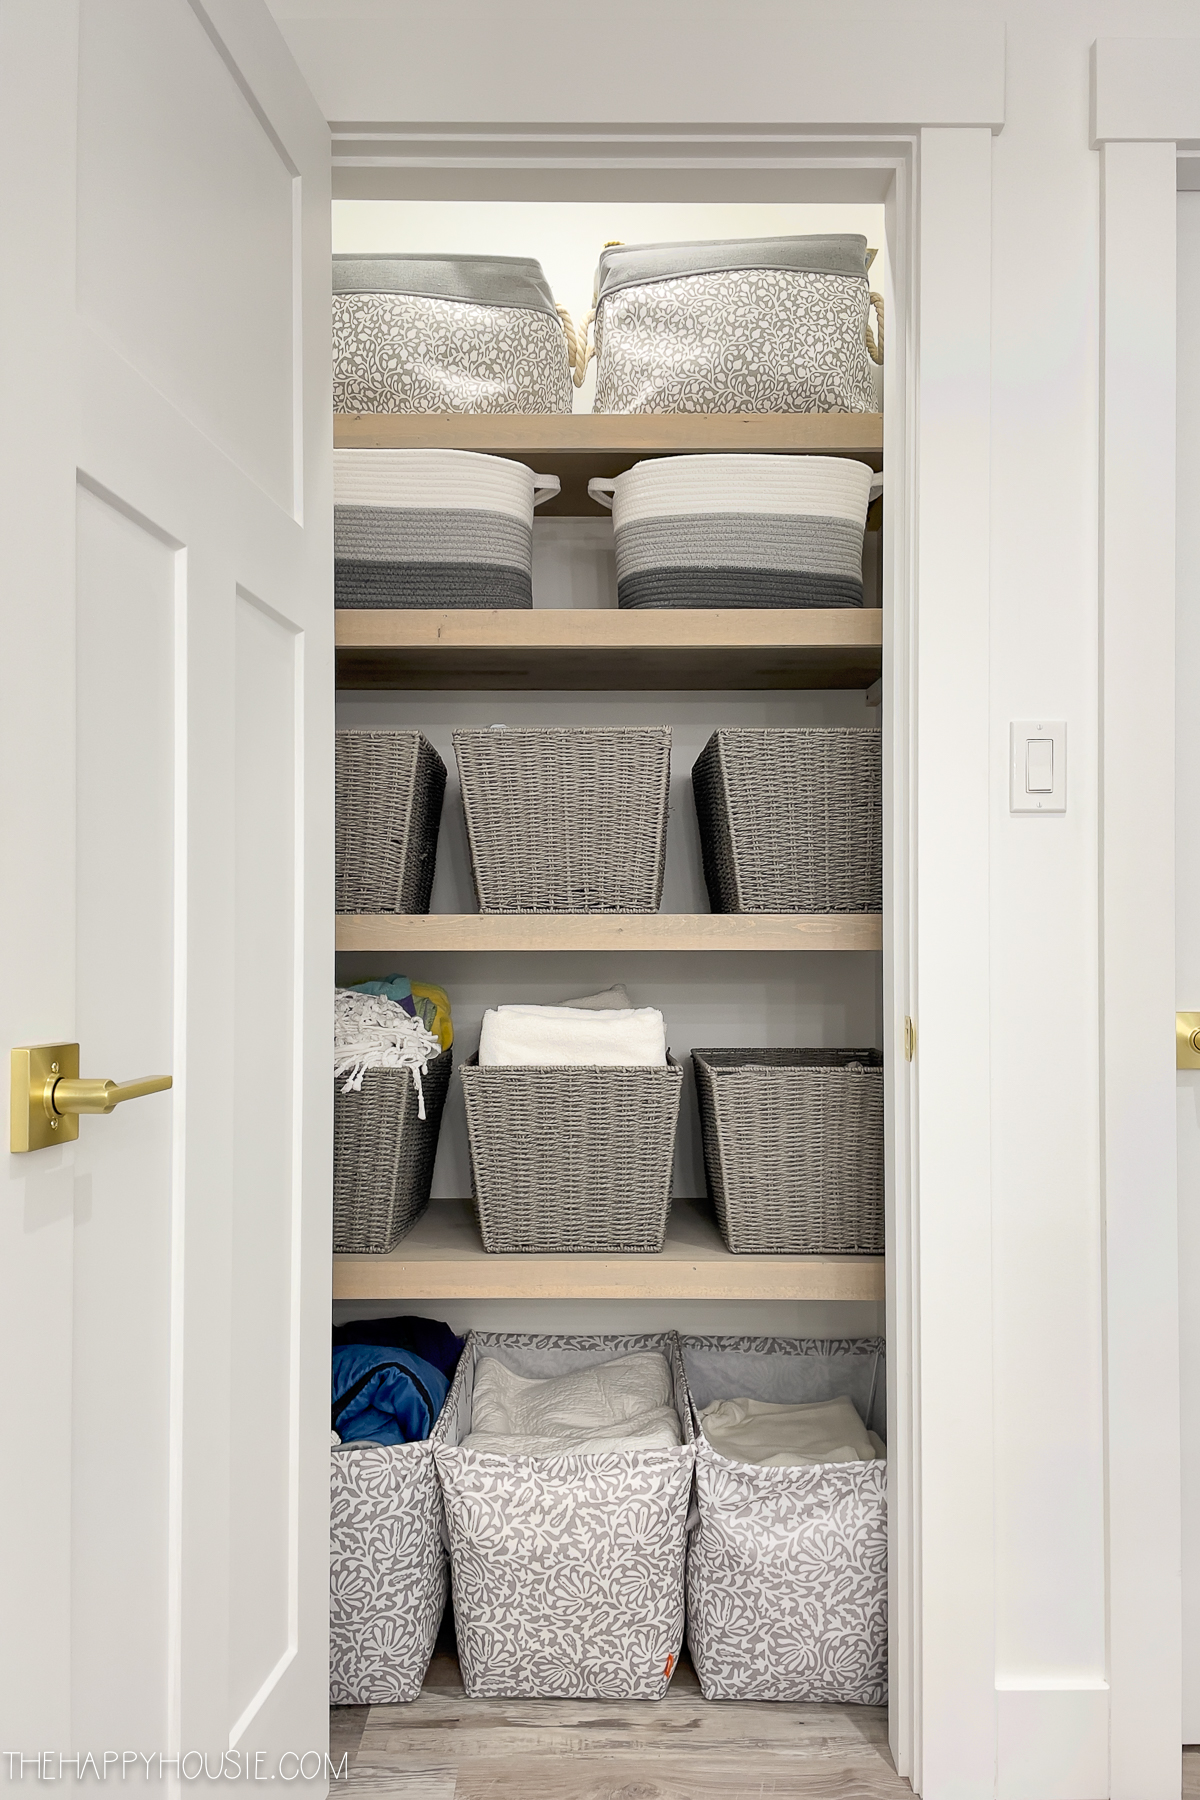
Done!
It feels great to have this space looking so spiffy and totally organized!
So far in this year’s updated version of the challenge, I’ve shared:
Introduction to the Ten Week Challenge
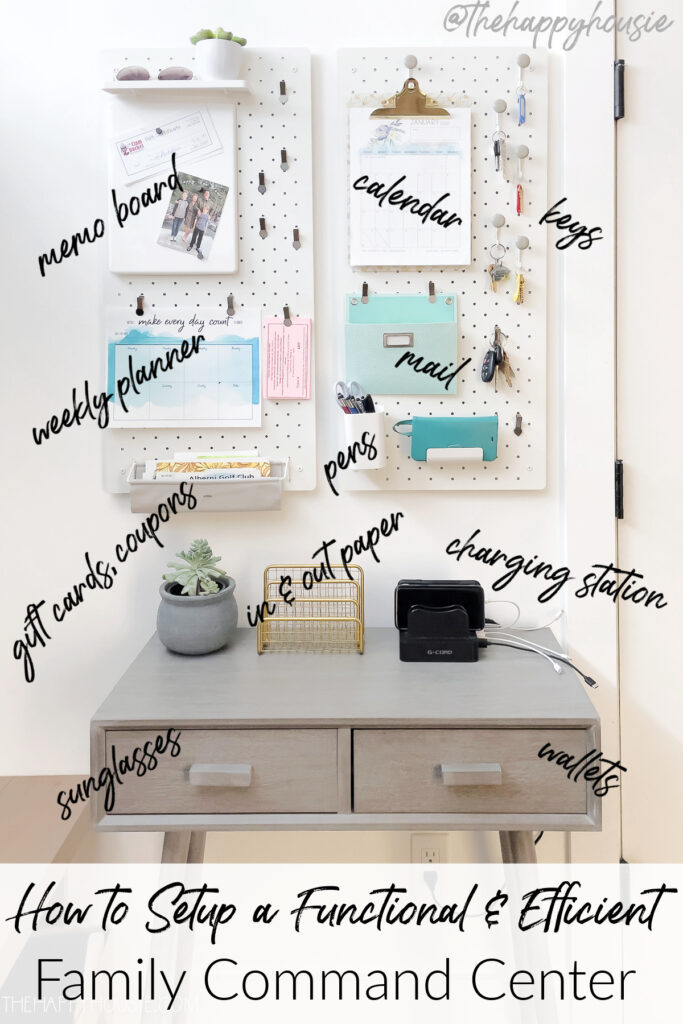
How to Setup a Family Command Center

7 Steps to an Organized Kitchen
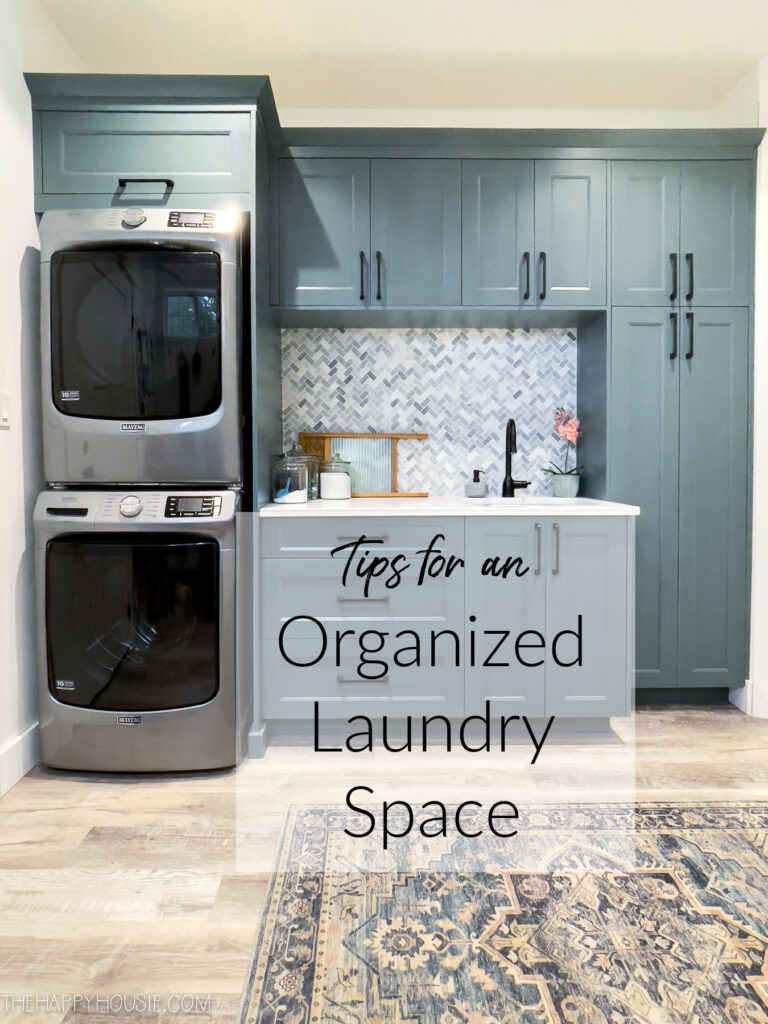
Tips for an Organized Laundry Space
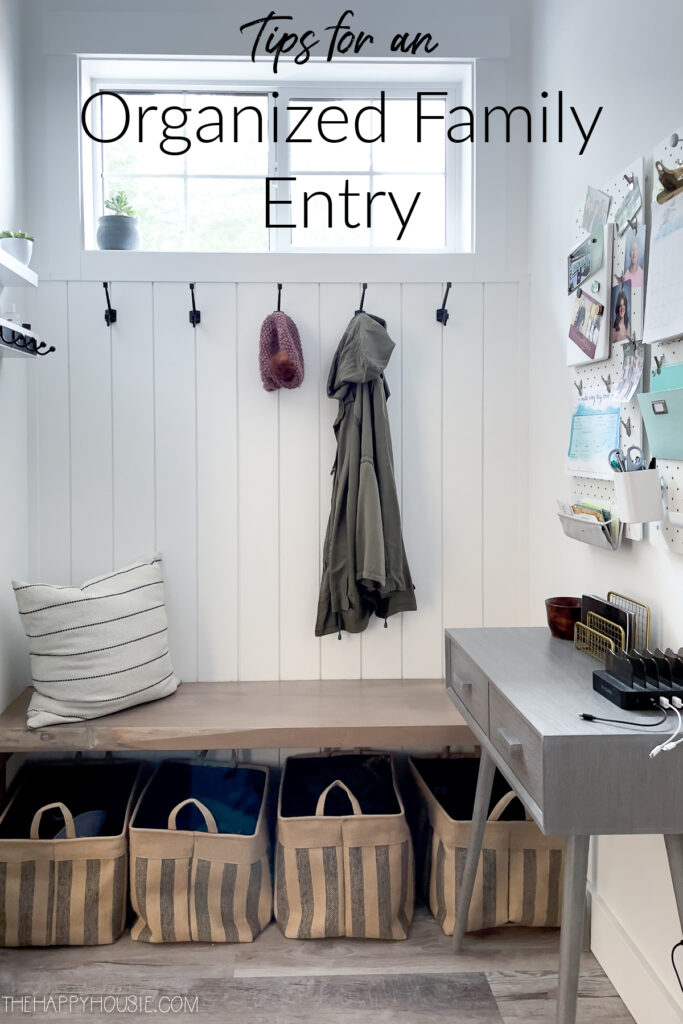
How to Setup a Functional Family Entry
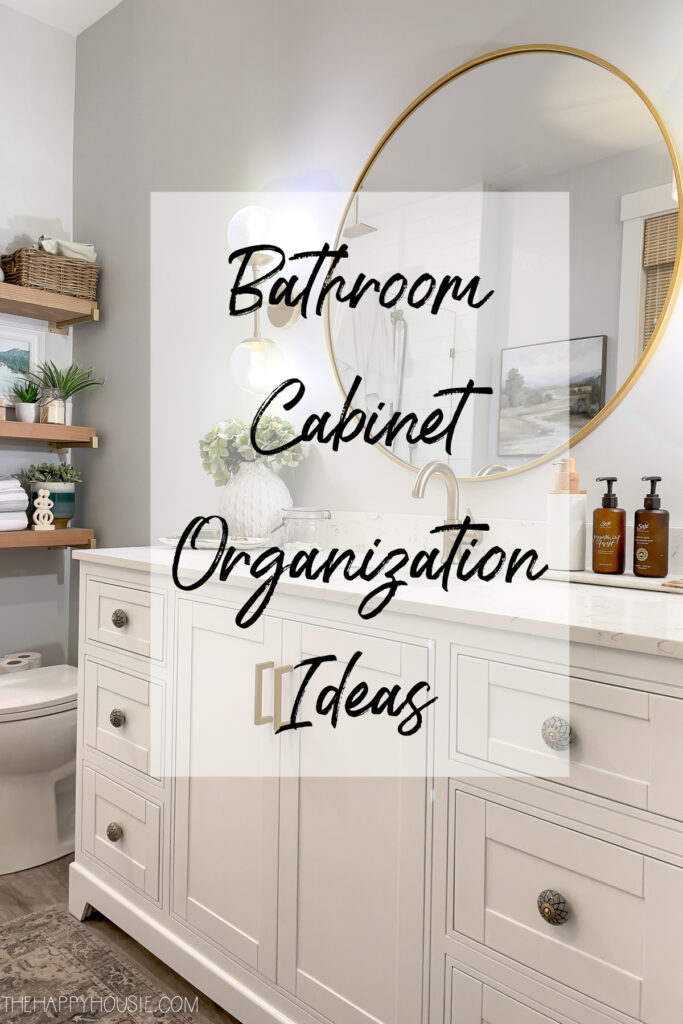
Bathroom Cabinet Organization Ideas

6 Steps to an Organized Linen Closet
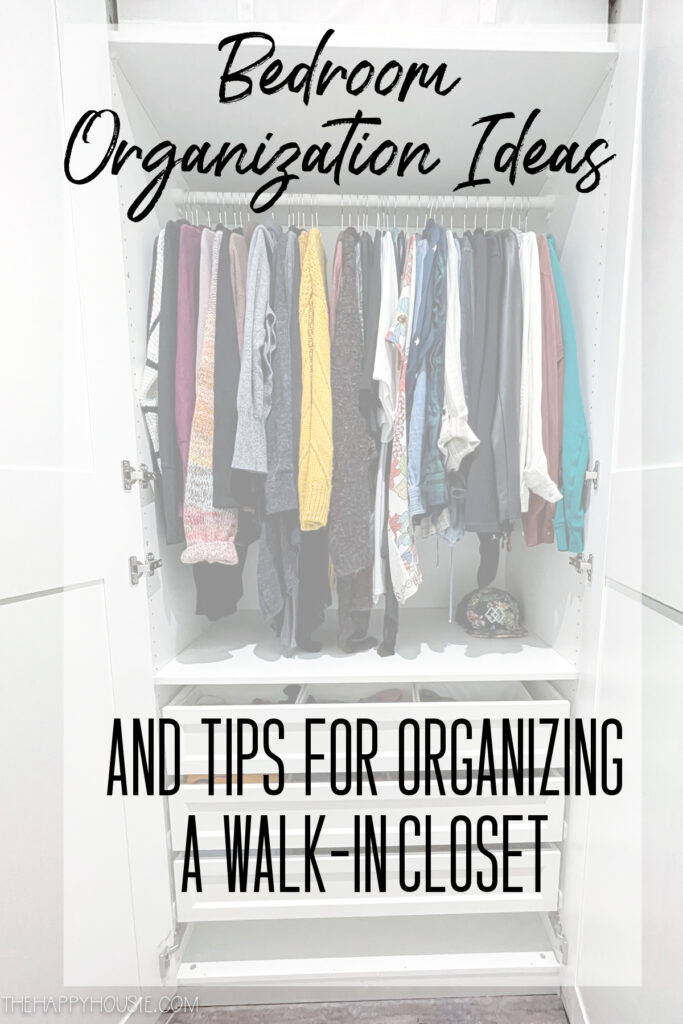
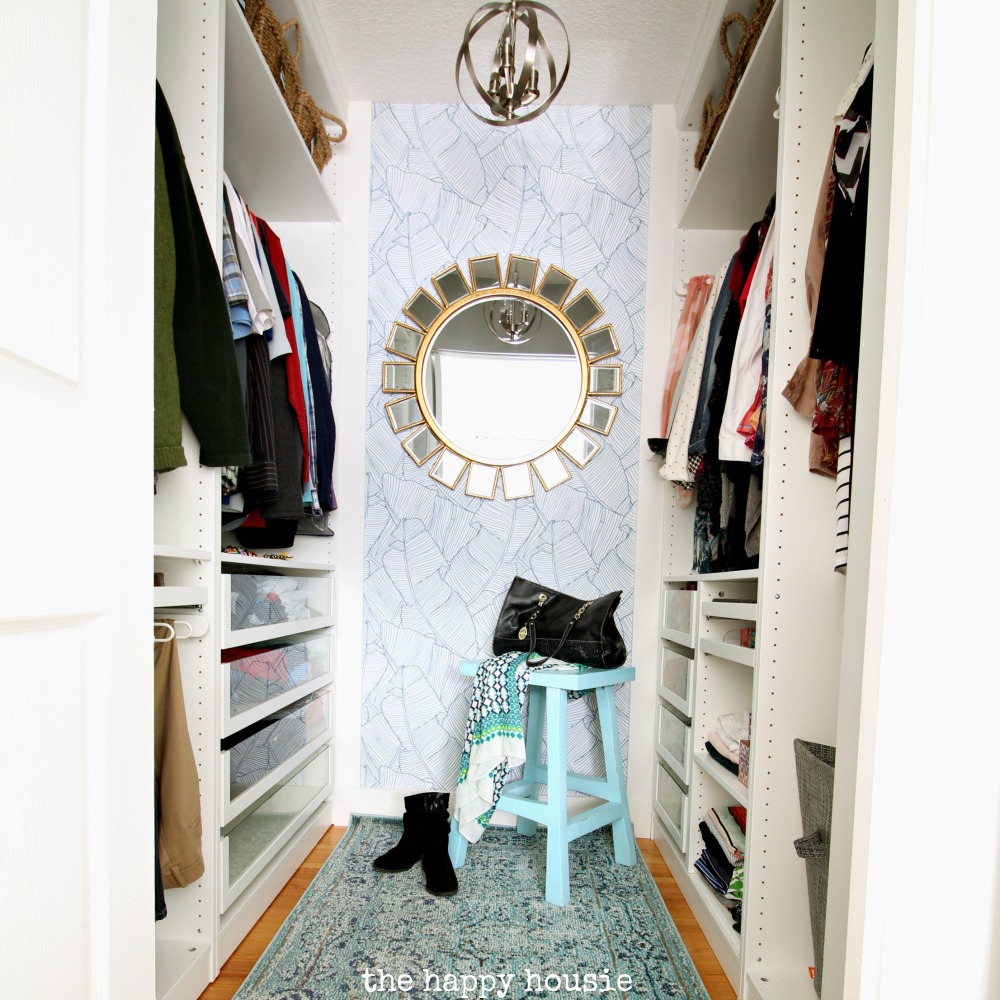
Primary Bedroom & Closet Organization
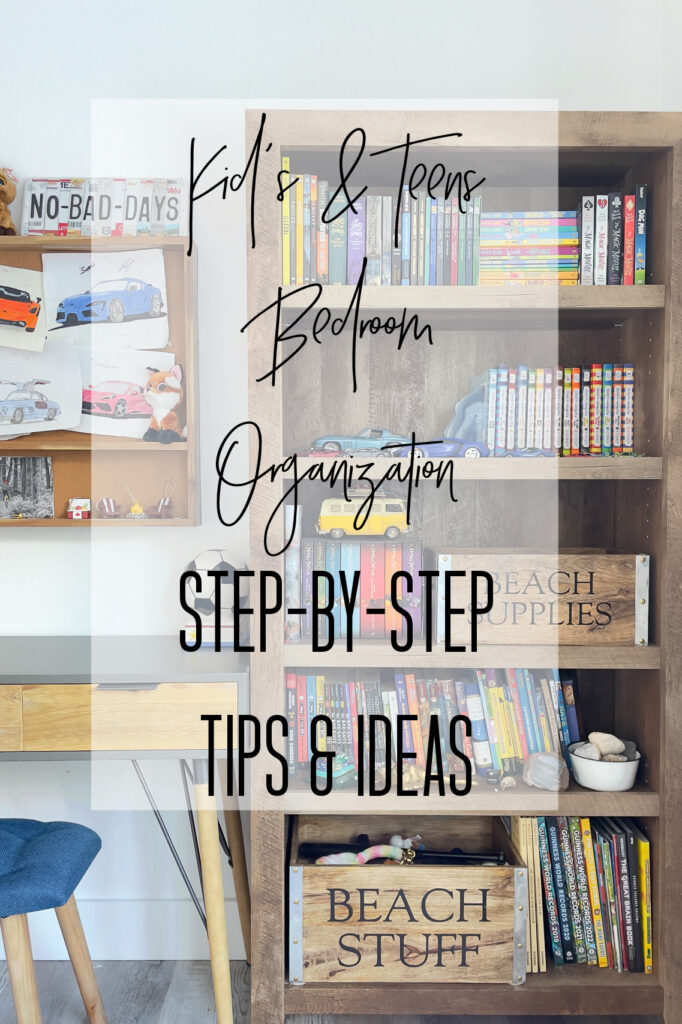
Kids’ Bedroom Organization
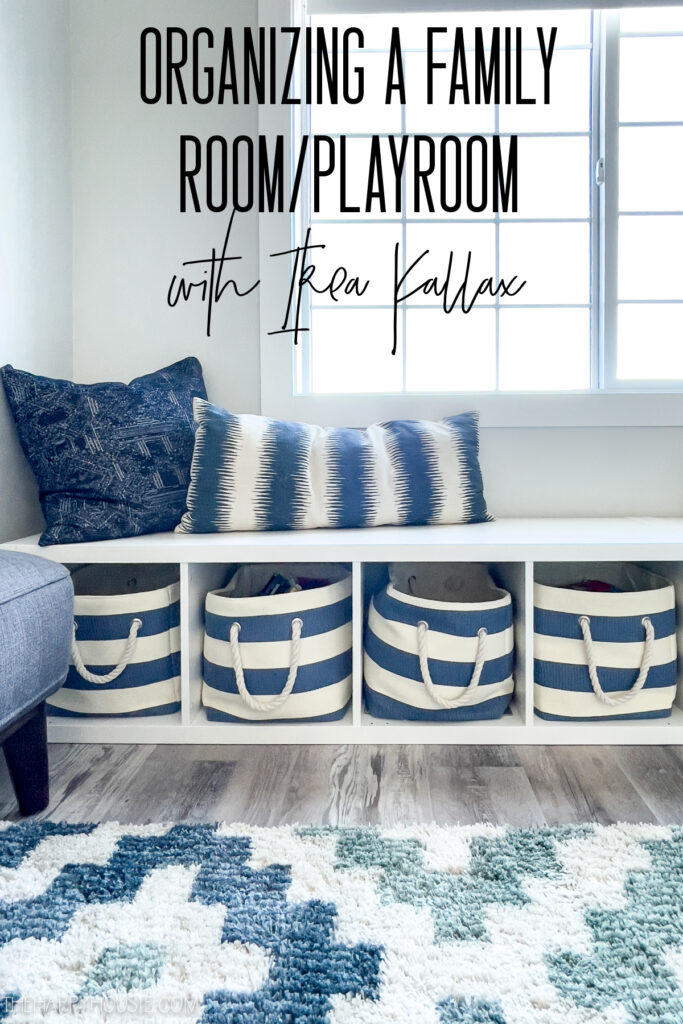
Playroom Organization
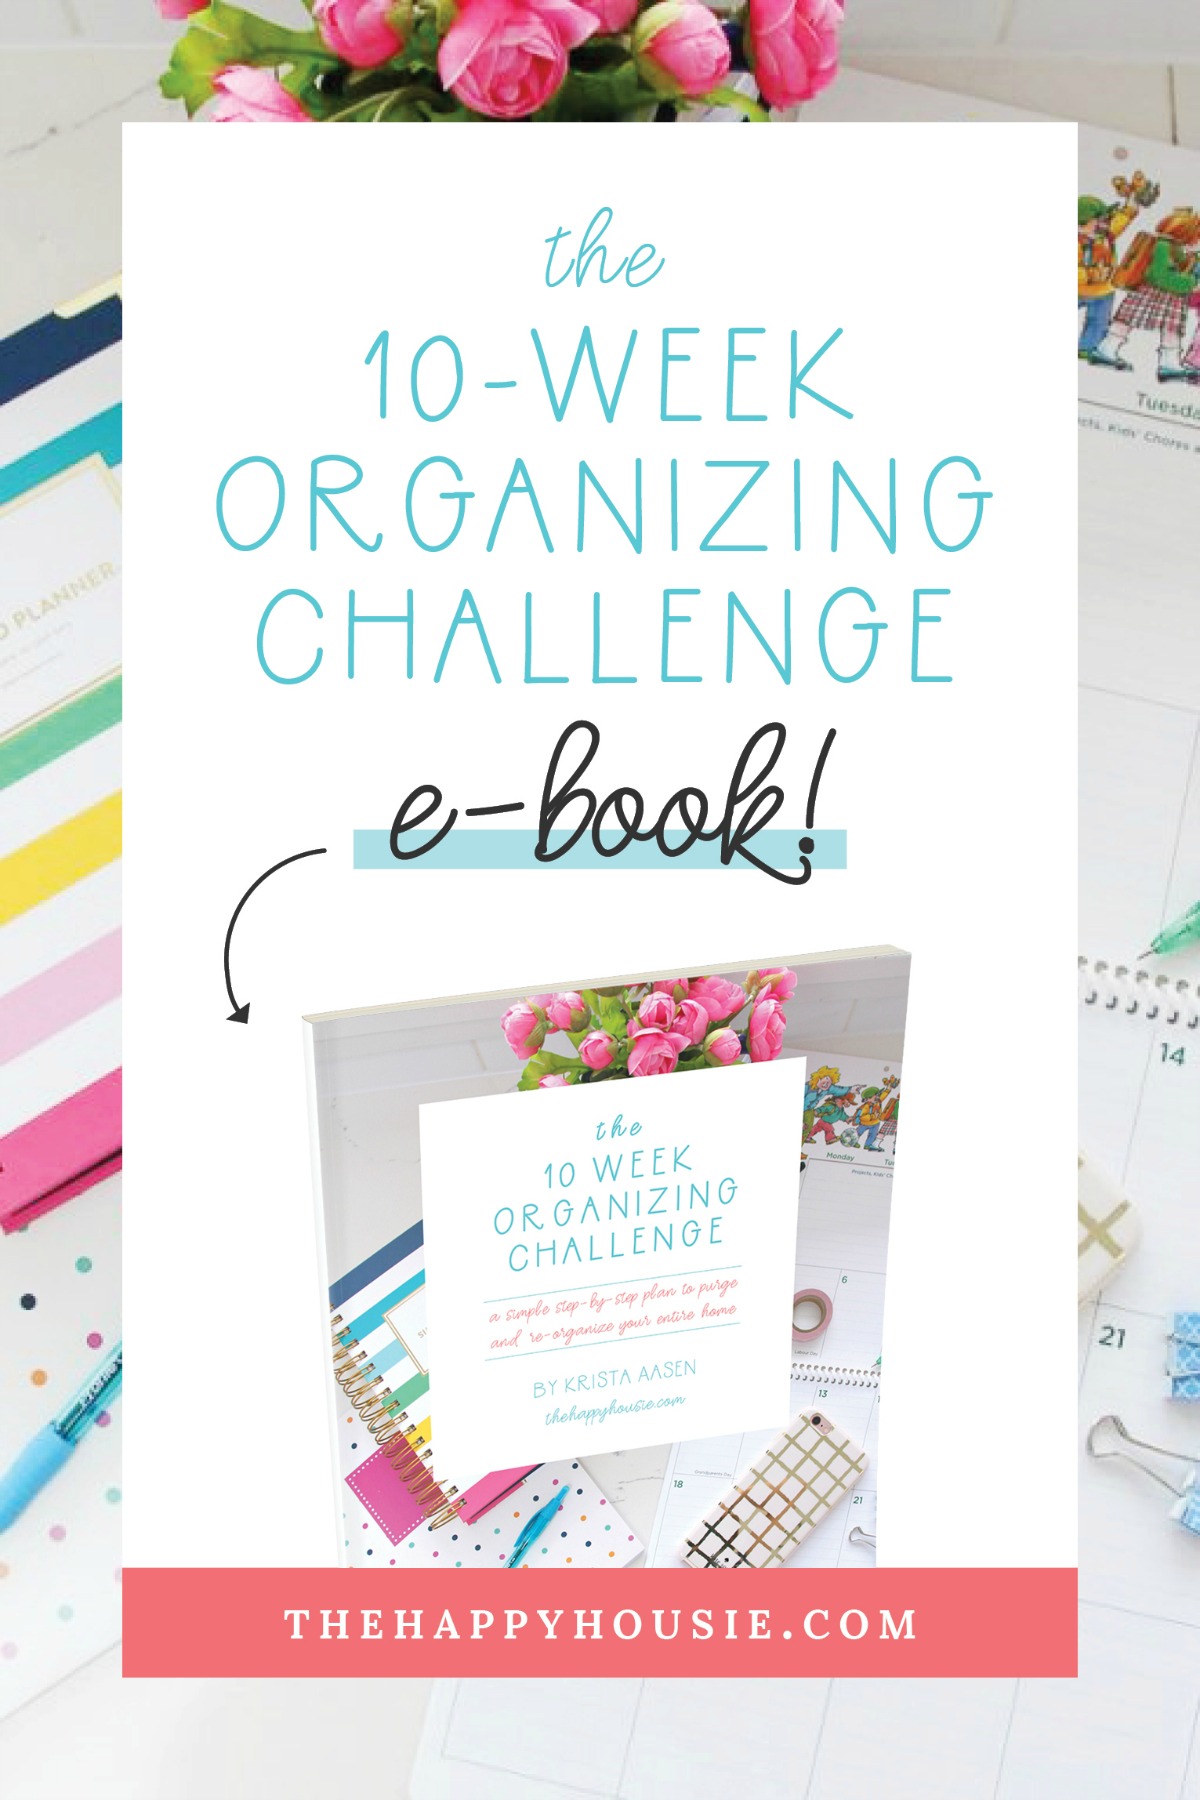
Want this in an easy to digest e-book form? You can learn more about that here!
You can see all of the posts related to my original take on this Ten Week Organizing Challenge by visiting my challenge Intro article here.
The first time I tackled this challenge back in 2017, I shared these posts for Week Five.
Week Five: The Linen Closet
How to Completely Organize Your Linen Closet
How to Replace Wire Shelves with DIY Wooden Shelves
Simple Tips to Organize and Refresh Your Linen Closet (updated challenge in 2020)
Inspiration Articles:
20 Beautifully Organized Linen Closets
Each week over the course of this challenge, I’m going to be sharing my process of working through this challenge in our new home with updated tricks, tips, and organizing systems. If you want to follow along with my new version of the challenge, sign-up below for my new email list! Ten Week Organizing Challenge 2022.