
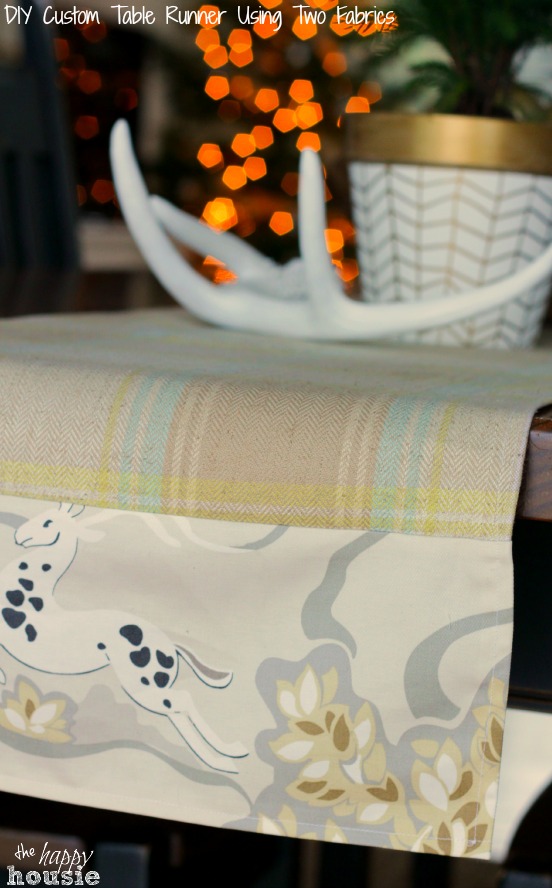
Fast & Easy Custom DIY Table Runner {Using Two Fabrics}
Come the holidays I like to add a little permanent bling to our dining room table. Some ornaments, greenery, that type of thing. You can’t leave any surface bare around the holidays, y’know.
And I like to ground all that bling on a pretty table runner. Thing is, I have never found a ready made runner long enough for our dining table.
You’d think we have a massive table long enough to seat a band of giants. But we don’t.
It’s a standard 6 foot length. So why are all the table runners only 72″? I want a little overhang here people. Is that too much to ask? So my only option is to go custom: luckily this ‘custom’ DIY Table Runner was also easy and fast.
If you follow me on Instagram you might have gotten a sneak peak at the fabrics I ordered from Tonic Living for our Christmas/winter pillows this year.
The thing about envelope pillows, is if you make them for standard 18″ forms, then you get a nice little 10-12″ width left over – so if you have two yards of one fabric, you get a piece leftover that is somewhere around 10-12″ or more wide by 72″ long (depending on the original width of your fabric).
Almost PERFECT for a table runner…almost.
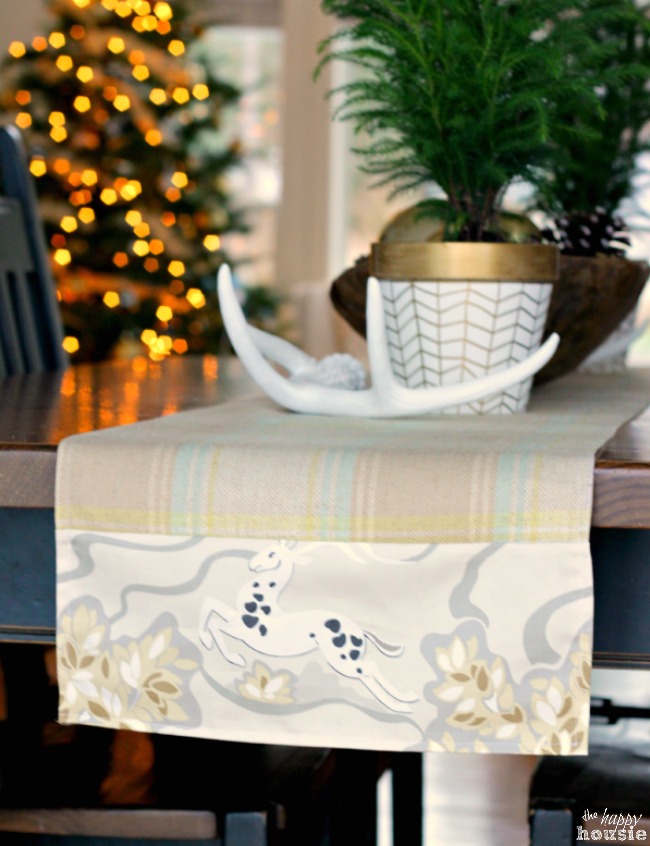
So to make it just that smidge longer and give me the overhang I so desired, I added on some strips leftover from one of the other fabrics I ordered. Not only did I manage to eek out every last inch from my fabric order, but I got a table runner that perfectly coordinates with our new pillows. Win-Win.
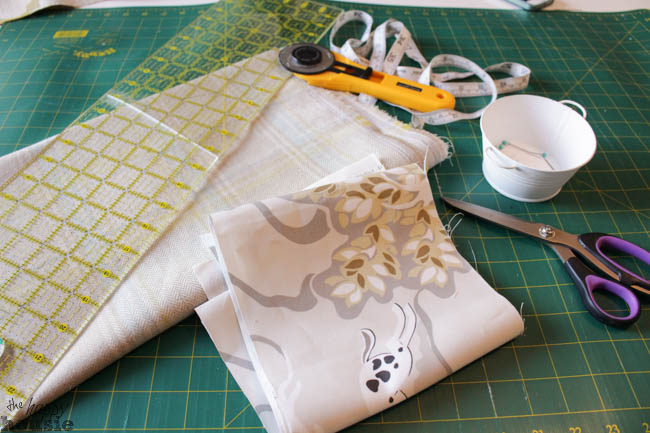
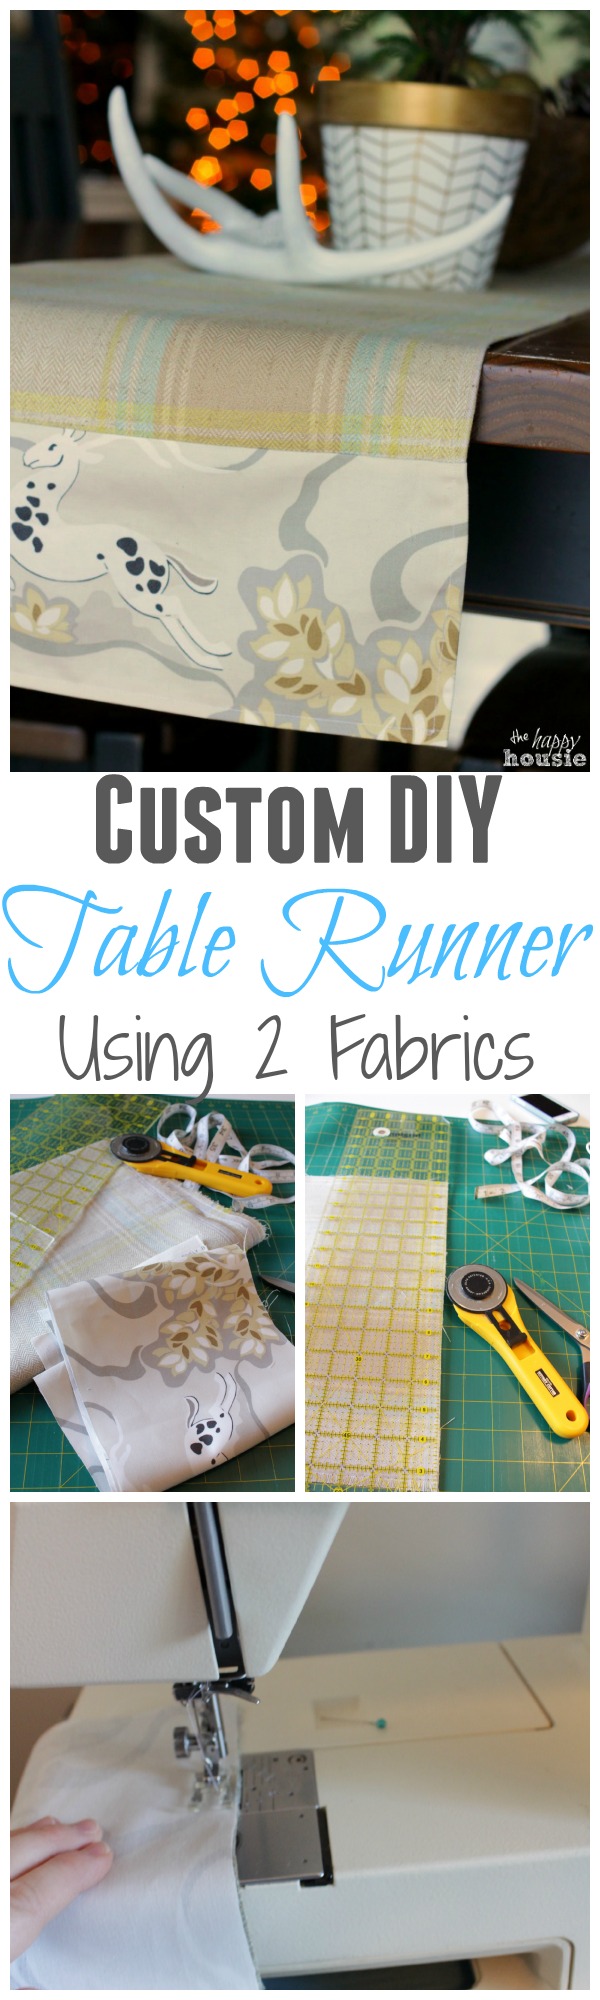
To make this easy and fast custom DIY Table Runner, I used:
– a 12″ wide by 72″ strip of my plaid fabric and TWO 12″ wide by 6″ long strips of my second (end) fabric
– my rotary cutter, mat, and straight edge – I love these tools, but you can also use a measuring tape, pencil, and regular old scissors
– pins, iron, sewing machine
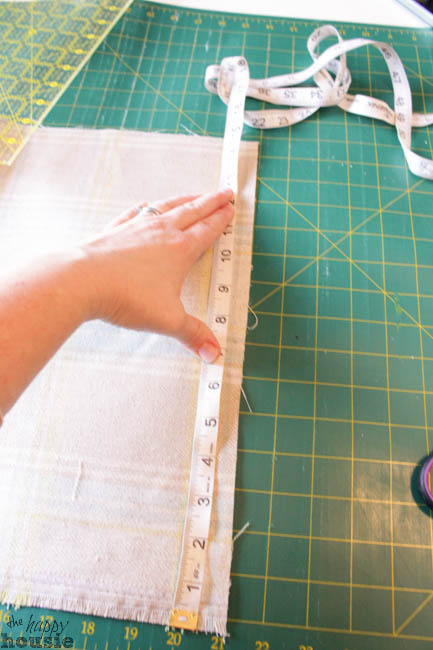
I started by making sure that I had straight edged on the ends of my 72″ long strip of fabric.
Then I double checked the width of my fabric – since this plaid was closer to a 60″ wide fabric, I ended up with a piece about 15″ wide by 72″ long. I needed to know the exact width of it to make sure that I cut my second fabric to the appropriate width.
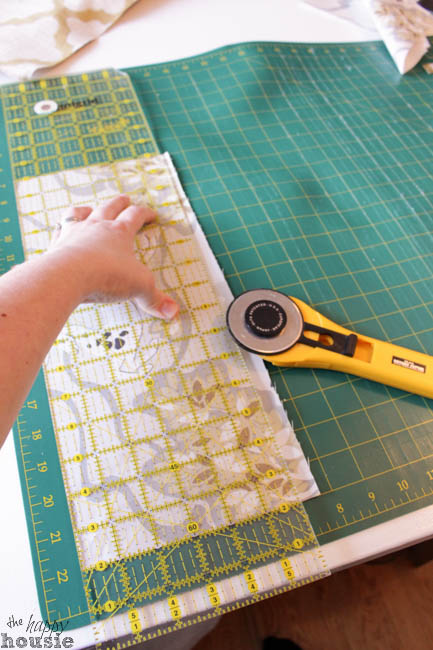
Since my second fabric has a pattern, I decided to center the same image within each of my two 15″ widths.
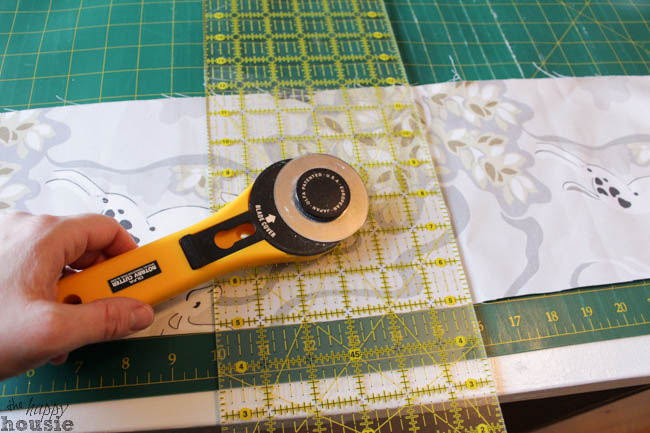
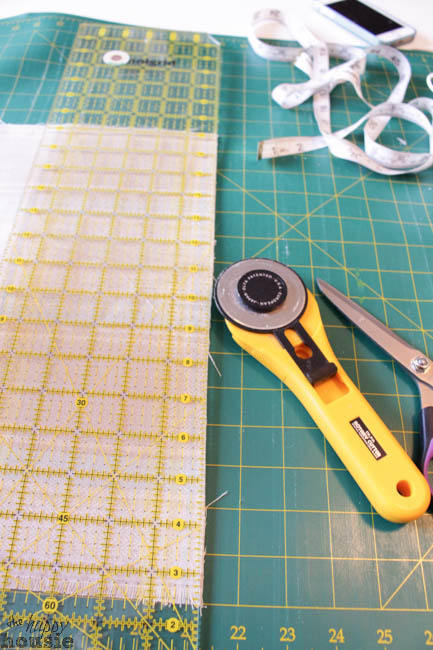
Then I made sure that the edges of the secondary fabric were all square using my rotary cutter, mat, and straight edge.
These are probably my favourite ever cutting tools and I use them all the time; you can tell my mat is a bit warped. Warning: Do not IRON directly on your mat. It warps it.
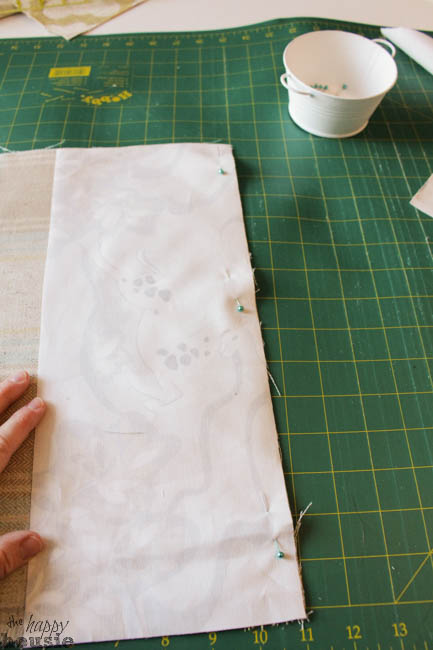
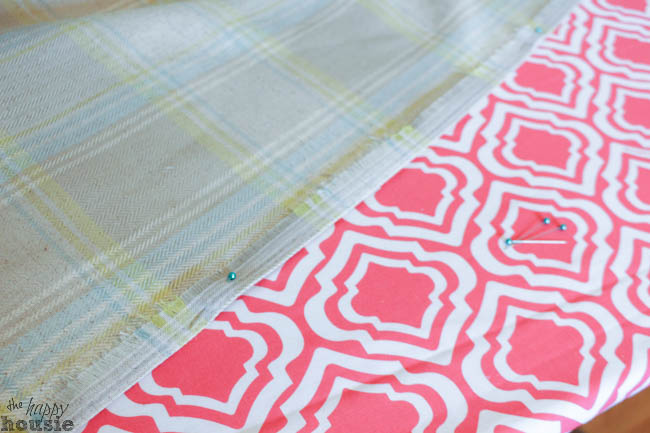
Once all the pieces were cut and the edges squared off, I laid my small piece right side together onto my large strip of fabric and pinned it.
Then I stitched that baby up…
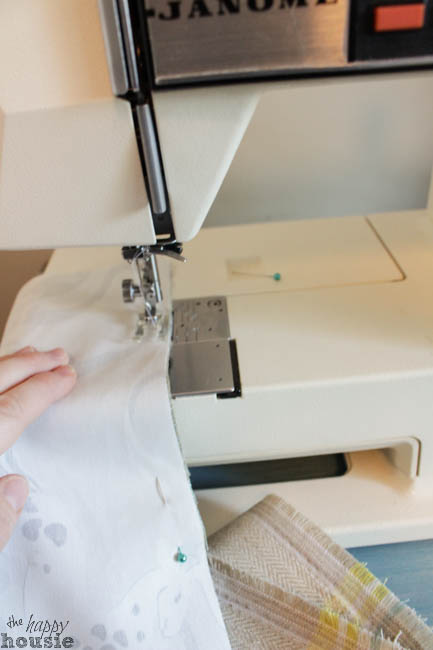
Ironed the seam so that the extra fabric pushed down towards the deery piece.
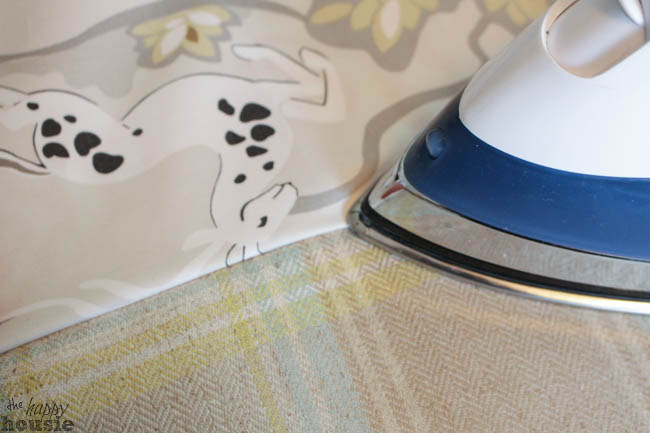
Last job: fold and iron the edges, pinning as you go to create a hem all the way around – then use your sewing machine to quickly stitch the hem down. You could probably do this pretty easily with no-sew hem tape as well.
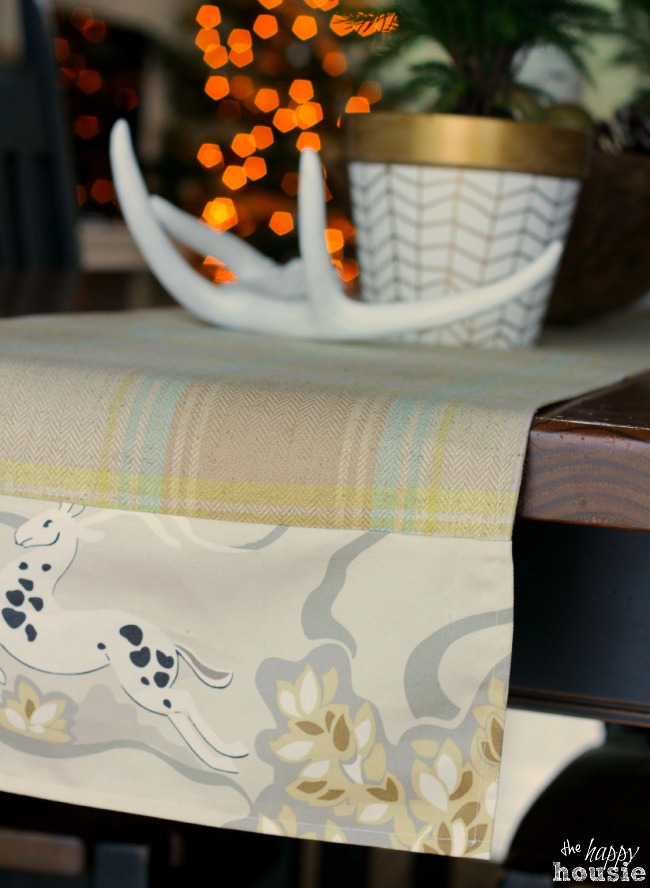
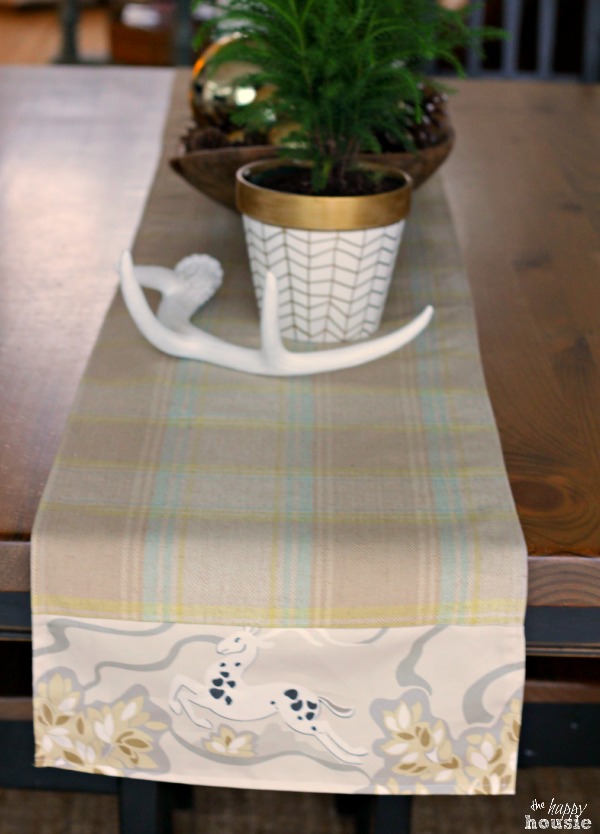
Really fast, easy and totally custom. I love what it does for our dining room table- the perfect ground for a little holiday bling.
What do you think of that adorable deer fabric? Even the name is perfect: “Prance, Shimmer”. It was pretty much the inspiration for our entire Christmas living/dining room décor this year- I can’t wait to give you the full tour this coming Monday {but shhhhh: don’t tell anyone – that means I have a LOT of board and batten to paint this weekend before I can even take pictures. Ugh).

And did you know that this Sunday is the Get Your DIY On Challenge for December? Here is what my cohosts are sharing TODAY in honour of our theme “Hand-made Holly-days”!
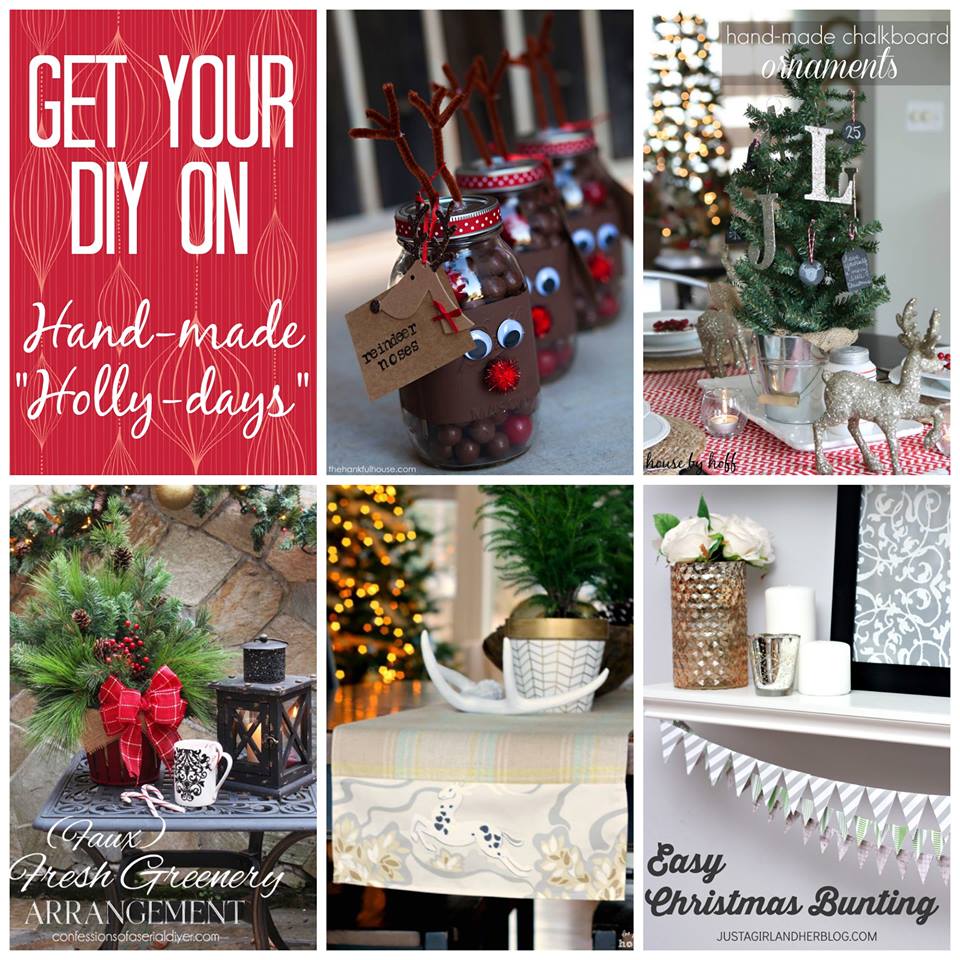
Reindeer Noses Mason Jar Gifts at The Hankful House
Handmade Chalkboard Ornaments at House by Hoff
Faux Fresh Greenery Arrangement at Confessions of a Serial DIYer
Custom DIY Table Runner Using Two Fabrics at The Happy Housie (you are here!)
Easy Christmas Bunting at Just a Girl and Her Blog
So come back on Sunday!
I can’t wait to see what kind of Holly-Day projects you have to share with us!!


![]()
![]()
![]()
![]()
![]()
![]()
![]()
Love your fabrics and it looks gorgeous!Pinned!
I love table runners and I have a hard time just finding one that I like that I can afford let alone the right length. Great tutorial. I love your choice of fabric. Did I miss the pillows? I will need to look for them.
SOOOOO pretty Krista! LOVE that plaid!