
How to Achieve a Super Smooth Finish When Painting Old Kitchen Cabinets
I am sharing my best tips for creating the smoothest finish possible when painting your kitchen cabinets.
I’m actually a big fan of a dated kitchen.
Simply because they provide so much potential. And inspiration.
I love pouring over real estate listings for homes with ugly dated kitchens and envisioning how amazing they could look with some new countertops, a few coats of bright white paint, and some gorgeous new hardware.
I think there really aren’t very many kitchens out there that can’t be rescued with paint.
In fact, in our married lives, we have lived in and/or owned six houses.
I realize now that I have painted the cabinetry in every single home we have lived in/rented/owned. That’s a lot of kitchen cabinetry. And a lot of paint.
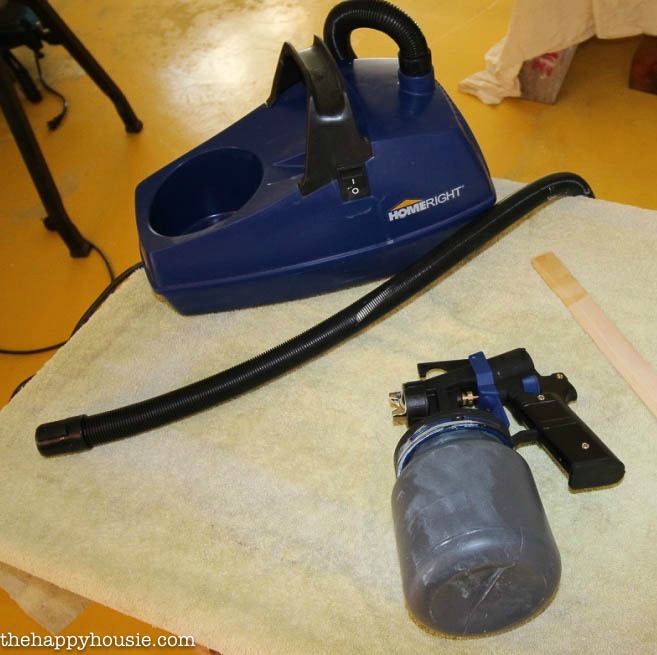
Paint Sprayer
And it took me until now to realize how fabulous a paint sprayer is. I had never tried one before. And I have to say, I’m now kicking myself for not owning one earlier.
I was able to give this kitchen a completely new updated look and achieve an amazingly smooth finish with my HomeRight Finish Max Pro. Once you try it, I don’t think you’ll ever look back.
In case you have missed out on my other posts about transforming this kitchen (and this entire home), this is what the kitchen space looked like when we first viewed the property…
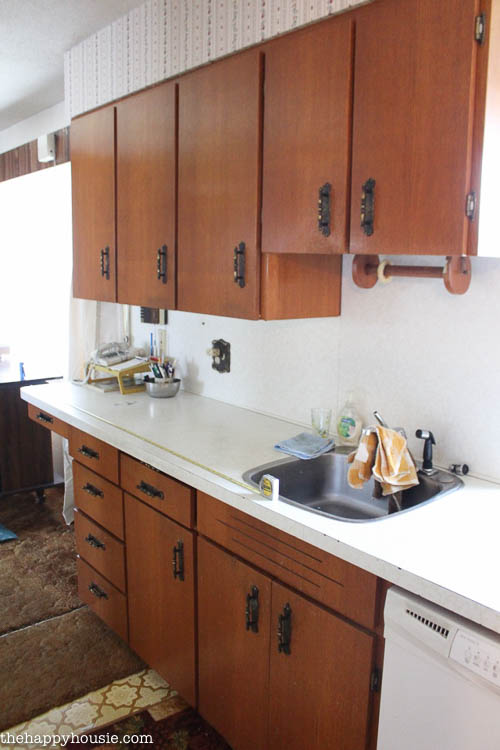
Lots of potential in those kitchen cabinets, right?
Well, to get started on their transformation I had to begin with the prep…
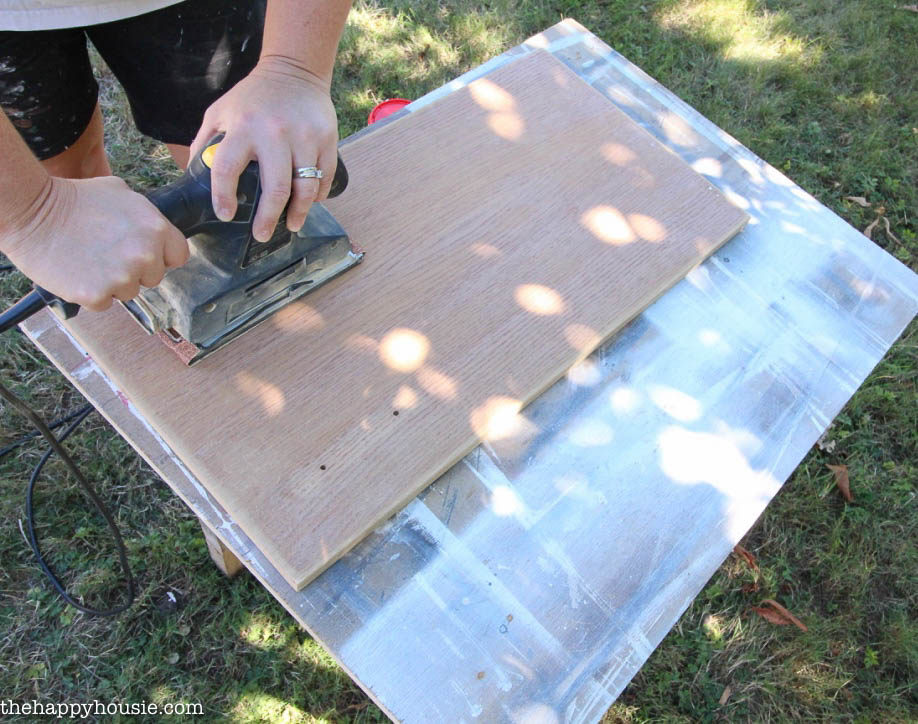
One of the most important and most annoying parts of painting your cabinetry is the prep.
And by annoying, I mean really really annoying.
In this case, bone-numbingly annoying.
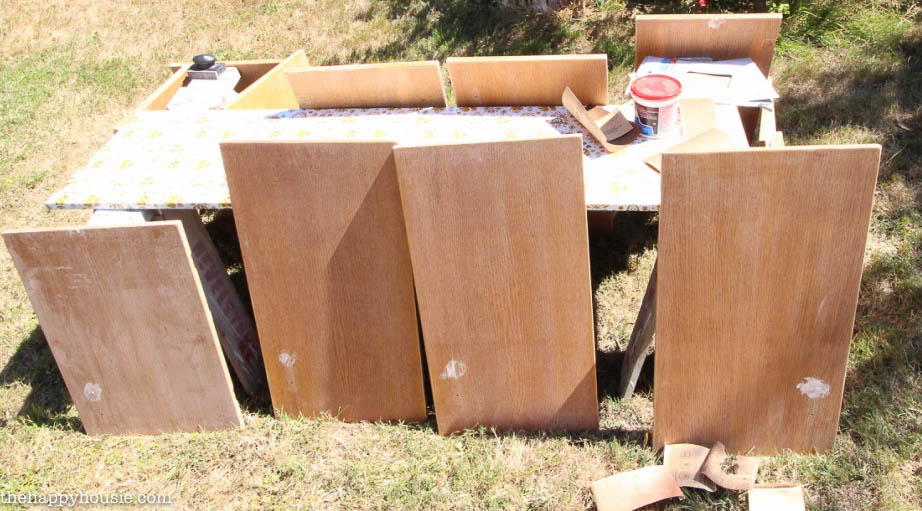
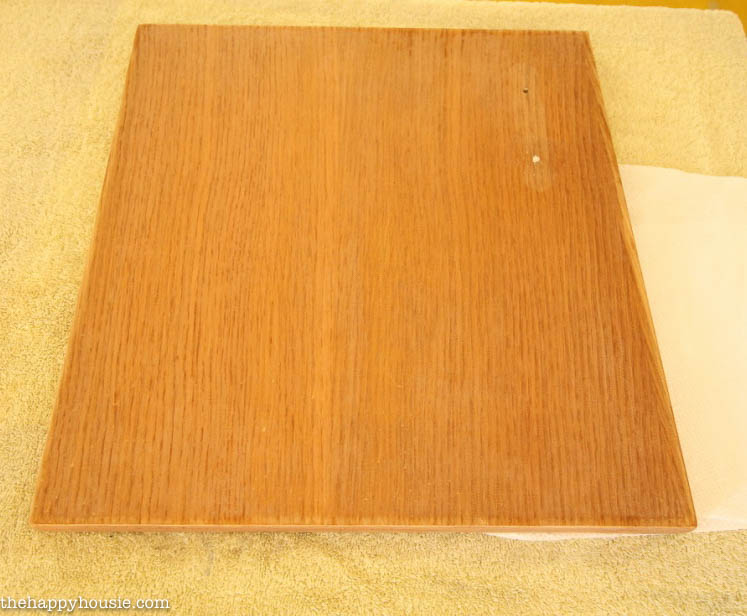
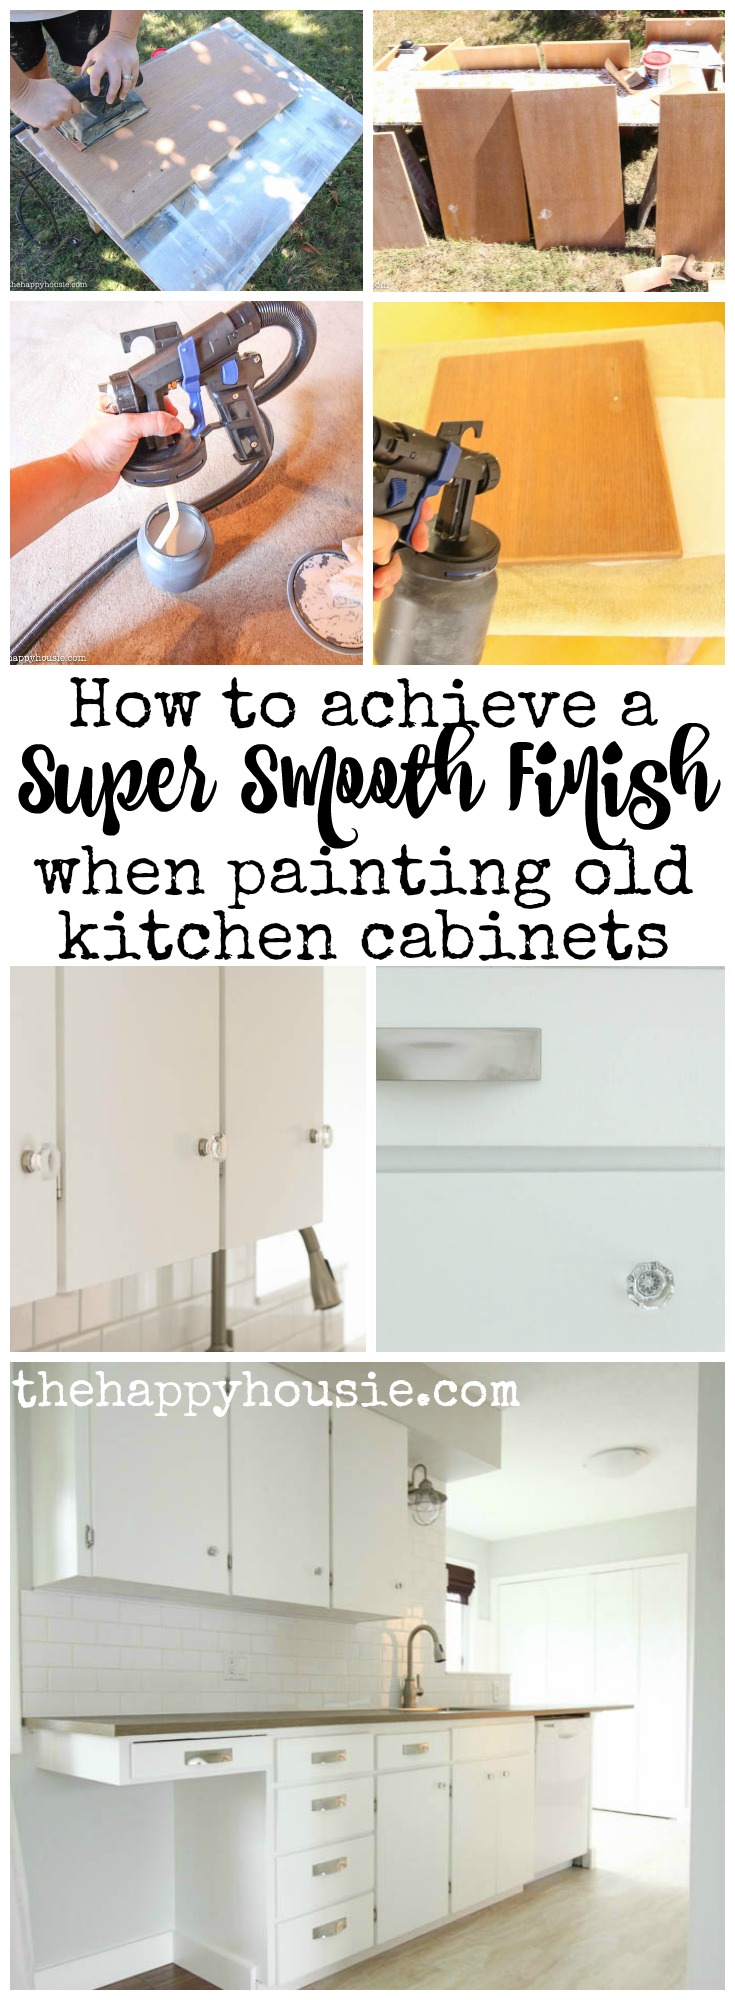
I started by sanding down the finish on all sides and edges of these highly varnished flat cabinets. By the end of the day my eyebrows were white with sanding dust and my hand was vibrating long after the actual sander had been turned off. I used a lower grit paper to start (60-80) and then moved up to higher grits to smooth off the finish once I’d removed the old varnish.
I also filled any holes or damage (including the holes from the previous hardware) with filler – and let it dry before sanding it smooth again.
All this prep was long and tedious, but definitely worth it. I gave me the perfect base to begin with.
I set up my painting station in the basement because I wanted to keep the fresh paint clear of bugs and flower blossoms and other lovely things that float around in the air outdoors and dive bomb fresh paint jobs.
HomeRight Finish Max Pro
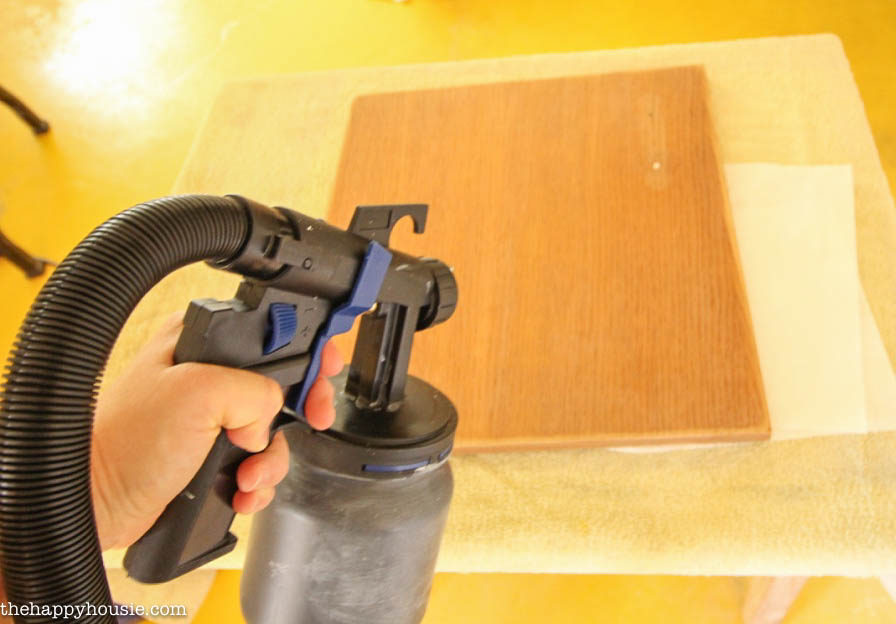
This was my very first time using the HomeRight Finish Max Pro, so I carefully read the instructions and then did a trial run on some spare plywood. I felt ready so I jumped in and went for it…
I wasn’t worried about paint overspray because the basement was definitely a work-in-progress (note the yellow concrete floors:). But if you were concerned, HomeRight has an awesome spray shelter you can use to keep areas protected in your garage or elsewhere (in fact, I’m planning to use my tent soon to paint some new dressers).
My best tips for using this fab machine are to: 1) Carefully read the directions and follow them – especially when it comes to prepping the paint. 2) Practice first until you feel comfortable and confident with your spray. 3) Clean it well- follow the instructions here as well!
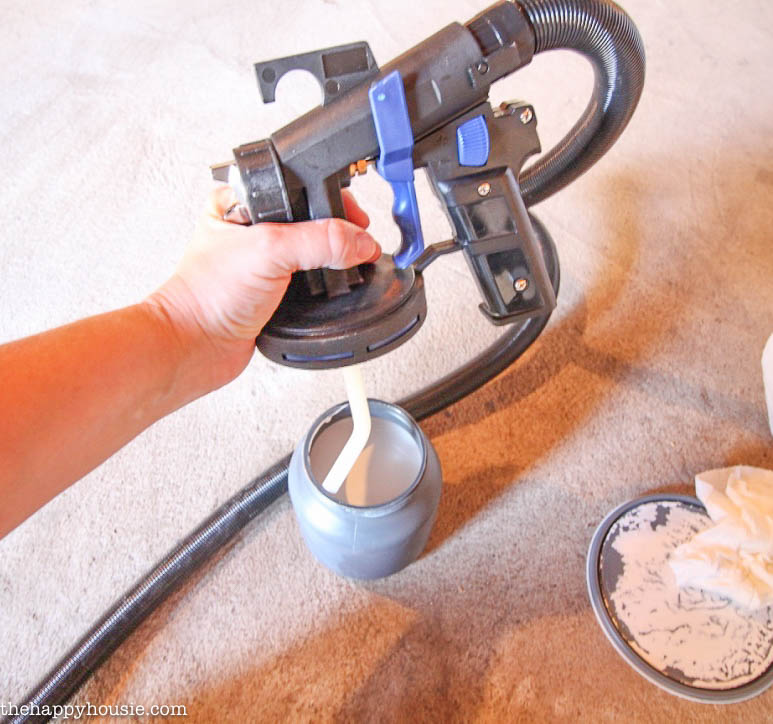
And, go!
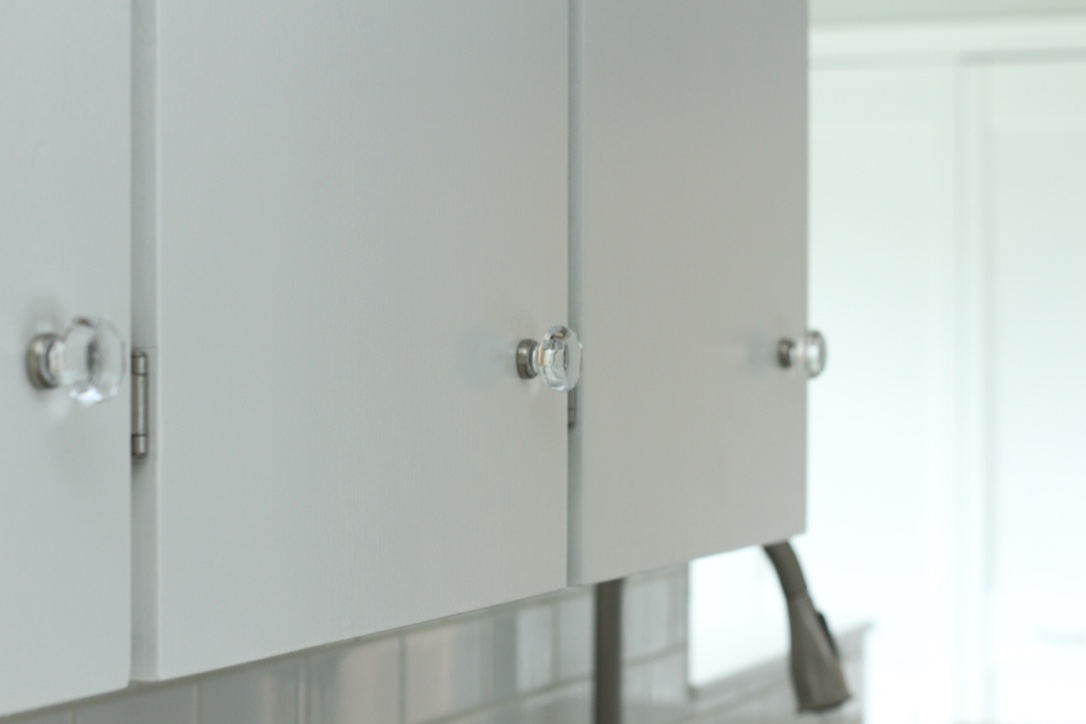
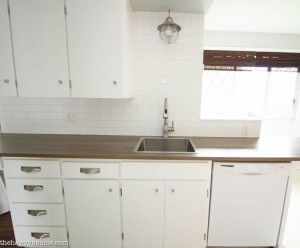
I primed my kitchen cabinets first with a nice coat of high quality primer. I let it dry, flipped them, and primed the other side/edge. I then let them dry overnight before doing two coats of Simply White {Benjamin Moore} in a semi-gloss finish.
I can’t quite get over how fresh and amazing they look!
And the finish is truly the best I’ve ever achieved on my painted cabinetry… you can make out the grain only very minimally and they feel hard and smooth and solid.
What a difference, right?
Have some cabinets to paint? Find a little inspiration?
Pin it to remember it!

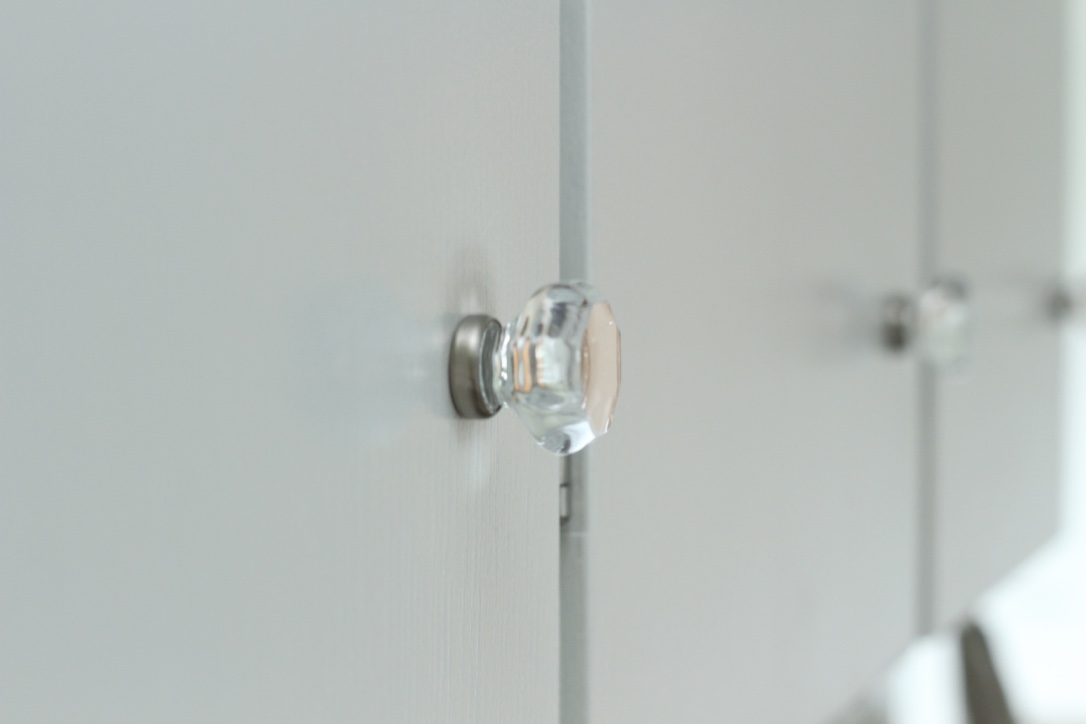
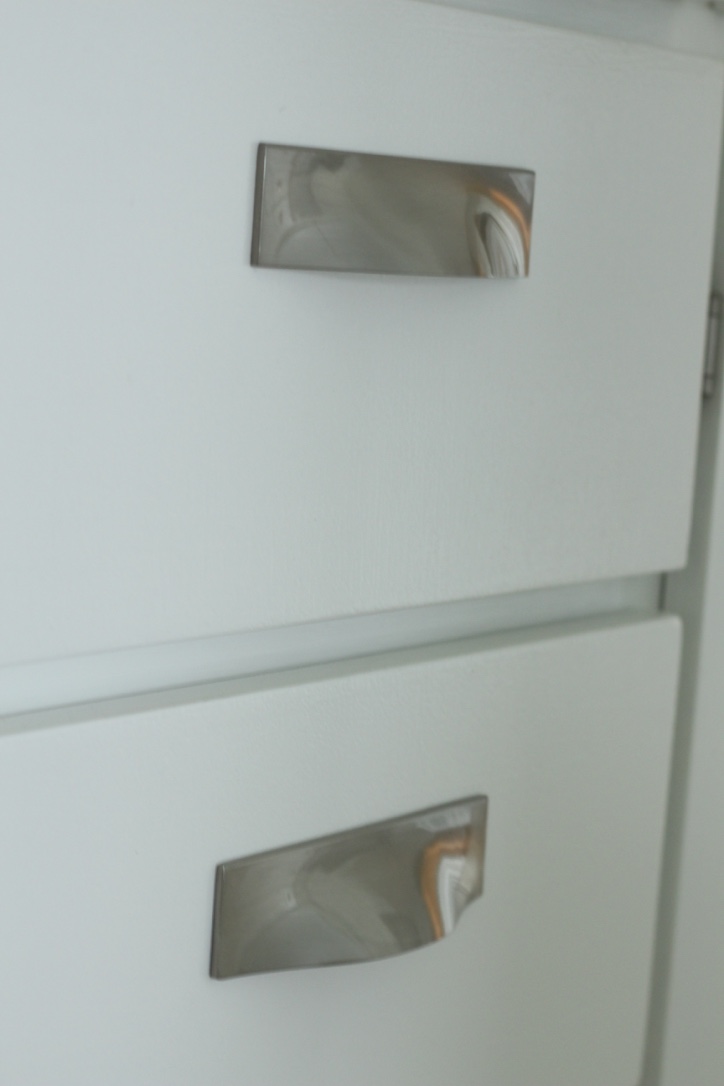
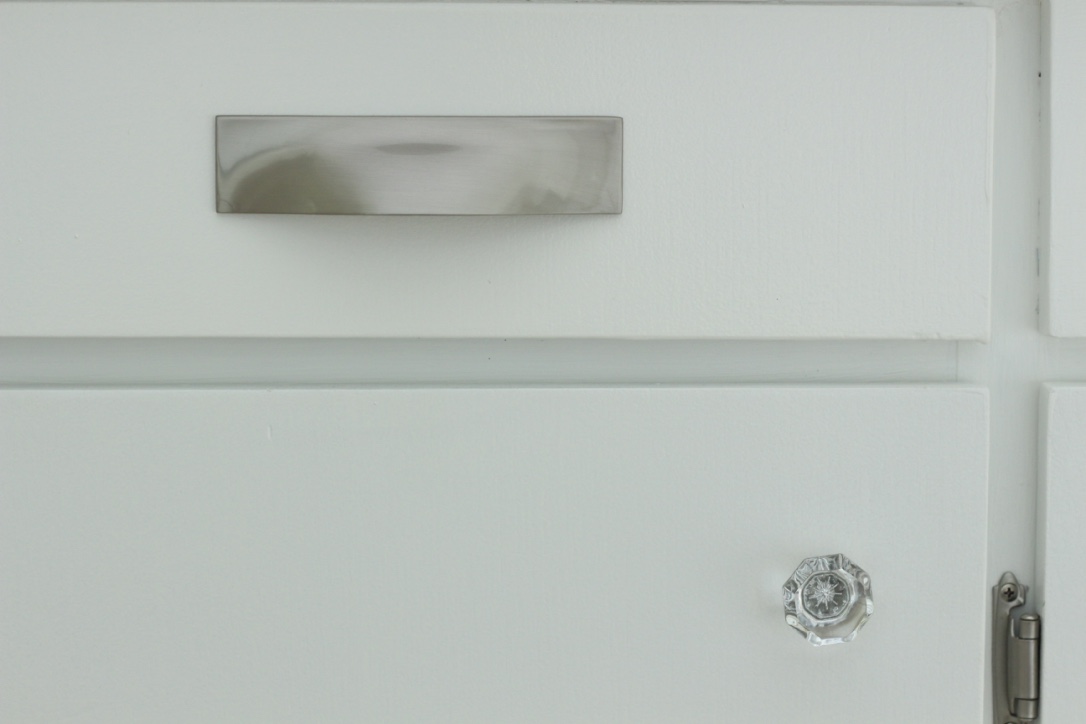
Oh, and if you are wondering about my gorgeous new hardware? I sourced it from DLawless Hardware – and shared all the details about this kitchen makeover on the reveal…
Hop over here to check out the rest of the details about this crazy-thrifty kitchen transformation!
And here are some of the other projects we tackled during this home renovation…
{Click on the image to be taken to the full post}
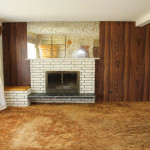
The BEFORE
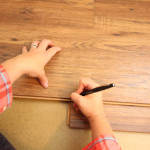
10 Great Tips for a DIY Laminate Installation
How to Install New Countertops on Old Cabinetry
Up next: I can’t wait to show you the bathroom makeover!!

![]()
![]()
![]()
![]()
![]()
![]()
![]()
Disclosure: Thank you to HomeRight for the opportunity to collaborate on this project and post. I’m thrilled to share my experience with the HomeRight Finish Max Pro. All words, thoughts, and opinions are 100% my own.
I may link up at some of these fabulous places below, for more info check out housie parties: Monday Funday , Inspiration Monday, Nifty Thrifty Tuesday, Project Inspire{d} , Inspire Me Tuesday, The Scoop, Hit Me With Your Best Shot, Wow Me Wednesday, Whimsy Wednesday , From Dream to Reality, The Inspiration Exchange, Wow Us Wednesday, Live Laugh Rowe Live Laugh Linky, Thursdays Are Your Days, Inspire Me Please, Catch as Catch Can, Fabulously Creative Friday, Party Junk, Pinworthy Projects , Link Party Palooza,, Weekend Bloggy Reading, Strut Your Stuff Saturday, Spotlight Saturday, Suburbs Mama , That DIY Party


Your project turned out beautifully and has definitely inspired me to paint my golden oak kitchen cabinets. Eeeek!
Tell me, was it a pain in the keister to set up a paint and drying area and did the spray gun cause you any trouble when you tilted it downward? I see that you did these on the floor.
Hi Danielle! It took me some practice to get the spraying down, for sure. I ended up leaning many of the cabinet doors up and used drop cloths underneath them (though we were also painting them in an unfinished basement). In the past I’ve also painted cabinet doors with a foam roller (before I had a sprayer) and that gave a smooth finish too, though perhaps not as smooth as once you are experienced and comfortable with a sprayer. I hope that helps? If you have any more questions, I’m happy to answer them if I can!
Wow, what a difference! It looks like a professional paint job.
Hugs, Jamie
Amazing makeover, Krista!
Thank you Jenna!!
That looks SO great Krista! I’m dying to try a sprayer on my next project and I love your tips!
Thank you Summer! I can’t wait to see what you do with it:)
How did you paint the sides of the cabinets and did they look the same texture. I am about to take on this task.
Hi Gail,
Sorry, I definitely will add that info to the post! I could’t use my sprayer so I used a combination of a high quality small angled brush for the inside corners of the cabinets (I did primer and two coats inside them as well), and a high density small foam roller for the sides. I also did prep work on the out and insides of the cabinets- filling and sanding by hand first.
Your cabinets look AMAZING, Krista! Such a big job, but somebody I know compared it to giving birth…as soon as you finish, you forget how hard it was and just love the result… 😉
Bwahaha – it was definitely a very wise person who said that:) They must have spoken from experience. Thanks April! I can’t wait to see your kitchen reveal:) I bet you are even more excited to have it wrapped up!
They look great! I need to get one of those sprayers, I think it would work awesome on my projects! Thanks for sharing!
They are great of all kinds of different projects, Ashley!! Furniture… cabinets… you name it!
They look awesome!!!
Thanks Rachel- a quality paint job makes such a fabulous difference!
I agree with you about how you think about older kitchens. They do provide potential and allow you to have a one of a kind kitchen once you add your own style. My cabinets are the same color as yours. 70’s brown. 🙁
I thought when we moved into the lake house I would gut the kitchen. Now that we have lived in it, we are rethinking our plans. With a little elbow grease and paint, we could update the dated cabinets with paint along with a few other smaller tweaks and save ourselves a lot of money.
Your cabinets and kitchen look great.
Thanks Diane! We would have painted our “real” house kitchen as well if we didn’t decide we wanted to totally change the layout of the space. I totally agree that with some elbow grease and paint you can completely transform a space – and at a fraction of the cost. Save that money for a warm weather holiday:) I can’t wait to see what you guys decide to do with your new lake house kitchen!!