
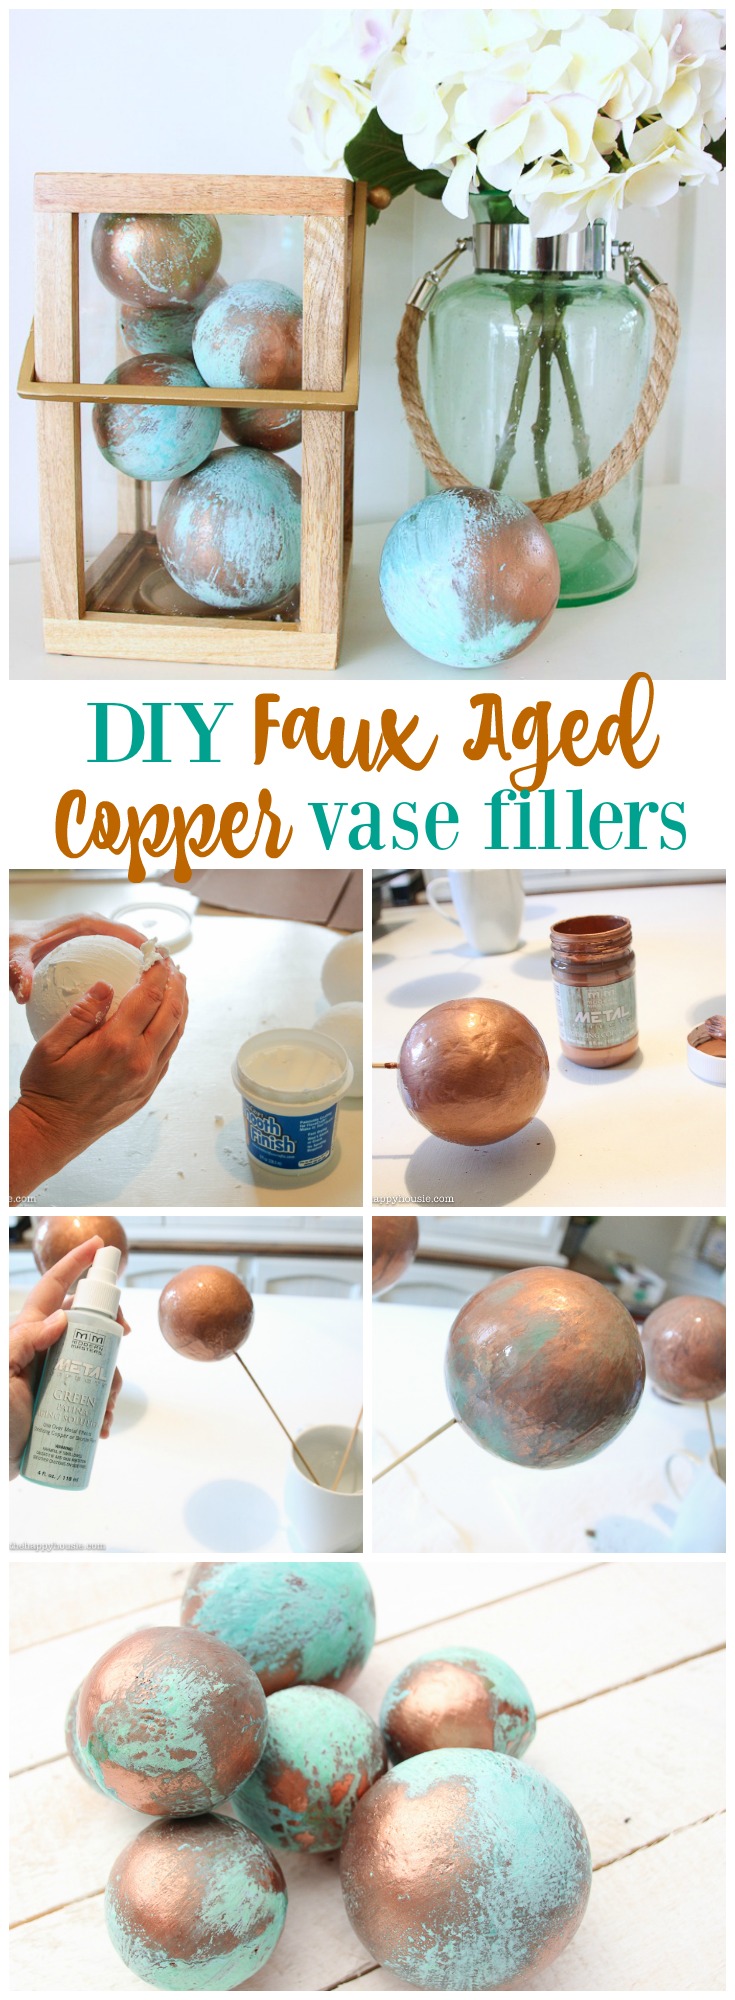
DIY Faux Aged Copper Vase Fillers
With fall right around the corner, I will show you how to make faux aged copper vase fillers for your autumn decor.
The countdown is on, folks.
Summer vacation is winding down and the feel of Autumn has definitely moved into the air around here.
It’s been cloudy and cooler the past few days which means it is definitely getting easier to wrap my brain around heading back to school and work.
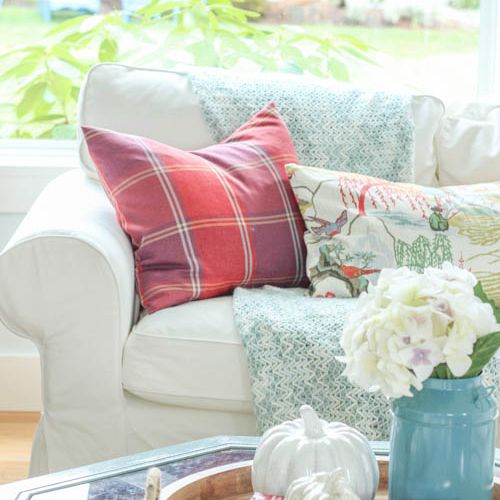
Along with getting ourselves ready for school at this time of year, my mind starts to wander towards cozy fall decor.
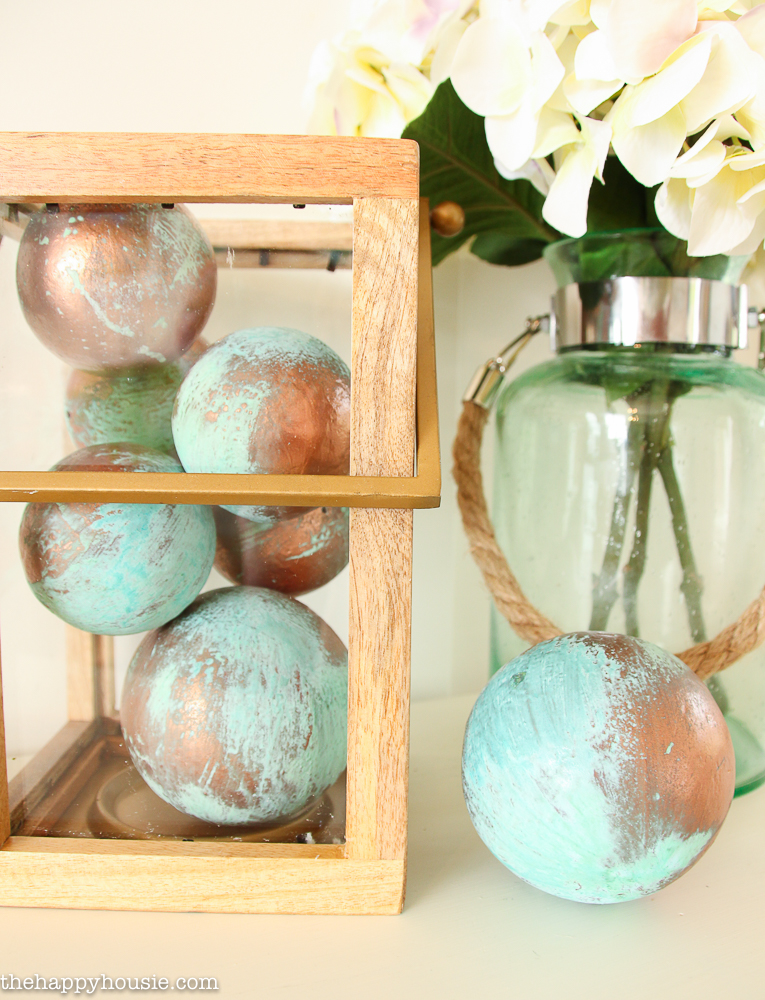
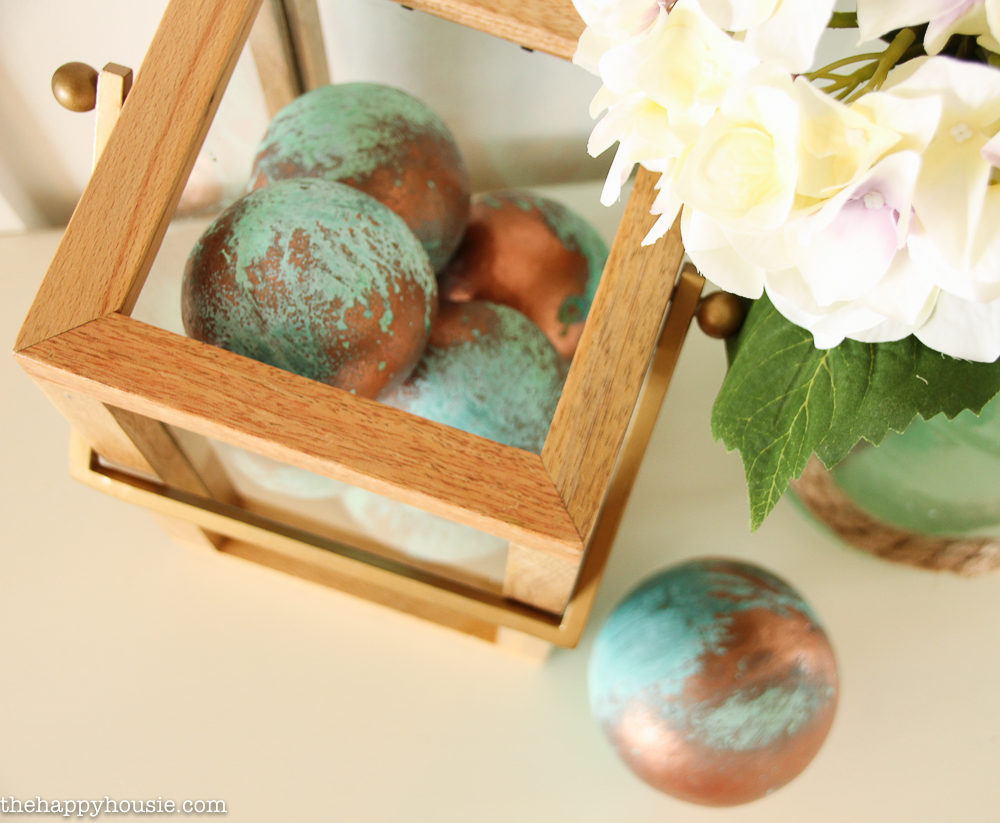
And bringing in a few warmer colour tones is a great way to bring in a fall feel; like with these simple and beautiful DIY faux copper ball vase fillers…

![]()
To make these I used:
3″ FloraCraft® Make It: Fun® Foam Foam balls
4″ FloraCraft® Make It: Fun® Foam Foam balls
FloraCraft Smooth Finish®
Modern Masters Metal Primer
Modern Masters Reactive Copper Paint
Modern Masters Green Patina
Modern Masters Blue Patina
Bamboo Skewers
I started by covering my 3″ and 4″ FloraCraft® Make It: Fun® Foam balls with FloraCraft Smooth Finish®. I just kind of squished and smoothed it on using my hands.
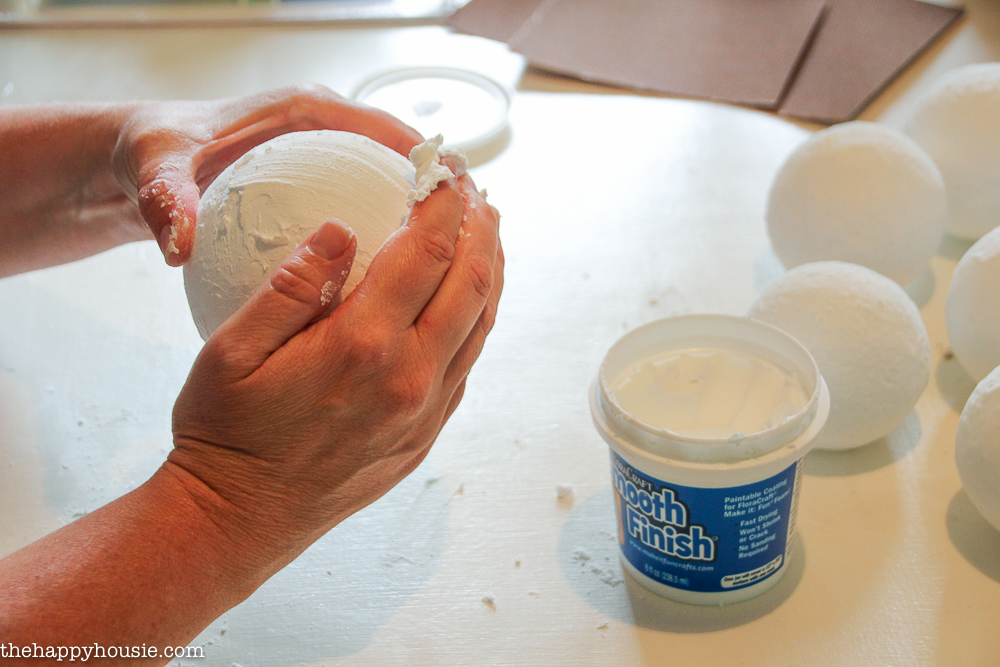
I let it dry fully and then sanded it smooth. I applied a second coat and sanded it smooth again after it had dried.

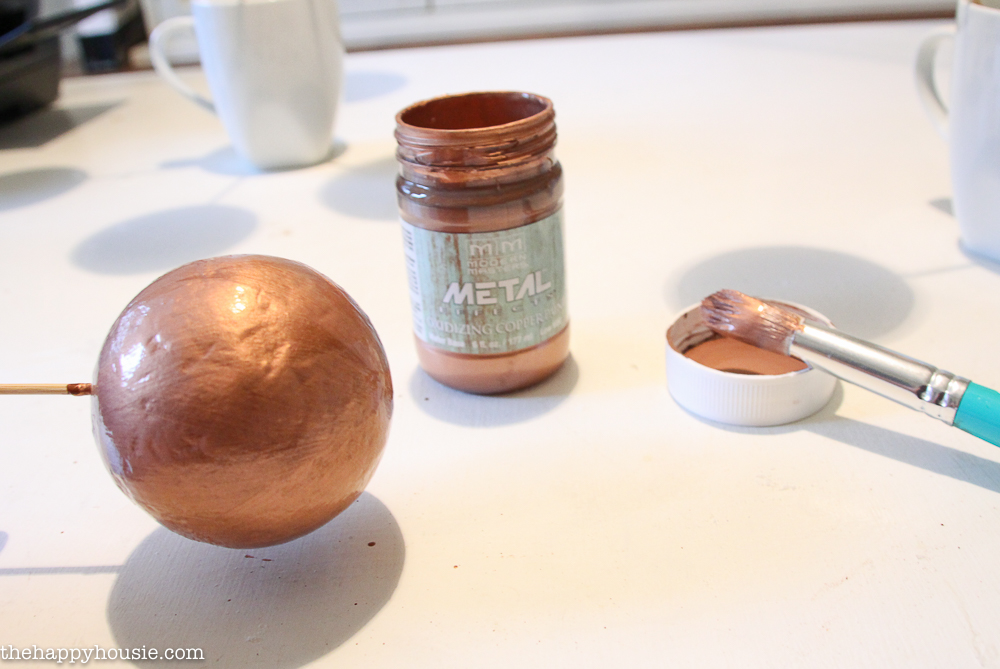
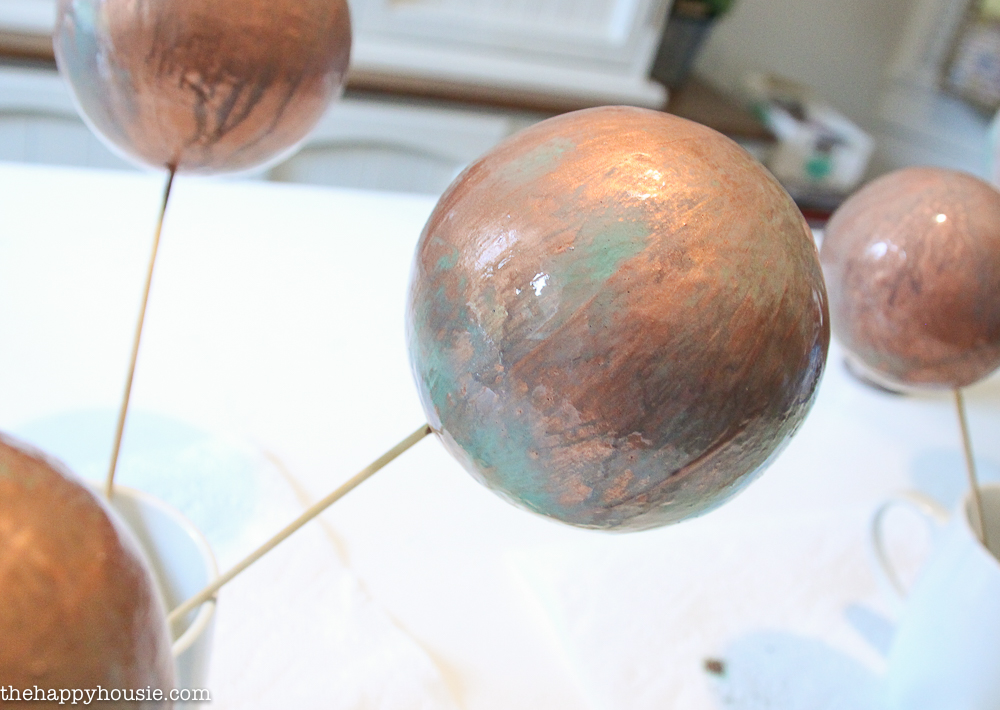
Next, I used a bamboo skewer in the end of each ball in order to hold it while painting. It leaves a small hole when finished, so if you didn’t want that you could just take more time and only paint half the ball at a time.
I painted two coats of the Modern Masters Primer (waiting 1/2 hour between coats), and then let the primer dry and cure overnight. To keep them up while drying, I placed them in a mug so they stood upright.

I painted two coats of the Modern Masters Reactive Metal Copper Paint – waiting about a 1/2 hour between coats.
Right after applying the second coat, I spritzed the balls with the Green Patina Aging Solution. You can go as light or as heavy as you want with this to create the desired amount of patina and aging.
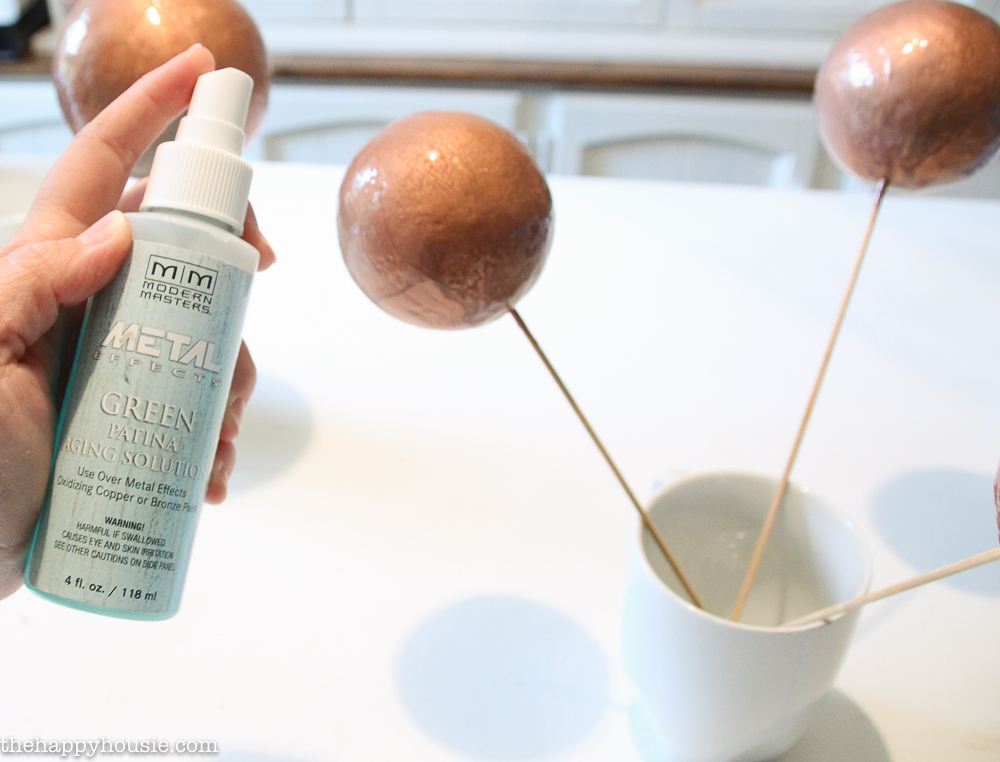
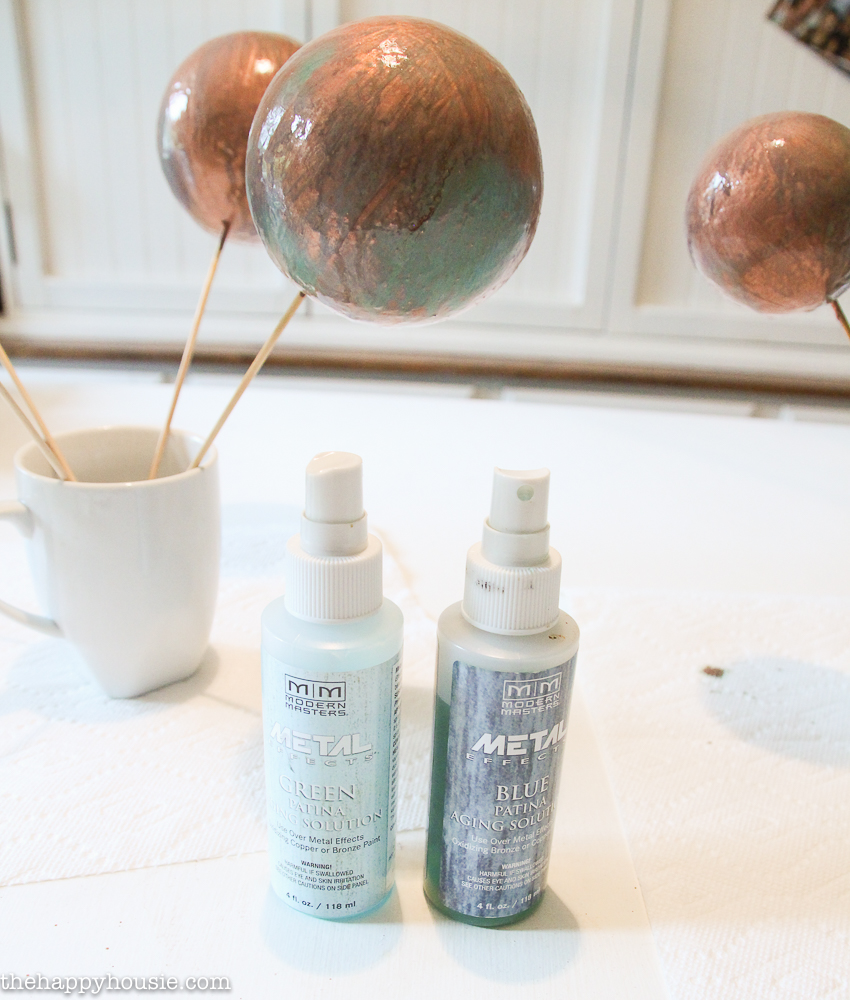
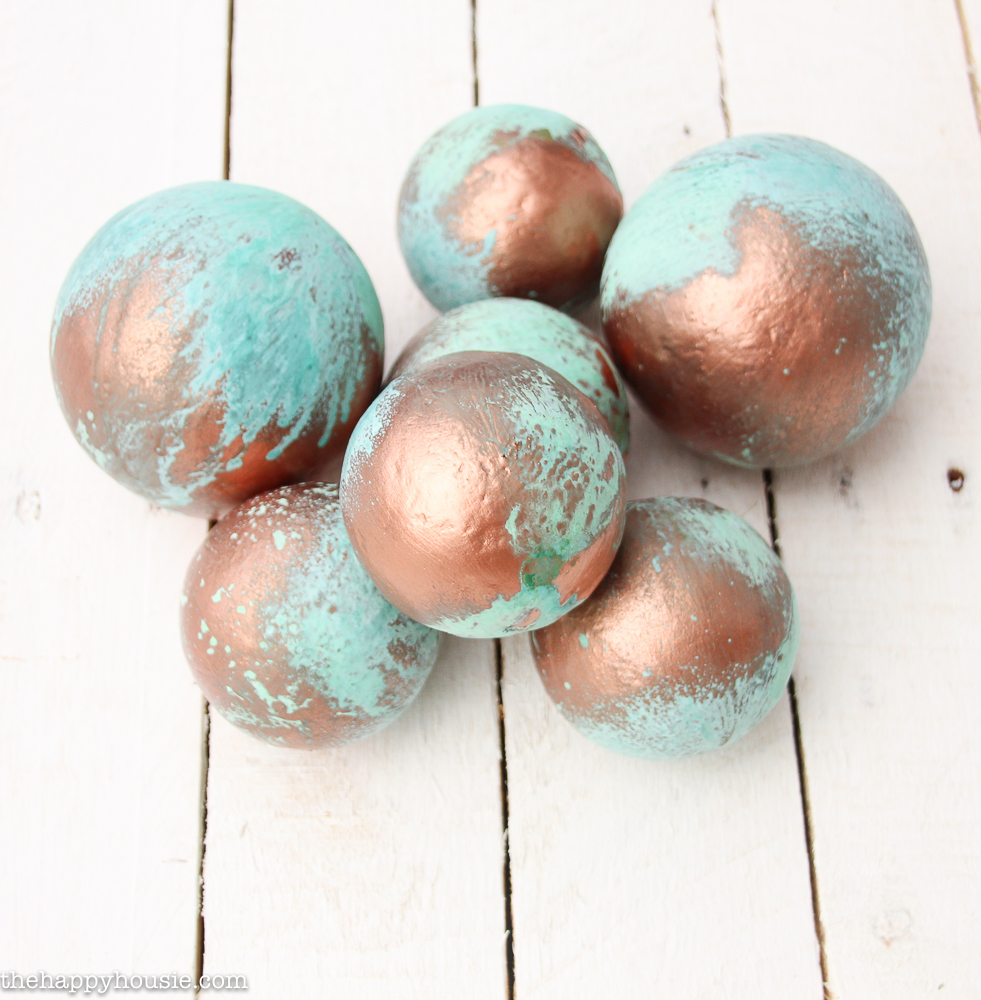
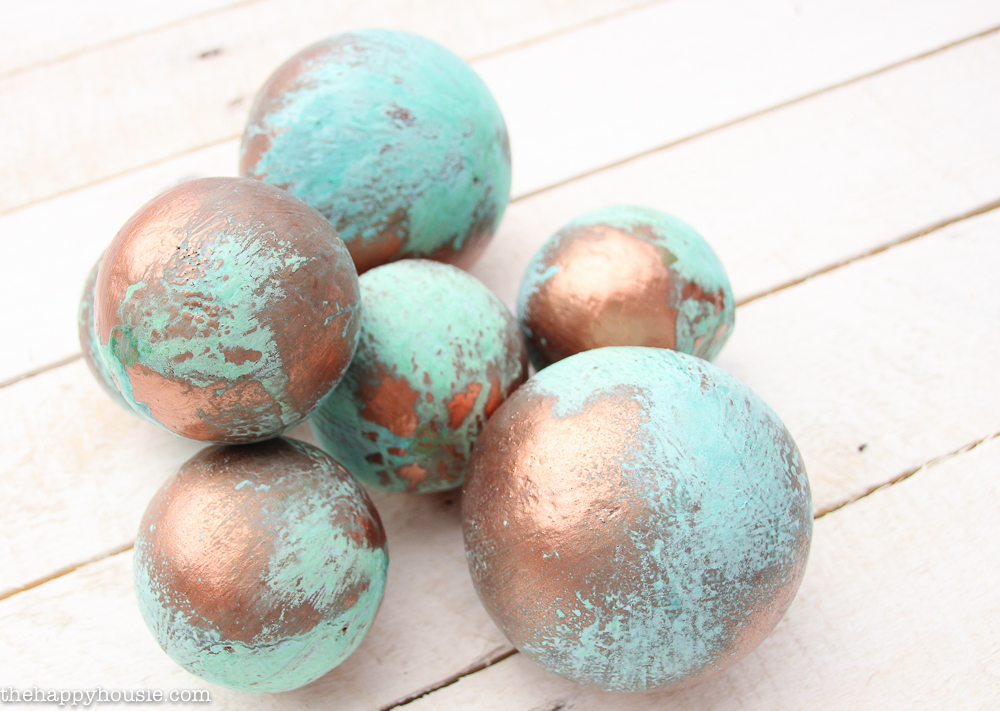
As they dry, you begin to see the aged patina take effect…
As a final step, you can let this dry, and then finish off the faux aged copper balls with a high gloss finish -or leave them with a more matte finish.
Done!
Think you might want to give this a try?

Looking for supplies for this project?

![]()
![]()
![]()
![]()
![]()
![]()
![]()
Disclosure: This post contains affiliate links which means that if you click and purchase I will receive a tiny portion of the sale but you will not pay a penny more then you would have anyways. Thanks for helping to add a little bit to my housie plans budget. Cheers!
I may link up at some of these fabulous places below, for more info check out housie parties: Monday Funday , Inspiration Monday, Nifty Thrifty Tuesday, Project Inspire{d} , Inspire Me Tuesday, The Scoop, Hit Me With Your Best Shot, Wow Me Wednesday, Whimsy Wednesday , From Dream to Reality, The Inspiration Exchange, Wow Us Wednesday, Live Laugh Rowe Live Laugh Linky, Thursdays Are Your Days, Inspire Me Please, Catch as Catch Can, Fabulously Creative Friday, Party Junk, Pinworthy Projects , Link Party Palooza,, Weekend Bloggy Reading, Strut Your Stuff Saturday, Spotlight Saturday, Suburbs Mama , That DIY Party


It’s cute and something I might do because I like to. But this is pretty costly. Might have been cheaper to buy the real deal being over $50 bucks. Idk.
Hi Megan,
Yes – I agree – I think this project works best if you want to use the copper patina paint for a variety of projects. I’ve done quite a few things with it over a couple of years, so it’s been worth having it:)
These are beautiful!! I want to use the technique on my faded resin flower pots and statues outside. It states you used blue and green patina spray, but the pictures only show green sprayed. The resulting color (at least on my pc) looks like an aqua color.
Question: Did you use both colors; green and blue?
I just love your results!!
These are gorgeous!
Thank you so much Sharon!