
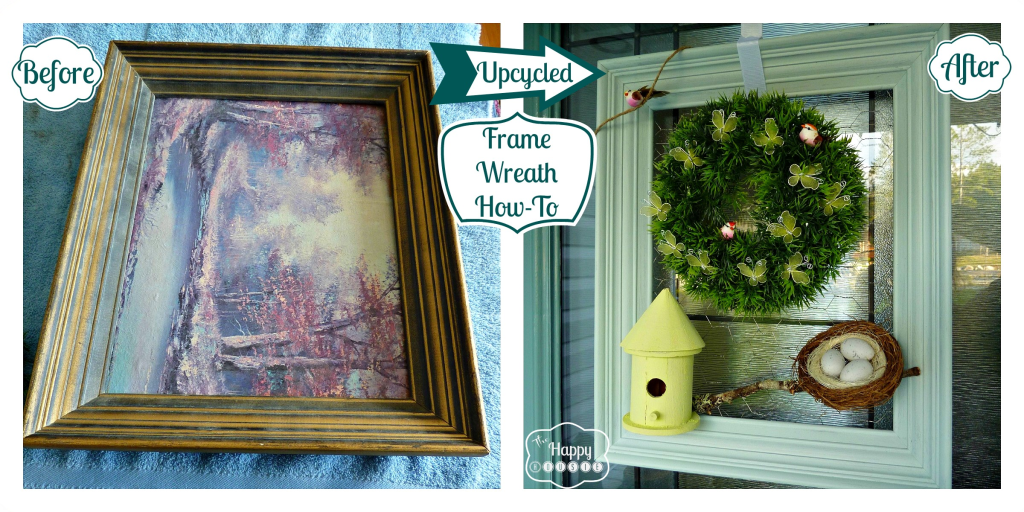
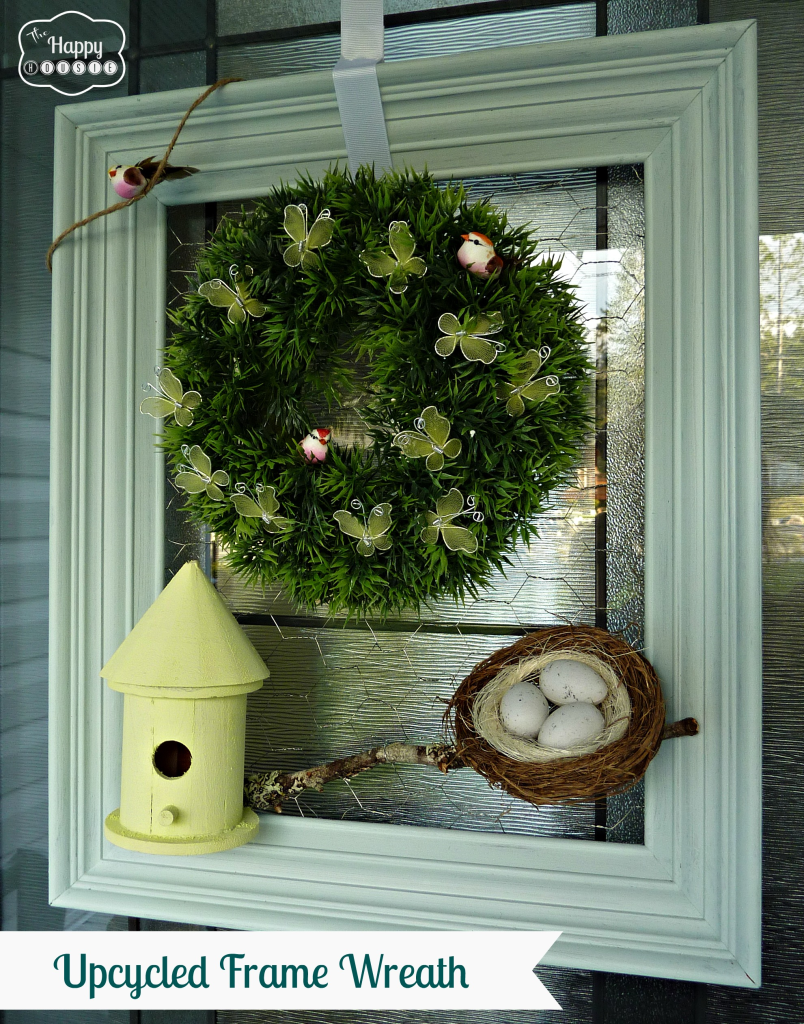
4F Craftin’: Upcycled Vintage Frame Wreath for Spring
Last year’s “Spring Wreath” had a fairly strong Easter theme to it, but that didn’t seem to stop me from leaving it on the front door loooooooooooong past Easter weekend… so this year I thought I would try something springy in a more general way. I was also excited to experiment with a new shape and new materials, and was uber-excited when I found a thick vintage frame for $1 at a local thrift store. I decided to make my wreath more “season” friendly so I used chicken wire as the backdrop. That way I can “wire” new embellishments seasonally to quickly and easily change up the look of it.
Materials used:
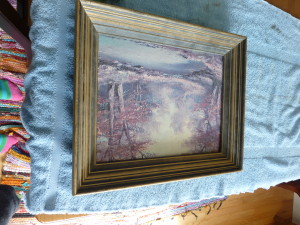
- vintage 11 x 14 frame
- paint and brush
- chicken wire
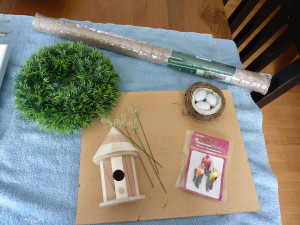
- grass floral form in the center
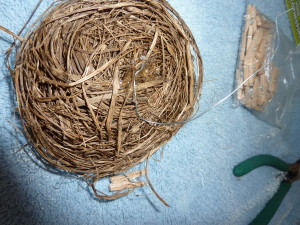
- springy embellishments (butterflies, birds, nest with eggs, birdhouse, twine, branch from my yard)
- hot glue gun and glue
- wire cutters
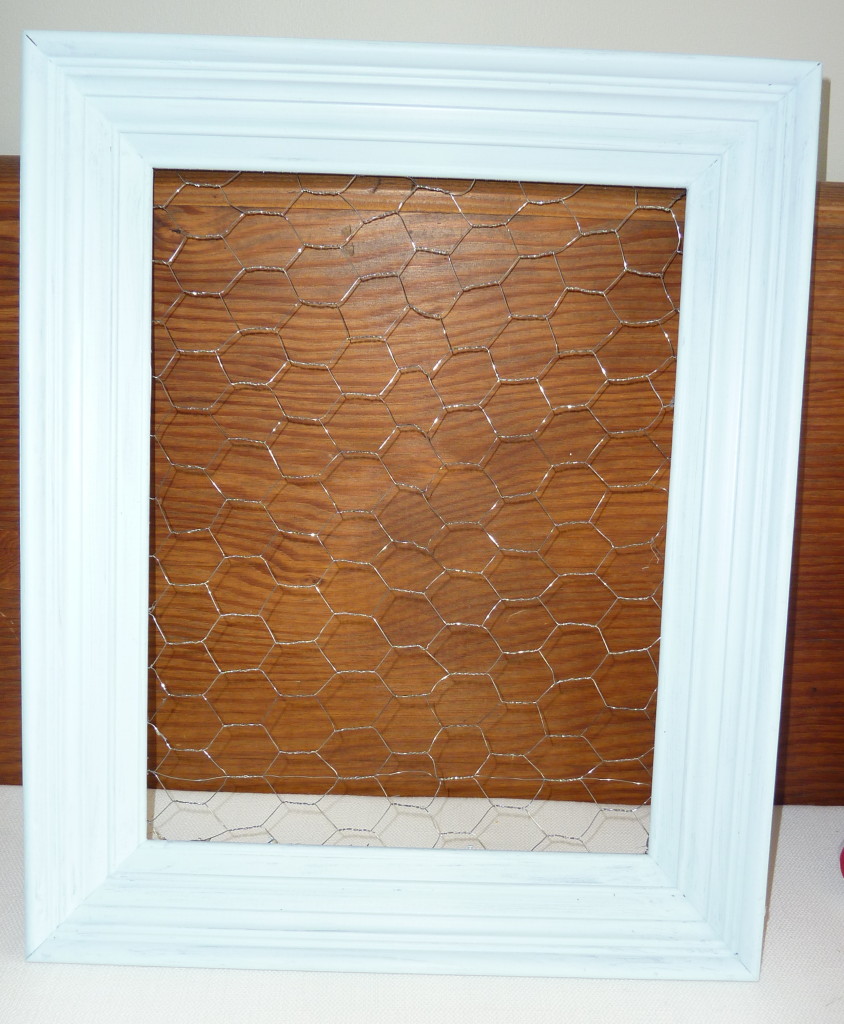
Step One: Prep/Paint your frame and attach the chicken wire background.
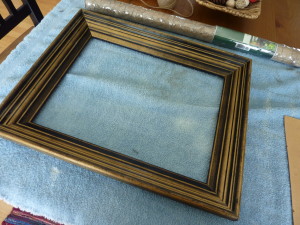
Remove the old print from the frame, saving it for now, and clean the frame thoroughly.
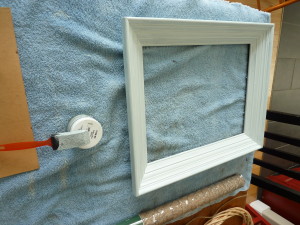
Now paint the frame. I used “Harbour Haze” by Benjamin Moore (a pale blue-gray-aqua) because:
1) It coordinates with my front door colour (two colours down on the same paint chip) and
2) I had a little left in a sample pot of it. (HINT: you may see A LOT more of this colour somewhere in our house soon….)
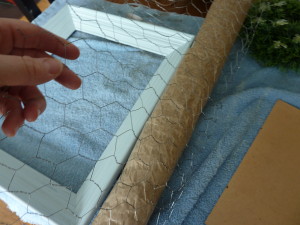
While the paint dries, use the old print as a size guide to figure out how much chicken wire you need. Make sure not to cut the chicken wire piece too small (you need enough to bend and glue the wire in place).
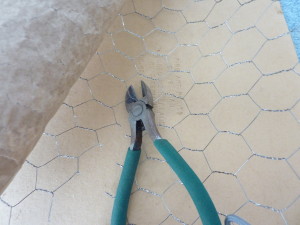
Use wire cutters to cut your chicken wire to size.
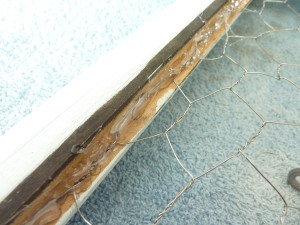
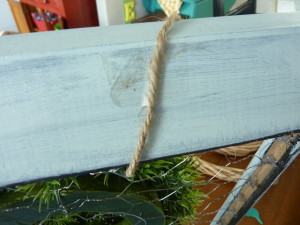
When the frame is dry, turn it over and hot glue the chicken wire to the back of the frame. Hot gluing the chicken wire to the frame is the most long-winded part of this whole project. You need to ensure you have enough wire on the edge to press down gently into the glue.
Tip: Put down a dab of hot glue directly below the wire and let it cool for 20 seconds, then press your wire into it (once it is not as hot) and gently hold it in place until the glue sets).
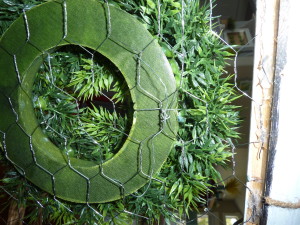
Now the frame part of the wreath is complete:
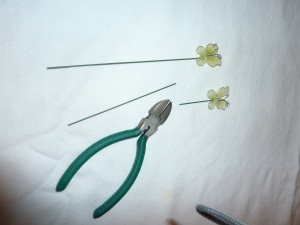
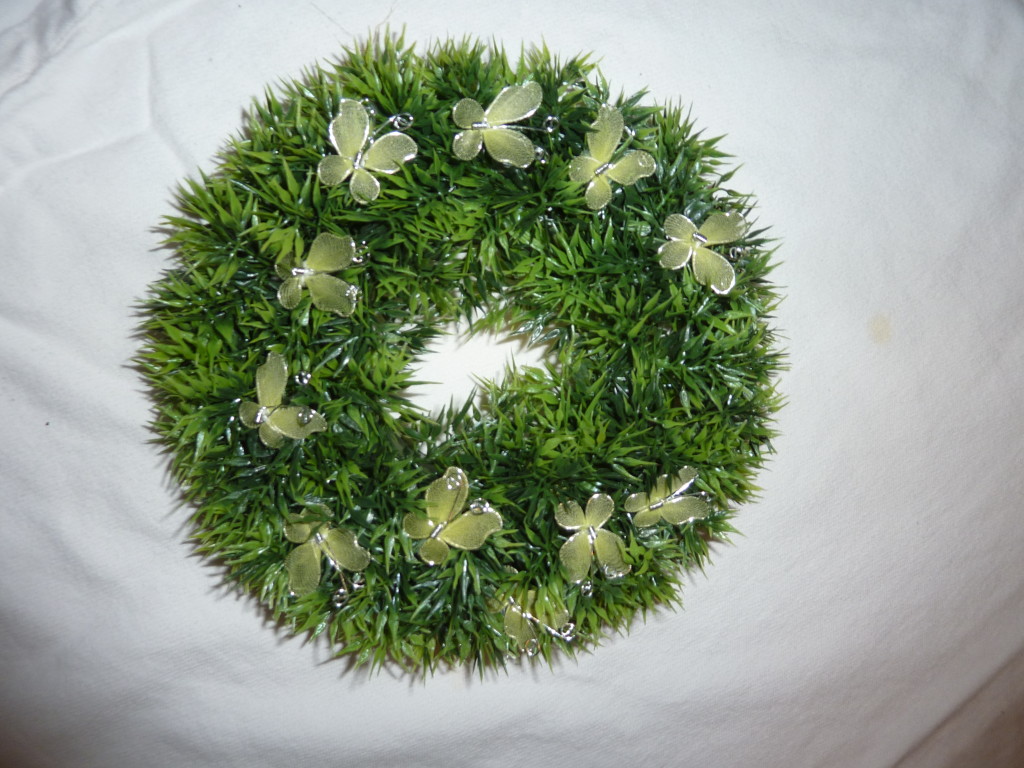
Step Two: Embellishing the Grass Wreath with Butterflies
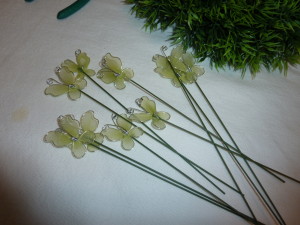
I cut all my butterfly picks shorter using wire cutters.

I then bent them into an L shape and pressed the wires directly into the floral foam center of the grass wreath.
I decided to go for a mass of butterflies and used all of them:
Step Three: Attach wire to your embellishments and twist the wired embellishments onto the chicken wire background.
This step is what makes the embellishments removable. Instead of creating a new wreath for every season, I can just switch out the decorations that I have wired onto this frame wreath.
Use your hot glue gun to add some wire to the back of your embellishments so that you can wire them to the frame.
I glued wire to the nest and the birdhouse.
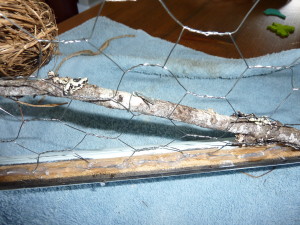
No glue required on some! On the grass wreath form and branch I simply used wire around them and twisted it onto the chicken wire.
For the twine bird-wire (top corner of frame) I just taped the twine to the back of the frame.
Add all your desired embellishments then finish it off by adding a ribbon to the top of the frame to hang it with.
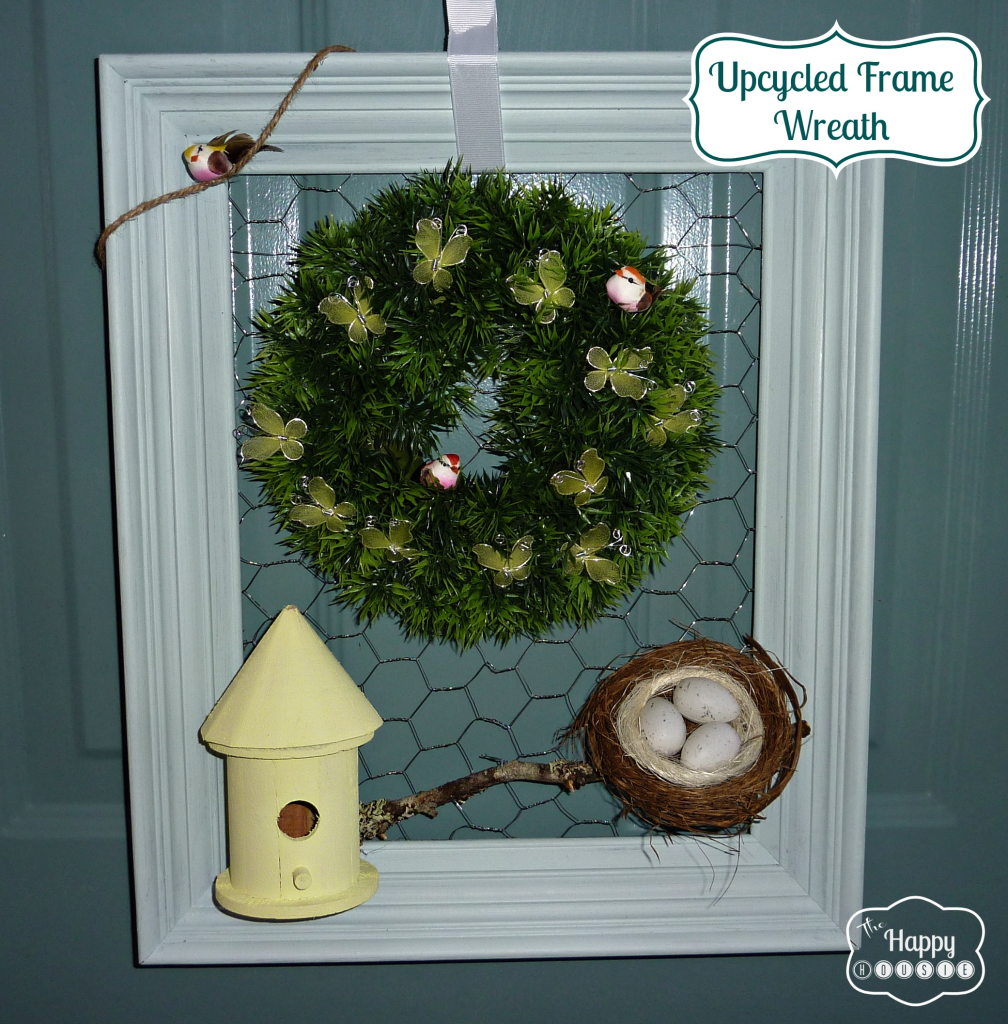
Here are some close-up views of the finished frame wreath with all the little embellishments I added:
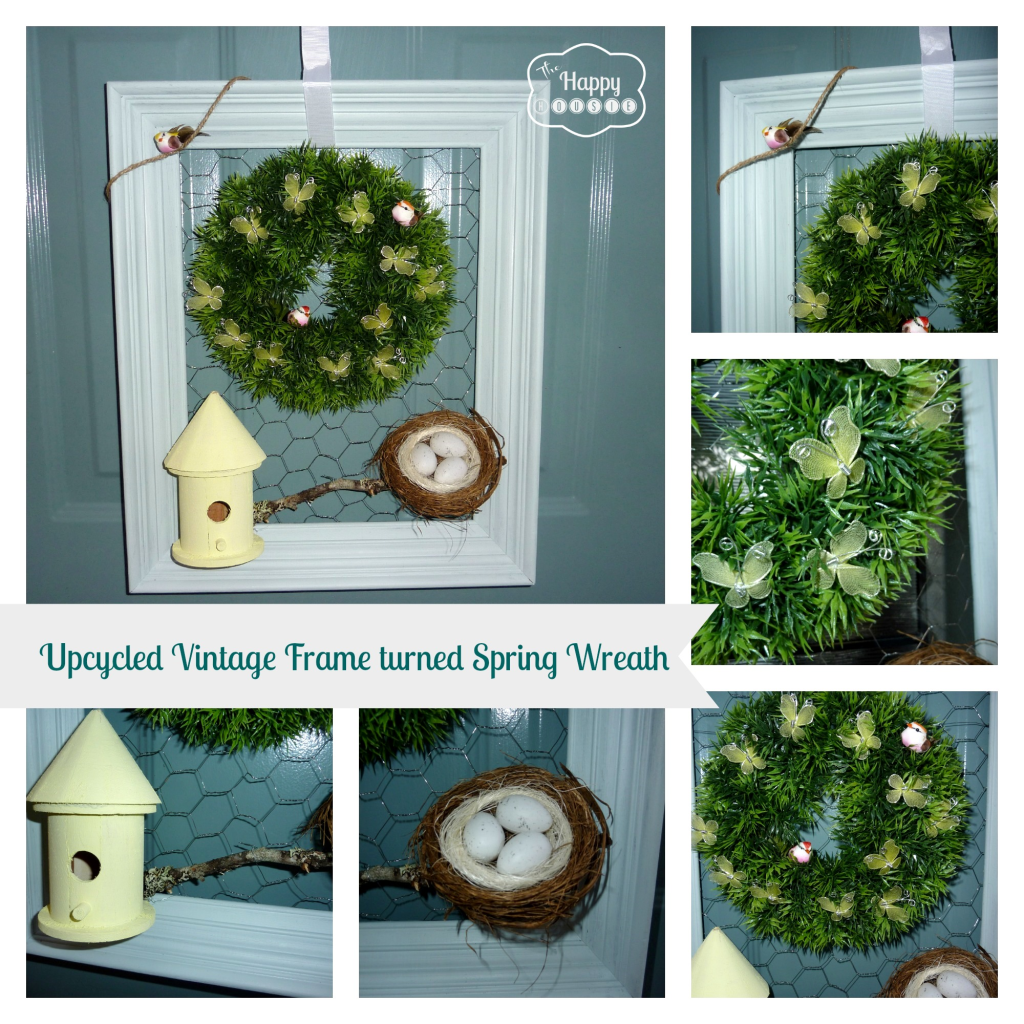
I took those close-up pictures against the bottom of the door – it is really hard to get a good picture against the glass that it hangs on! Here it is in it’s true resting place: 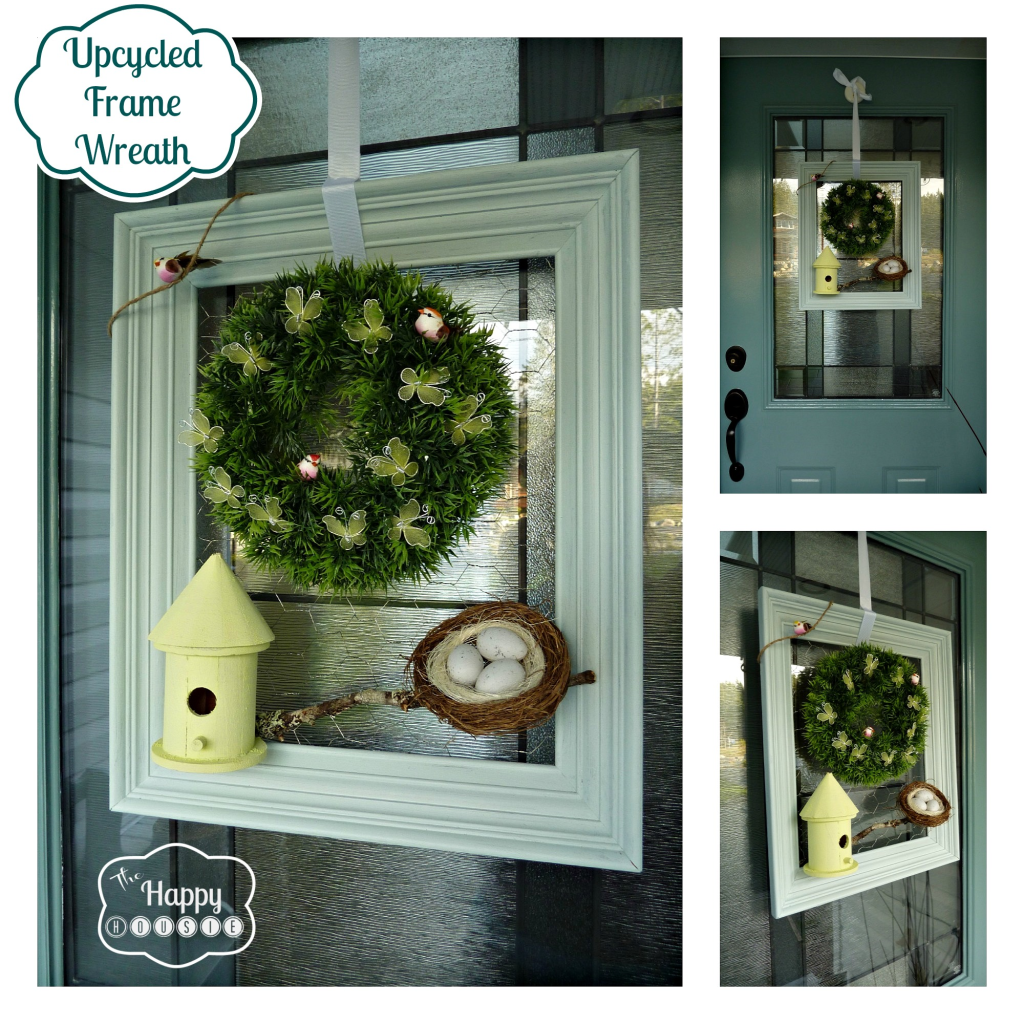
I am really pleased with how it turned out… and still uber-excited about the upcycled vintage frame and chicken wire dealio – can’t wait to see what I do with it come summer!
Do you put a wreath on your door during the year? Do you change it out with each season or holiday? What sort of tricks do you use to make yours?
Thanks for reading. And remember, my housie friends, HOME wasn’t built in a day. Enjoy the journey!

I’m sharing this at some of my favourite Housie Parties!


Very, very cute! Thanks for sharing at Pinworthy Projects.
Very cute! LOve this idea! Thanks for sharing this at my Pin Me Linky Party. I hope you come visit & link again.
Thanks, Diana – and thanks so much for hosting a great linky party!! I will be back:)
Krista