
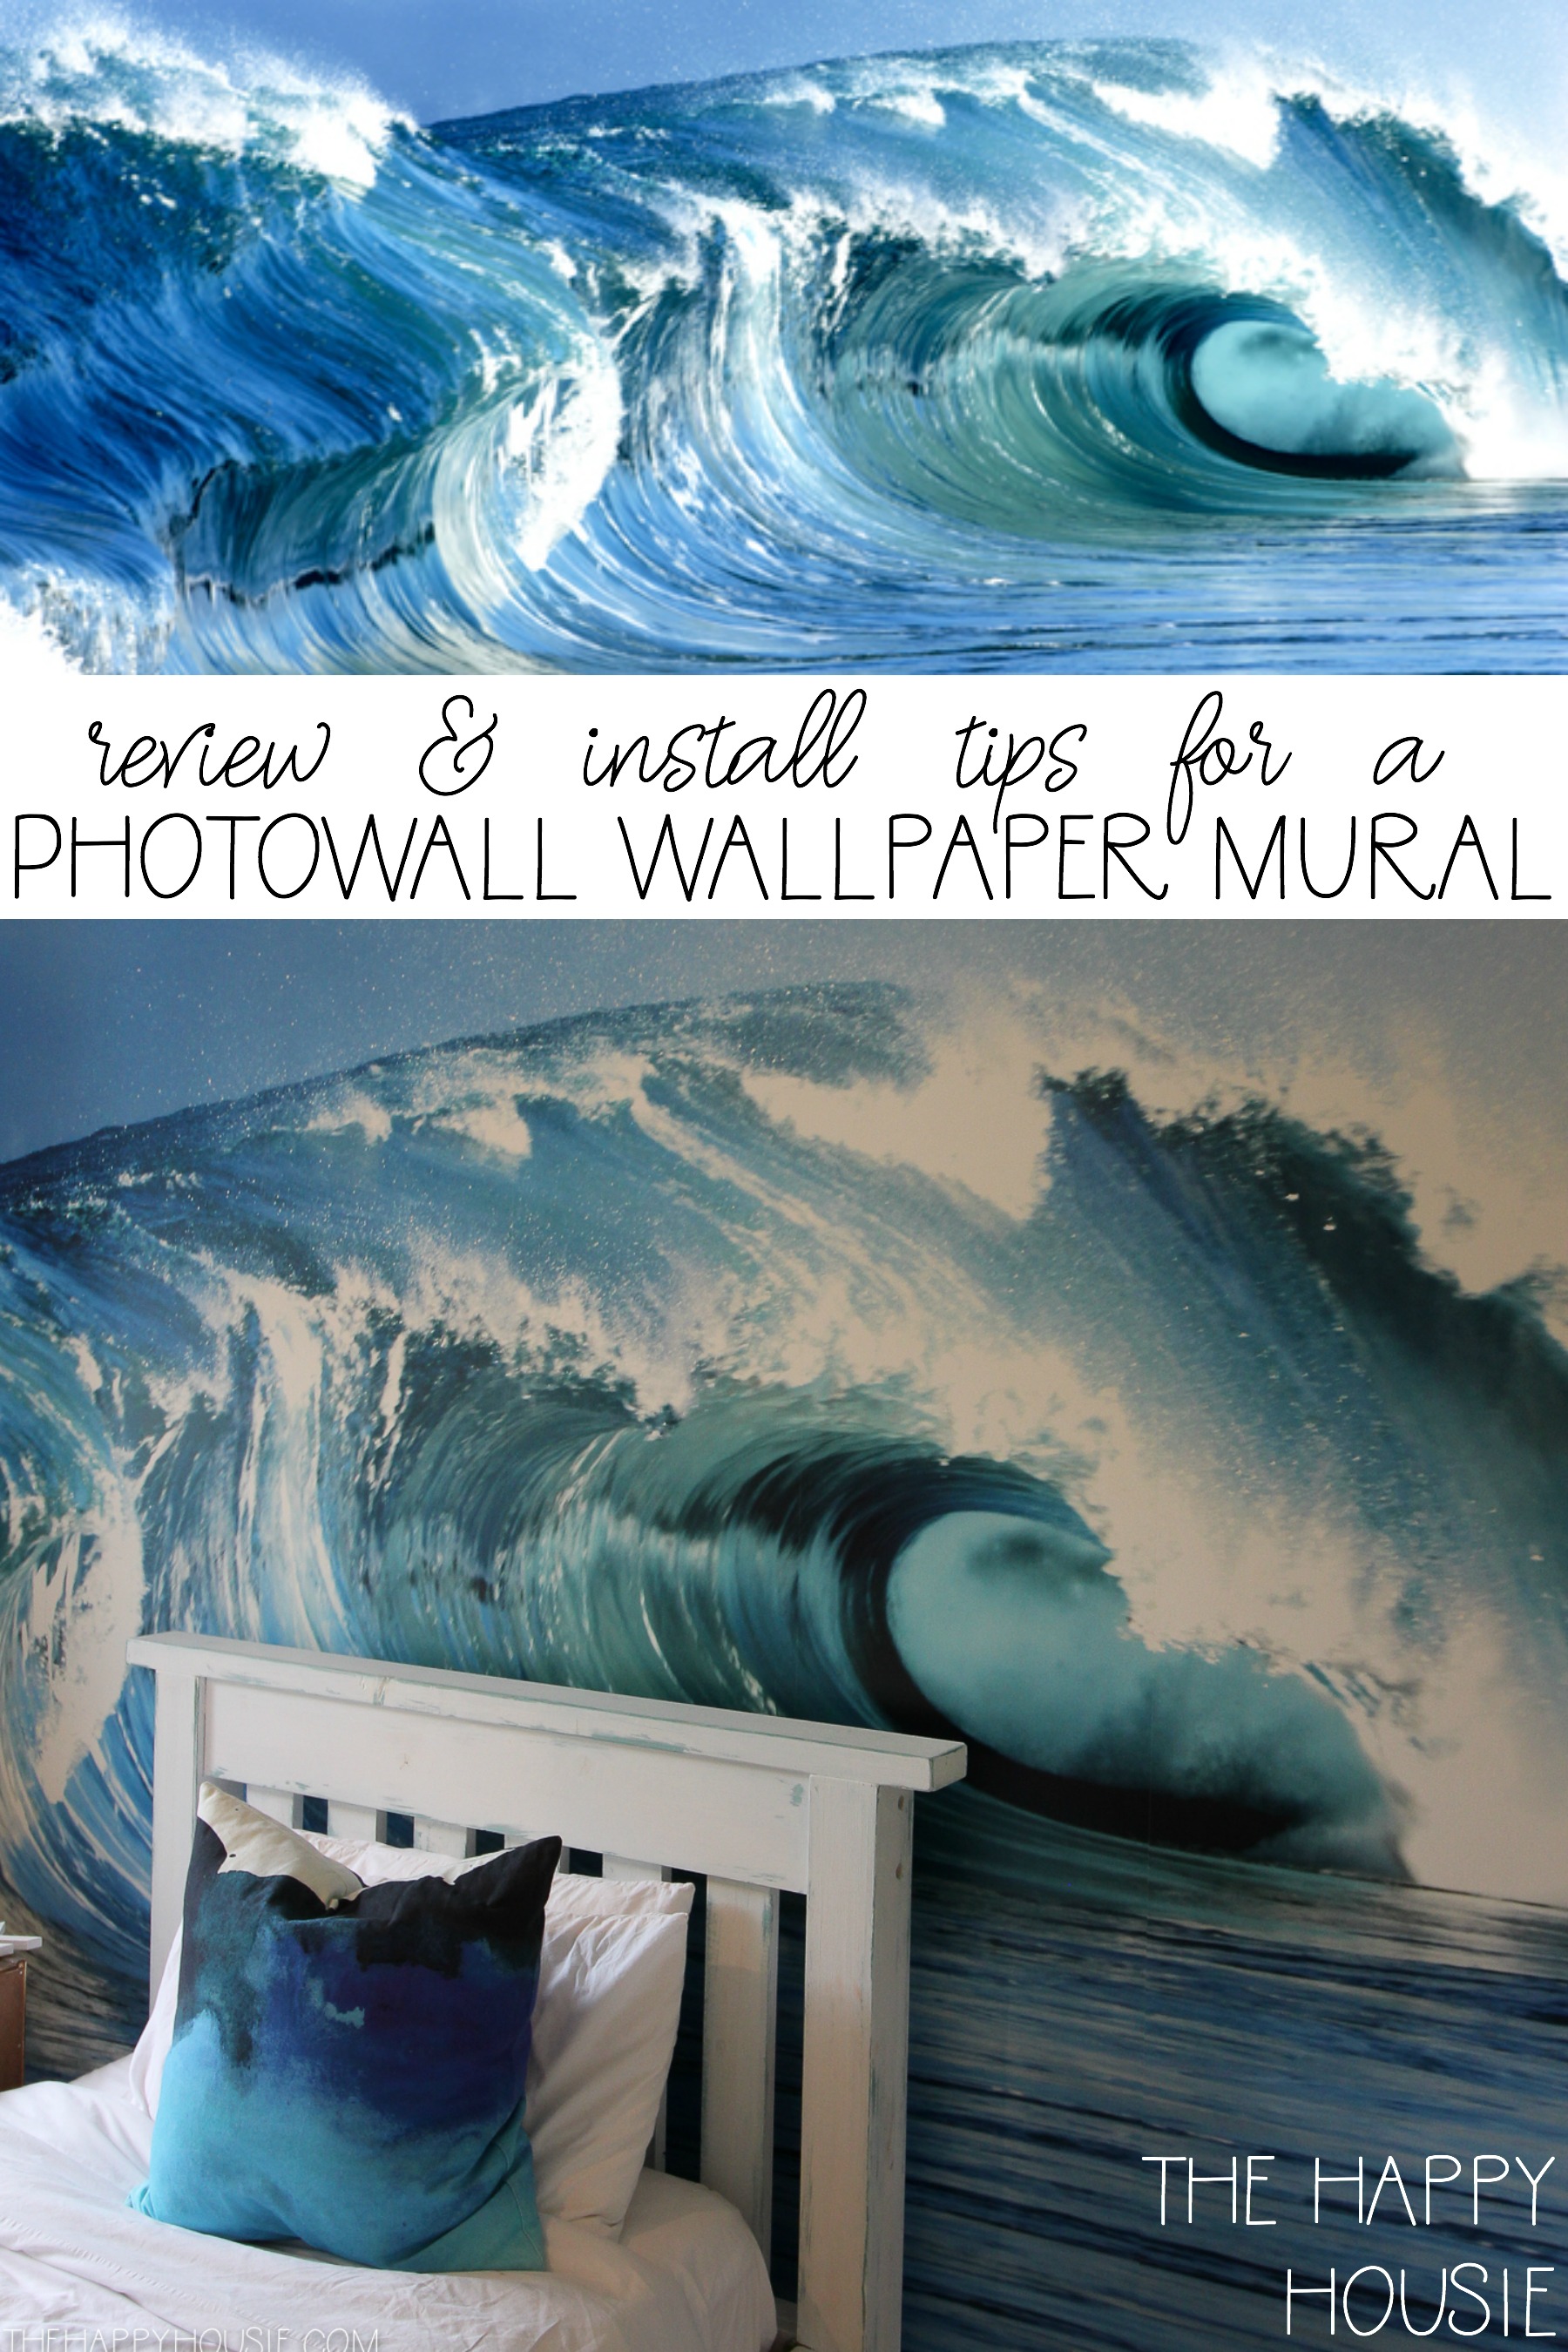
Photowall Wallpaper Mural Review
Tips for installing a DIY large scale wallpaper mural to create a wallpaper feature wall on your walls.
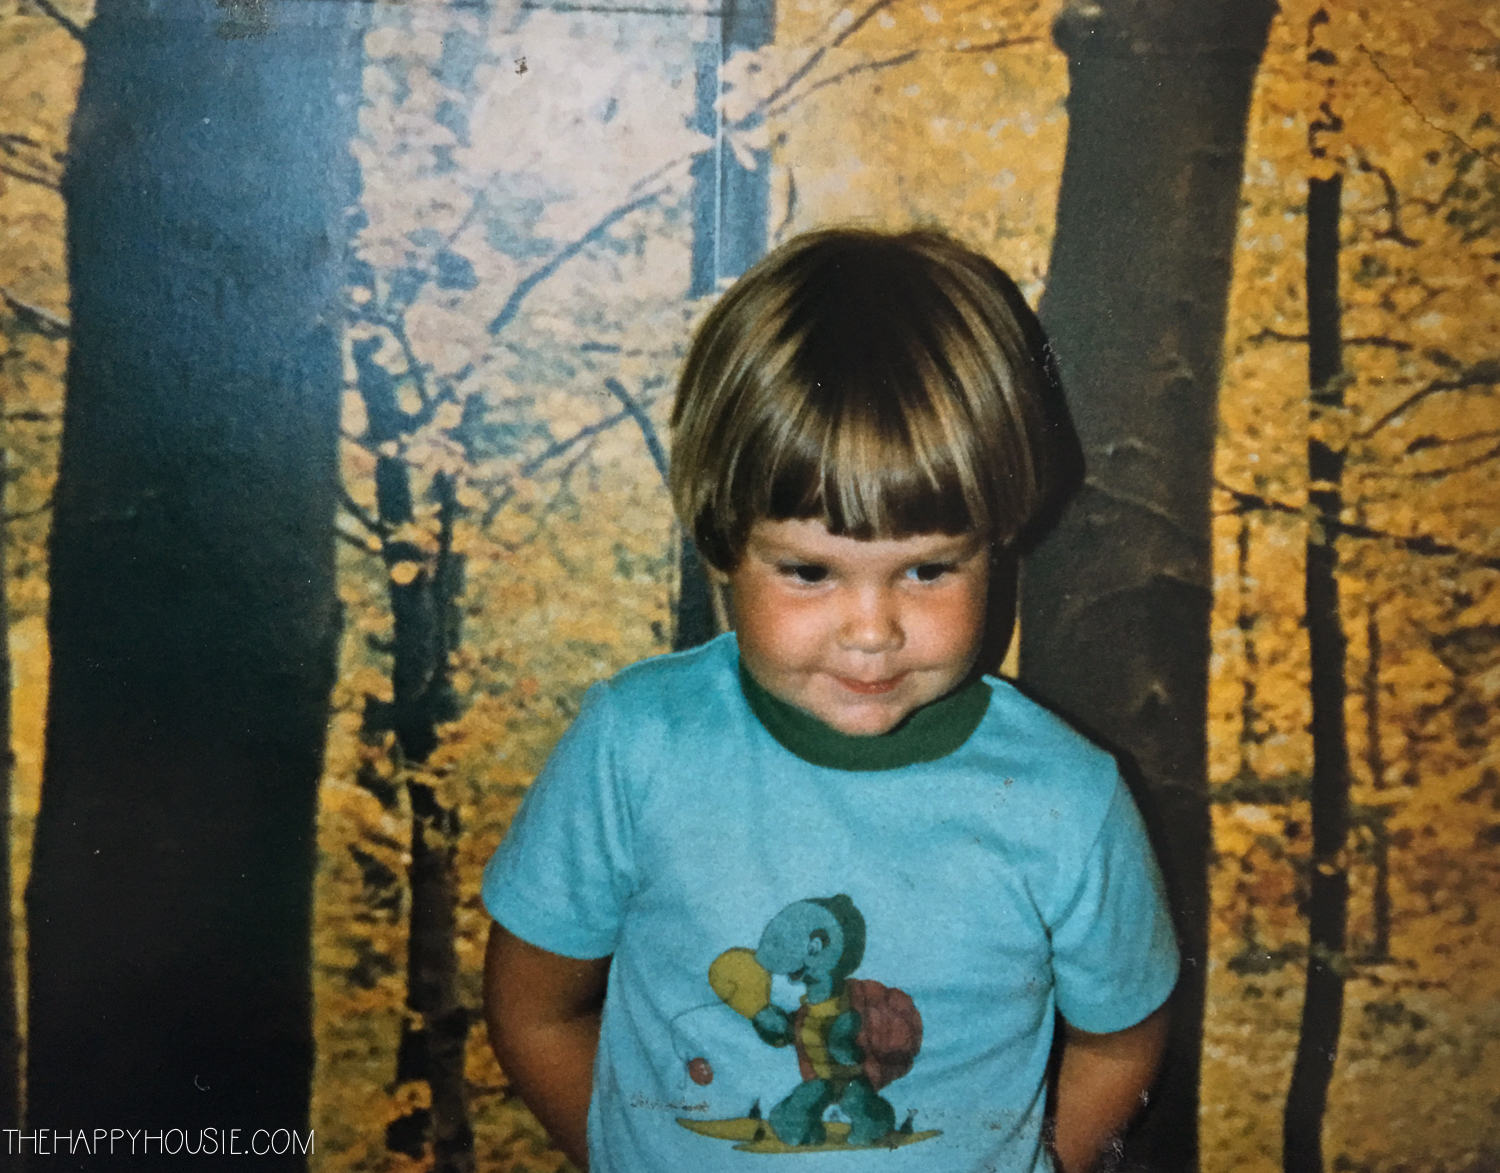
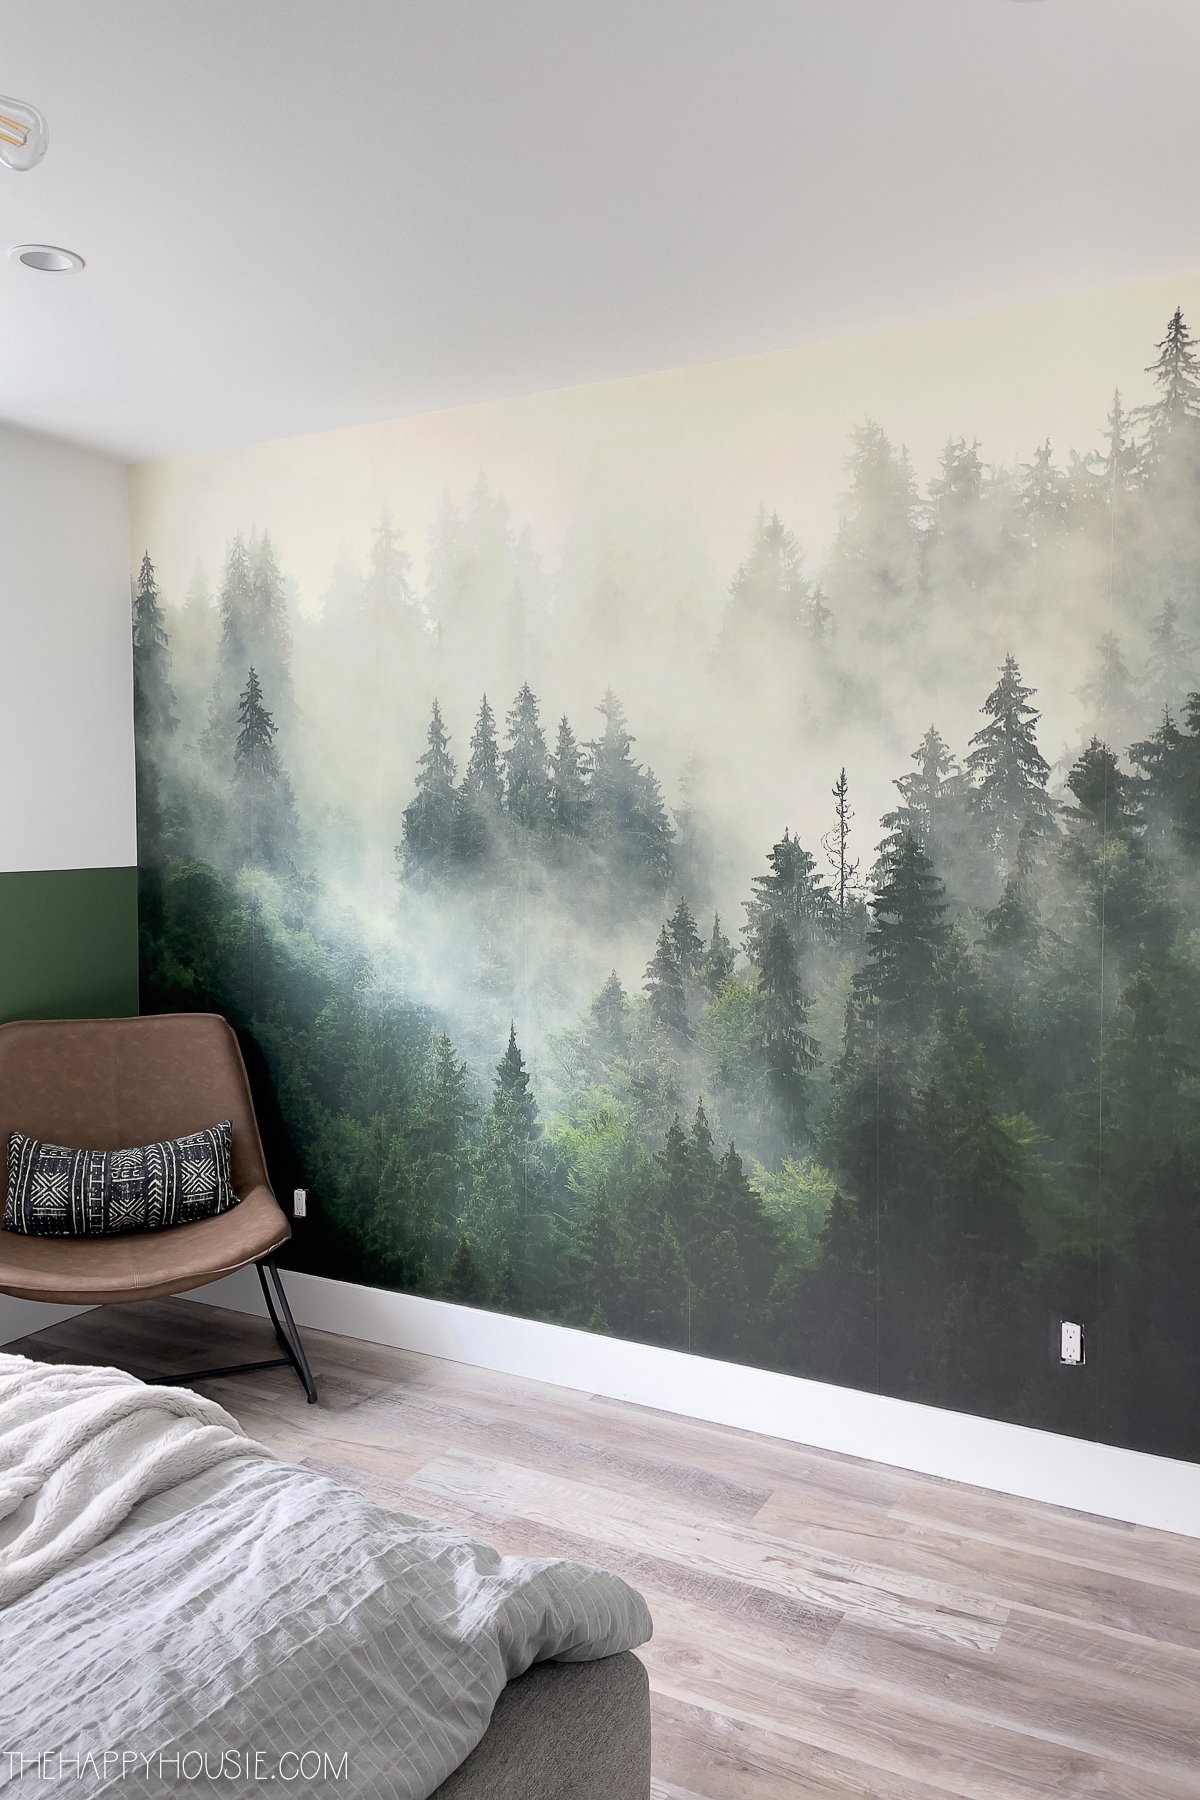
When I was a little girl, I lived in the middle of a forest.
Okay. Not literally.
But I was surrounded by Aspen trees in huge wall mural format.
Wallpaper Mural
We had several of these huge cool wallpaper murals in our home! One in the foyer, one in the living room, and a third in the dining room; not to mention aesthetic wallpaper in most every other room in the house.
Now a-days, wallpaper murals are making a resurgence. I clearly remember the oversize ocean murals featured in a recently past HGTV dream home. So when Photowall approached me about reviewing one of their beautiful wallpaper murals, I had the perfect application in mind. Finn’s surf style bedroom makeover!
The One Room Challenge
If you’ve been following along for the past couple of weeks then you know that we are currently working on transforming out youngest son’s bedroom into a surf shack of a bedroom, and tackling the whole project in the nearly impossible six week timeline that is known as the One Room Challenge.
Have you heard of the One Room Challenge before? It’s where designers and bloggers attempt to completely makeover one room in their homes in a six week period of time… though in actuality it’s more like five weeks because the first week is the “befores” and “plan”, and the final week is the reveal!

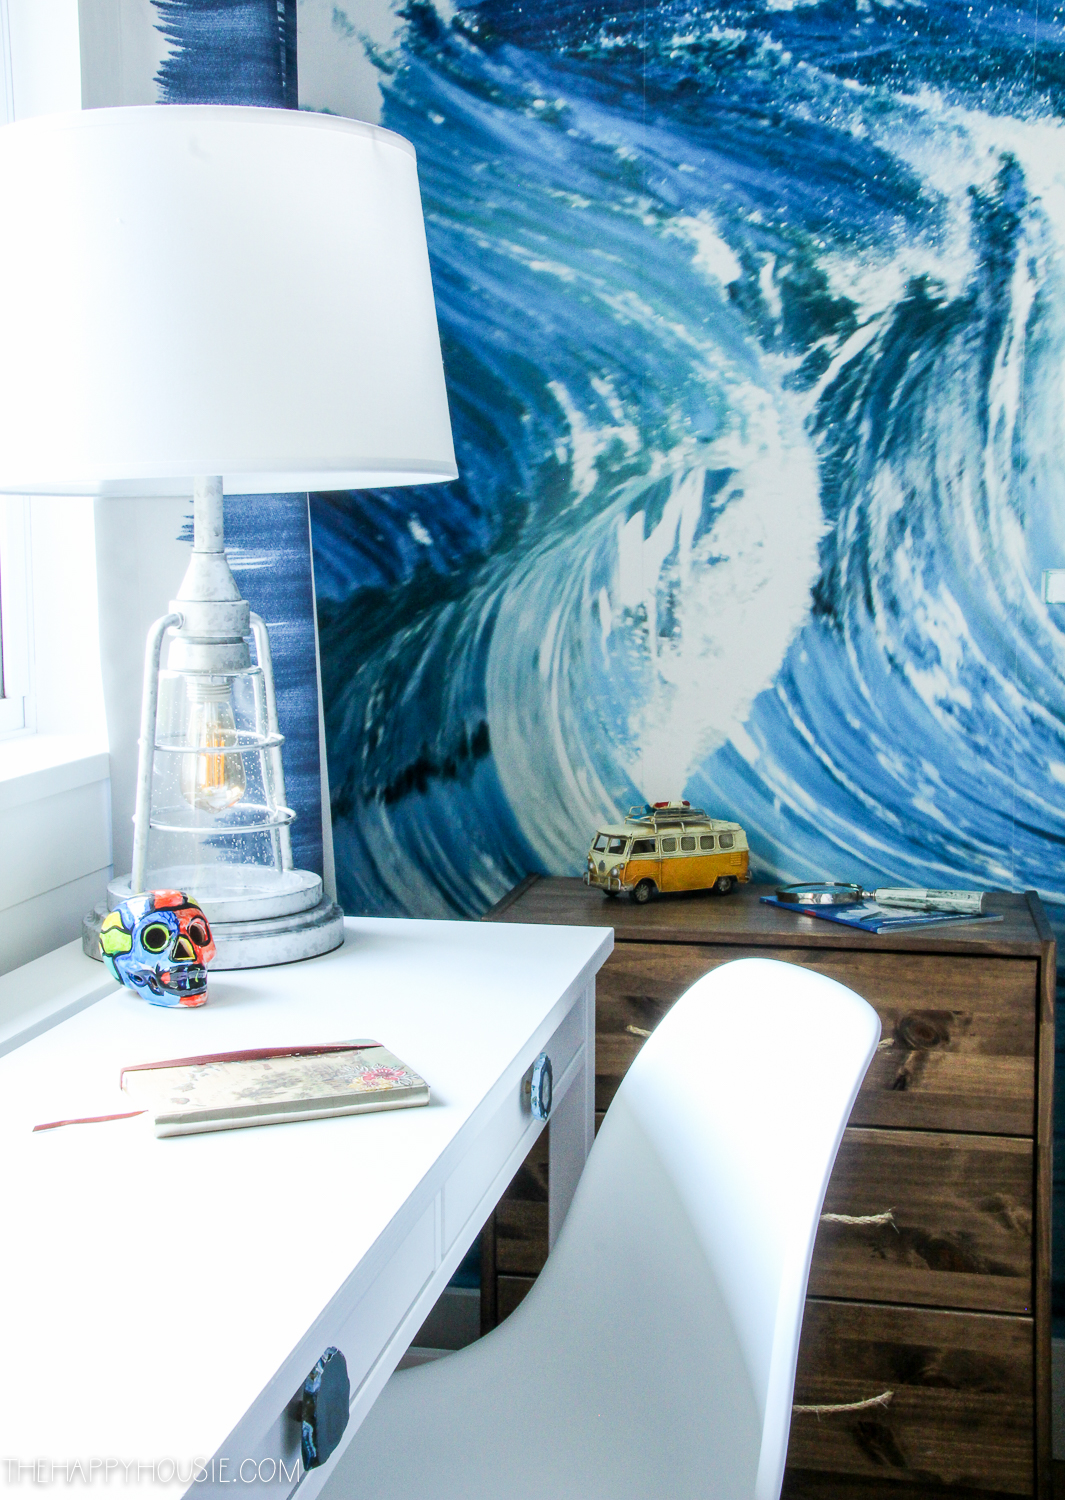
So here we are. Week three. And I have to admit that things are coming along swimmingly. I can’t wait to share the biggest DIY project we completed this past weekend: installing Finn’s giant wave wallpaper mural. And I gotta tell ya, we love it!
Photowall Wallpaper Murals
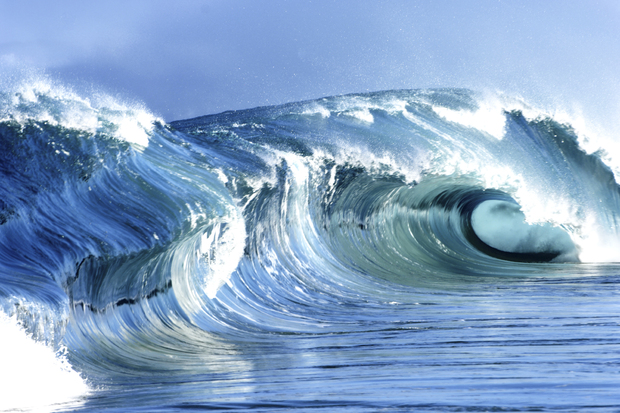
To get started on this project, I visited Photowall and browsed through their huge selection of images. You can even upload your own image to be printed on a wall mural! Finn helped me choose “Jarvis Wave” for his feature wall. {If you decide to give this a try, I’m sharing a discount code at the bottom of this post}
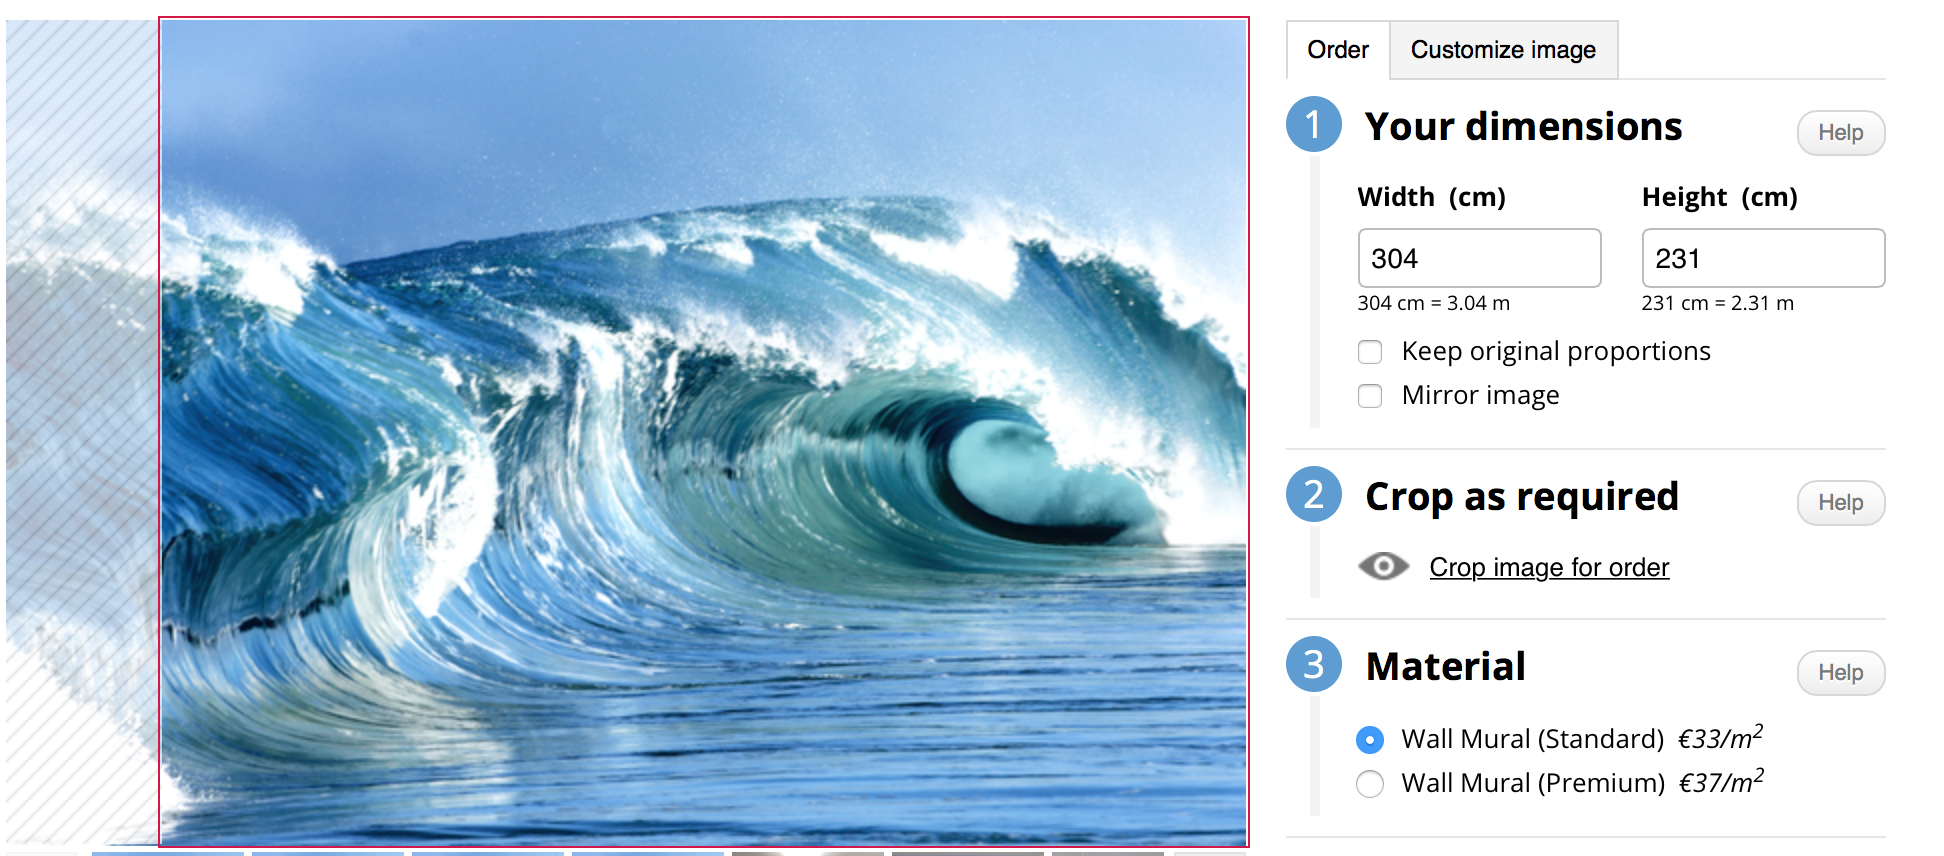
I measured his wall space and entered the measurements in the dimensions box on Photowall, and it allowed me to slide my selection around to focus in on the area I wanted to include (and to crop the part I wanted to crop), based on the exact dimensions of the wall.
Video Instructions for Installing Your Wallpaper Mural
Once I’d placed my order, it arrived more quickly then I expected and came with wallpaper paste in a paper package. It also included some clear instructions, but I also watched this video in order to make sure that I didn’t totally screw up this momentous home project.
I was glad to have my Mom come and help me with this DIY, as we’ve already established she has a good amount of experience with hanging wallpaper murals. Even so, both of us watching the video a couple of times ahead of time really helped, as did referring back to it when questions arose mid-project.
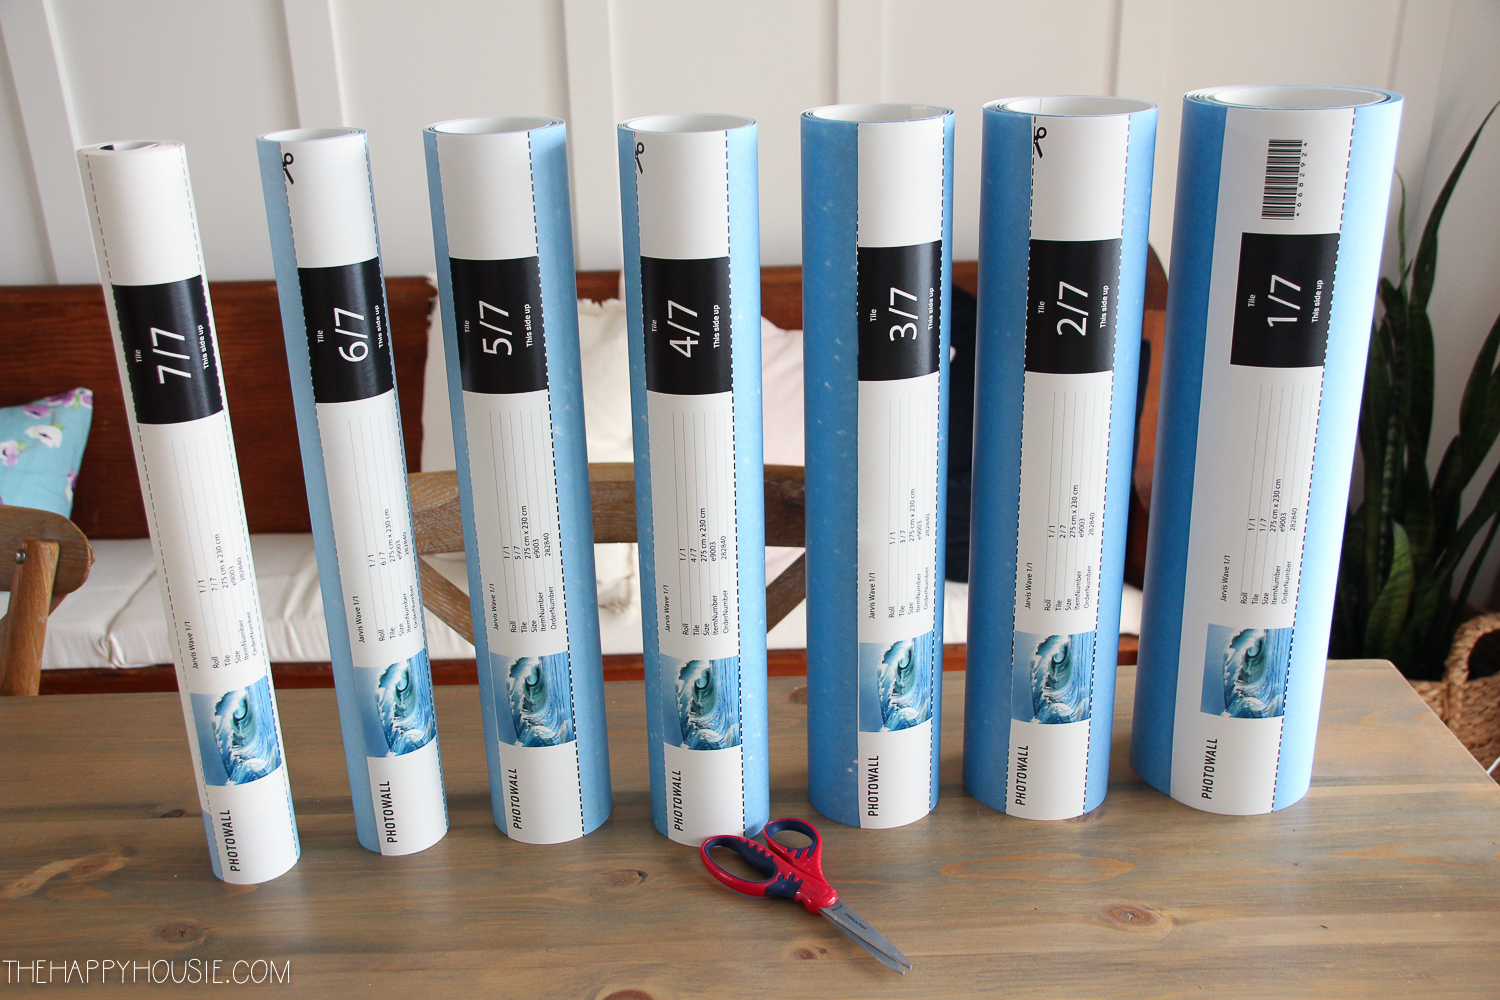
I gathered my tools together, as listed on the instructions included, and cut the wallpaper as indicated on the roll. It was very easy to follow…
Tips for Installing Your Photowall Wallpaper Mural
1. Cut the wallpaper sections apart ahead of time (as indicated on the roll), and lay them out in order with the numbers facing you so that you always make sure to grab the correct section.
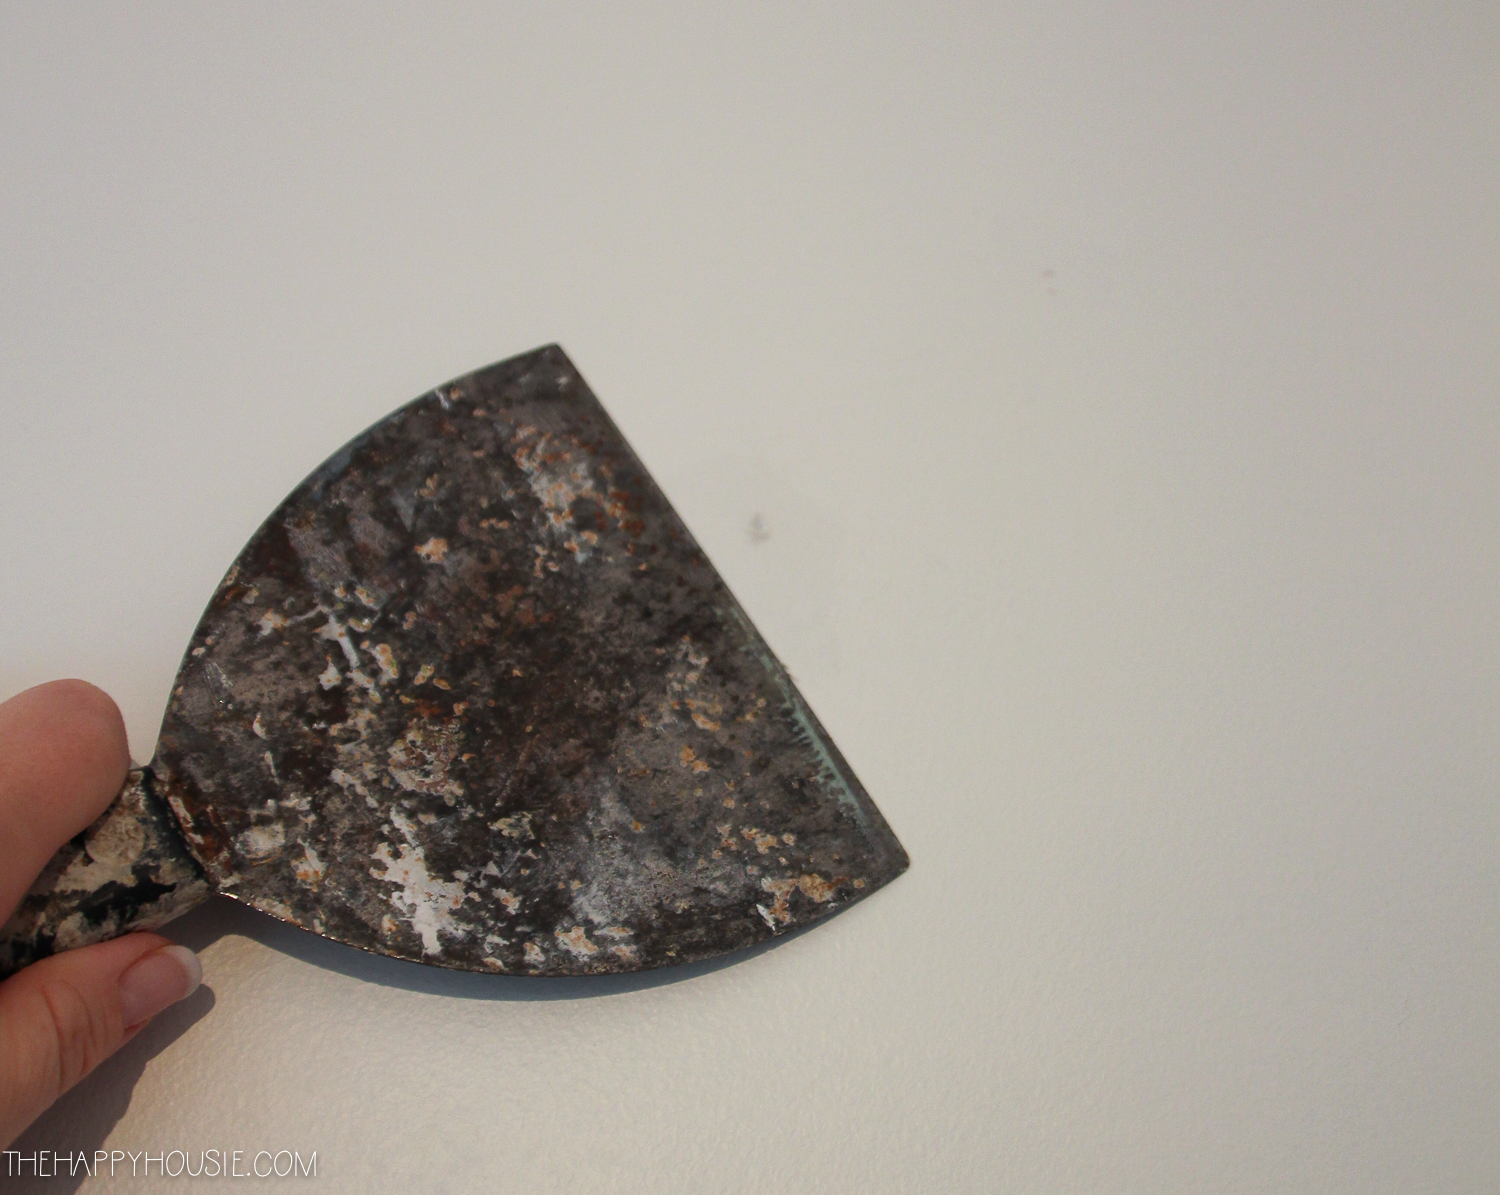
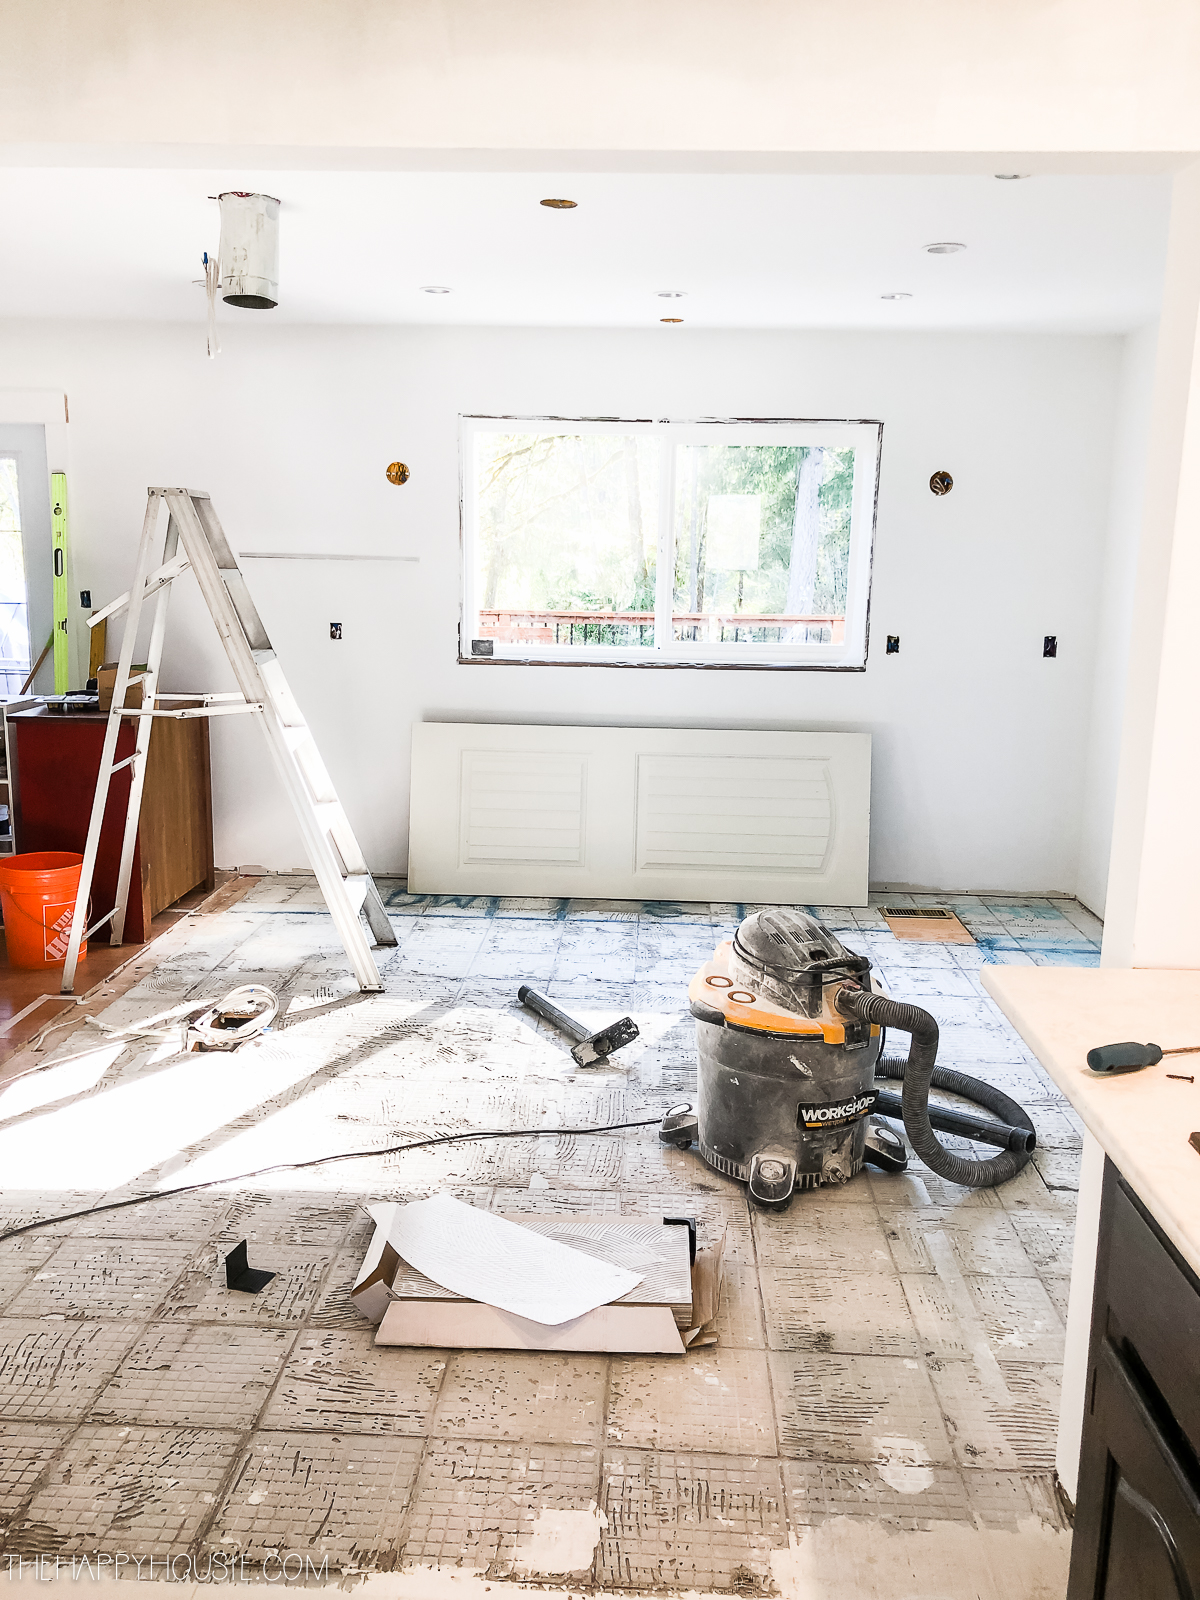
2. Start with a completely flat and level wall. Fill and then sand smooth any holes or damage that you have in order to get as perfectly level of a surface as possible.
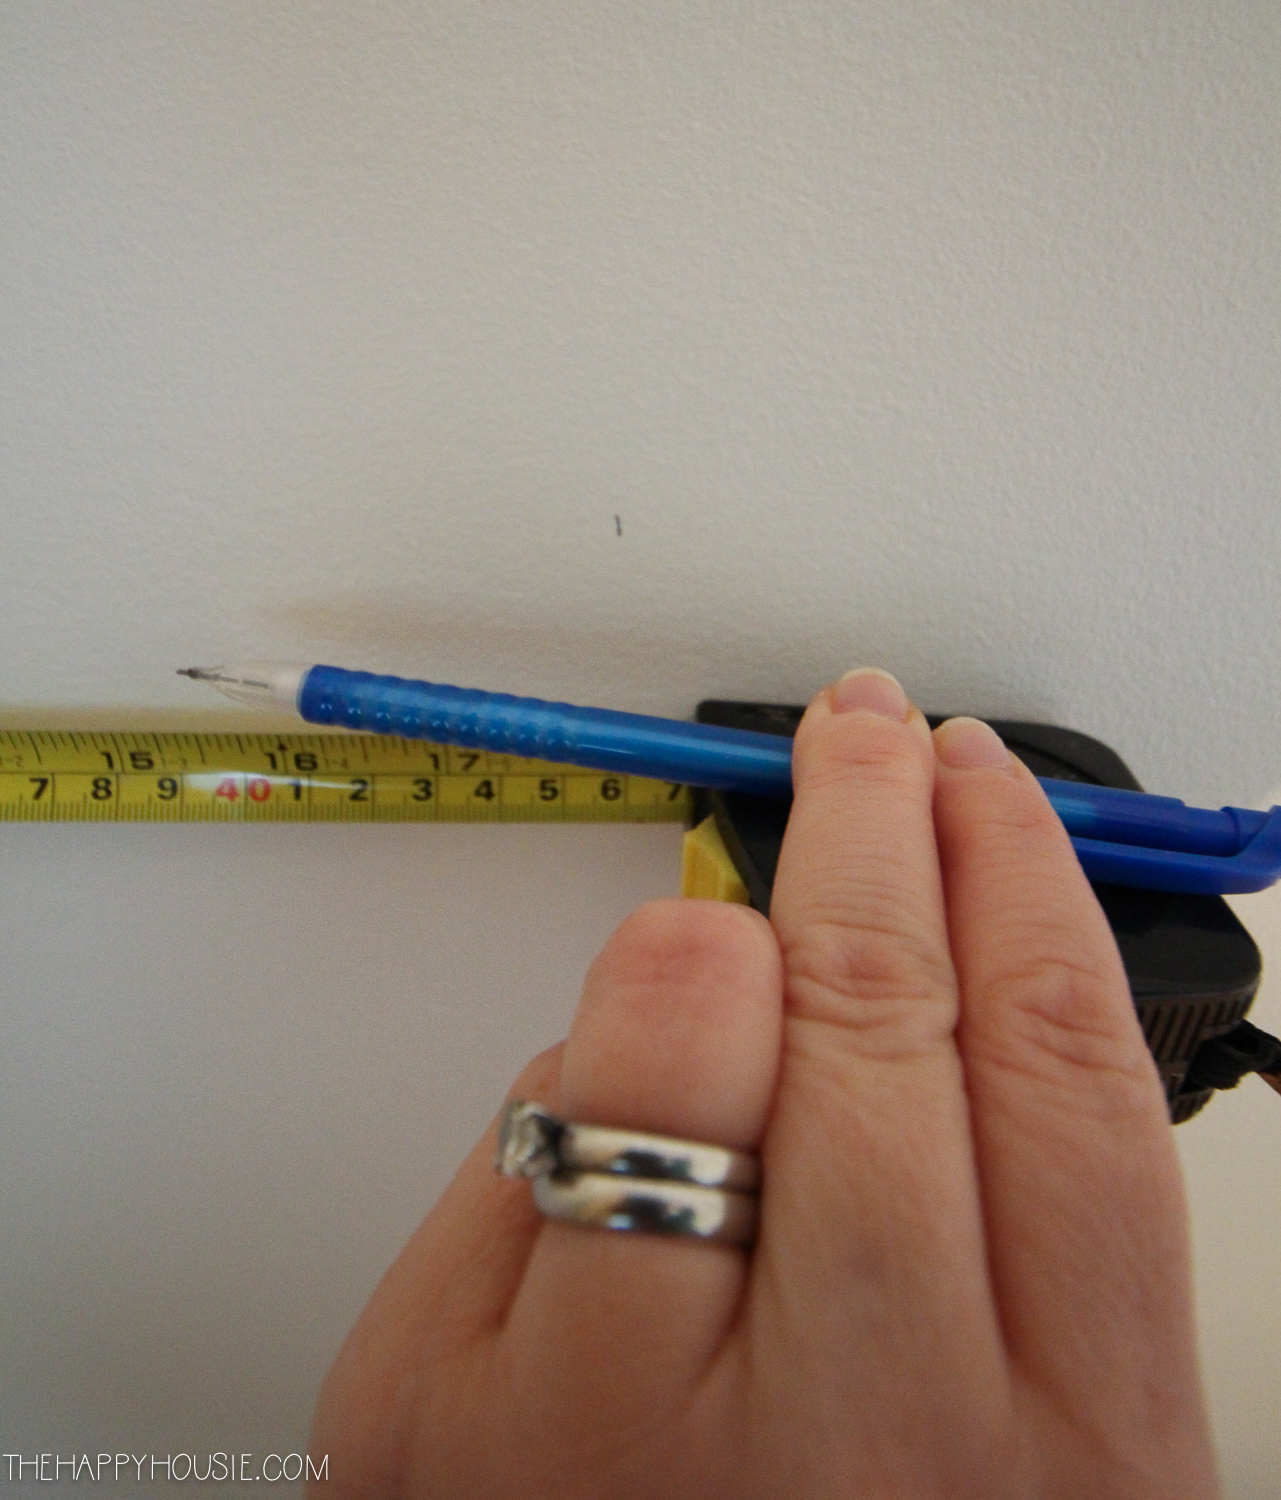
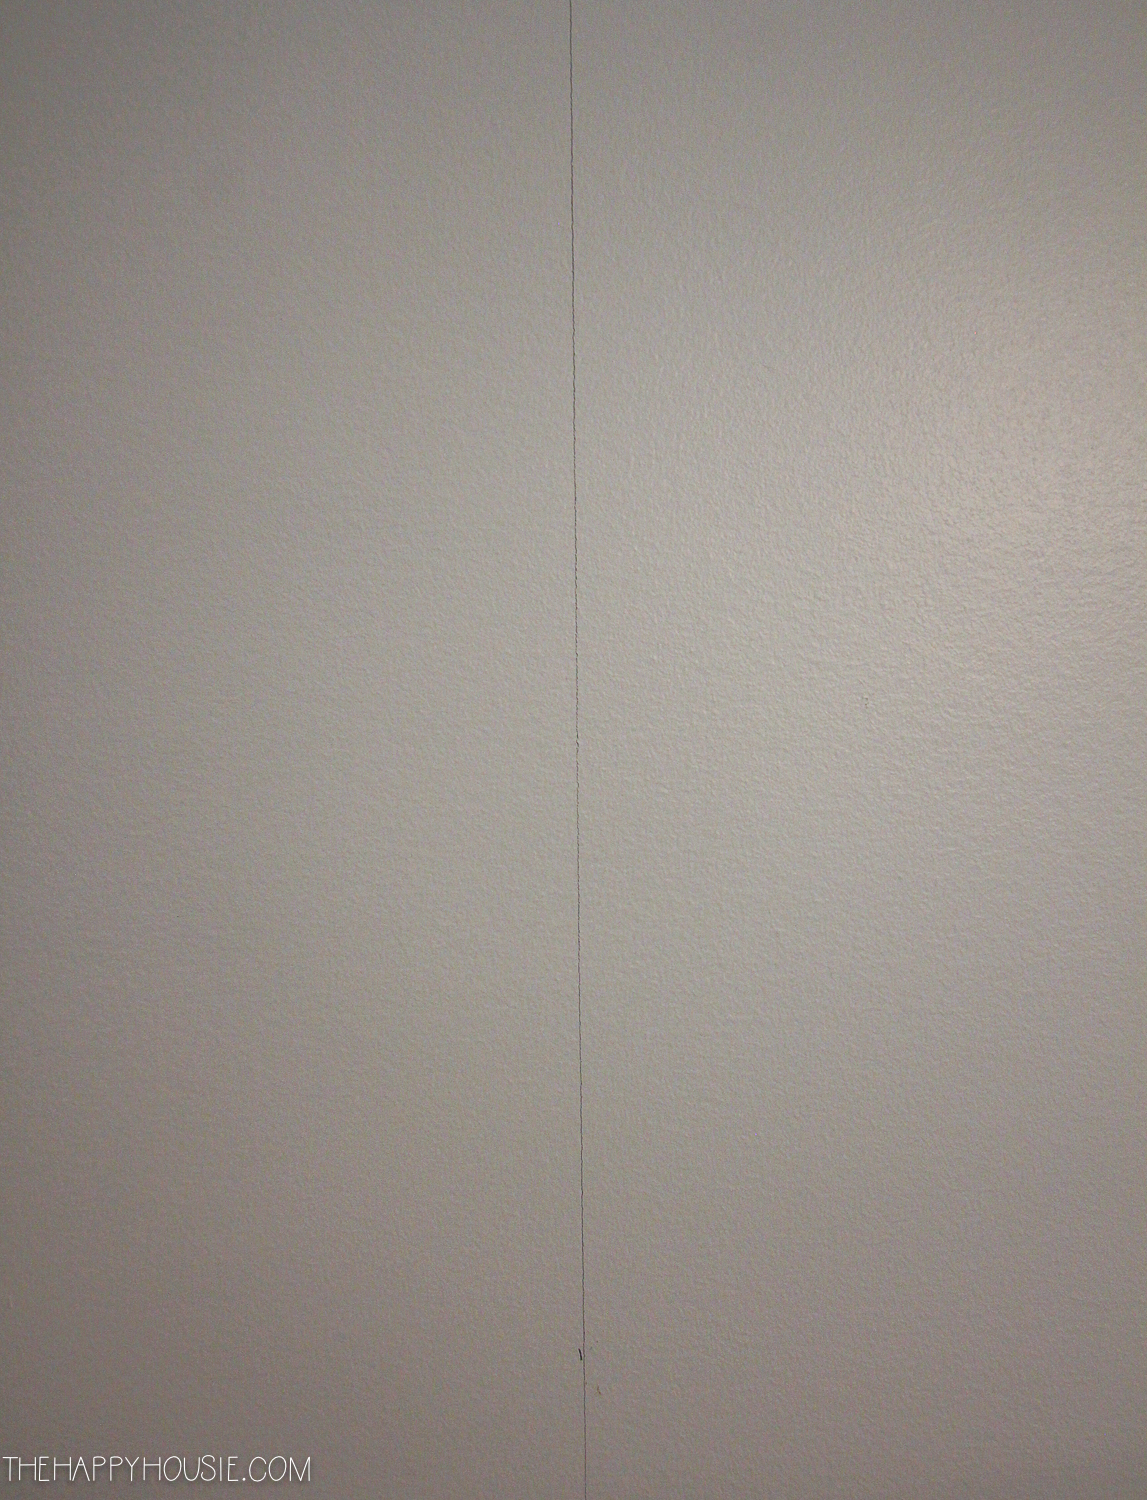
3. I can’t stress enough the important of starting with a completely straight and level line off which you work. I measured 18″ (the width of my wallpaper) from the corner of the wall in several spots but then used the level to draw the line. I was able to see that the top corner was definitely “off” level (probably from extra mud in the corners during the original drywall job), so I went with the “level” line instead of just drawing a line 18″ out all the way up and down the wall. If I’d just drawn a line, then all the pieces would have been off and the project would have very quickly become a huge mess! Using a LONG level helped with this process as well.
4. Apply enough glue that the wallpaper will adhere to the whole surface. We used a brush as I found that a roller did not apply the glue very thickly. My Mom helped with this job, and it was key to have two people to hang the strips, as I expand on below.
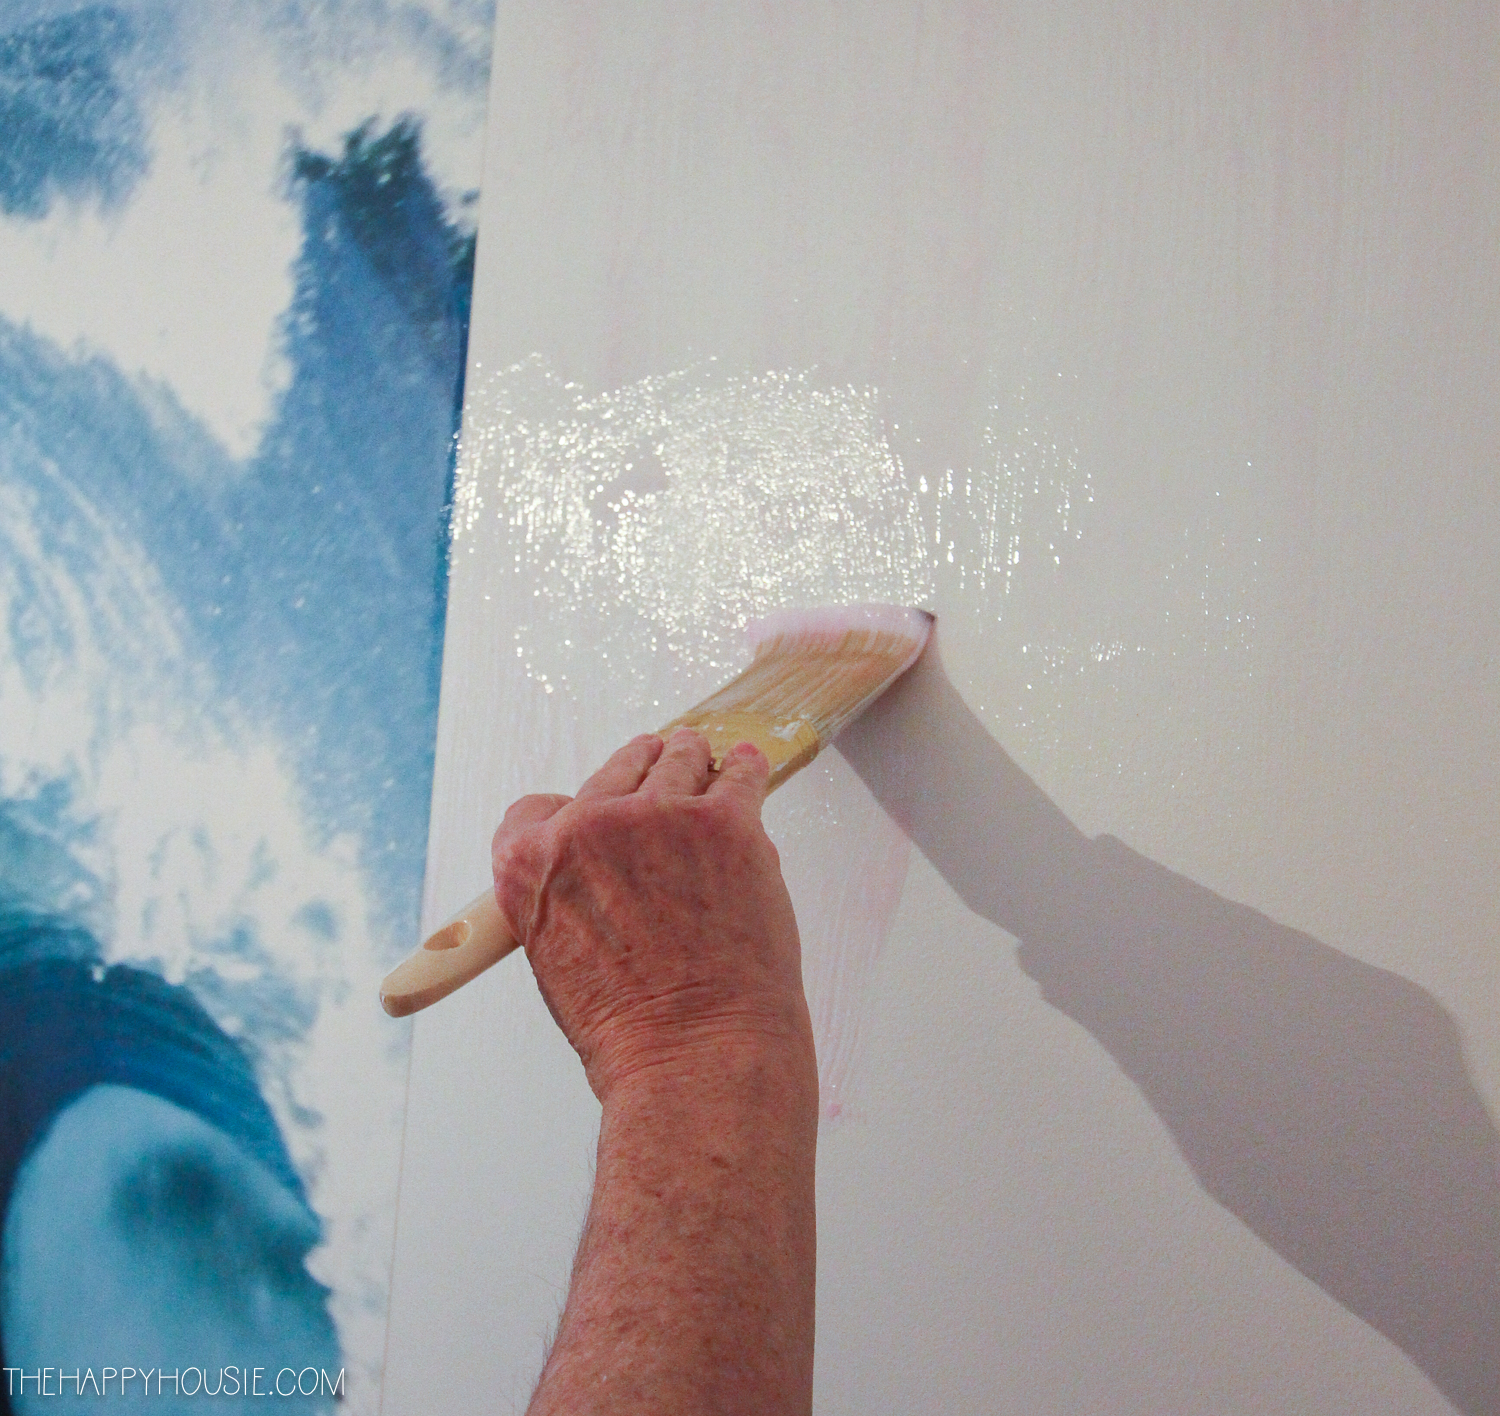
5. Work with a partner. My Mom came over and helped, and it was great to have the extra set of hands. We started by lining up the interior side of the first strip with the line we’d drawn with the level, and then went from there. It was easy enough to wipe up an excess bits of glue once the wallpaper strip had been lined up perfectly using a slightly damp rag. As I pressed the paper down gently and worked out any bubbles, she would make sure that we weren’t creating space between the two strips of wallpaper. This mural was designed to line up perfectly, not overlap and be cut out (as in the past), so it was critical to make sure that we kept the pieces aligned as we worked.
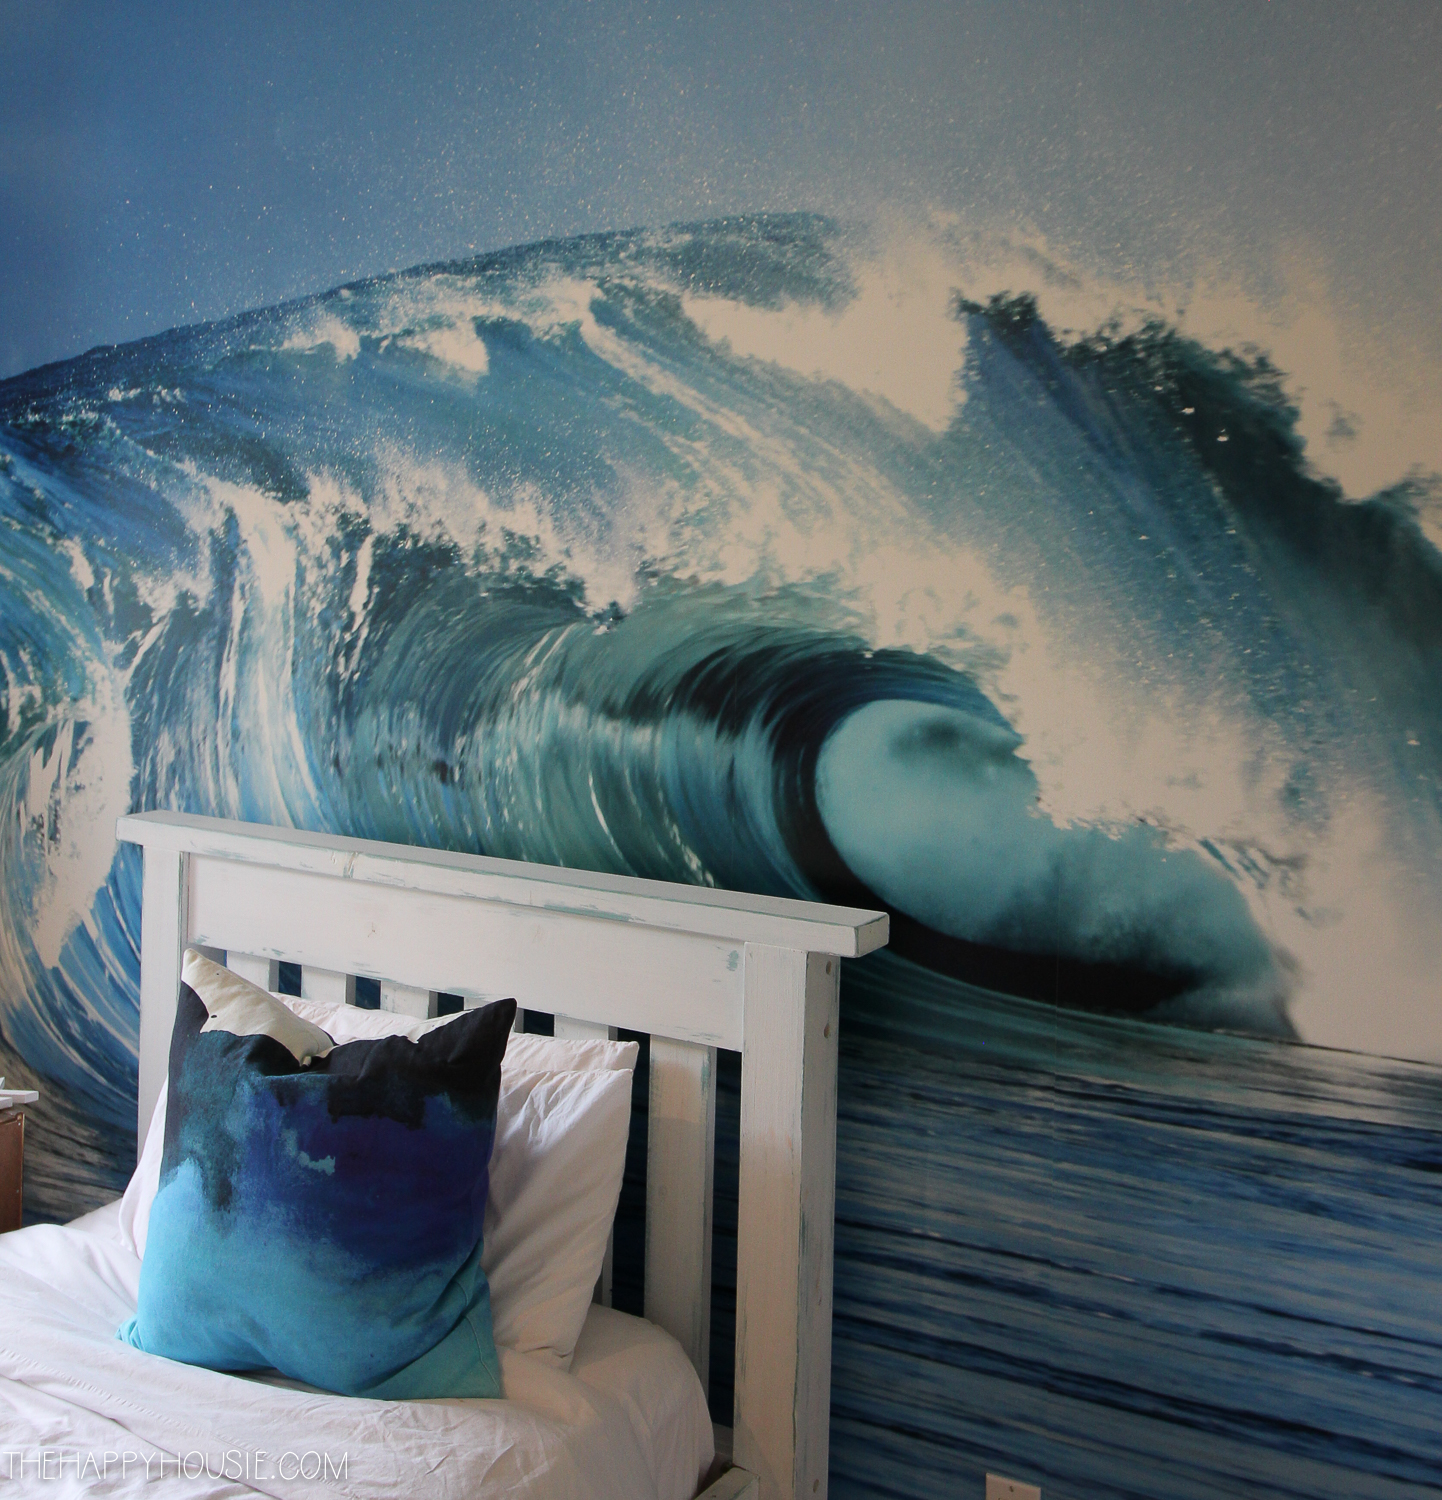
I’m thrilled with how the mural turned out!
Review of my Photowall Wallpaper Mural
Overall the project went very well and more quickly than I expected.We got the entire thing up in less then two hours, and it was a fairly relaxed two hours. I was thrilled as my only wallpaper experience before was with peel and stick and hubs and I almost had a marital over that DIY.
This was much easier to install once we got things lined up and started. The quality was excellent. I honestly was really impressed and look forward to trying this project again one day – somewhere else!
Head over here to see all that Photowall has in store. You’ll be amazed at the variety you can choose from, or you can even have your own photo turned into a mural.
Here’s how the wallpapermural looked once the room was all finished!
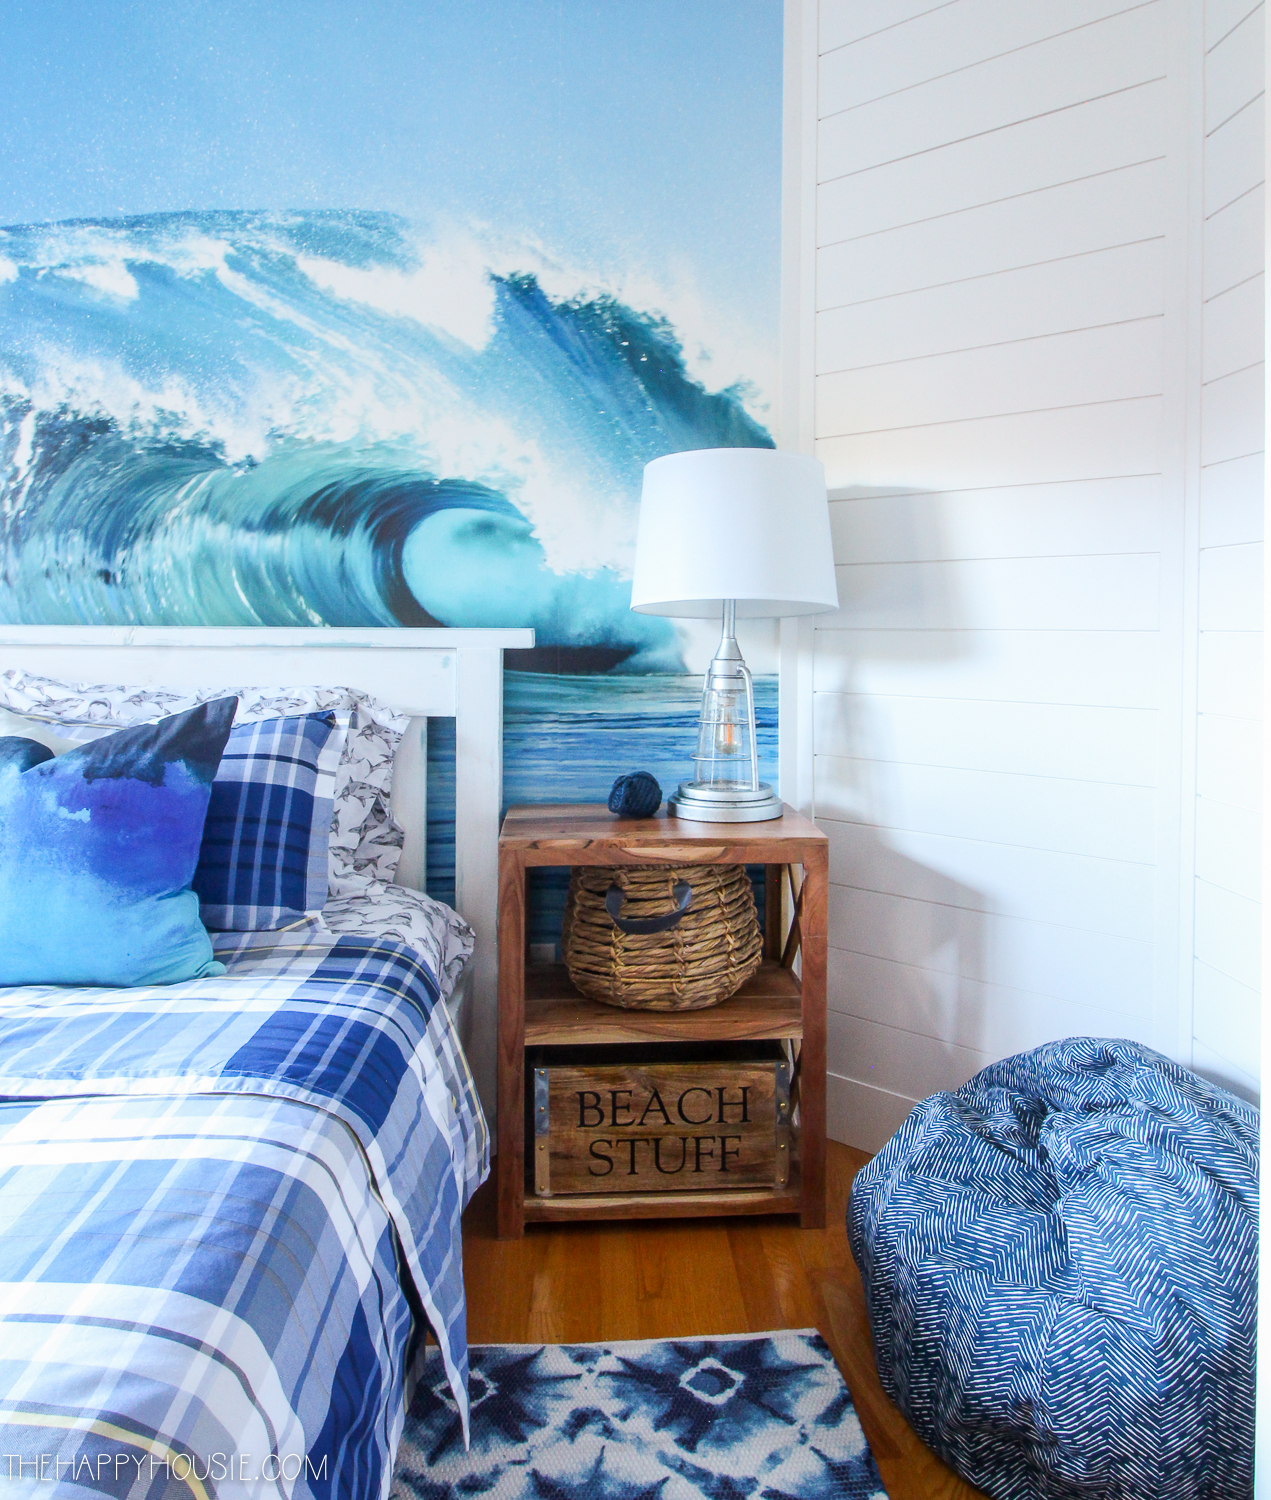
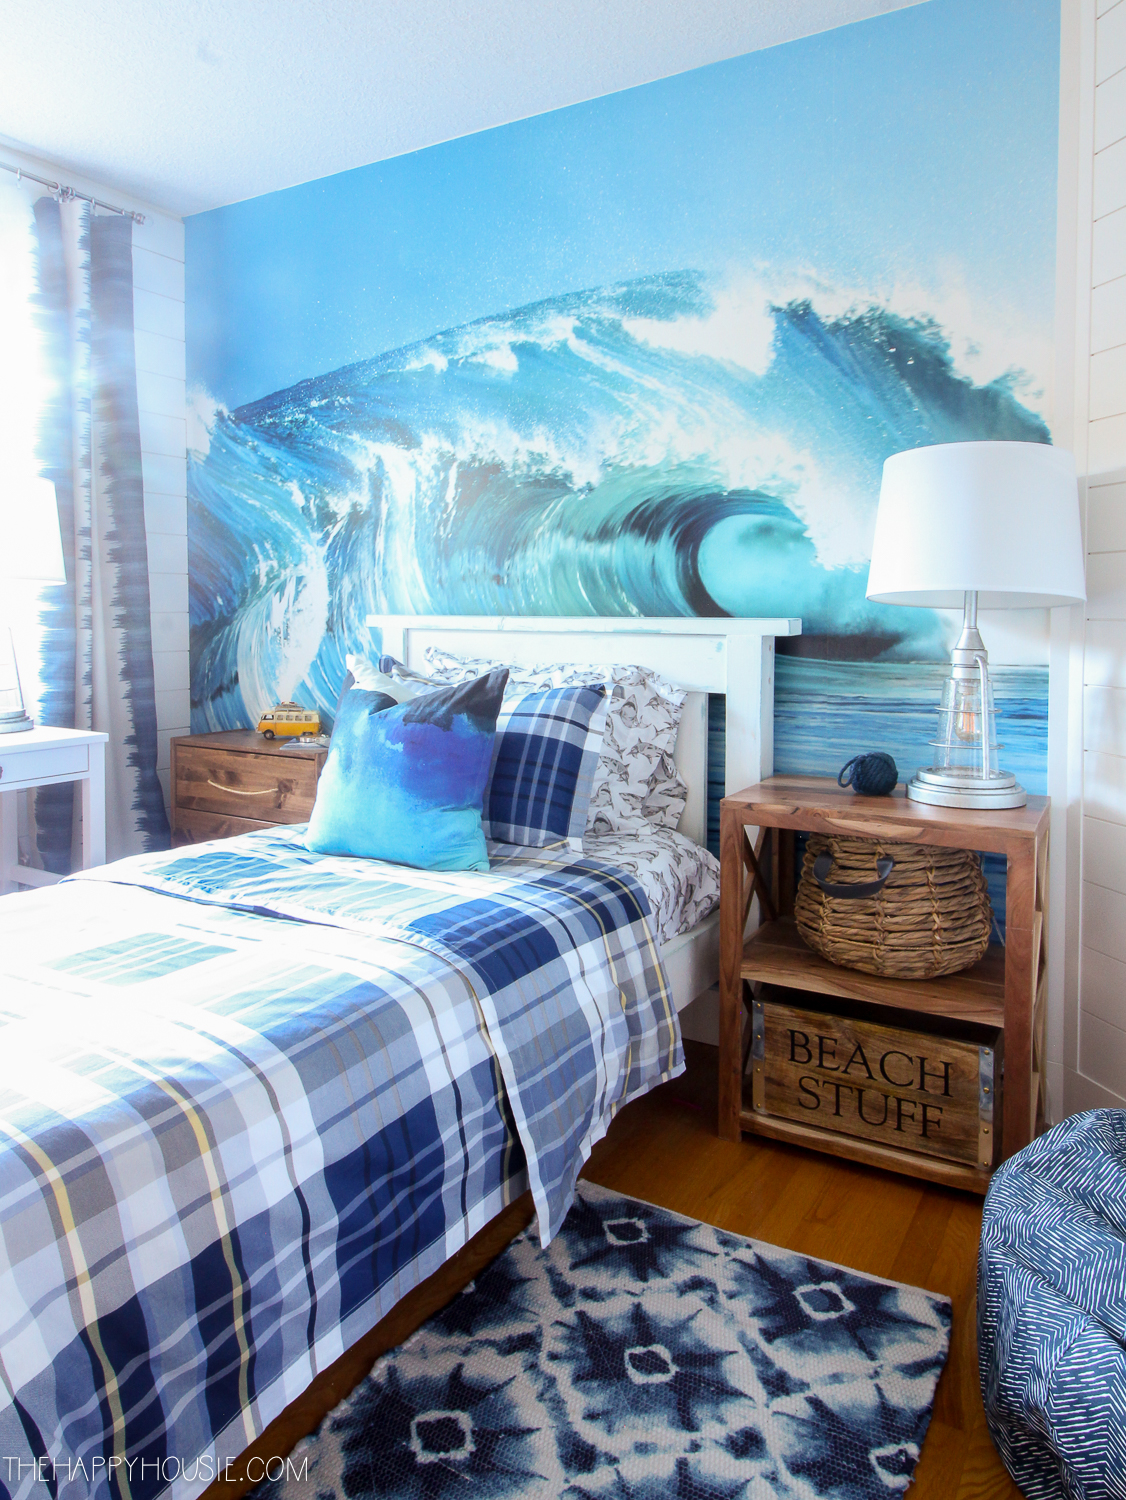
See the FULL REVEAL of this room here!
That looks amazing so far, Krista! I bet Finn loves it! And how cute were you at for years old??
What an impact!! Can’t wait to see the rest!
Thank you Barbara – I can’t wait to get it all finished and have it functional again:)
You Rascal, piqueing our curiosity. Will be waiting with bated breath to see final reveal.Lucky Finn. That wave mural is outstanding, good job.
Happy weekend
Thank you JaneEllen! I can’t wait to show you more of it – very shortly! He adores his mural; it’s nice to decorate it truly for his interests but have it mesh with what we love as well.
i absolutely LOVE that wall! it’s so fun and has such an impact on the space!
Thank you Cassie! I love it – and most importantly, Finn is totally thrilled:) Can’t wait to get his room finished and functional again. Hope you are feeling well!!