
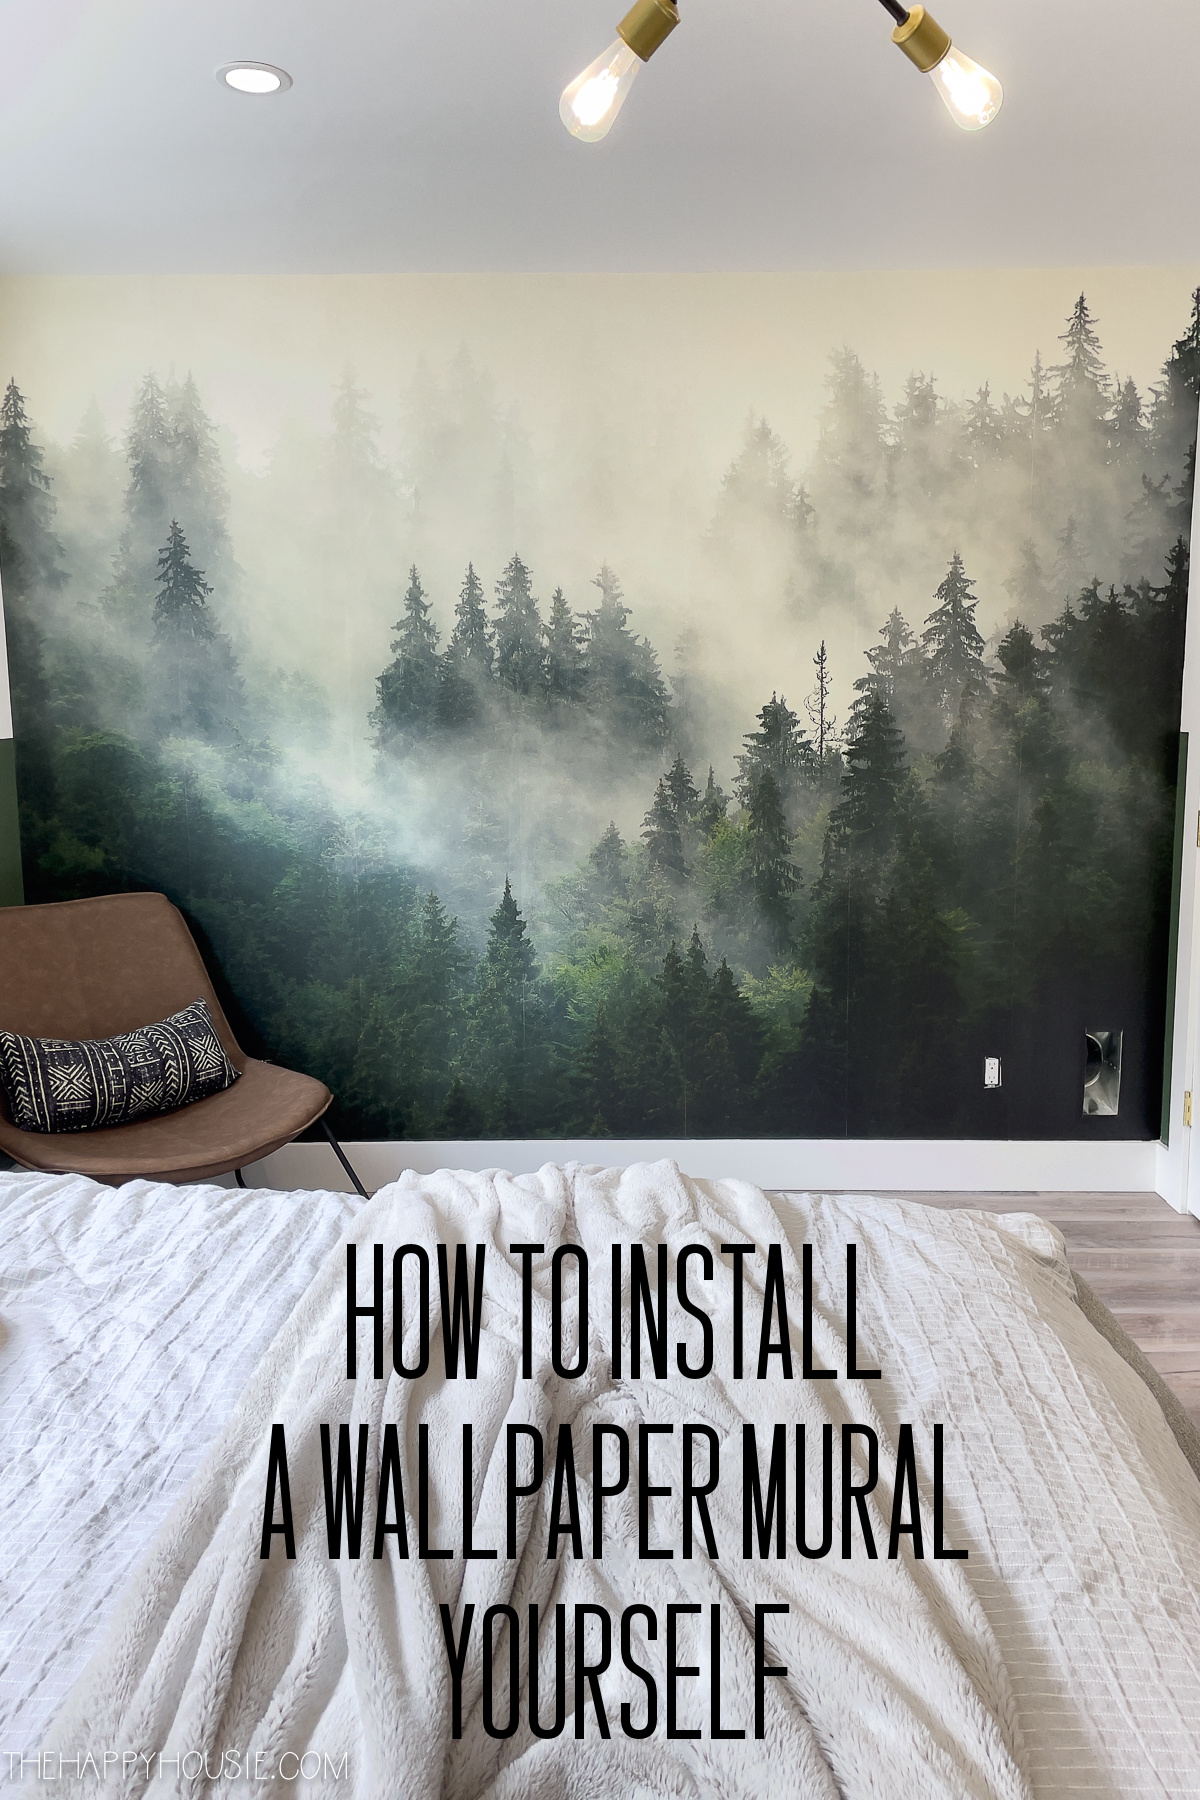
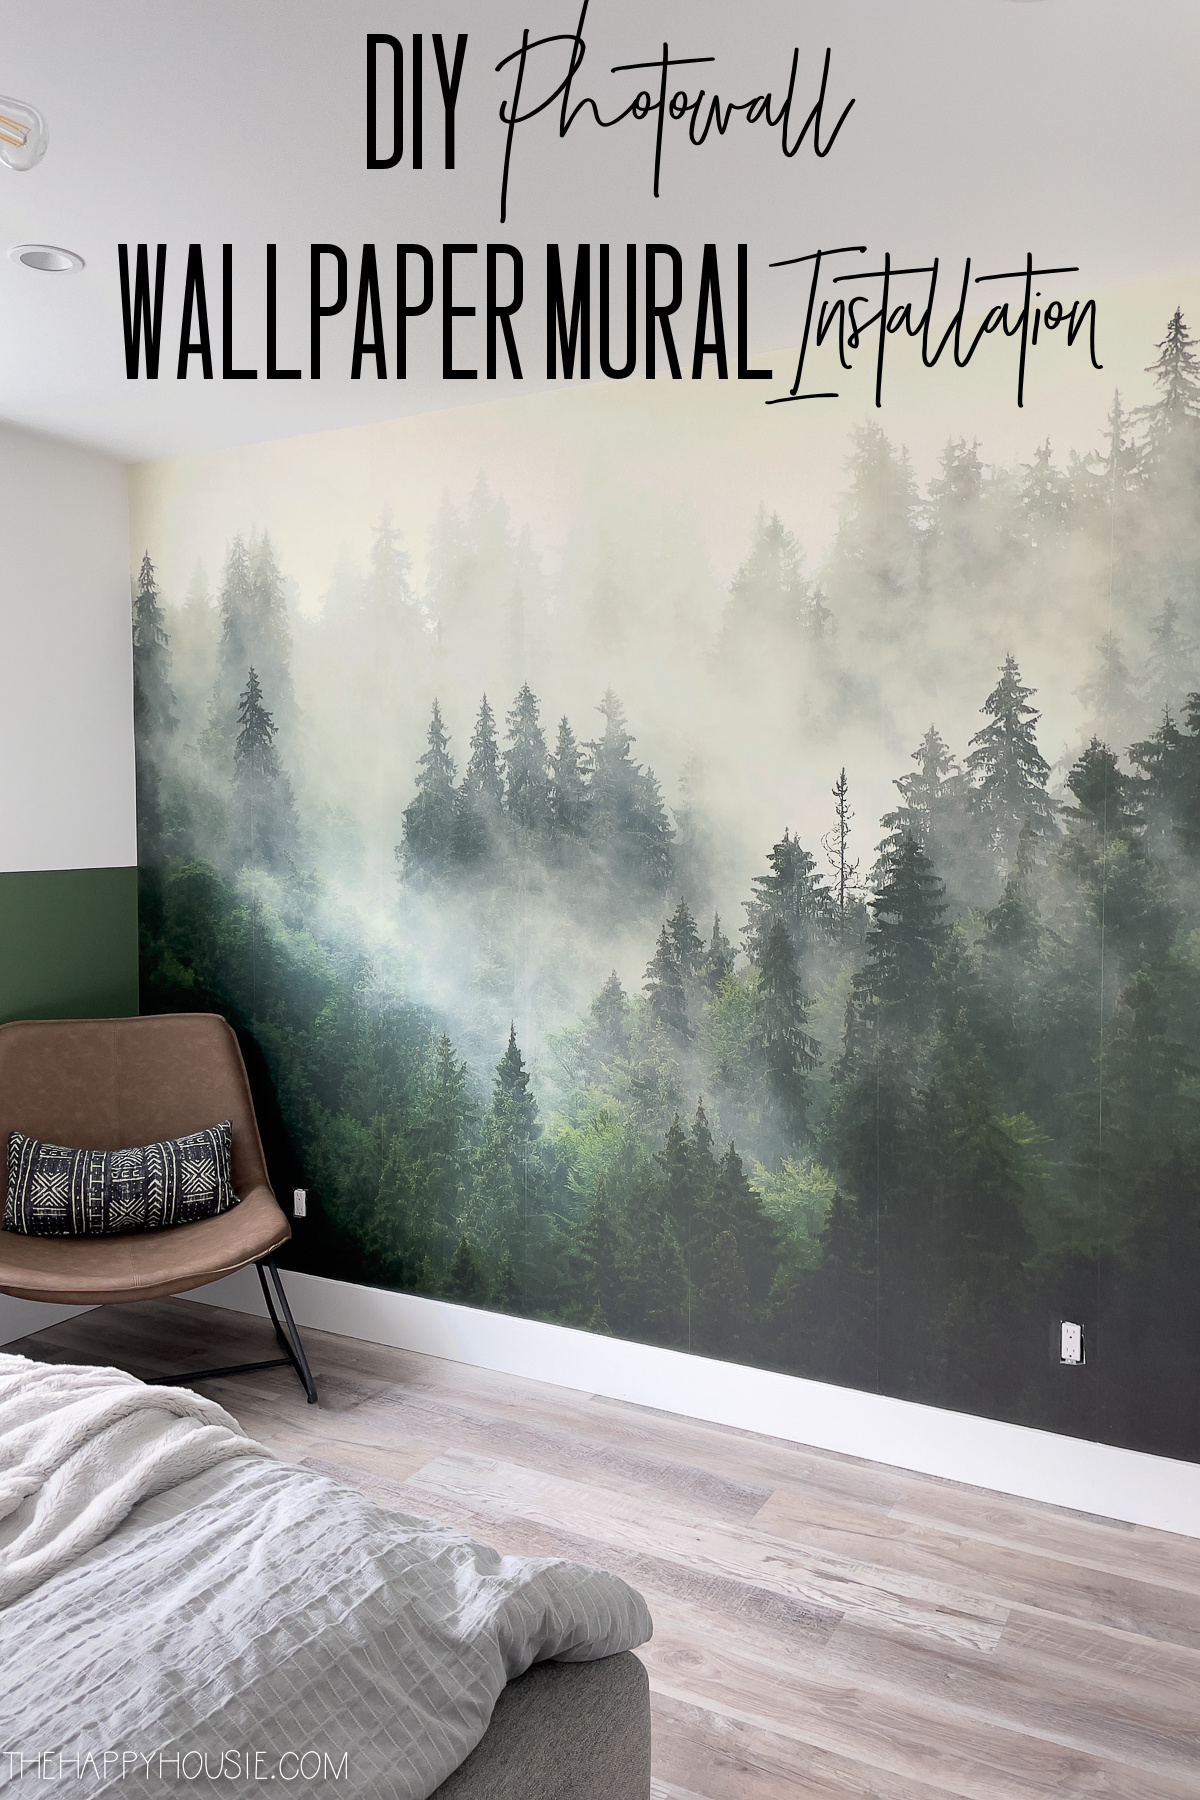
DIY Photowall Mural Wallpaper Installation
Week Seven of the One Room Challenge of a teen boys bedroom makeover featuring the installation of a Photowall Wallpaper Mural.
This is probably my favourite project of the One Room Challenge so far. Really, Leif’s entire room was designed around this Photowall Mural wallpaper that he chose. We’ve been talking about doing a room makeover in his bedroom basically since moving in, and he’s had his eye on this wallpaper mural for months. I was excited to get to partner with Photowall for this makeover, and am sharing my tutorial today for this wallpaper mural installation. This is my second time working with Photowall on a project and I truly love their products. If you are looking for a beautiful (and fast) way to give your space a lift, I highly recommend you check out what they have to offer!
If you’ve been following along the last few weeks, then you know that I’ve just started the first big makeover project of our new build house; adding character to our oldest son’s bedroom. Here is my original before post for this project. This week is Week Seven in the process, which means that next week if the big reveal!!
The One Room Challenge
If you’re not familiar with the One Room Challenge (hereafter I’ll call it the ORC), I’ll bring you up-to-date. It’s a 8-week long challenge in which decorators, designers, and homeowners pick a space in their home to completely update. There are feature designers for each session, as well as many guest participants (like myself) who join in each week. You can read more about this event here.

I love how One Room Challenge because it pushes you to try and get things done in a timely manner! Making decisions can be hard for me at times, so I love the extra pressure to get things decided on and DONE. I’m thrilled that this ORC is coming to a close and we are nearly done this room. My son, Leif, is loving how it’s coming together (and so am I)!
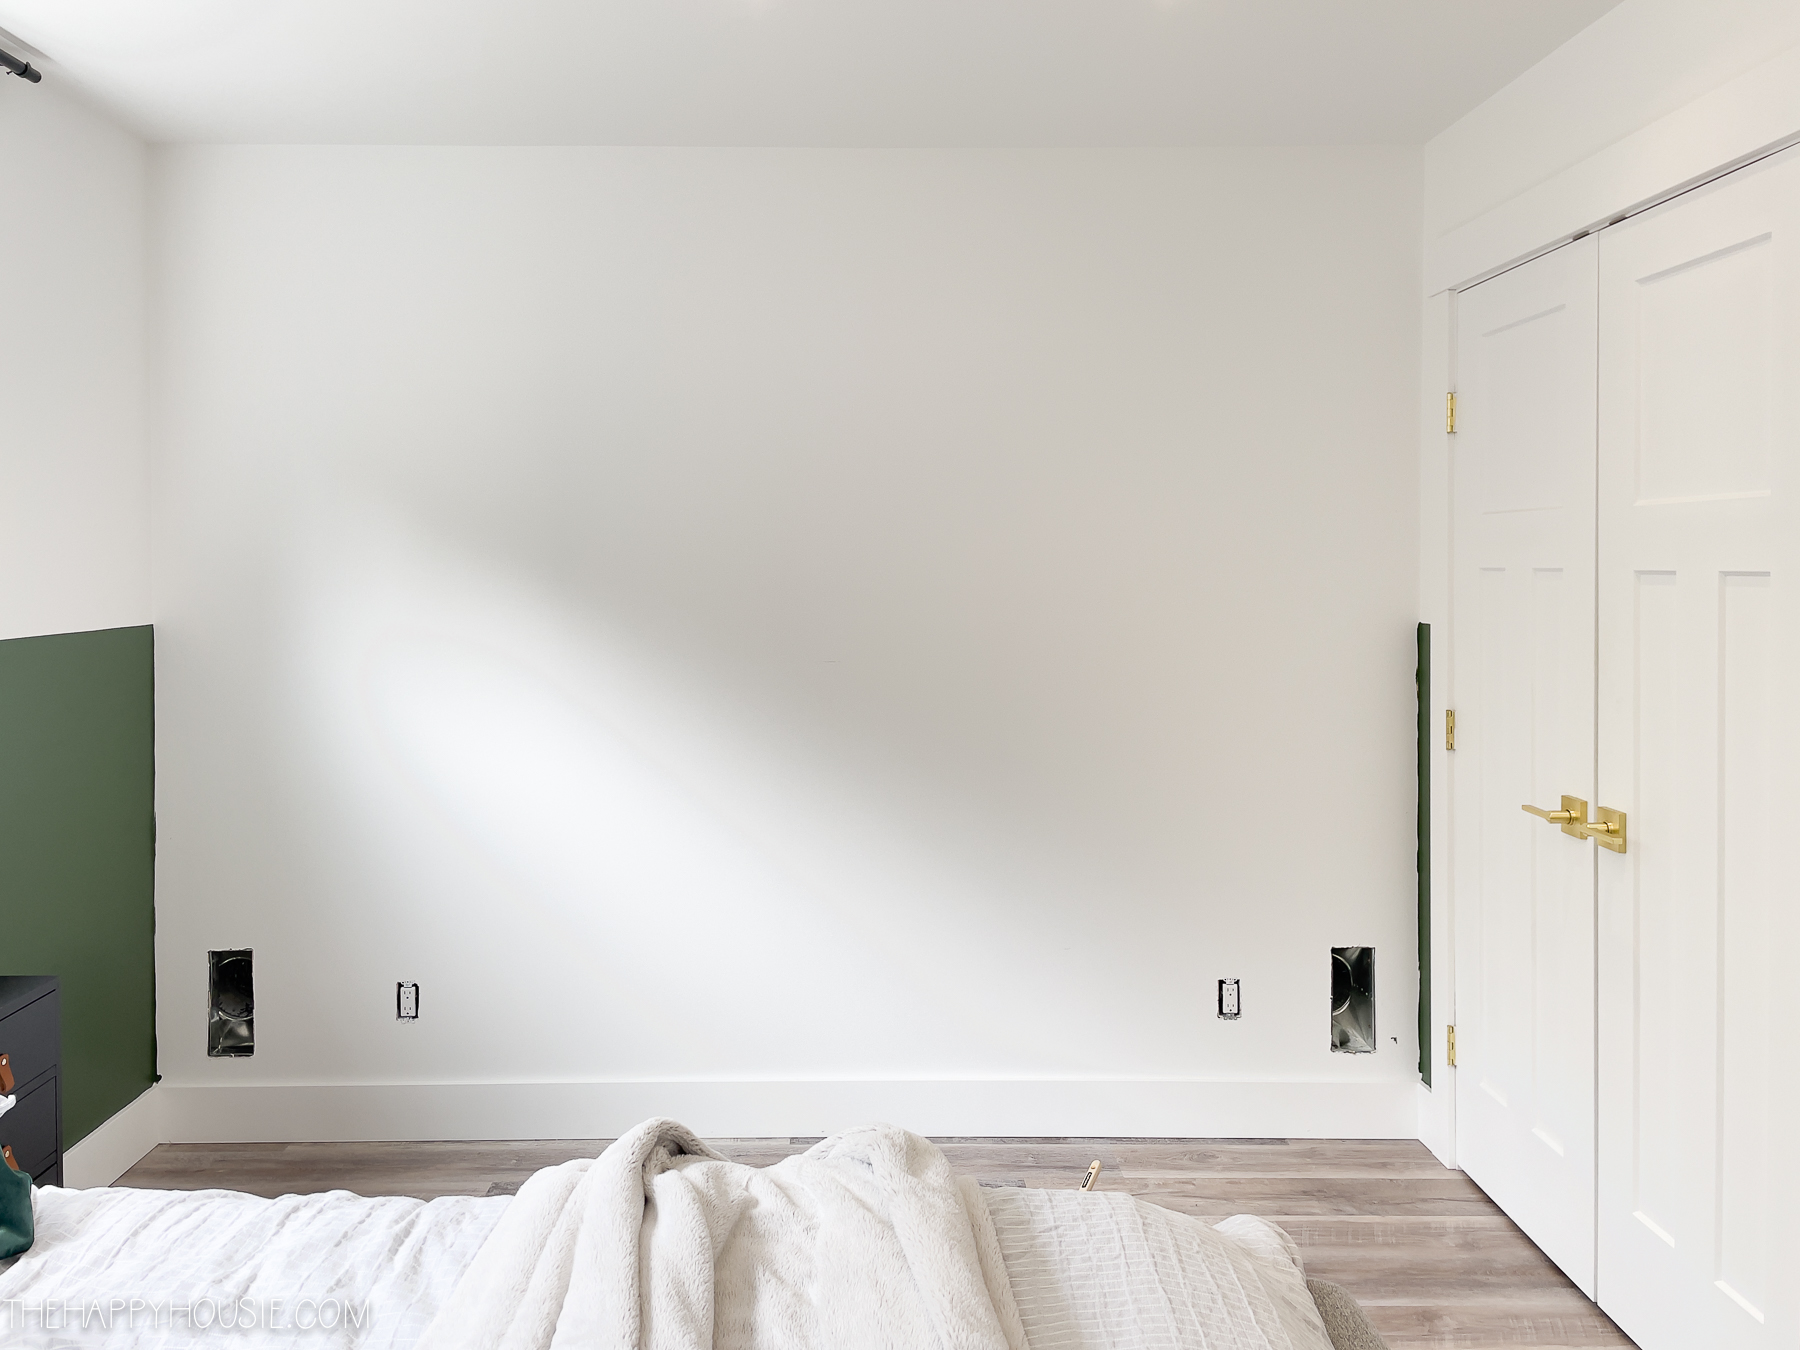
His room before the wallpaper mural:
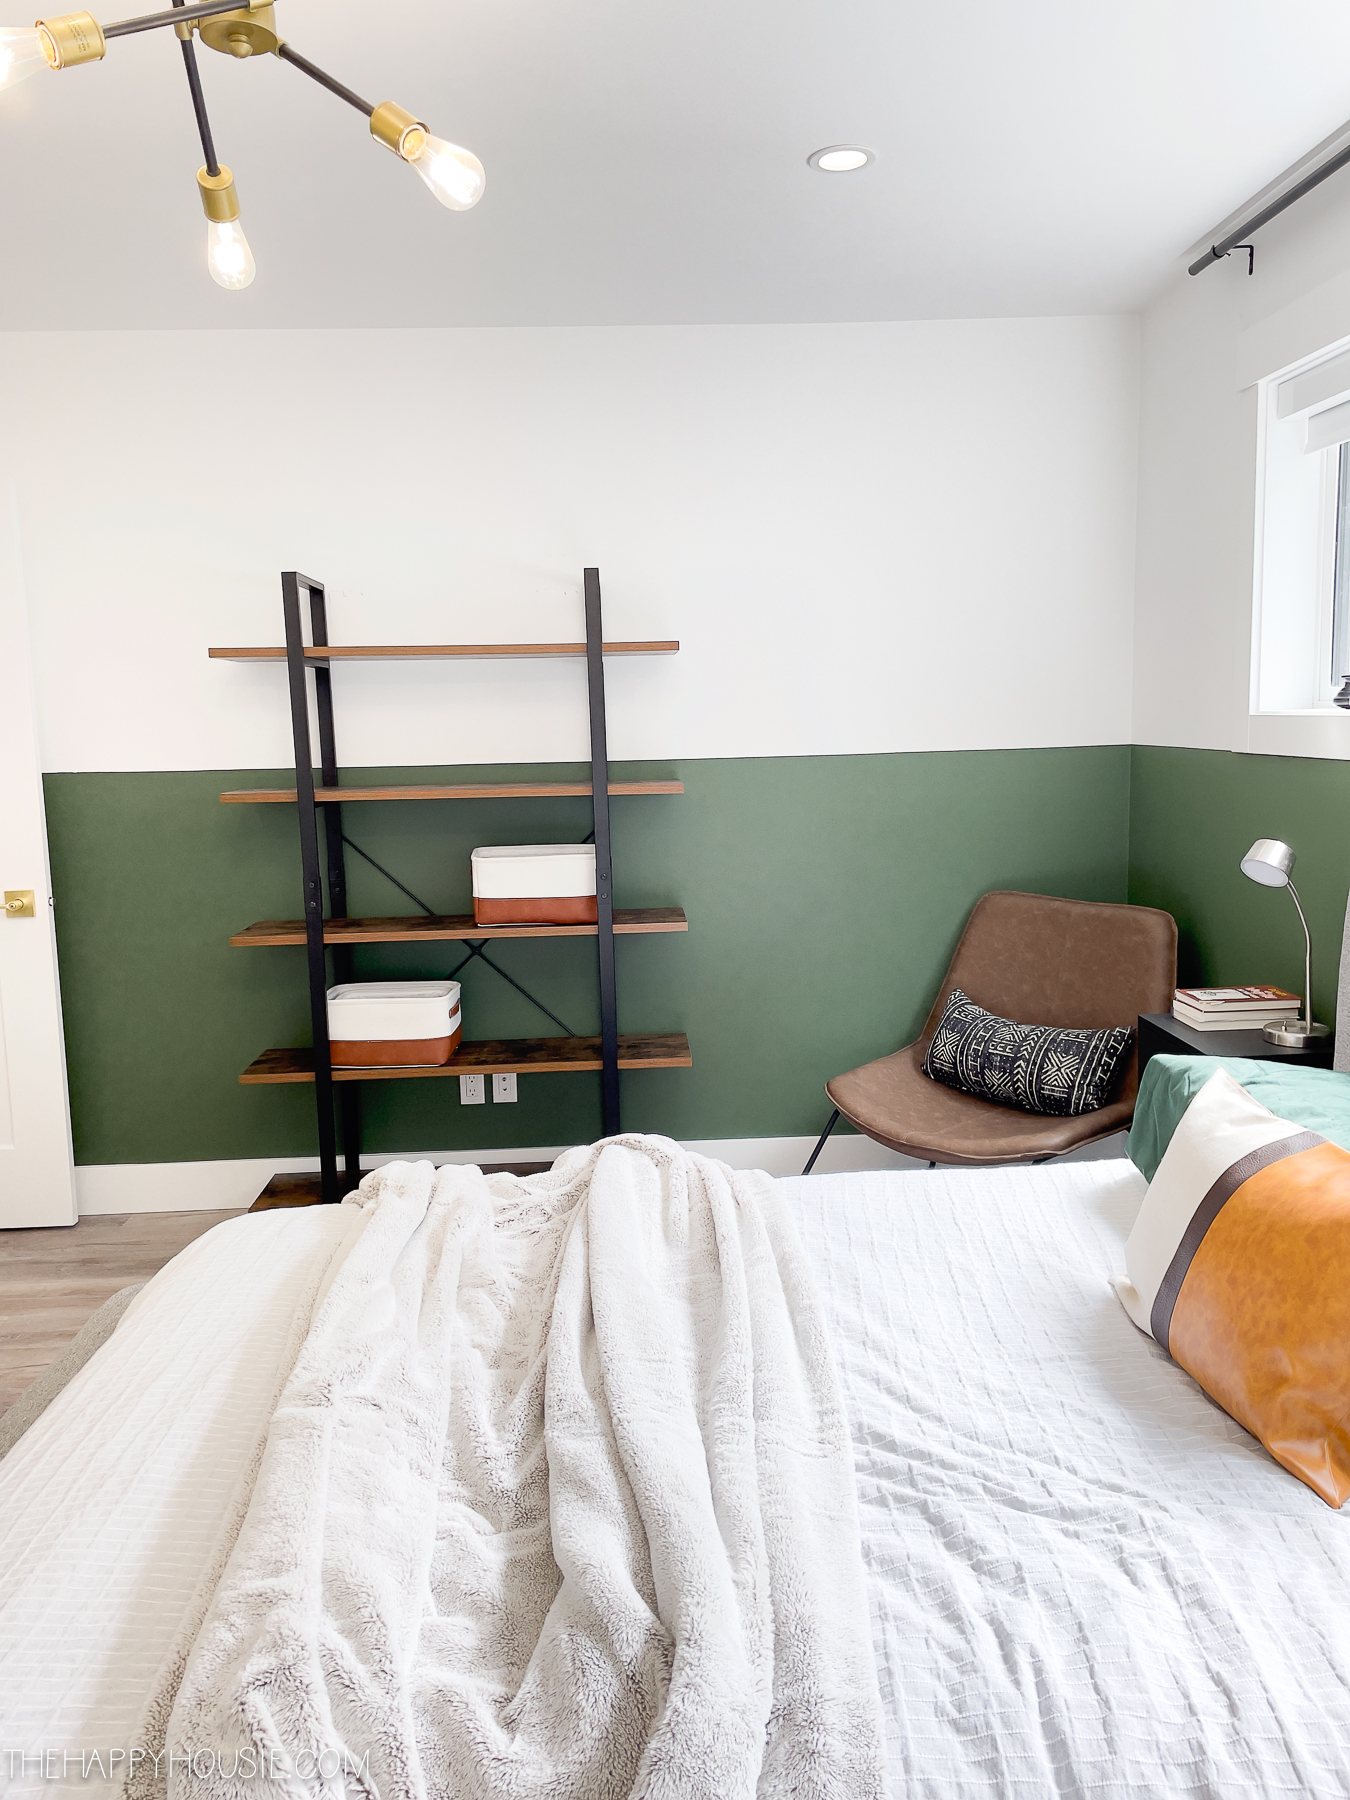
Last week I shared how we painted the bottom half of the walls with Benjamin Moore’s Peale Green:
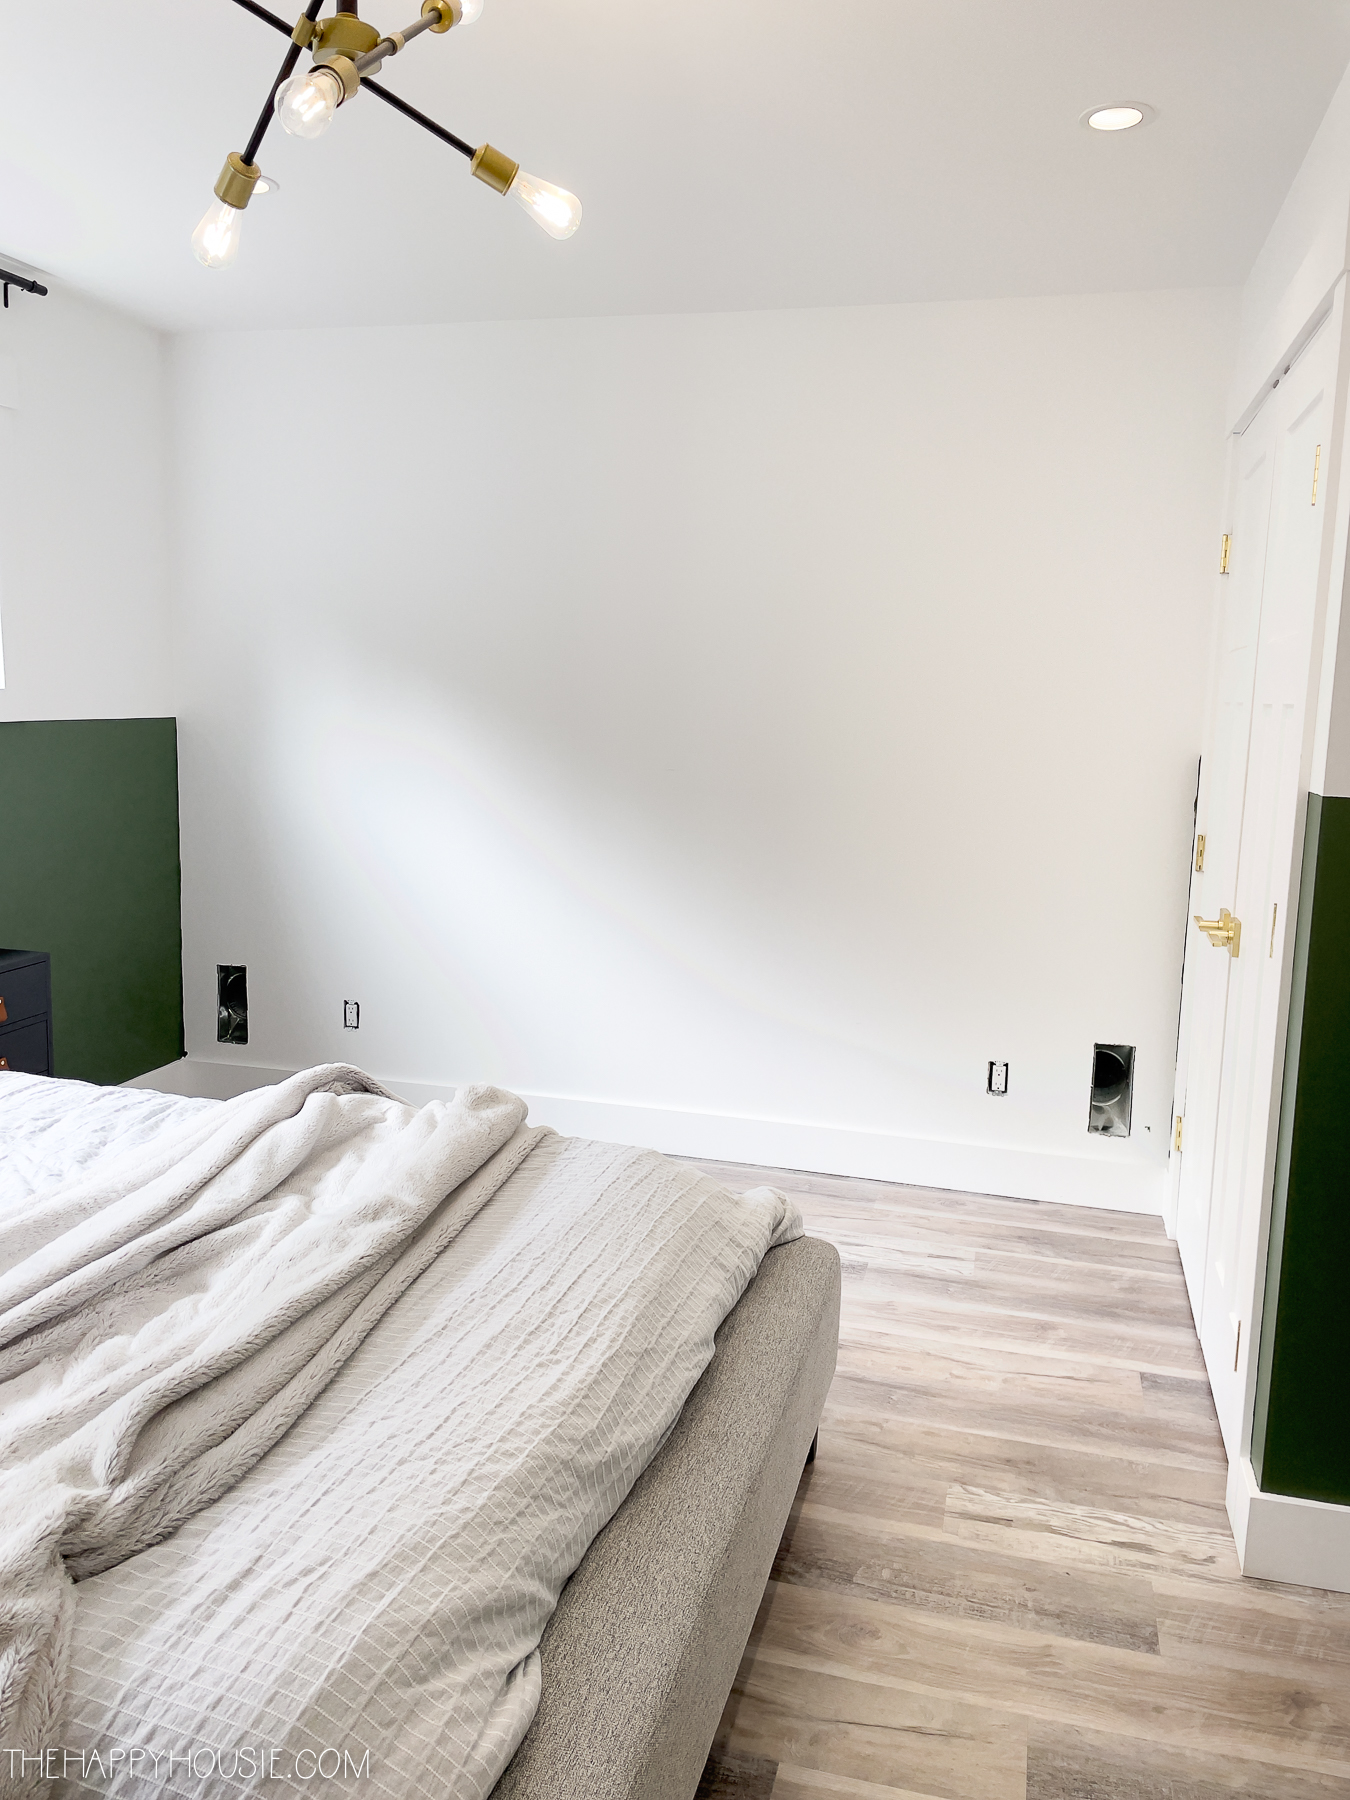
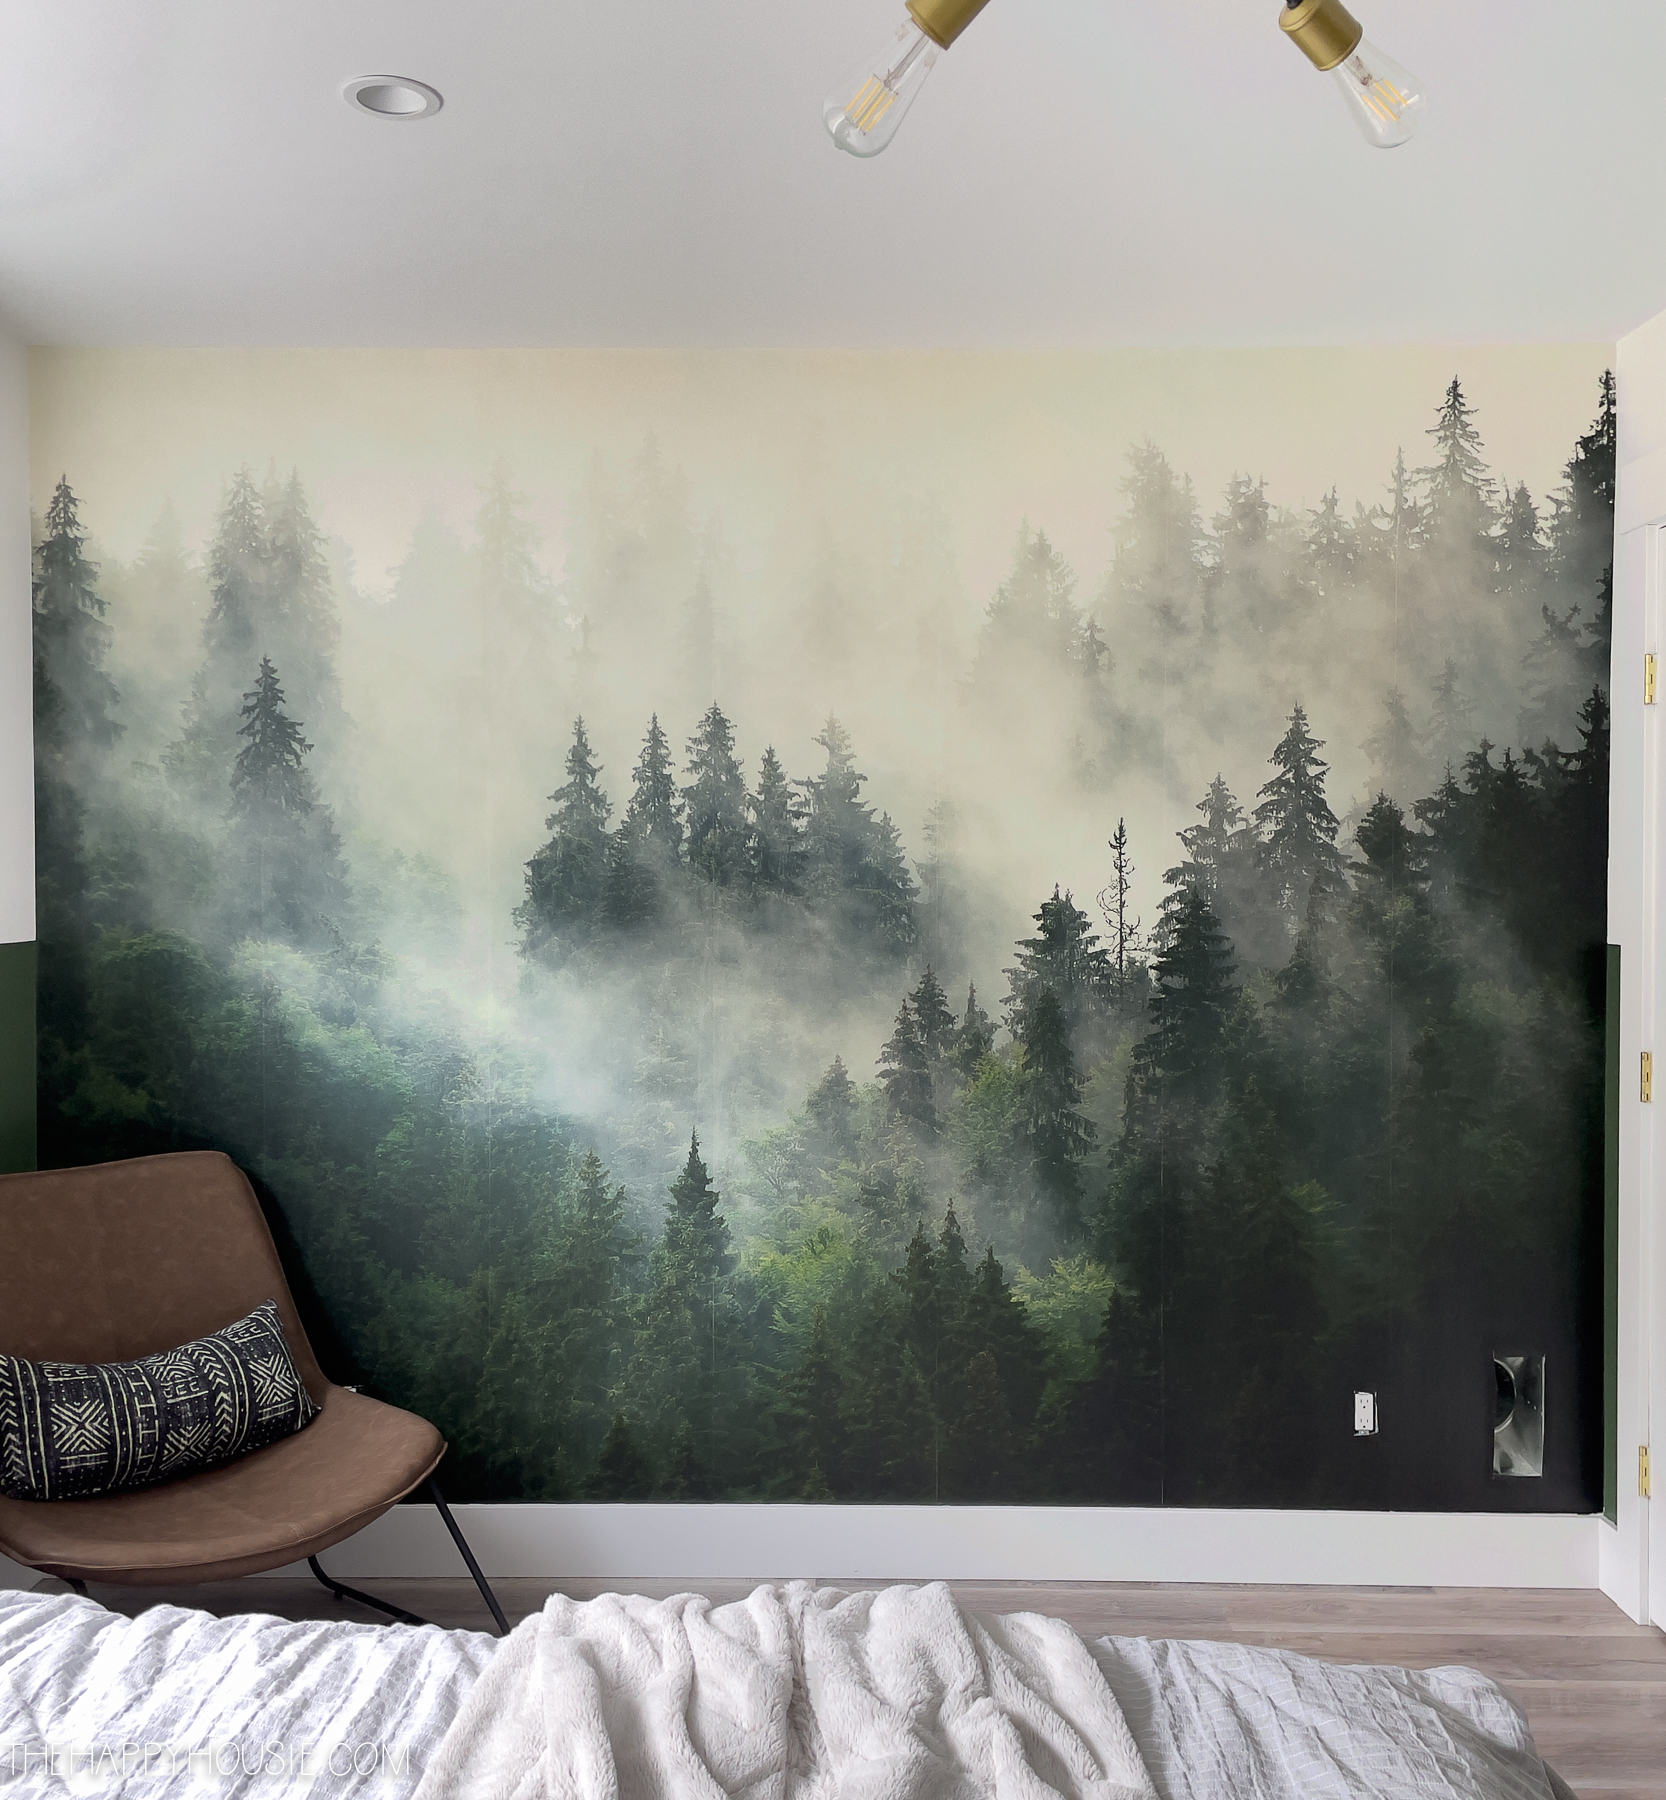
The large end wall was left unpainted in preparation for installing this Foggy Forest Wallpaper Mural…

Photowall Wallpaper Mural Installation
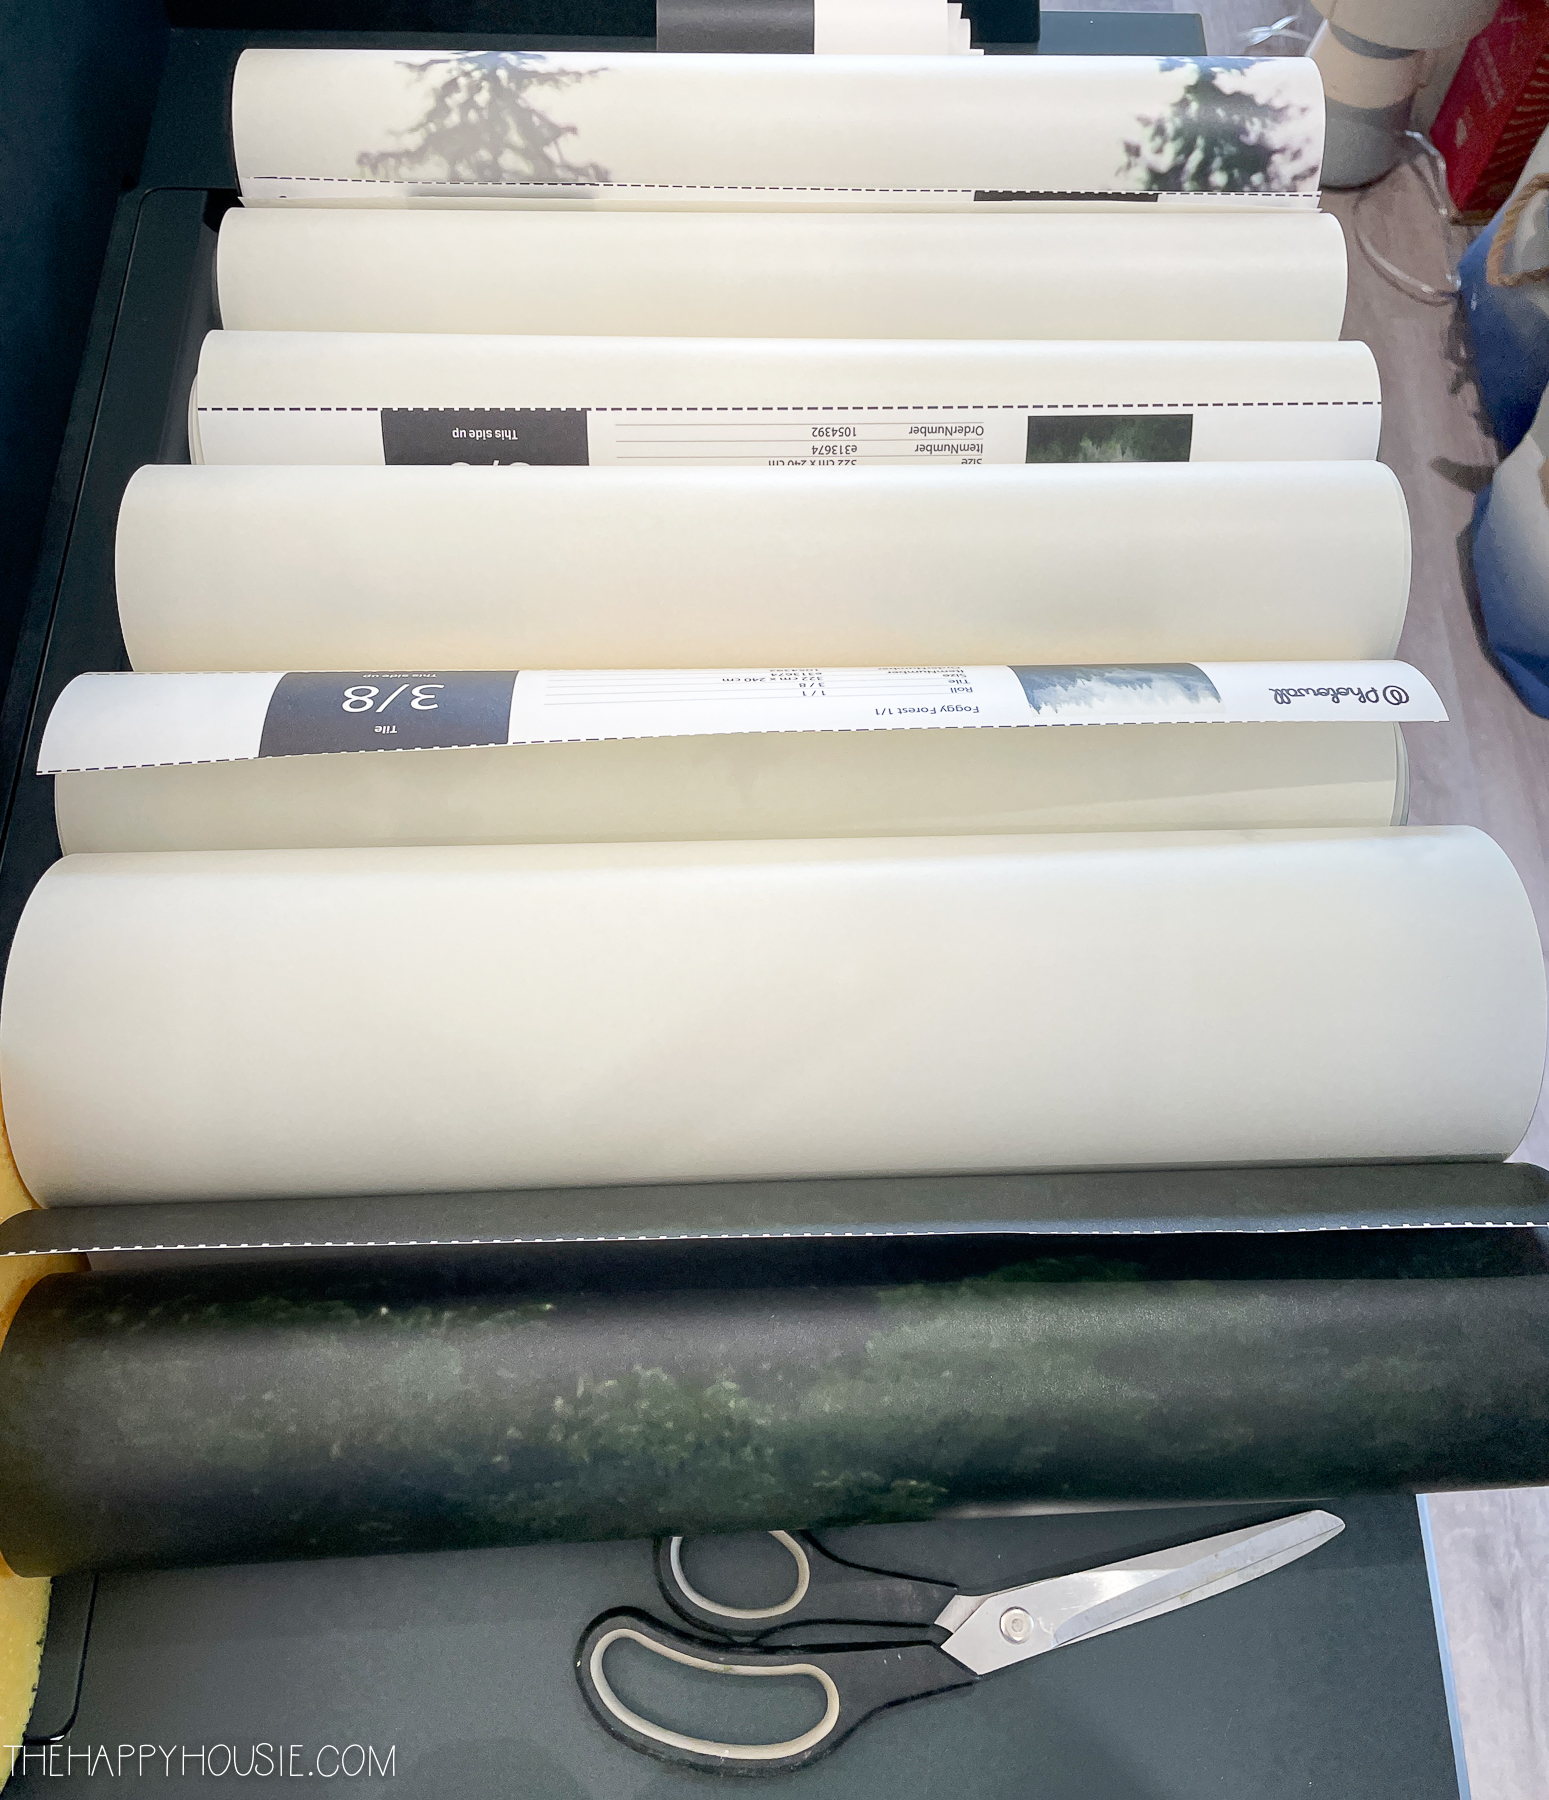
The mural arrived in 8 sheets, though we didn’t end up needing the tiny little strip on the 8th sheet. When you order your wallpaper mural from Photowall they tell you to add 6-10 inches to the height and width to account for error, so we had the one little extra piece left over as the measurements were pretty exact.
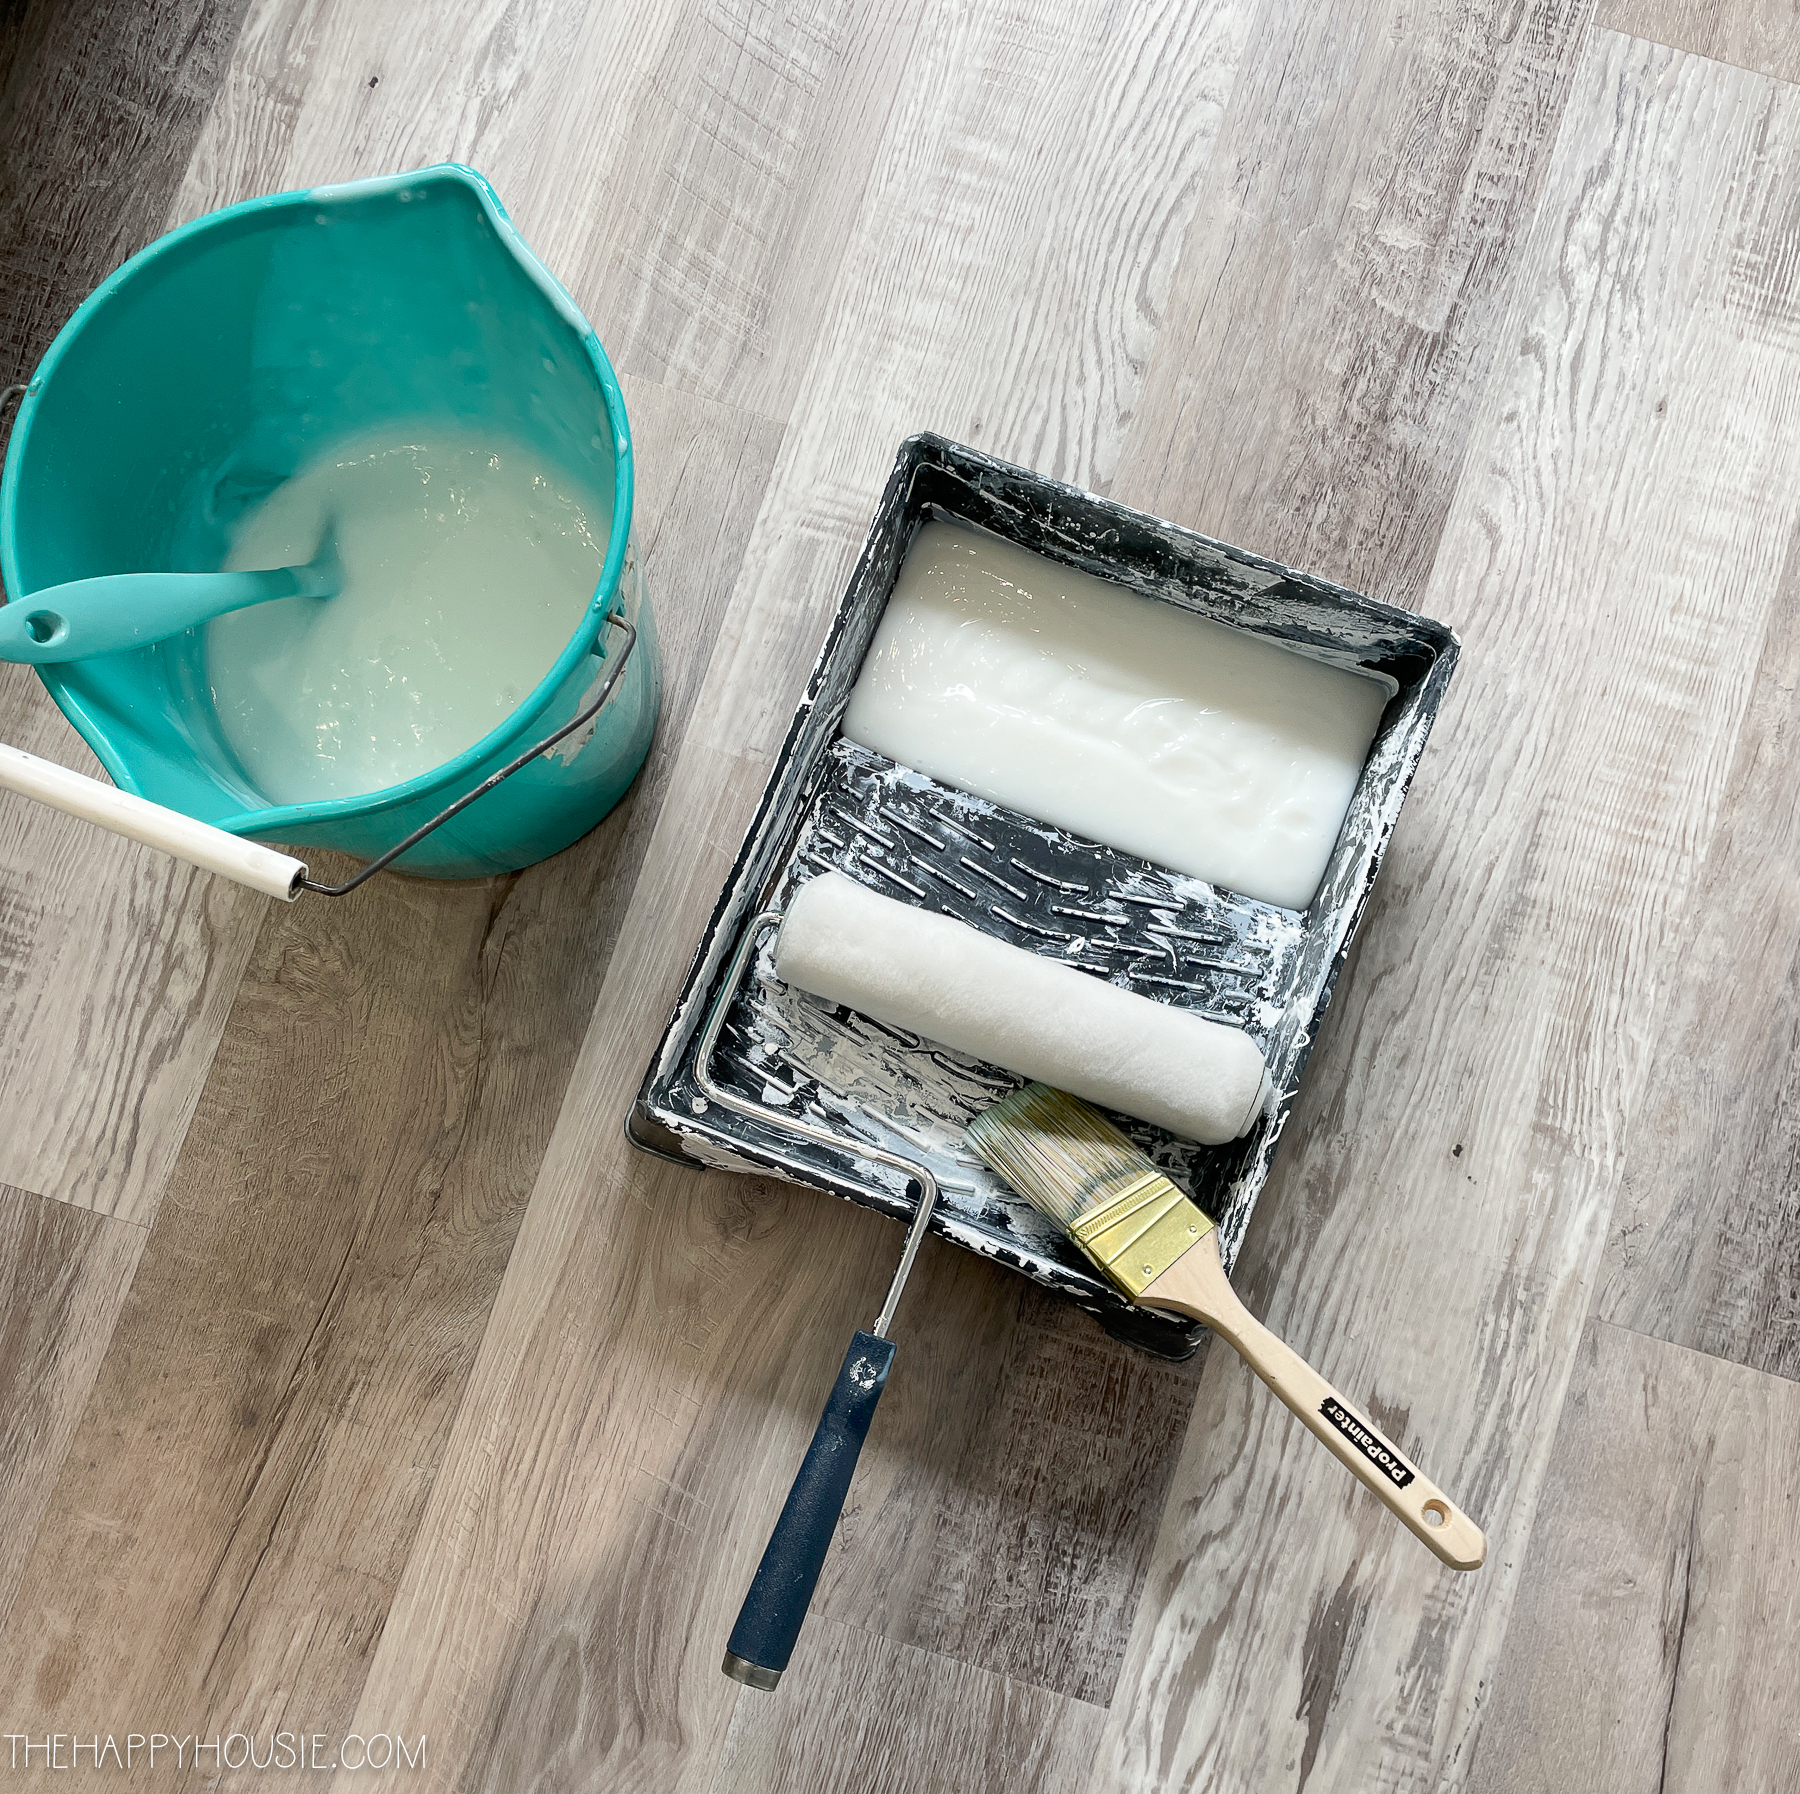
The Wallpaper Paste
The mural wallpaper comes in one long roll, and then you separate it out and cut on the dotted line to divide each section.
They also send along a package of wallpaper glue. All you need to do is mix it with a gallon of water, let it sit, and then stir it again. Then it’s ready to apply to the wall using a roller and/or brush.
TIP:
I used my immersion blender to make sure that all of the powdered paste was fully dissolved and smooth. I didn’t want any chunky bits of wallpaper paste underneath the mural, as it would create bumps on the otherwise smooth surface.
Just make sure that your wall surface is totally clean and smooth and free of dust or dents etc. Here’s the wall, all clean and ready for it’s new look.
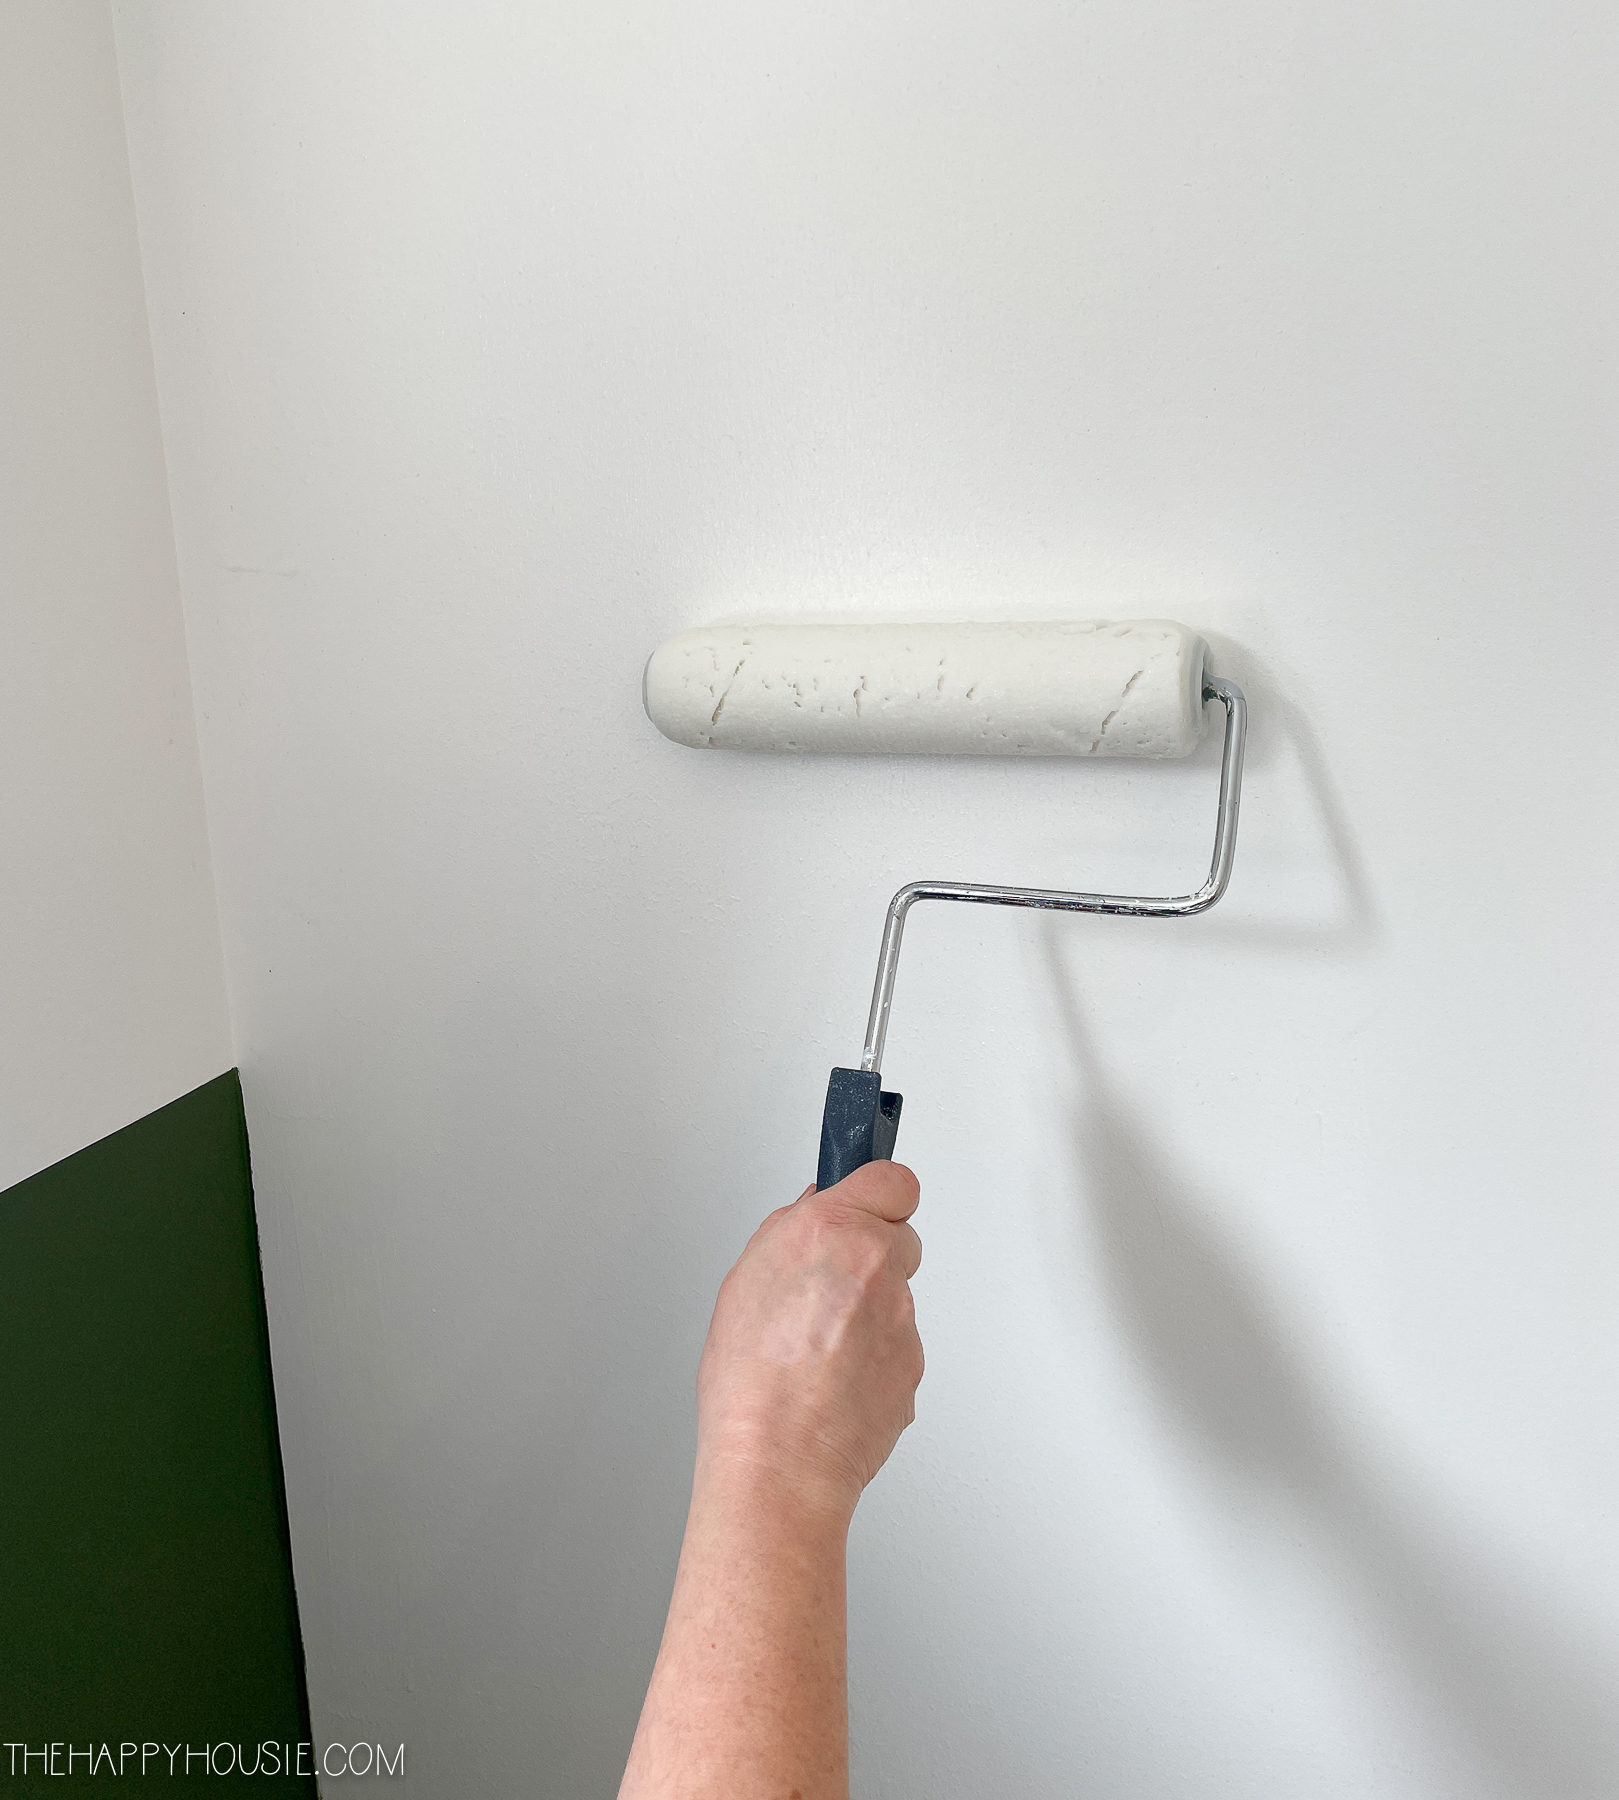
I rolled on a layer of glue a bit wider than the width of the wall mural section, using my brush to get it into the corners as well as along the baseboard and the ceiling line.
Have two people to install the wallpaper mural
My sister-in-law came over and helped me out with installing this. I would recommend having a second set of hands, just to help you hold the pieces and guide them into place. The nice thing about a glued on wallpaper mural application like this, is that the glue gives you lots of room for movement once you’ve put the piece on. But the second set of hands really helps you to hold it out from the wall as you ease it into position and line it up with either the corner of the wall, with a line you’ve drawn, or with the next piece.
Start by ensuring you have a straight line
You want to make sure that your corner is really straight using a long spirit level. If it’s not, then draw a line the width of the wallpaper away from the corner, and line it up with that (read more about that in this article).
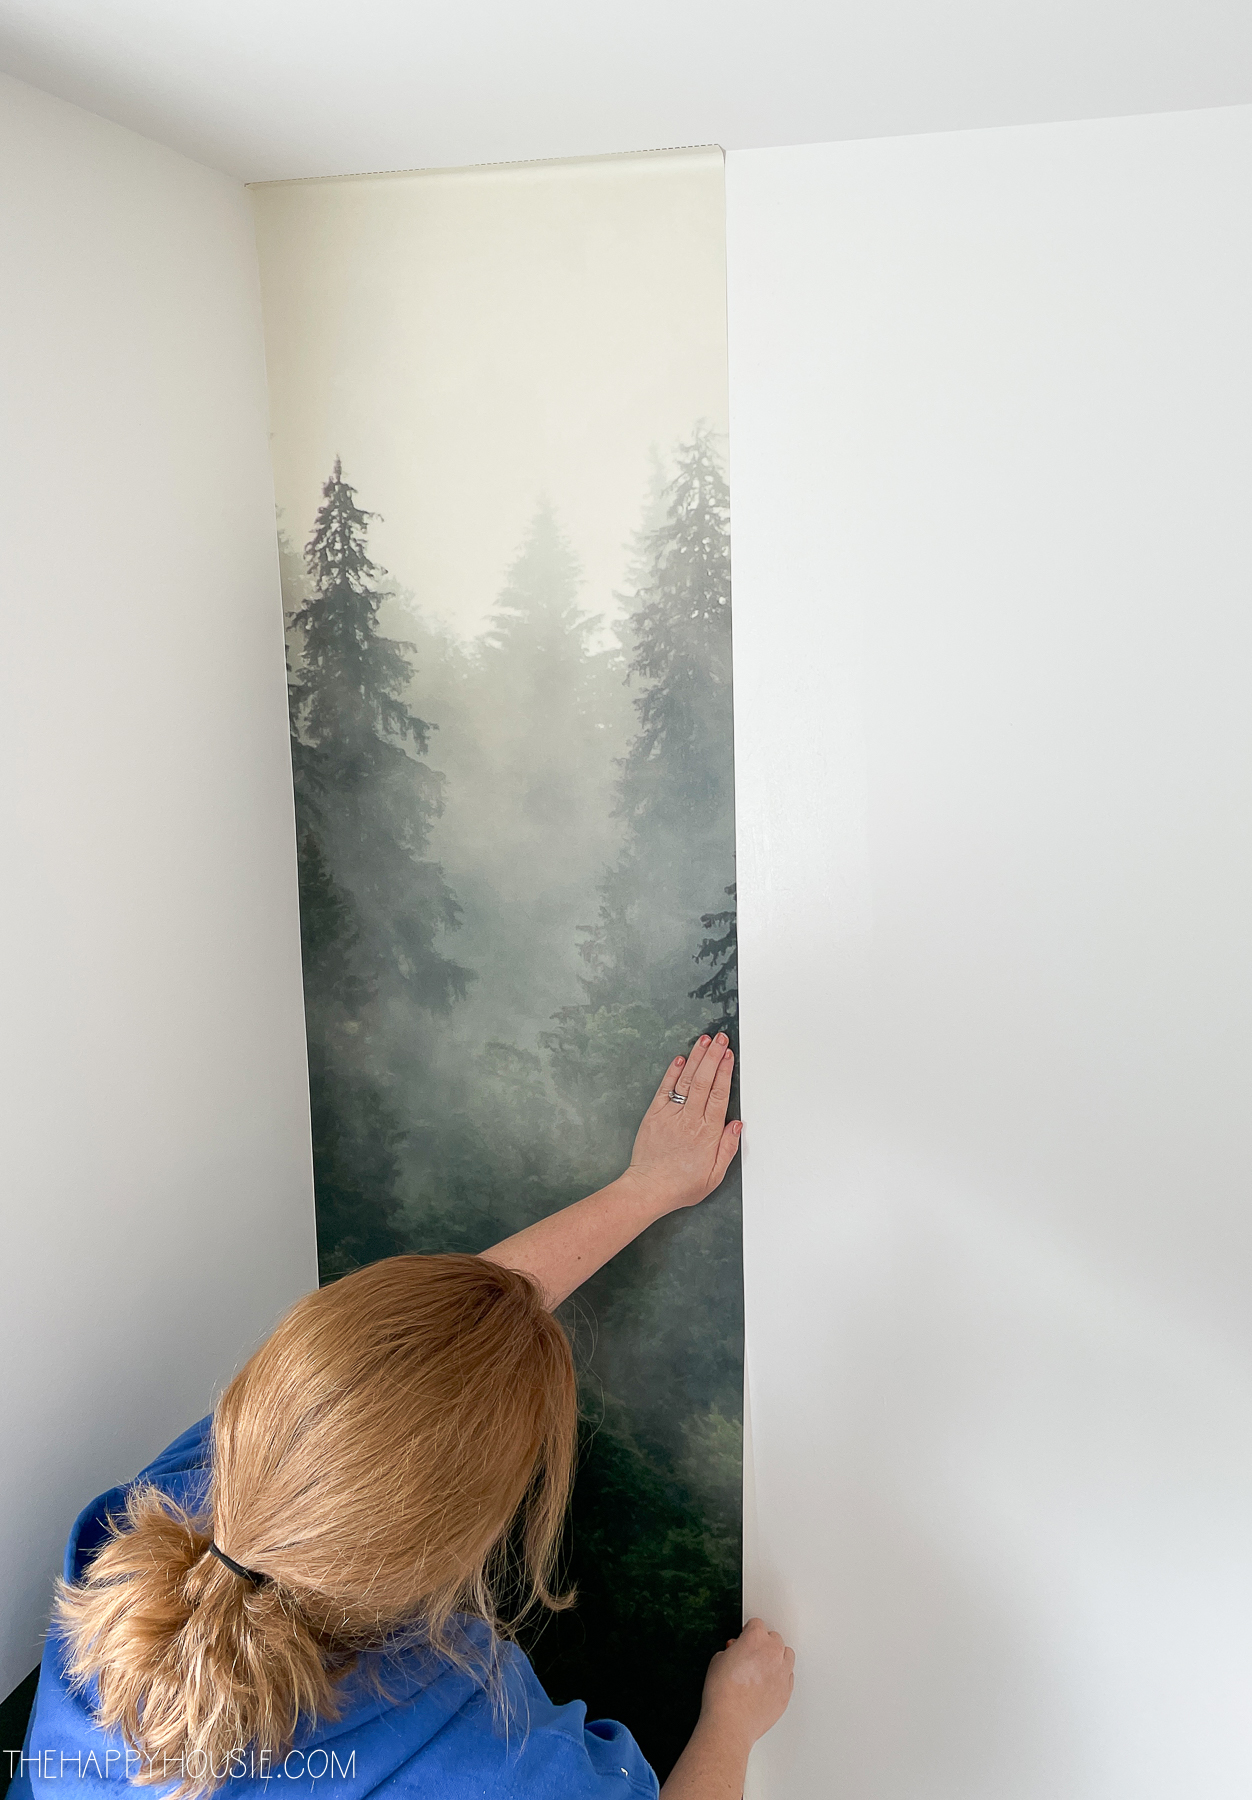
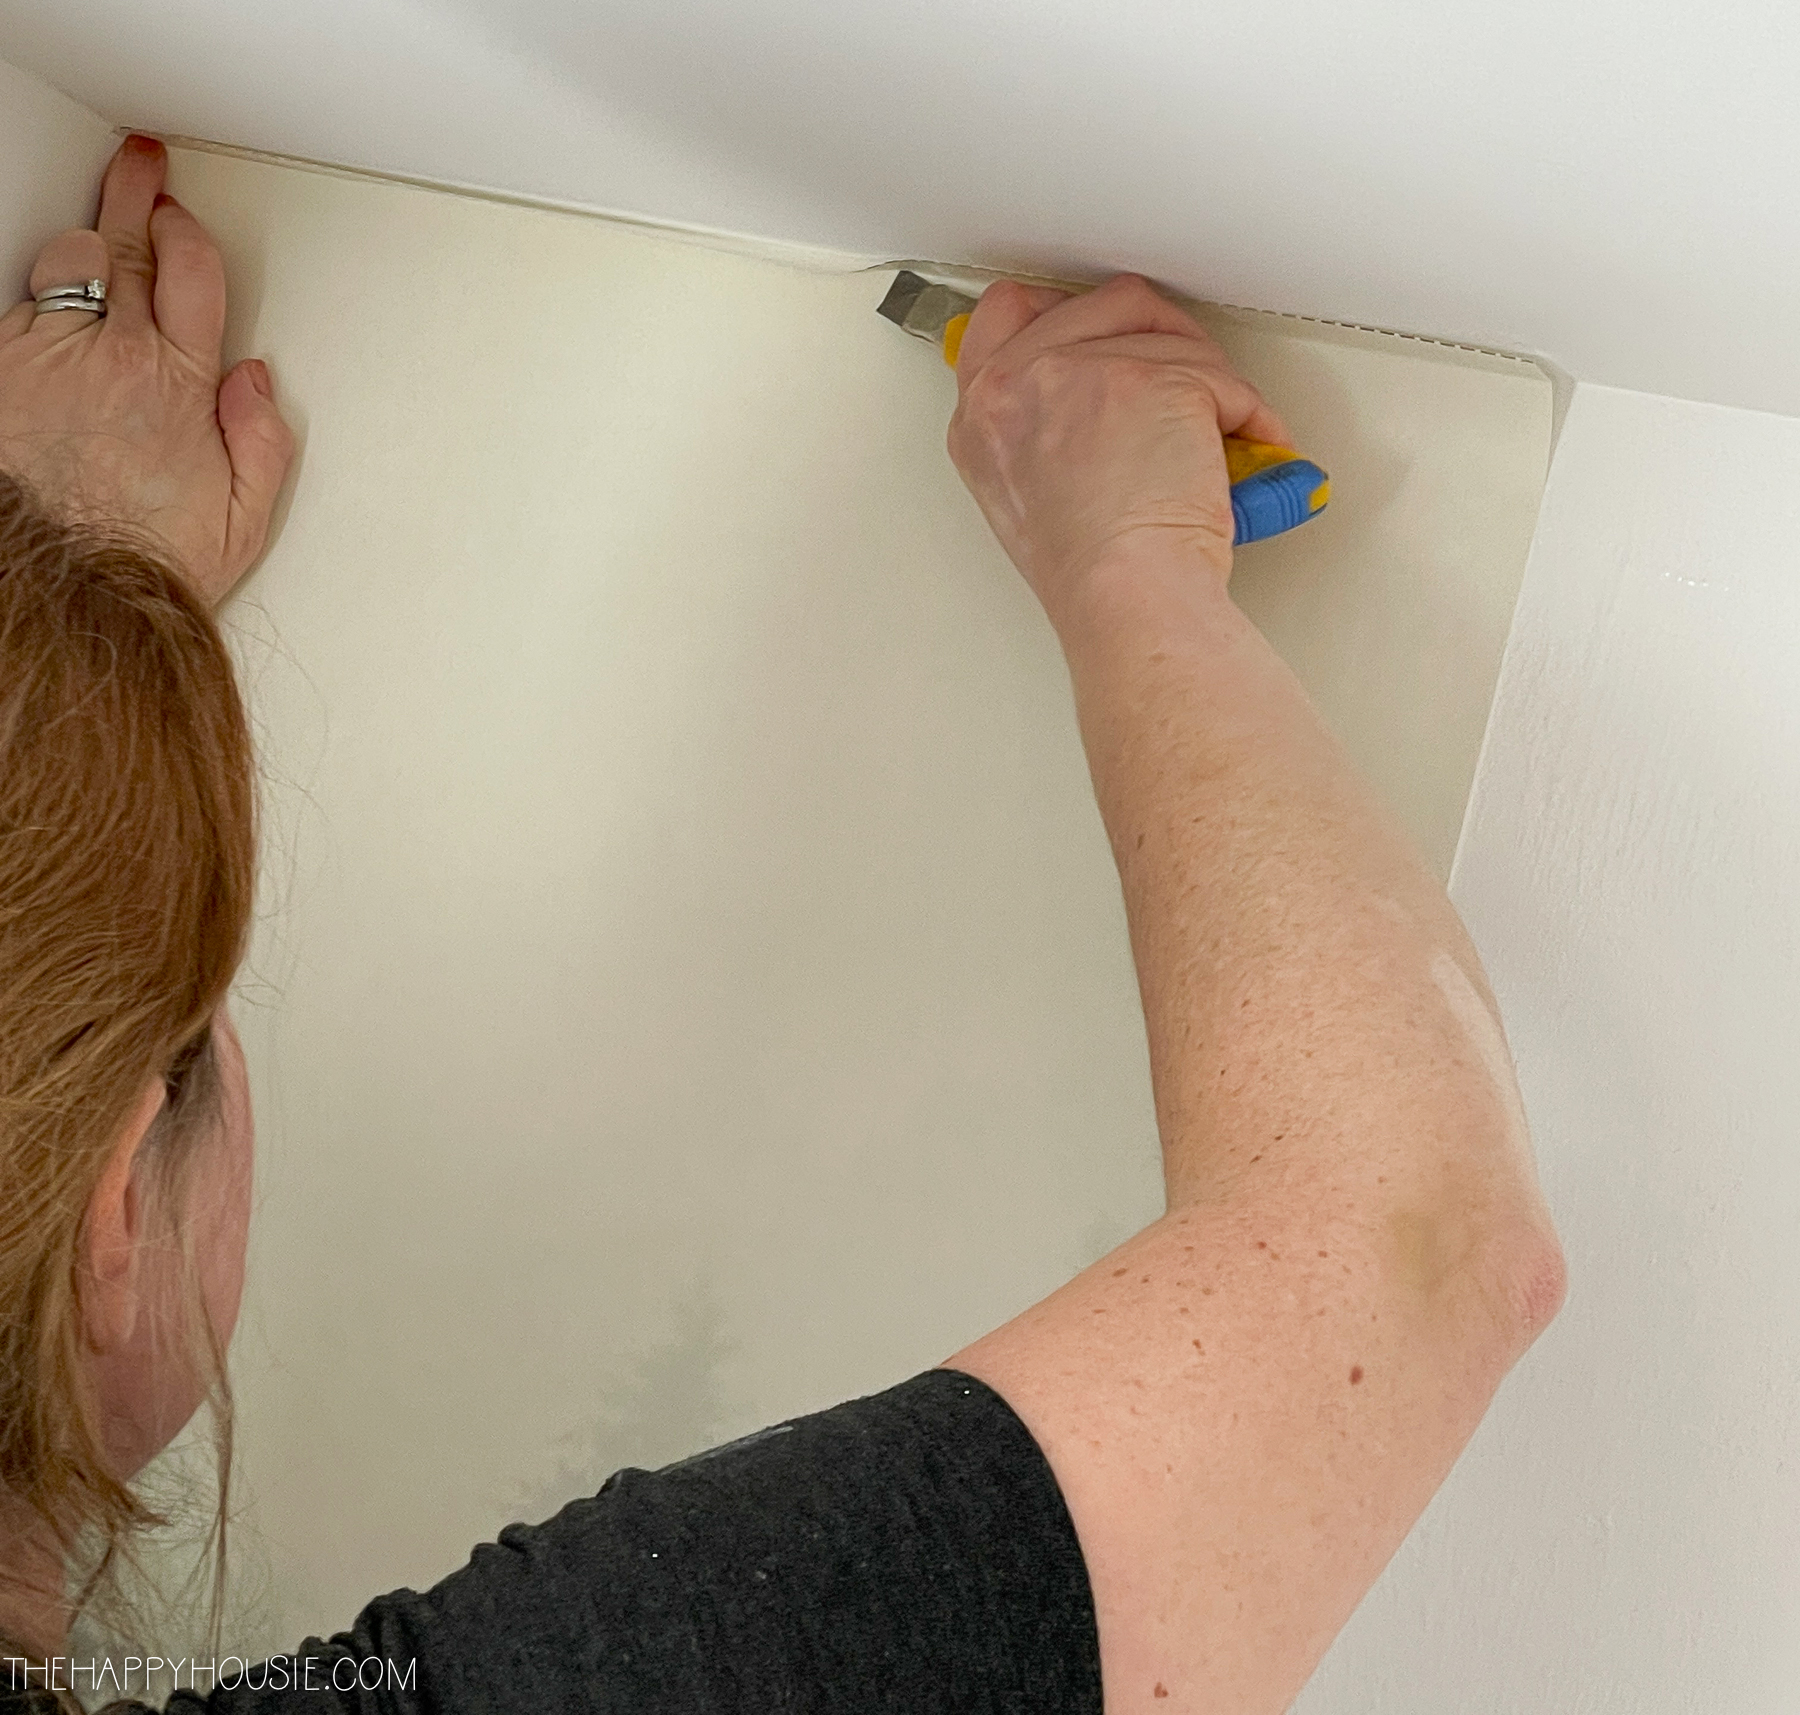
You can see I left a bit of paper overlapping the ceiling line. That is why you order the paper 6-10″ longer than required, so you have some extra at the top of bottom. This gives you some room to play so you can make sure the mural matches up and is level and straight as you make your way along.
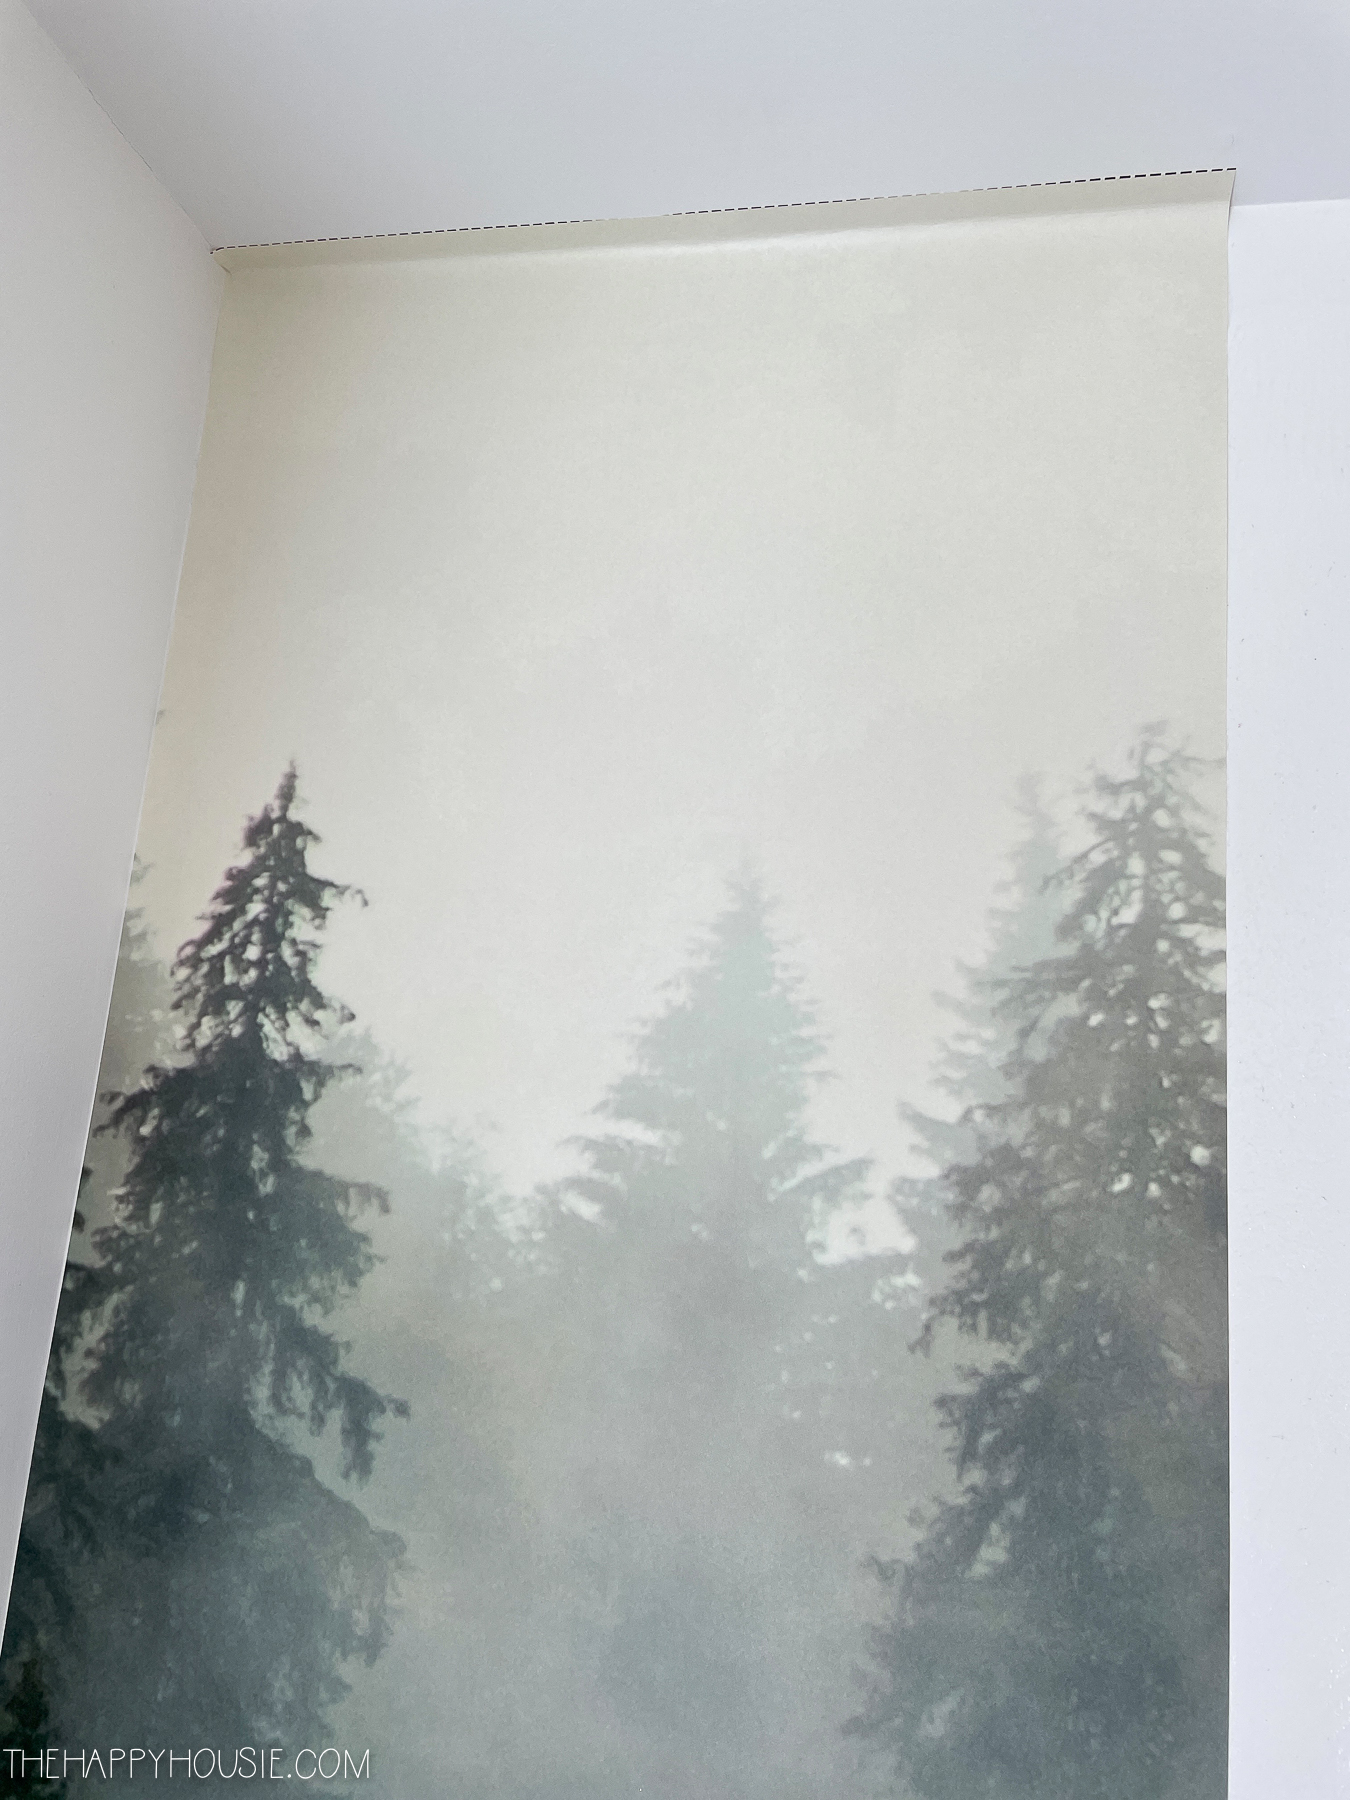
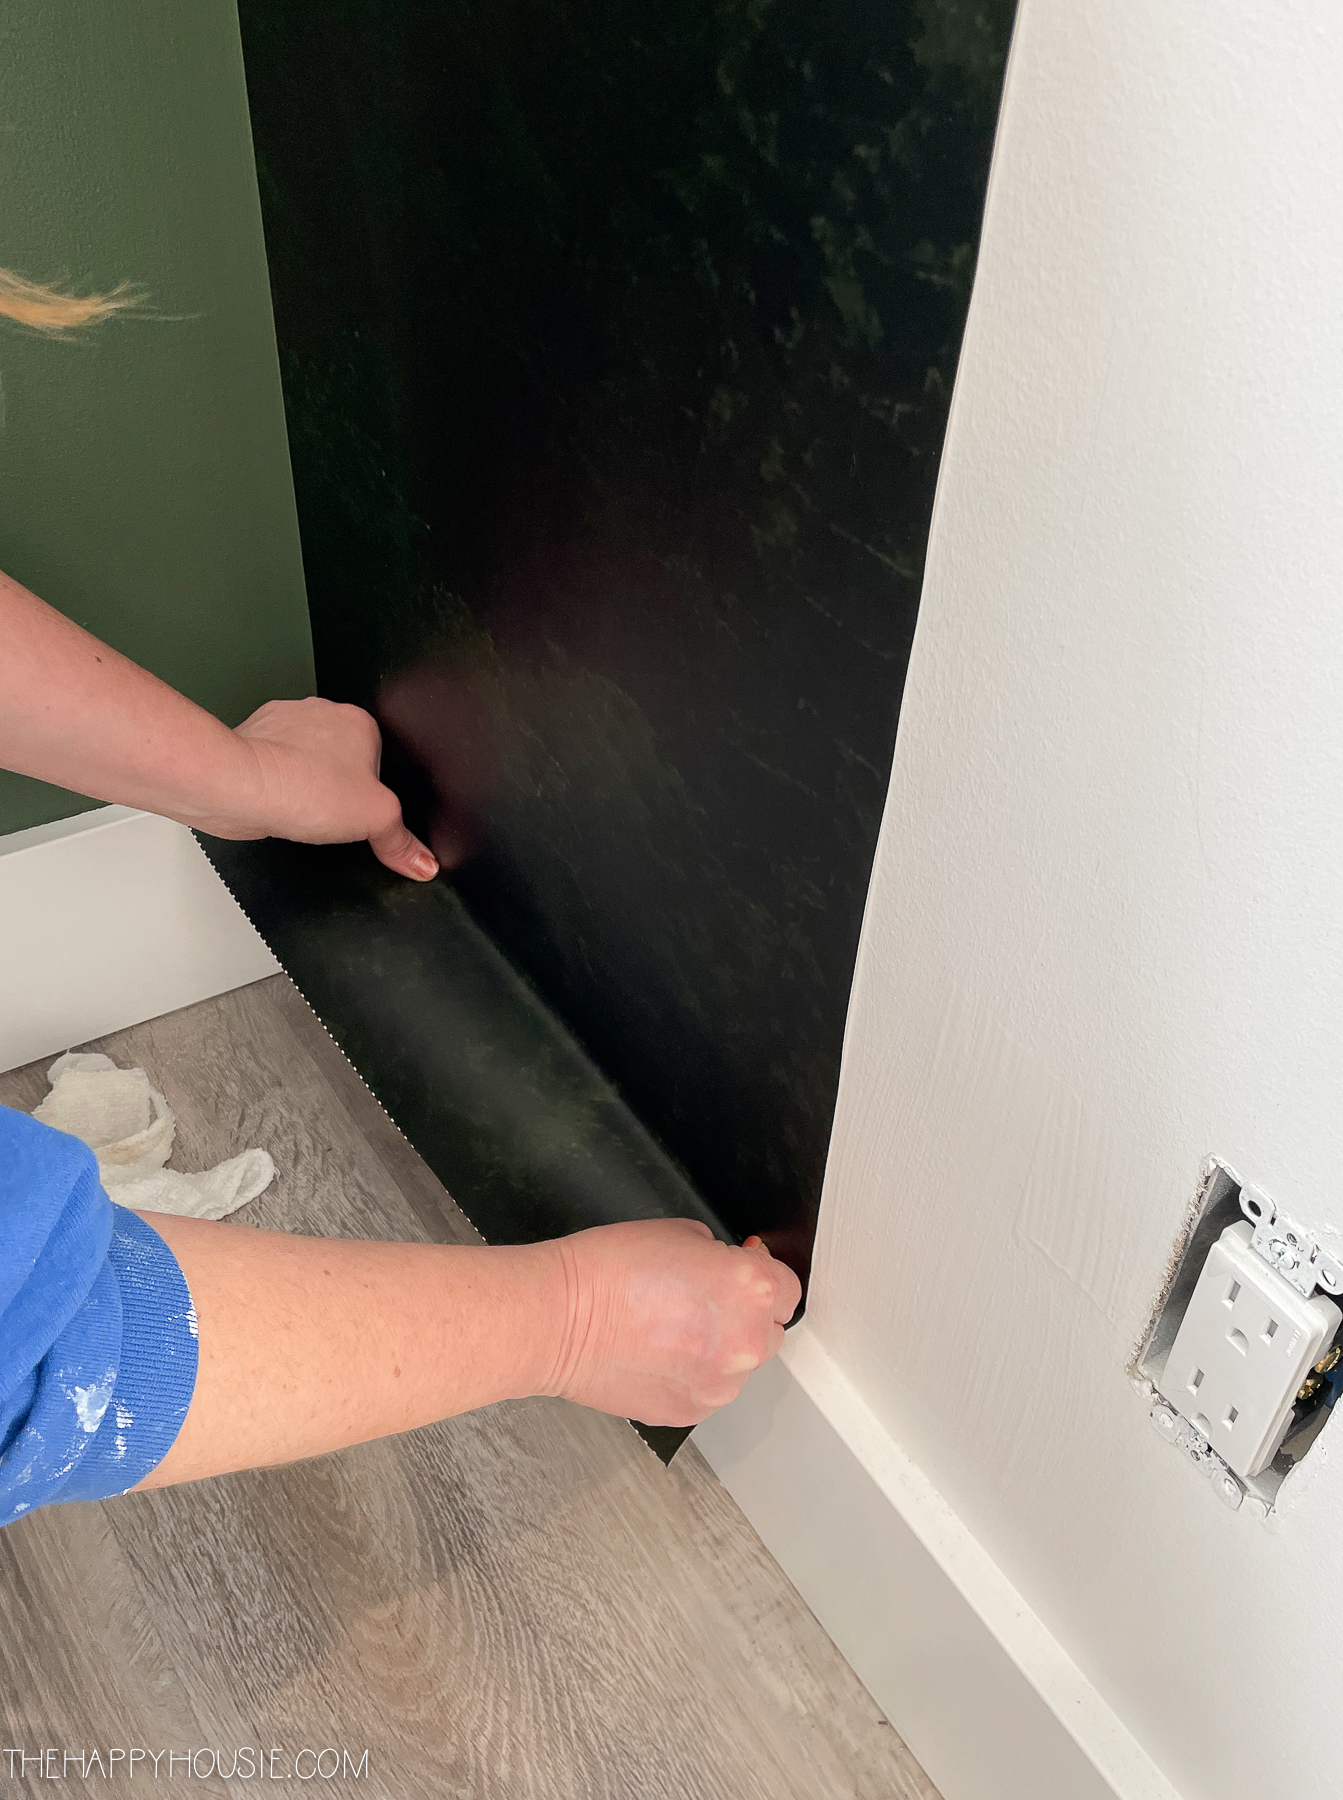
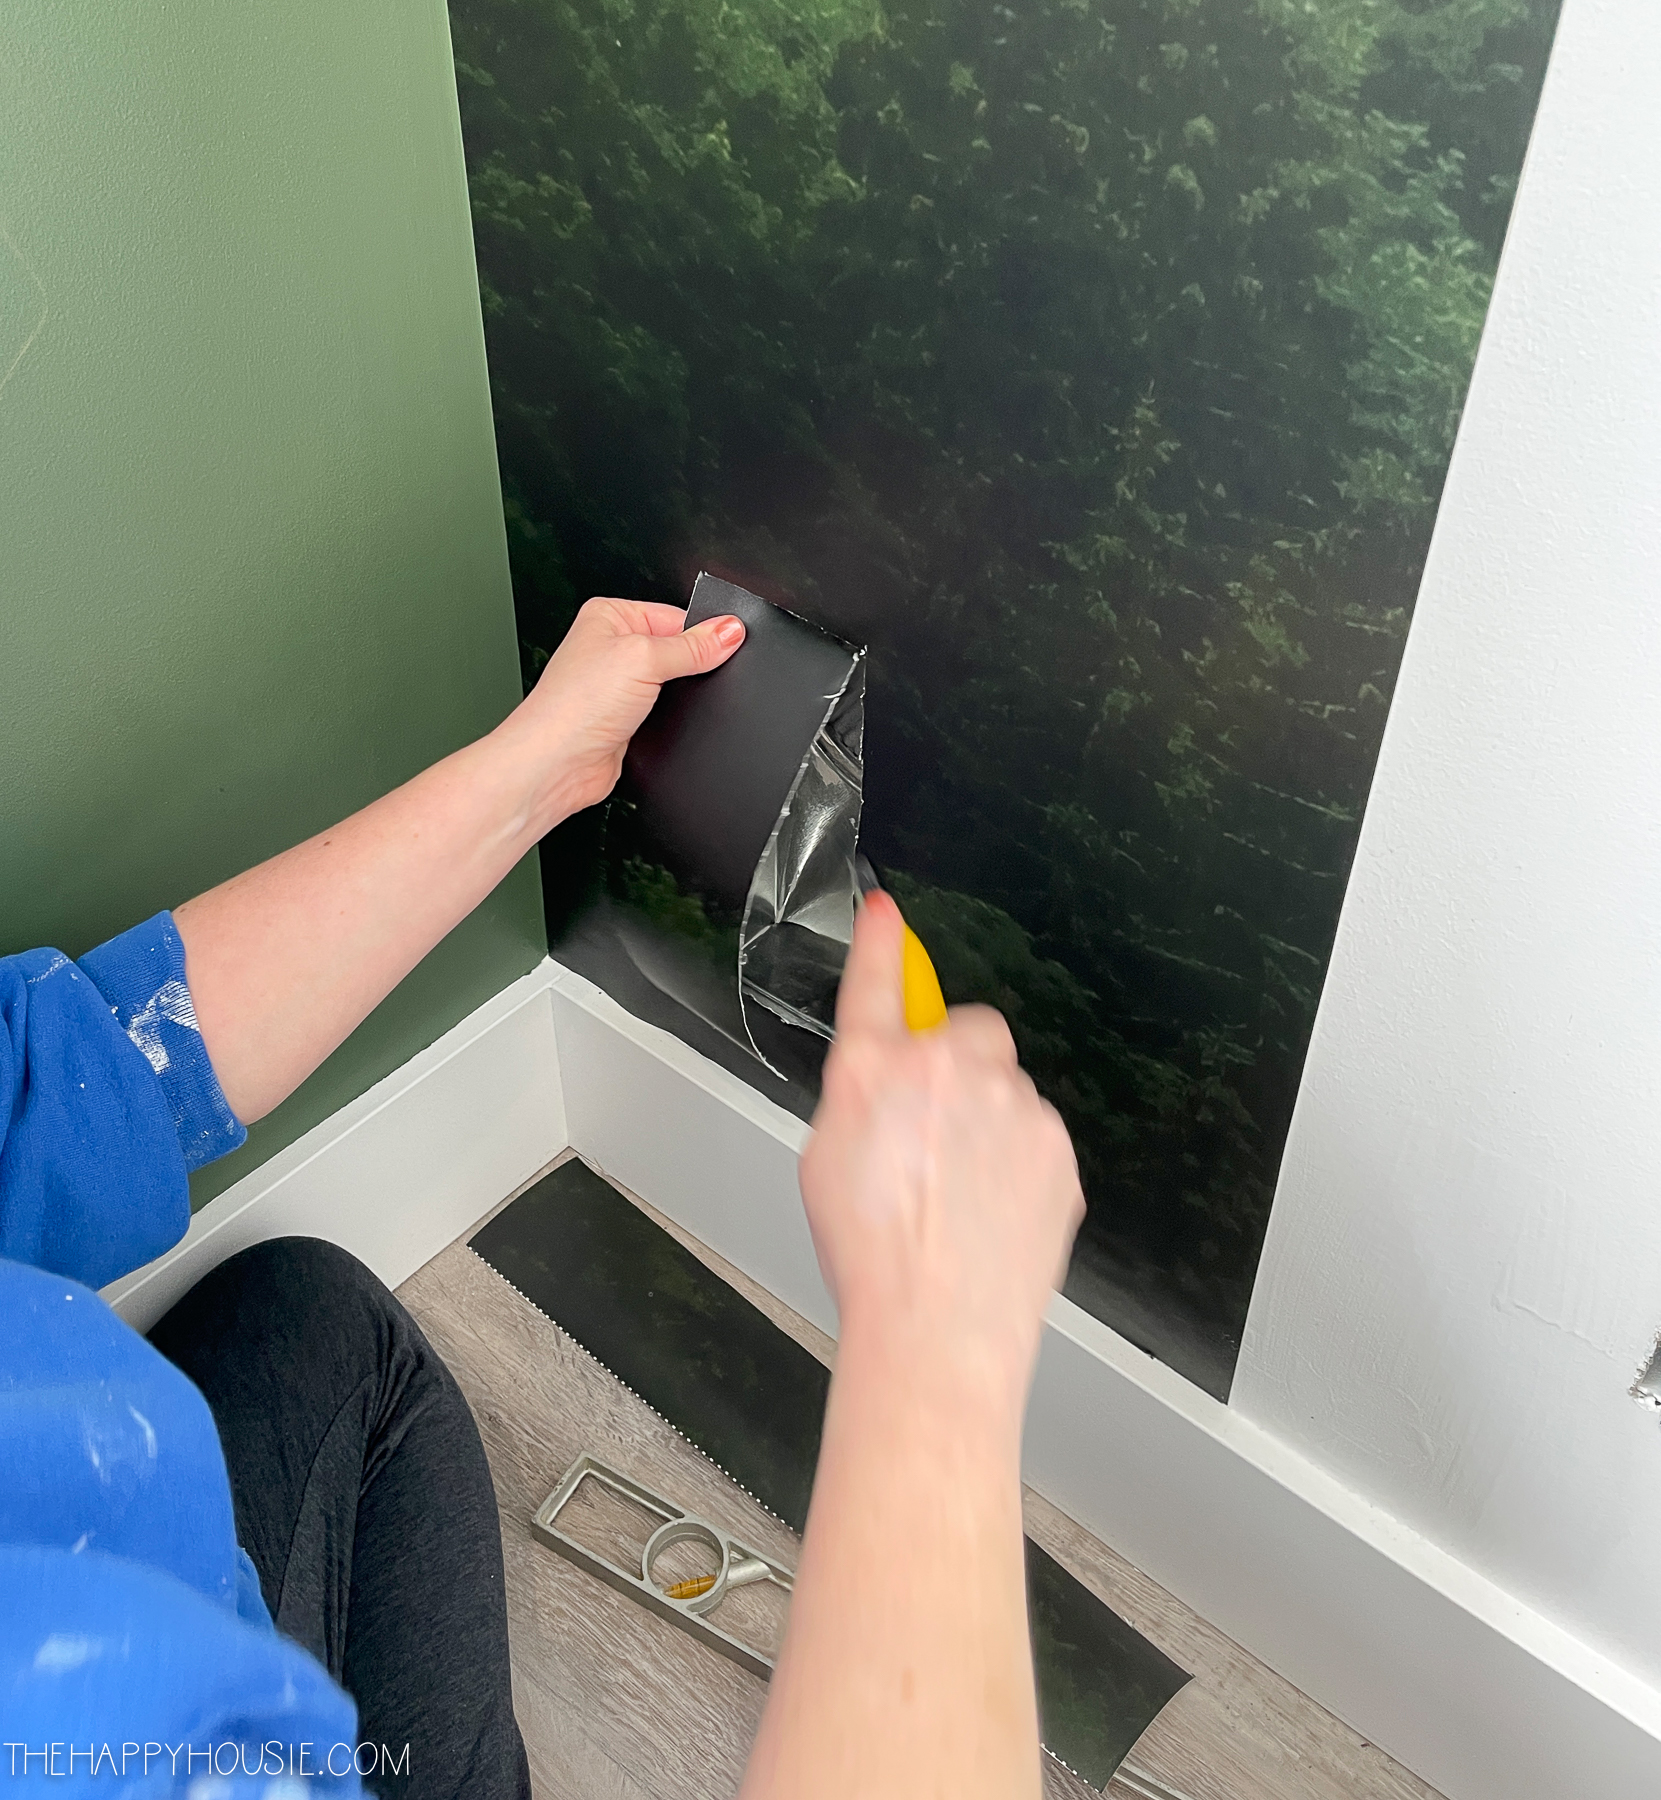
Use a straight edge (x-acto knife) to cut the bottom and top – a straight edge is a also a great guide to help you cut a straight line at the ceiling and baseboard (but I couldn’t find mine…).
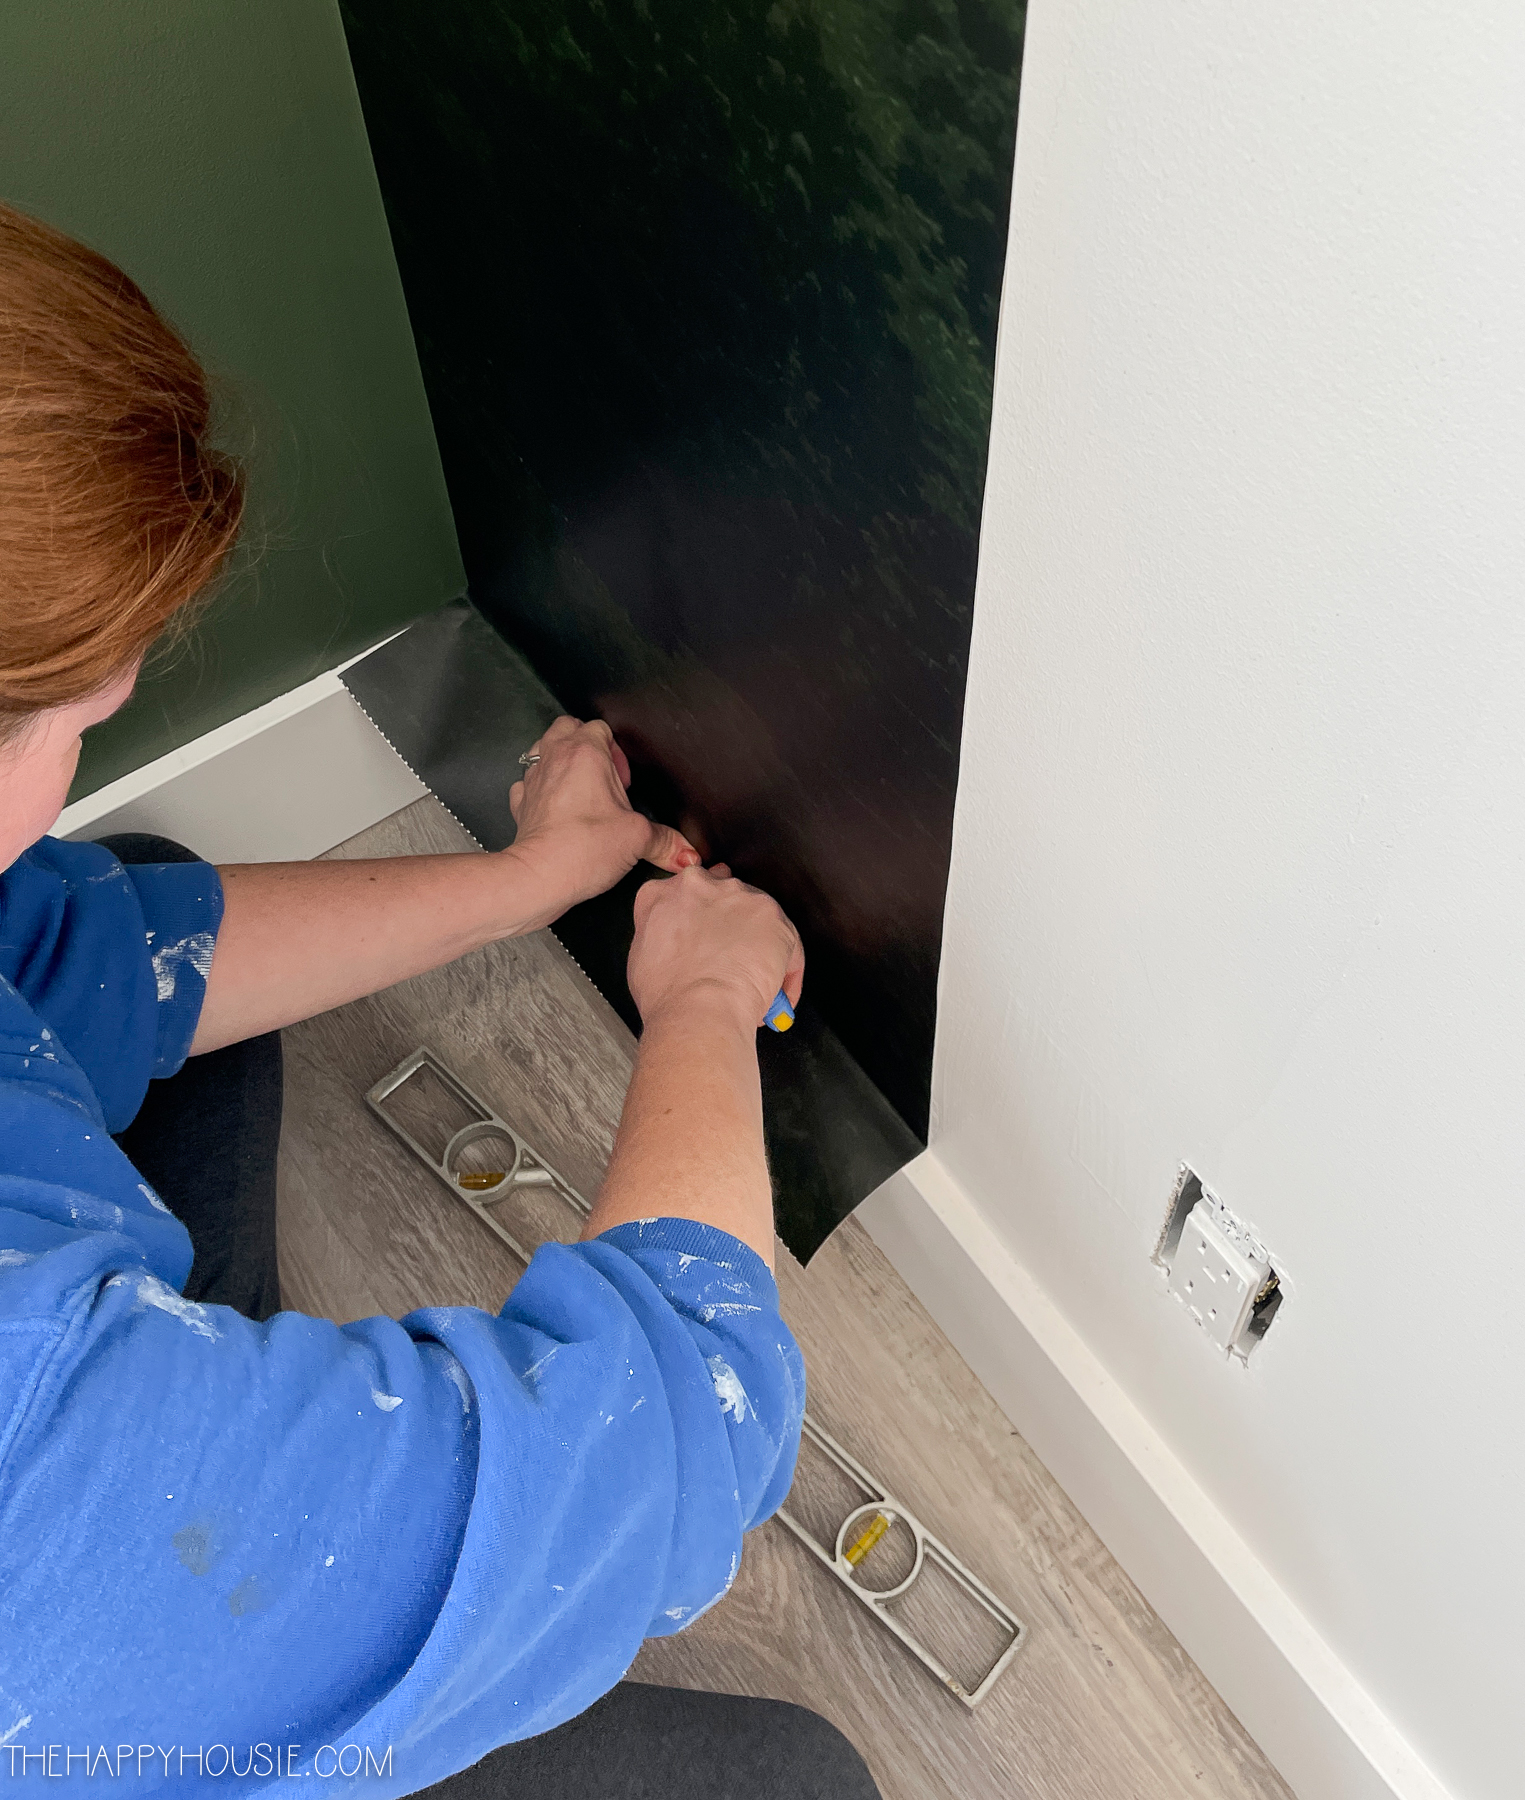
I cut out around the vents and plugs carefully, using my hands to feel where it was hollow behind the wallpaper mural. I started with the X-acto knife and then used scissors to help me cut straight along the top.
Once the first piece is totally straight you can make your way along the wall, using the same method. Again, this is where that second set of hands comes in really handy; to help you make sure you are lining up the pattern perfectly. I found this wallpaper mural had a very easy to match design.

On the far end, I had to cut the paper in the corner to create a straight line down the corner. This is where a long straight edge comes in really handy.
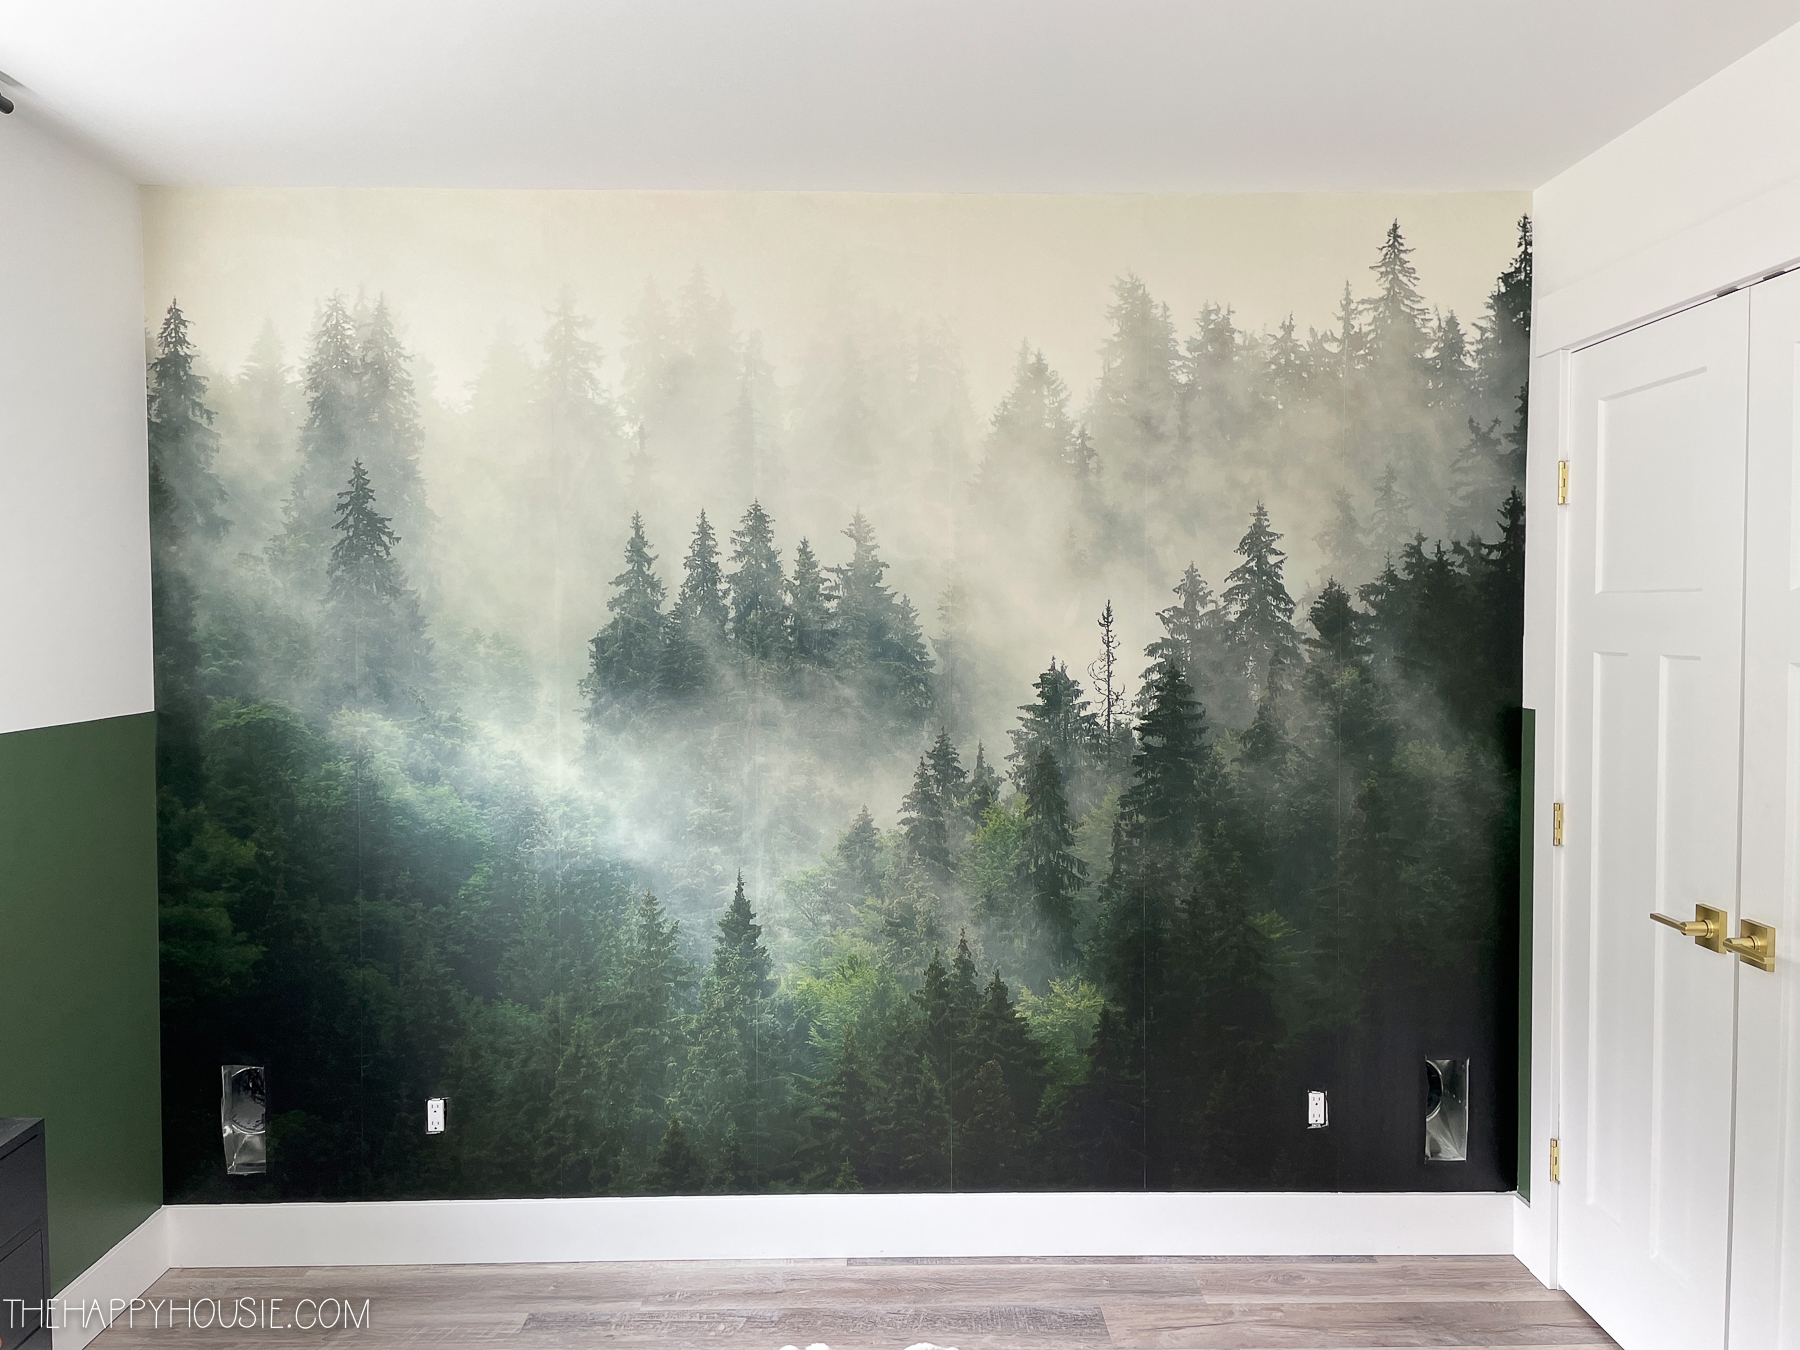
Done! We all LOVE how it turned out! Now I just have to get those vent covers painted and reinstalled. Or I might pick up some new black ones, so they blend in better.
What do you think?
Want to remember this? PIN It for later!
I was super impressed with the quality of this wallpaper mural and would definitely order from Photowall again. And truthfully, it’s quite an affordable item given what a dramatic effect it has on the space. I just might have another of these murals planned for somewhere else in our house… and I can’t wait to show you where!
But before that, I need to get this bedroom makeover under wraps. Next week is the REVEAL!!
My TO DO List…
Done!
- Update the nightstands with black paint and new hardware.
- Select and order or make art for the far wall.
- Choose a paint colour.
- Paint the lower half of the walls dark green.
- Order a new desk chair.
- Determine the final furniture layout.
- Build his new desk and bookcase
- Sell his current bookcases and desk
- Install the wallpaper mural
- Lay down the new rug
Still to do:
- Install the lamps on the wall beside his bed.
- Style the room (bookcase, desk, bedding etc.)
- MAYBE… give his closet a little decorative upgrade, depending on time.
- Photograph for the reveal!
I can’t wait to see this space totally finished, and I know Leif is excited about it too!
You can see my other articles on this room makeover here:
One: Teen Boy Bedroom Makeover BEFORE
Two: Teen Boy Bedroom Makeover Plans
Three: Teen Boy Bedroom Makeover Decisions and Progress
Five: Dark Green Paint Colours
Six: Benjamin Moore Peale Green on Bottom Half of the Wall
My Previous One Room Challenge Makeovers…
This is my EIGHTH time participating in the ORC as a guest participant! Here are some of then other ORC makeovers I’ve tackled over the years…
ORC Spring 2020: Modern BOHO family room makeover reveal
Primary Bedroom and Ensuite Makeover Reveal: ORC Spring 2019
Spring 2018: Surf Style Kid’s Bedroom Makeover Reveal
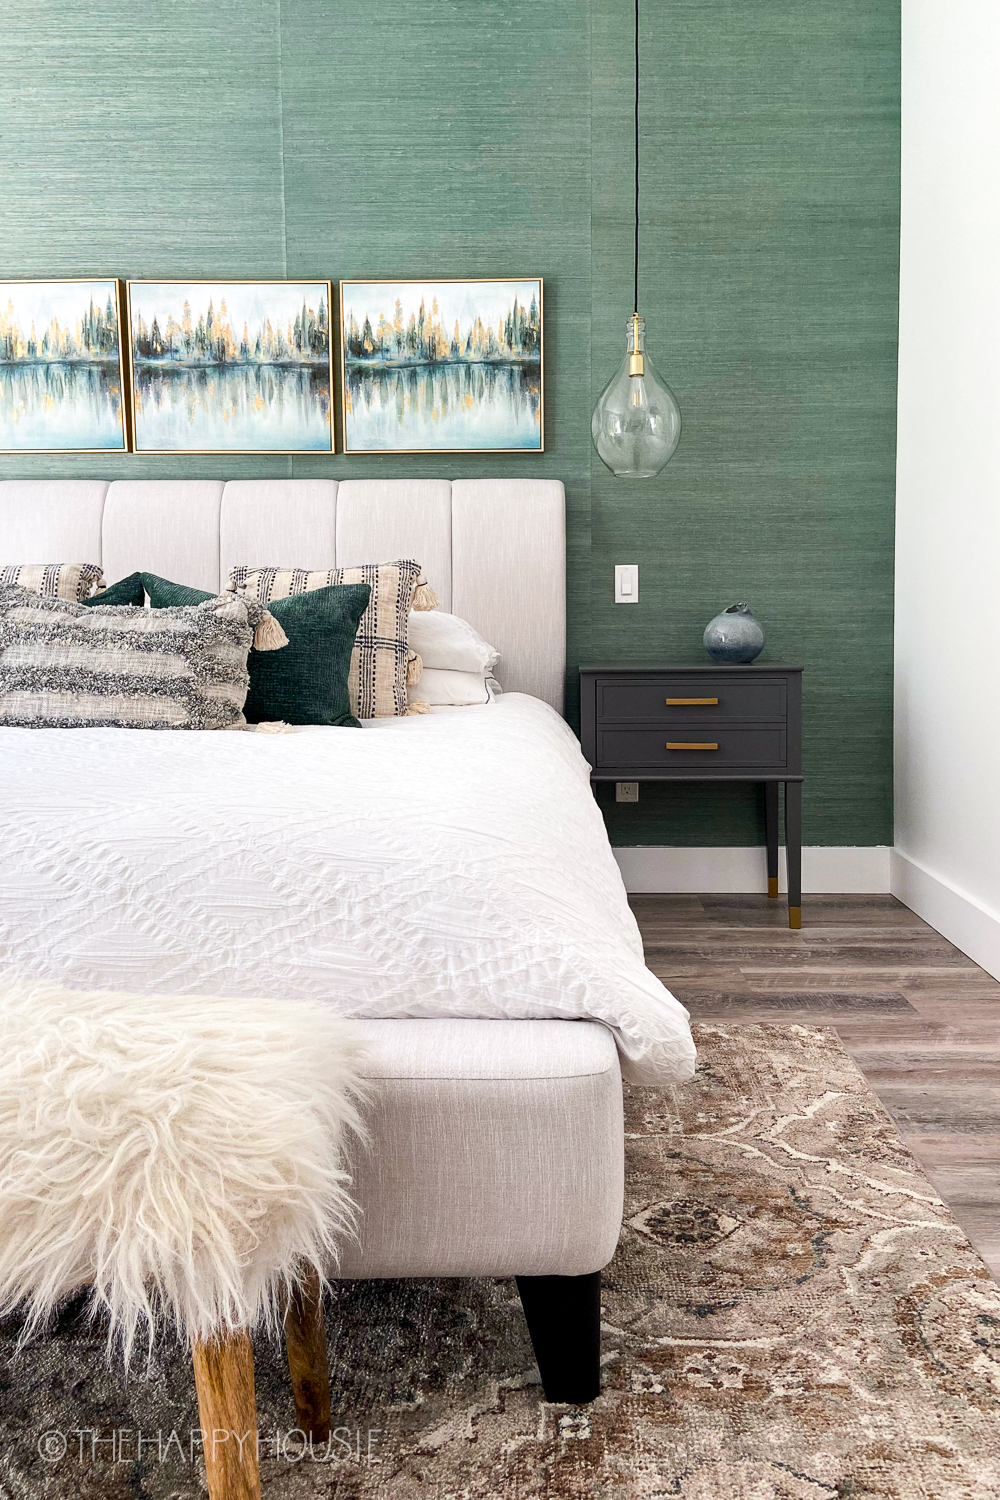
Master Bedroom Makeover Reveal: ORC Fall 2016:
ORC Spring 2016: Living Room Makeover Reveal
Craft Room Makeover Reveal: ORC Spring 2015
ORC Fall 2014: Main Bathroom Makeover Reveal

I was looking to apply a tropical forest wallpaper for my bird room, this post definitely encouraged me to finally do it! Thank you so much!