Kitchen | Labels | Organizing
Housie Guest: Today’s Pantry Post Comin’ To Ya From Megan
Hi! I’m Megan, and I’m happy to say that like Krista I, too, am a Housie! This is my first guest post here at The Happy Housie although my very first contribution was with the simple St. Patrick’s Day Bunting 4F Craftin’ Project.
Like many, I’m sure, I was inspired by Krista’s Pantry Revamp and so, whilst home with a sick boy, I found some time to work on my own pathetic pantry. Here is what I started with:
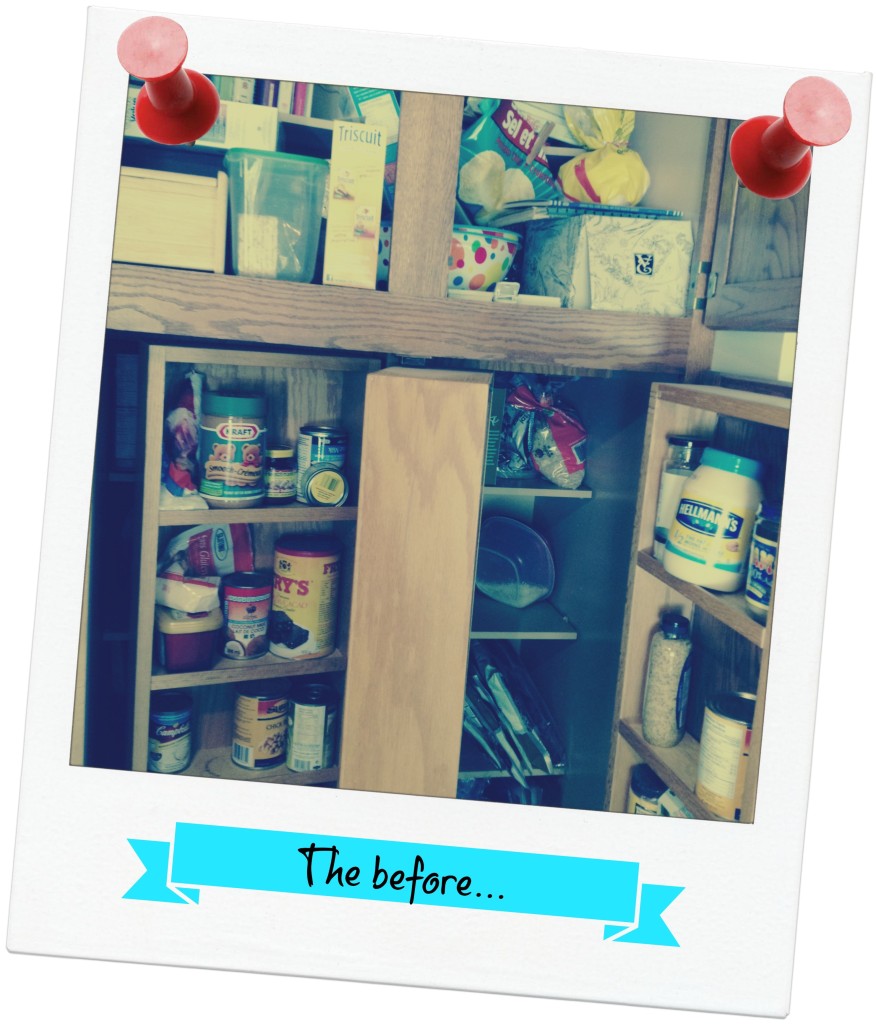
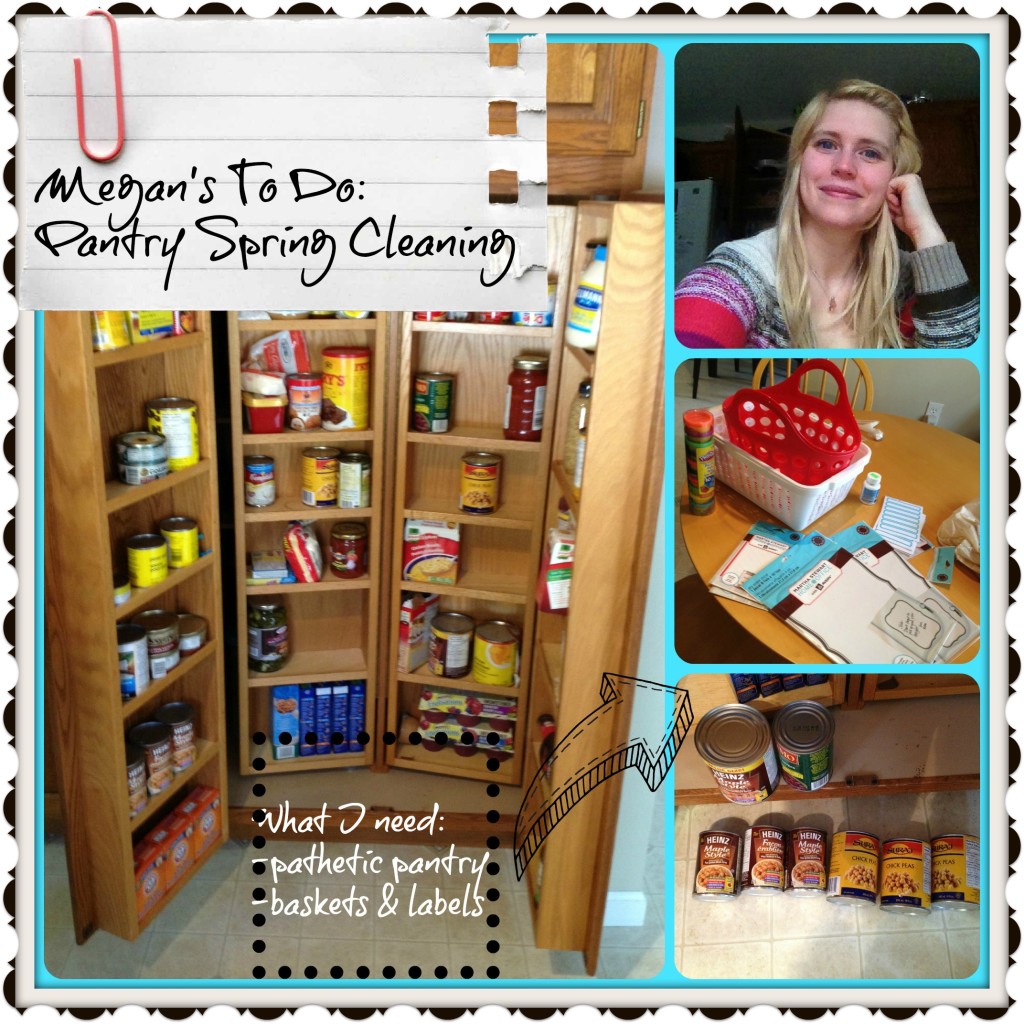
I could see it was time for an intervention so I made my plans:
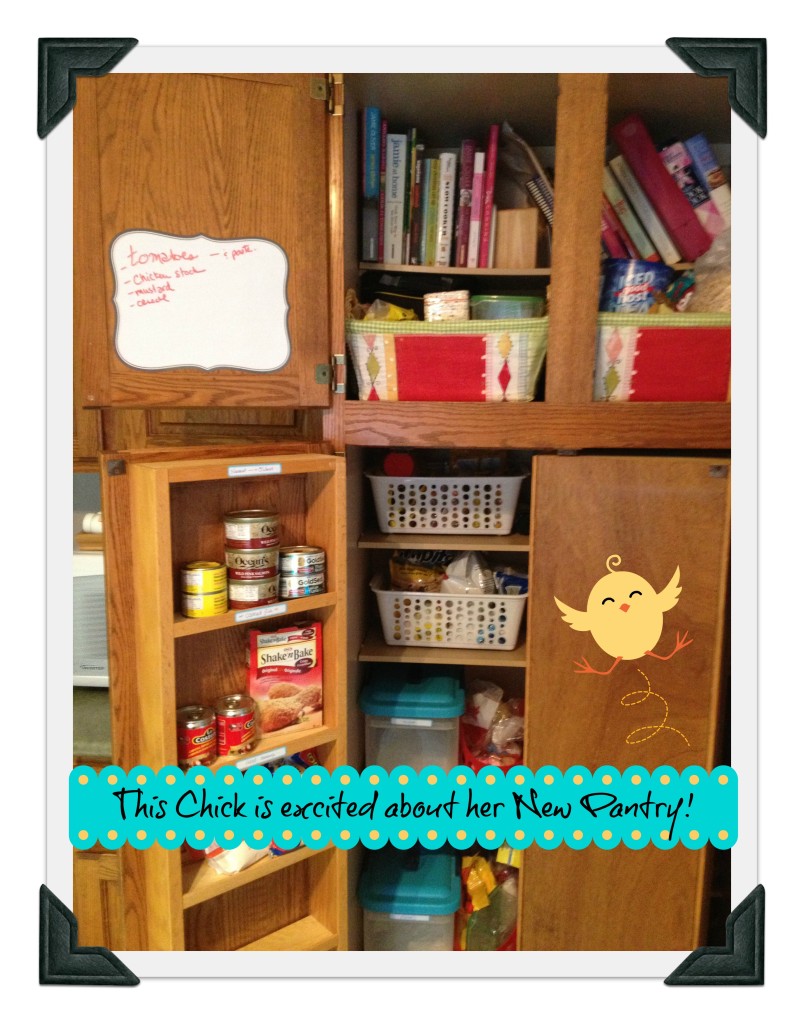
I had some good bones to work with. I love that my pantry has THREE LAYERS of storage built in… but this also becomes a target for merely throwing things in, and not sorting them properly. In fact, I’m sure that there are cans that have been untouched in 3 years, mostly because I don’t didn’t have a system for rotating the goods.
My Tips for a Fab Pantry:
1) Group Items by Purpose and Type:
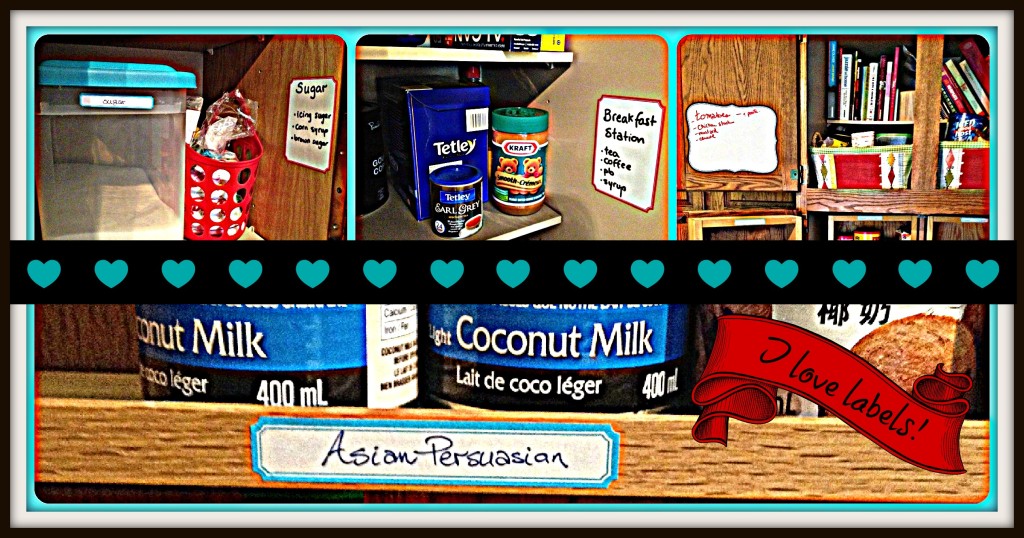
I started out by emptying the pantry, to see what I had, and how I might be able to group items together. I love grouping items in terms of purpose. For example, in my house, I have a “toast station” and at work I reorganized the staffroom kitchen to create a “hot drink” station. Group by purpose – it just makes SENSE!
Also group items by type. After I assessed what I had I organized and grouped my items by purpose. I made little shelves for them, such as the “sugar shelf” and the (yes, you guessed it) “breakfast shelf.” I also organized like-food items together, such as “tomato products” and “baking goods”
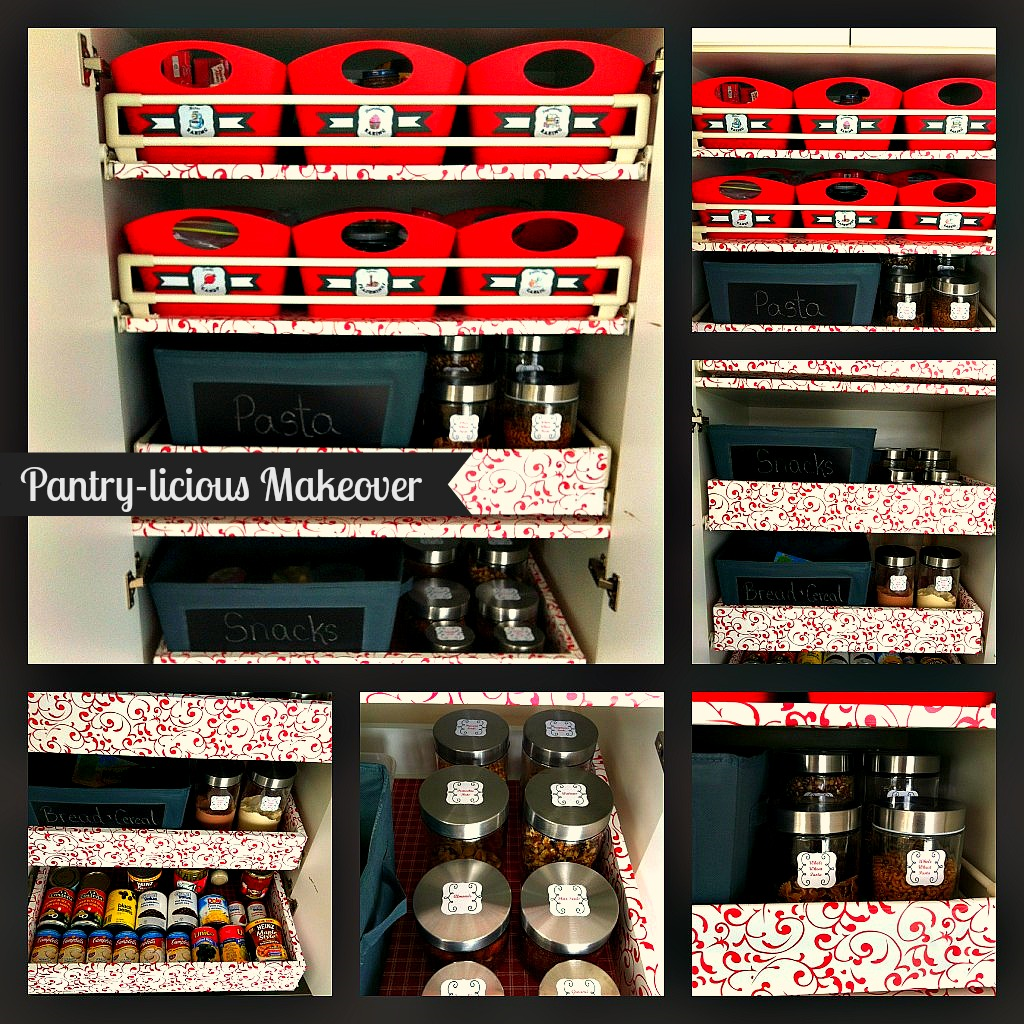
2) Use Appropriately Sized Containers and Baskets
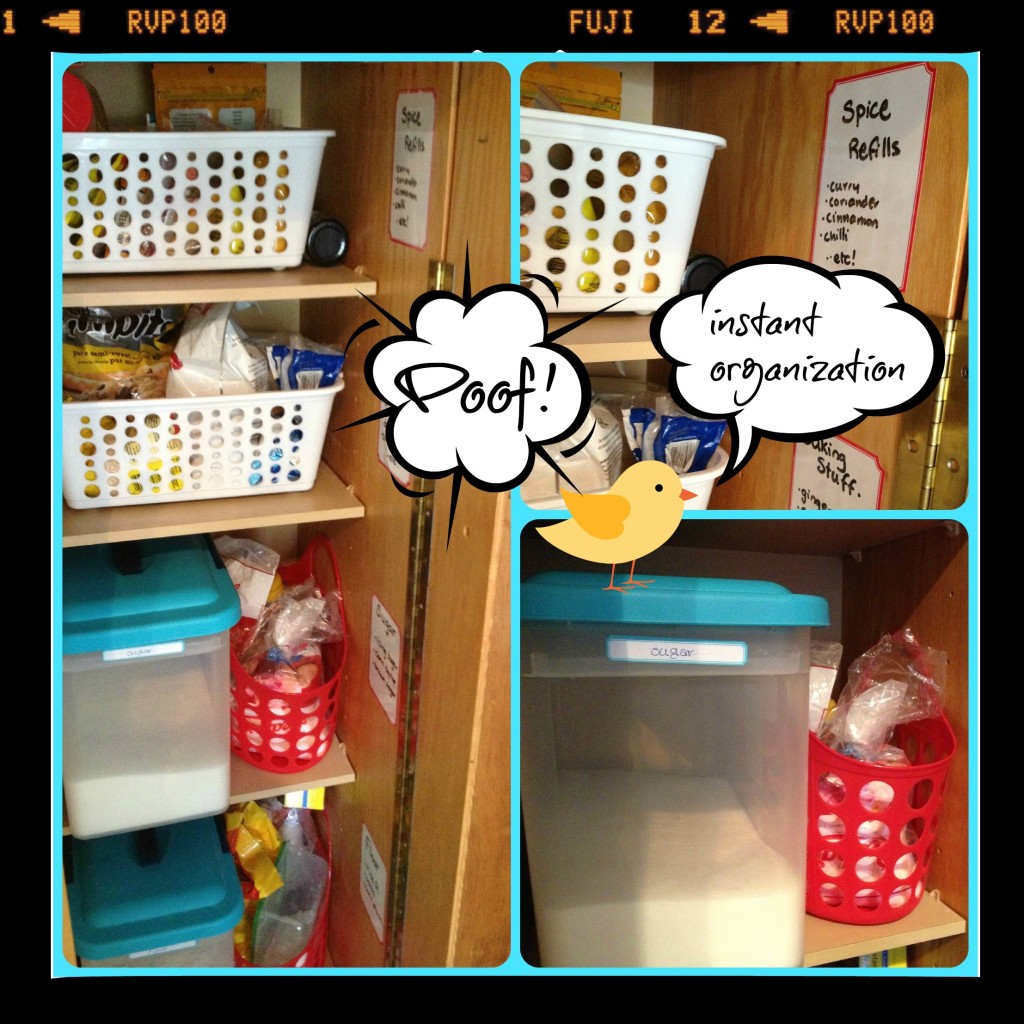
My girlfriend, Naomi, wisely told me about these great big containers (with the turquoise lids that clip into place) when I first moved into this house. I bought them at Walmart and they hold a 10lb bag of flour or sugar. I always try and buy big quantities in an effort to be thrifty, which is why I need all of these baskets and containers to hold the larger quantities, before they are decanted into smaller containers I have around my kitchen (such as in the baking cupboard). I also hit up the local dollar-store for some new baskets to corral all of those bags of spices.
3) Label Label Label!
The truth about me: I am known in some (type A) circles as being the label queen. I LOVE labels. So I was super pumped to find some amazing Martha Stewart Labels (on CLEARANCE!!) at Staples. I bought 3/4 inch labels as well as small and large dry erase labels. The large ones are also fabulous as a message board; I have one by my phone. We even used it as a place for my kids to count-down until Christmas!
After all of this hard work, my hubby was reluctant to put the groceries away this weekend, because he “didn’t want to mess it up”. (This was, of course, the very opposite of my goal whereby he would be able to put things away in the correct place!) However, I’m super thrilled with the finished product. It’s neat and tidy, and the essence of what “Spring Cleaning” is all about.
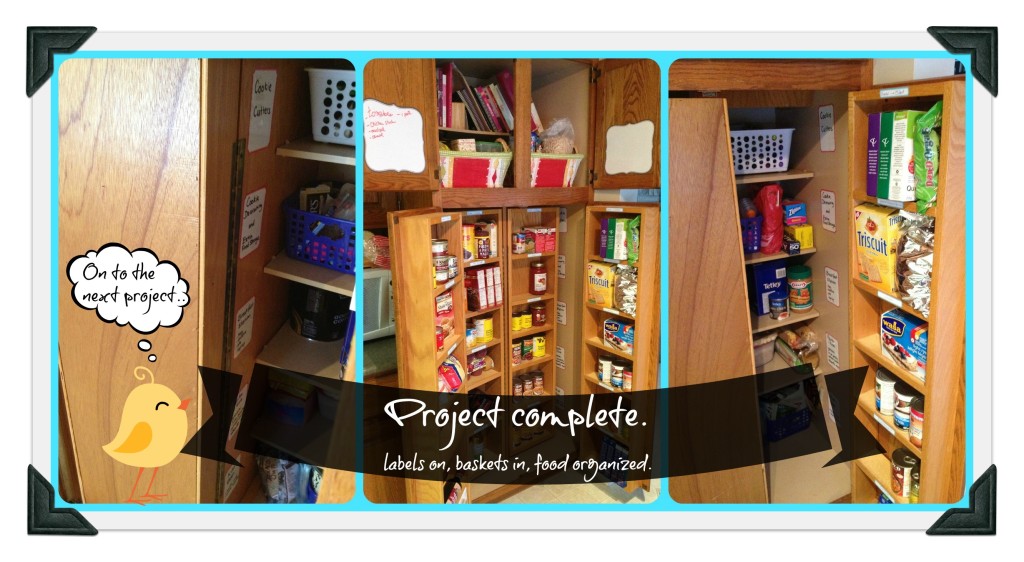
And now, this is how I am feeling about my newly organized pantry:
 Thanks for reading!
Megan