
One Room Challenge Week 2: Replacing a Basement Drop-Tile Ceiling
Today I’m sharing the progress in our basement family room for the One Room Challenge including how were removed and replaced our drop-tile ceiling.
Welcome to week two of our One Room Challenge makeover of our basement family room! I’m so excited to get this space finished and turned into useable square footage again. Today I’m sharing how we have dealt with that drop-ceiling in the family room and the construction details about this space so far.
If you aren’t familiar with the One Room Challenge (also known as the ORC), it’s a challenge where designers and bloggers attempt to give one space in their homes a complete makeover in a 6 week time period. This time, because of the complications involved with designing and renovating during COVID19, the ORC has extended the timeline to 8 weeks instead of 6.

Which means that over the next 8 weeks I will be sharing the process of making over our basement family room with you one step at a time. I’m so excited to get this area in our home cleaned up, renovated, and decorated so that it actually becomes a comfortable and welcoming family space (and area for the kids to hang out with their friends, when they are allowed to have them over again!).
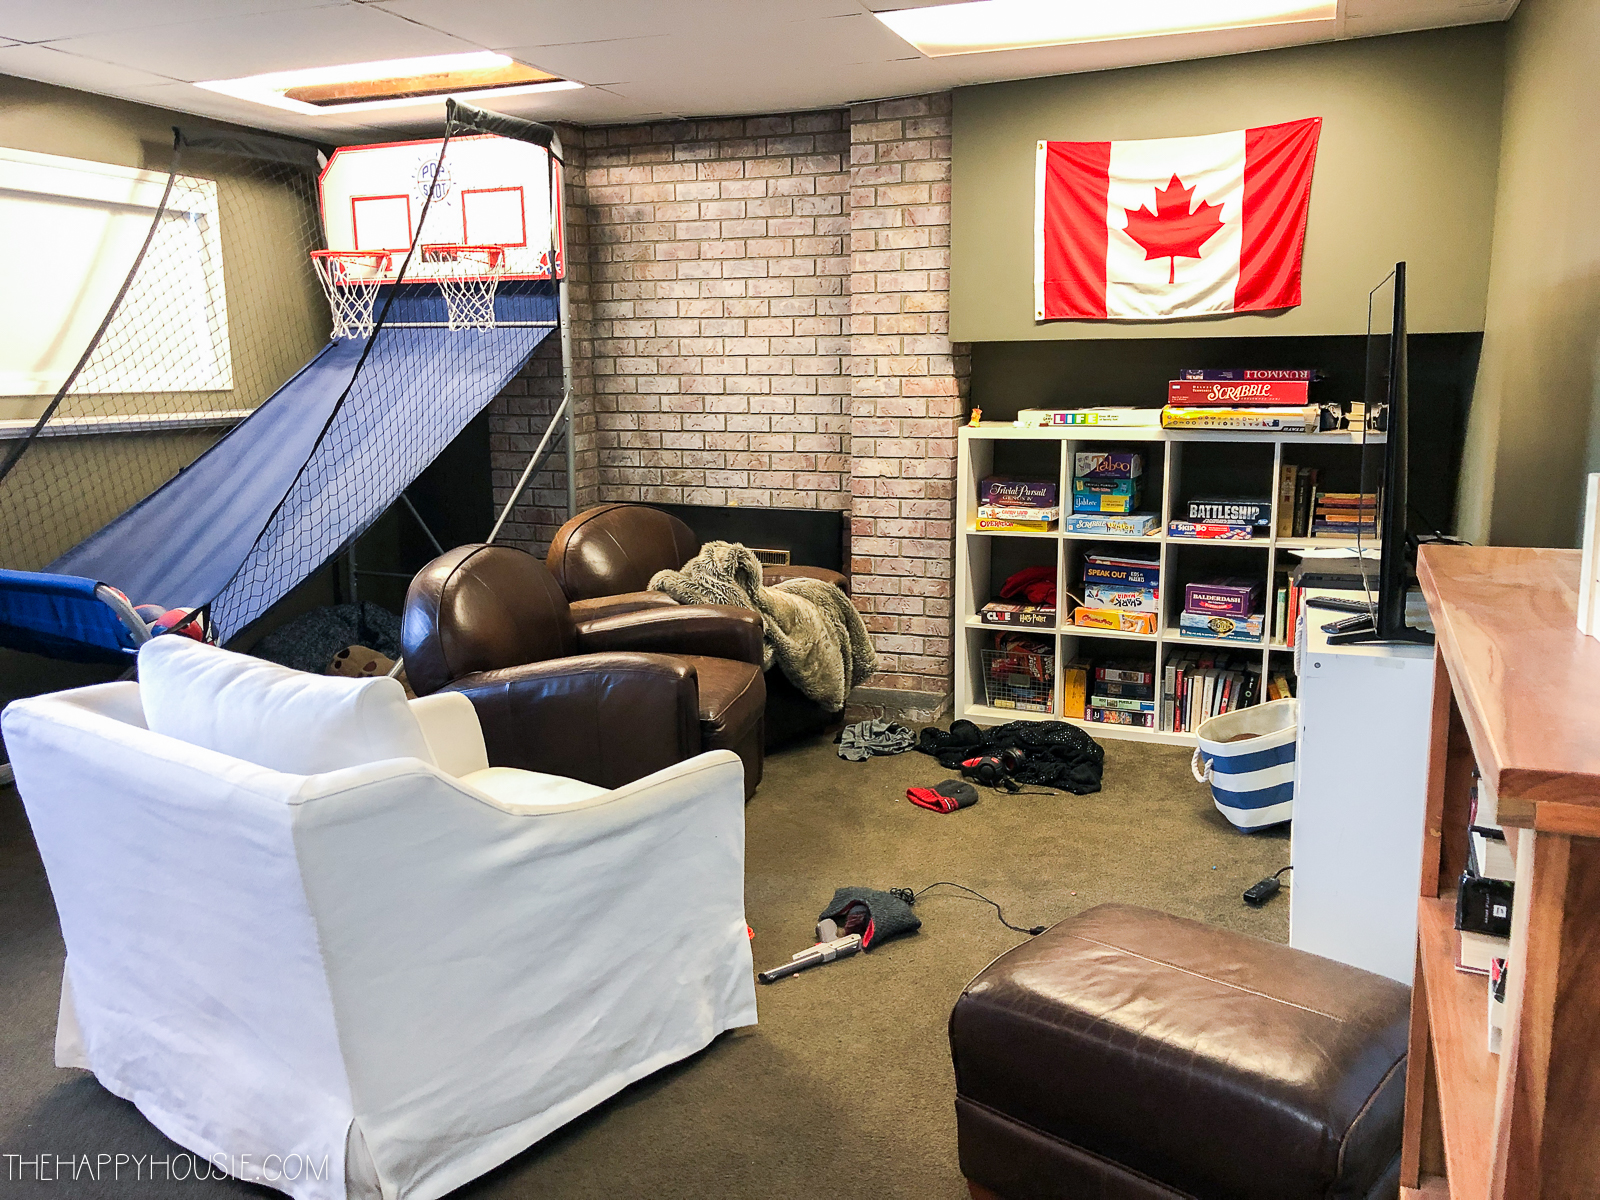
So far in this series, I have shared the “before” as well as our plans and inspiration board…

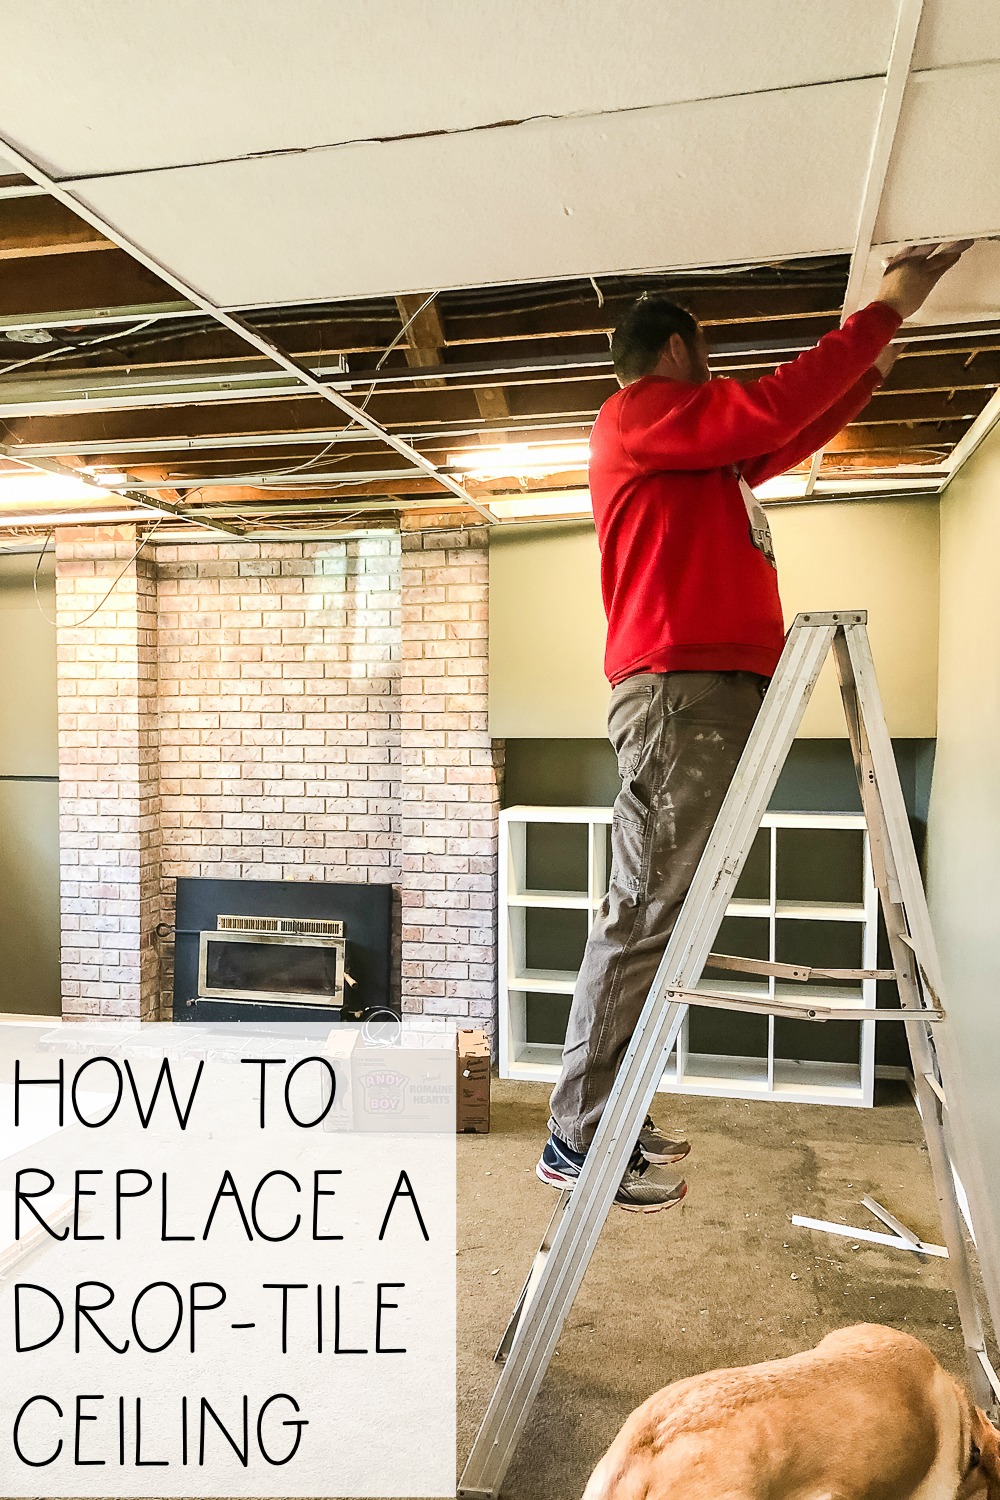
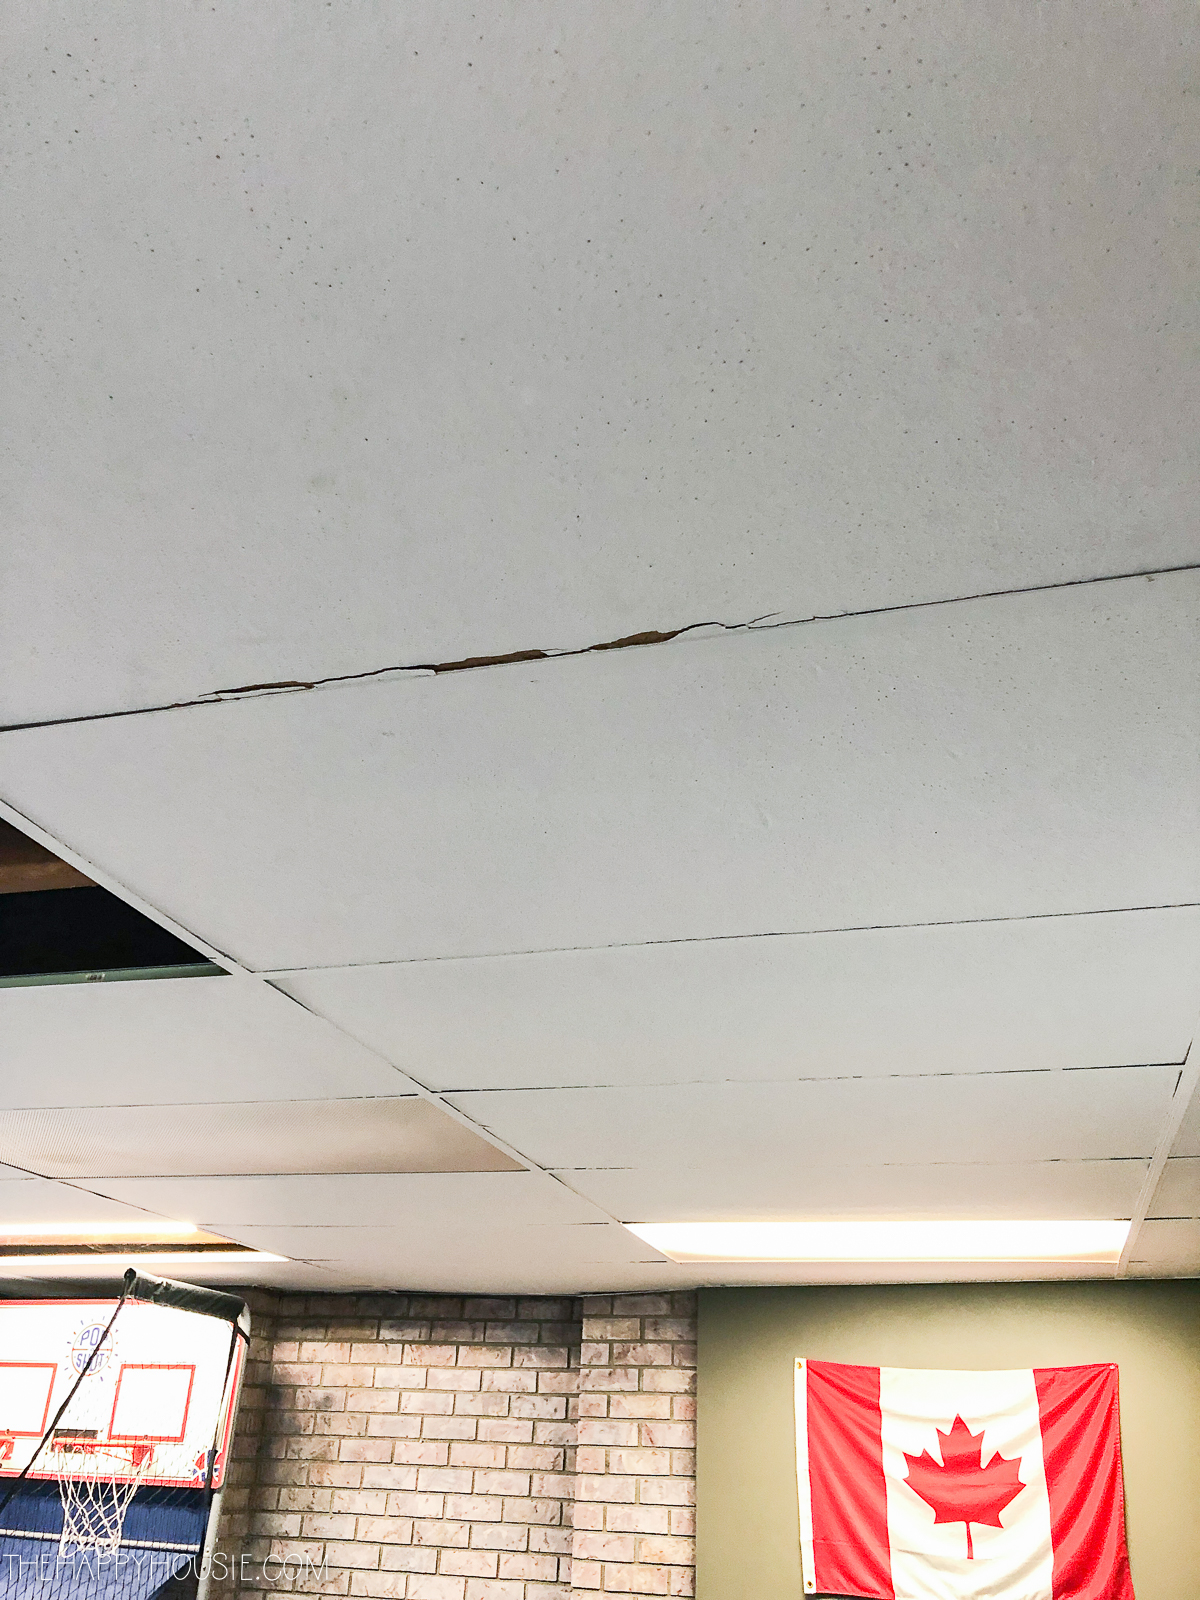
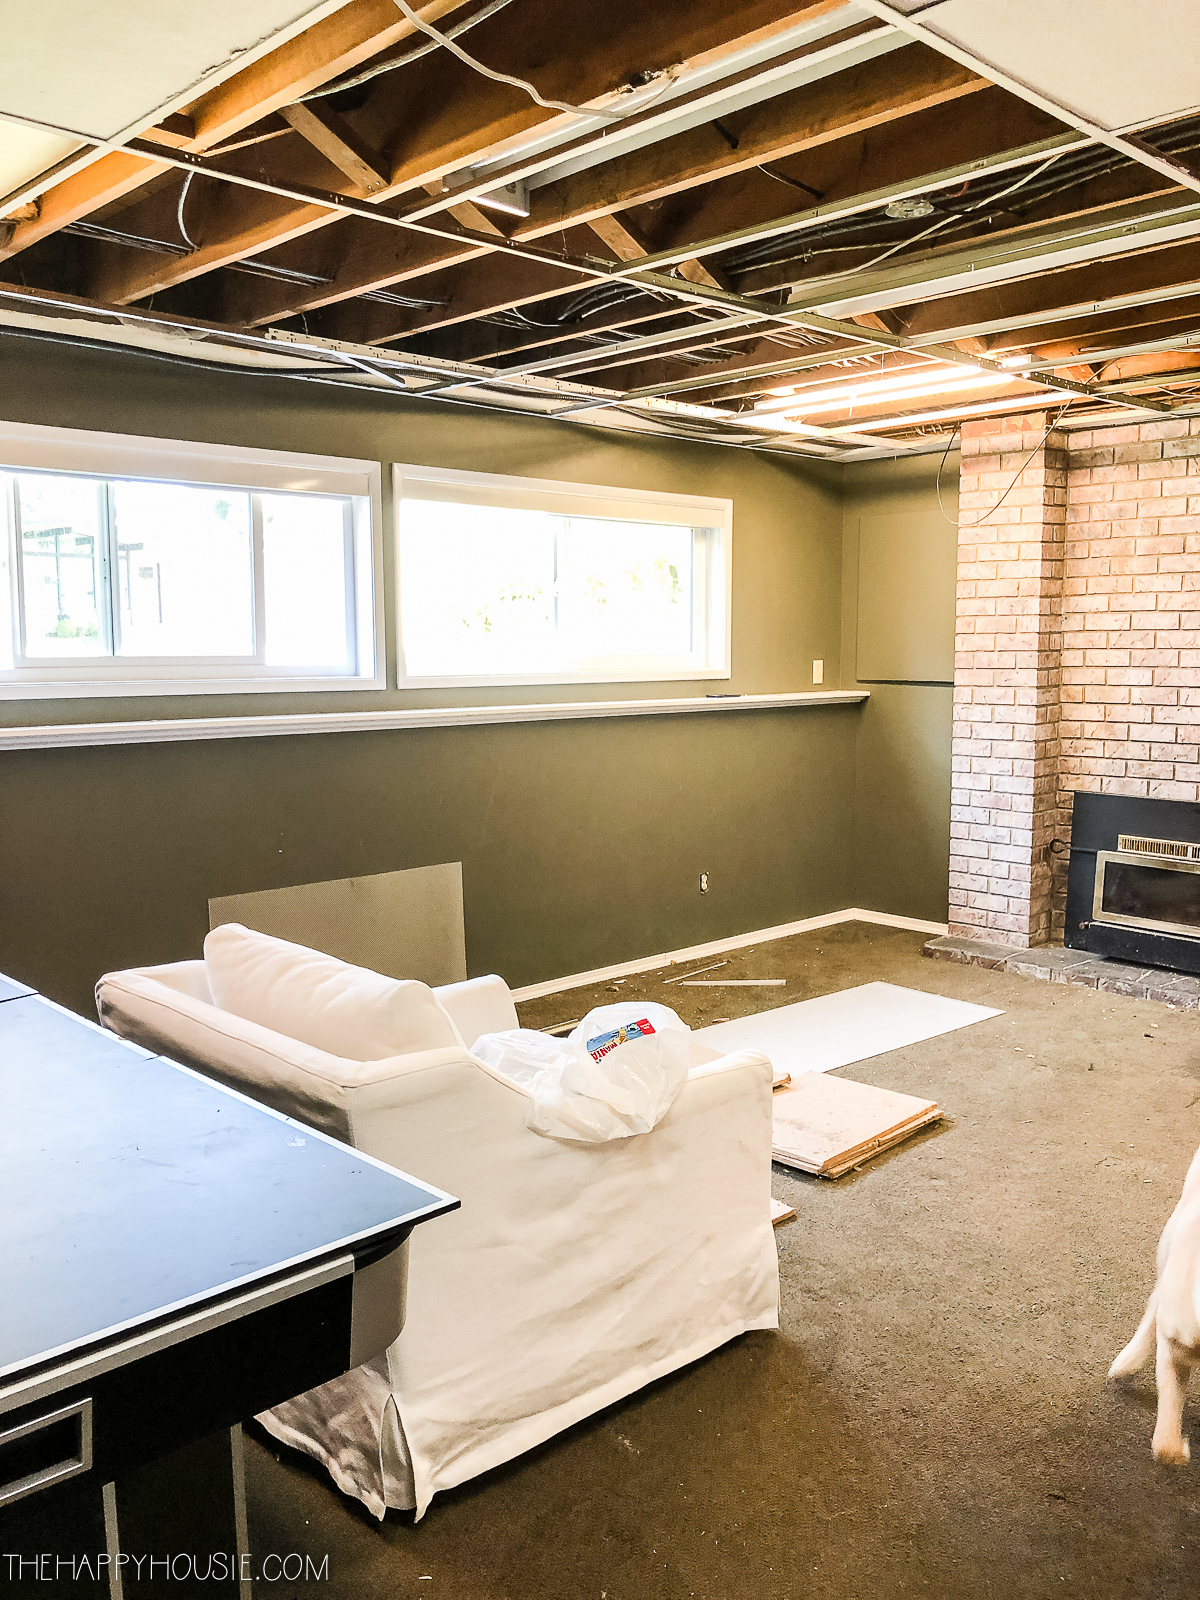
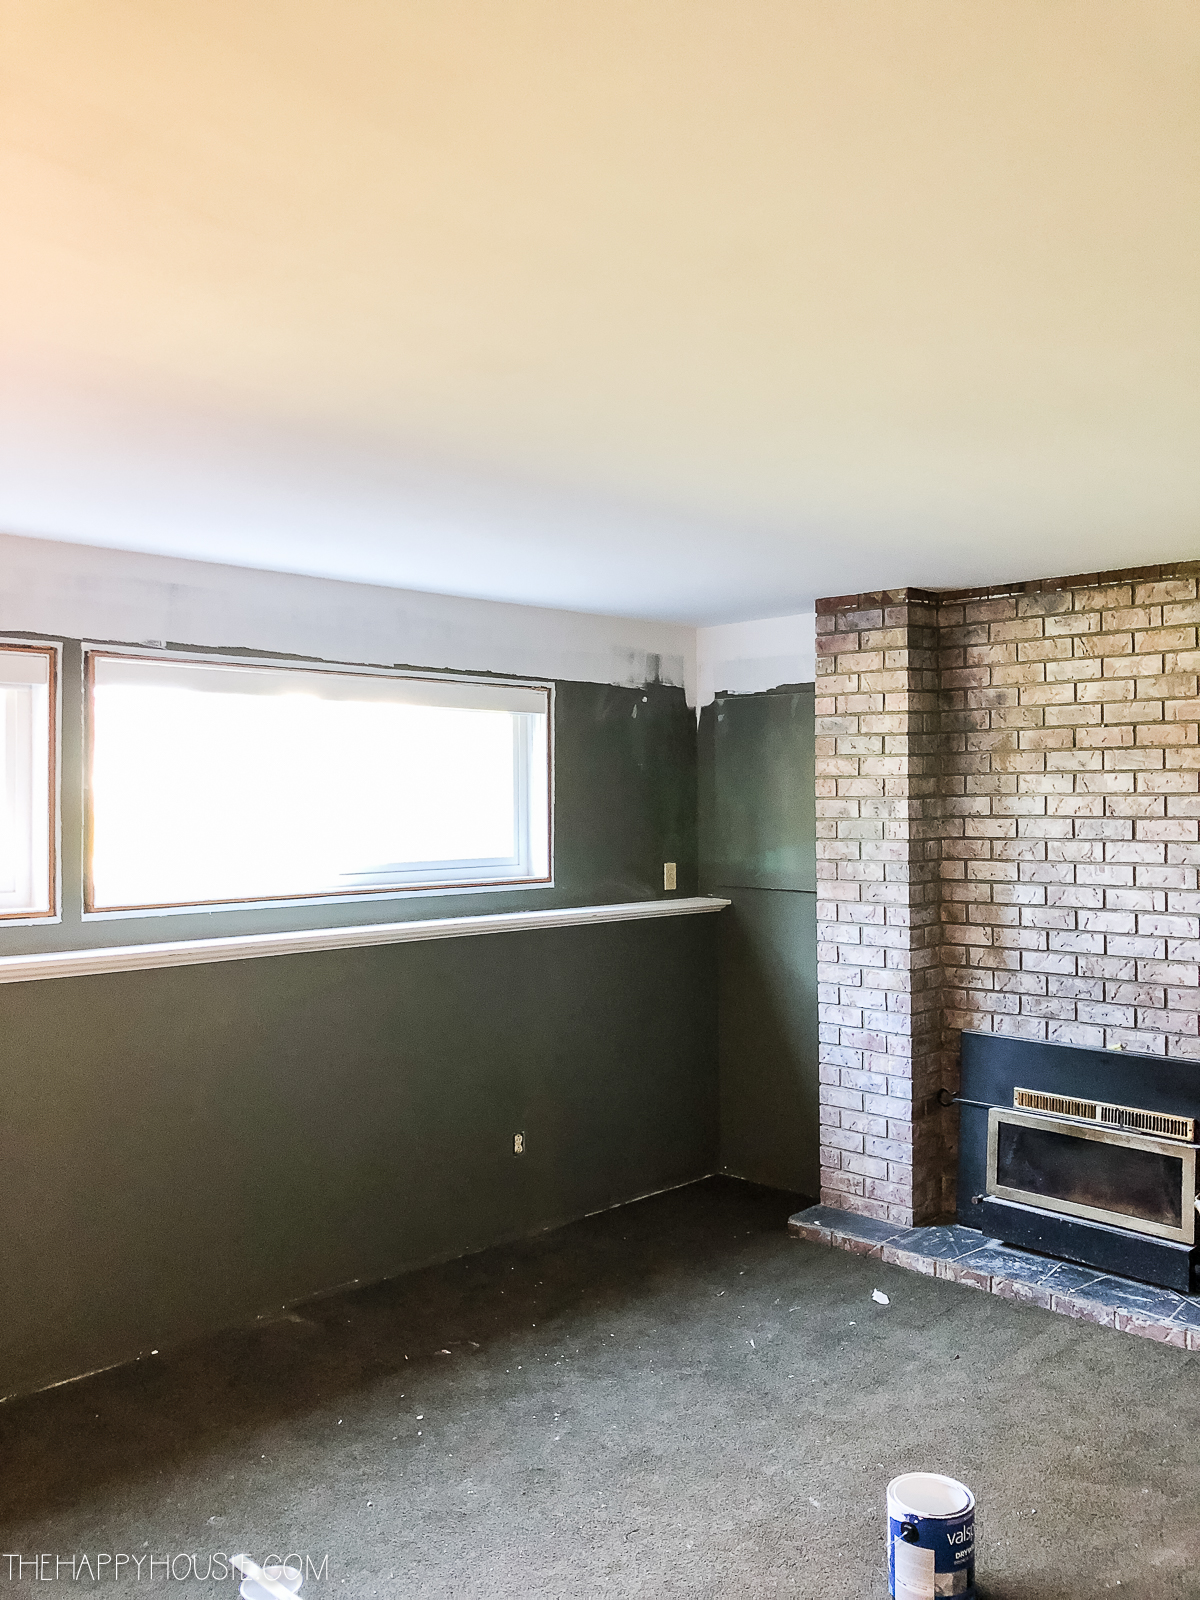
If you saw my before pictures in last week’s post then you know that we had a drop-ceiling in this room that was not in very good shape. Parts of it were broken due to my boys’ big basketball game (which made it’s way to the garage this week).
Since the ceiling had been painted previously, the ceiling tiles had pulled apart from their metal frame (and we had to move some of them when we were doing construction upstairs), so they were ripped and damaged looking throughout. We also weren’t a fan of the fluorescent overhead lighting in this space and really wanted to install some low-profile pot lights instead.
Warning: before you undertake this project, you want to assess what exactly is inside your drop tile ceiling. For example, you may have venting, pipes, or wiring that cannot be drywalled over easily, or that you may need to box around in order to drywall the ceiling. Don’t tear your ceiling apart before you know what you are dealing with!
Step One!
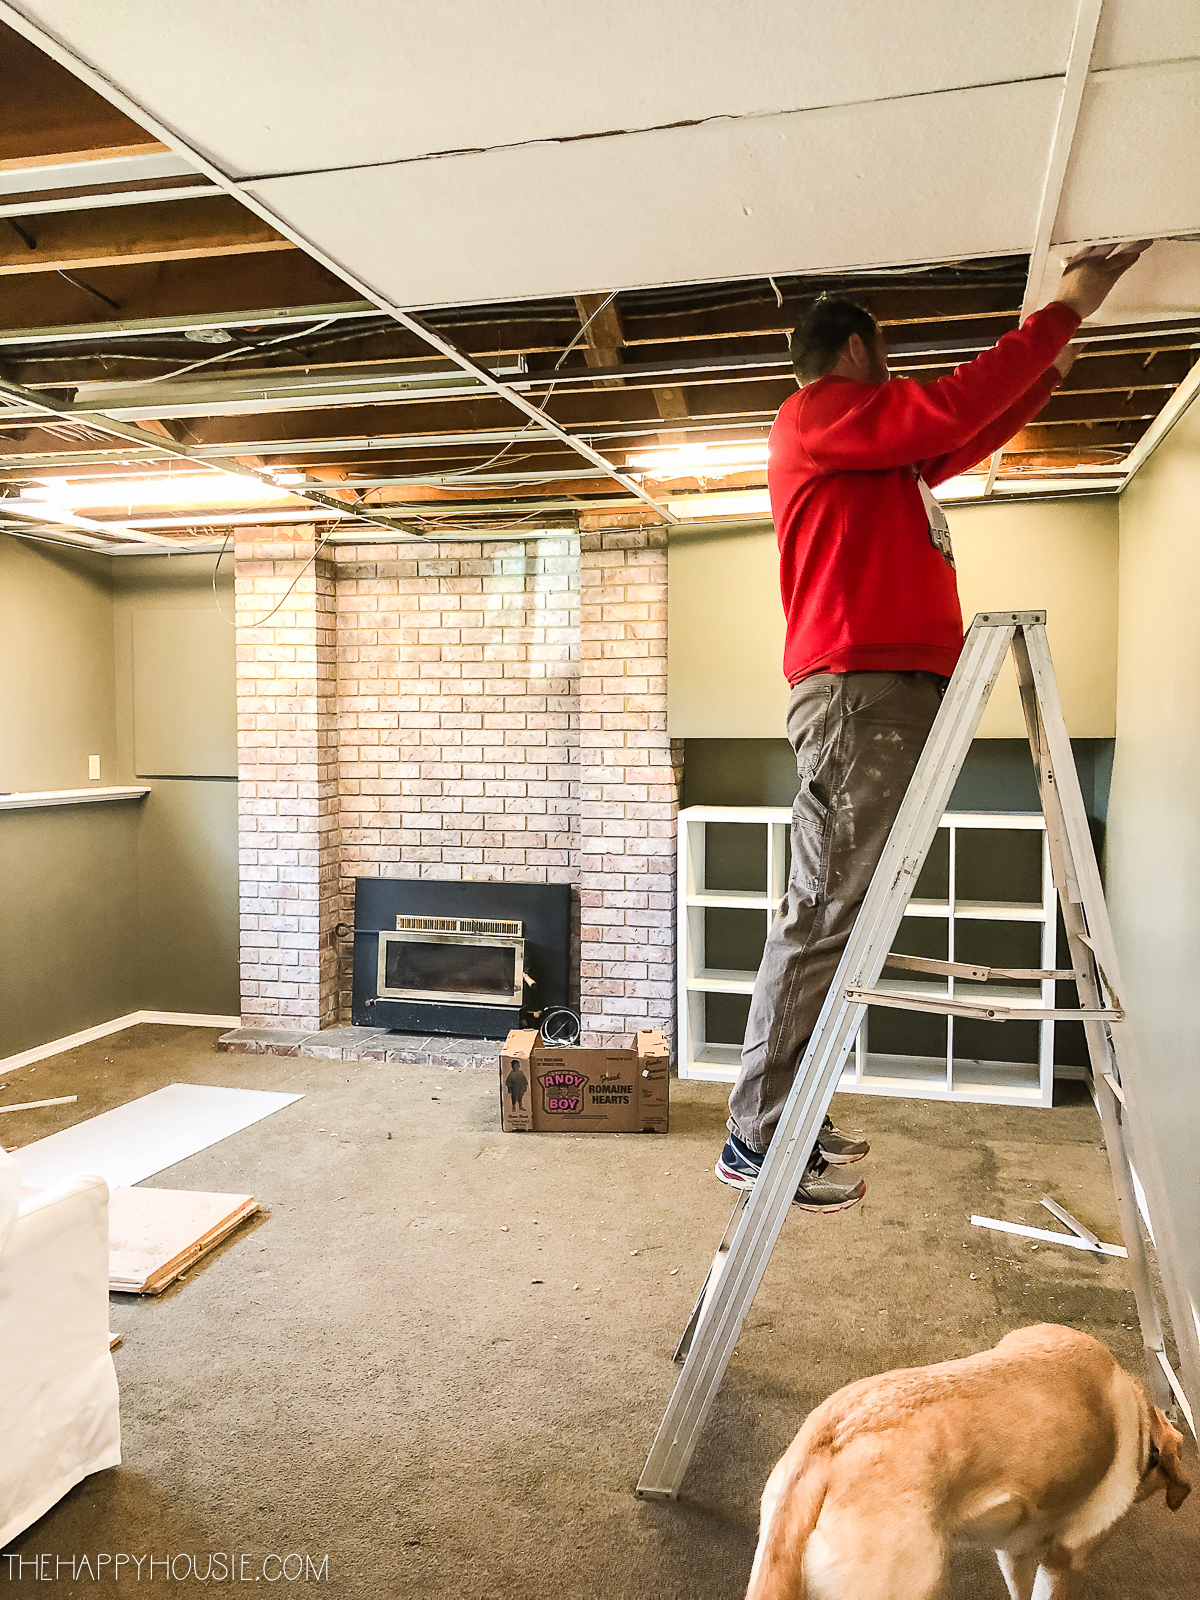
Take it all down…
We removed all of the ceiling tiles as well as all of the metal framing (which we took to metal recycle).
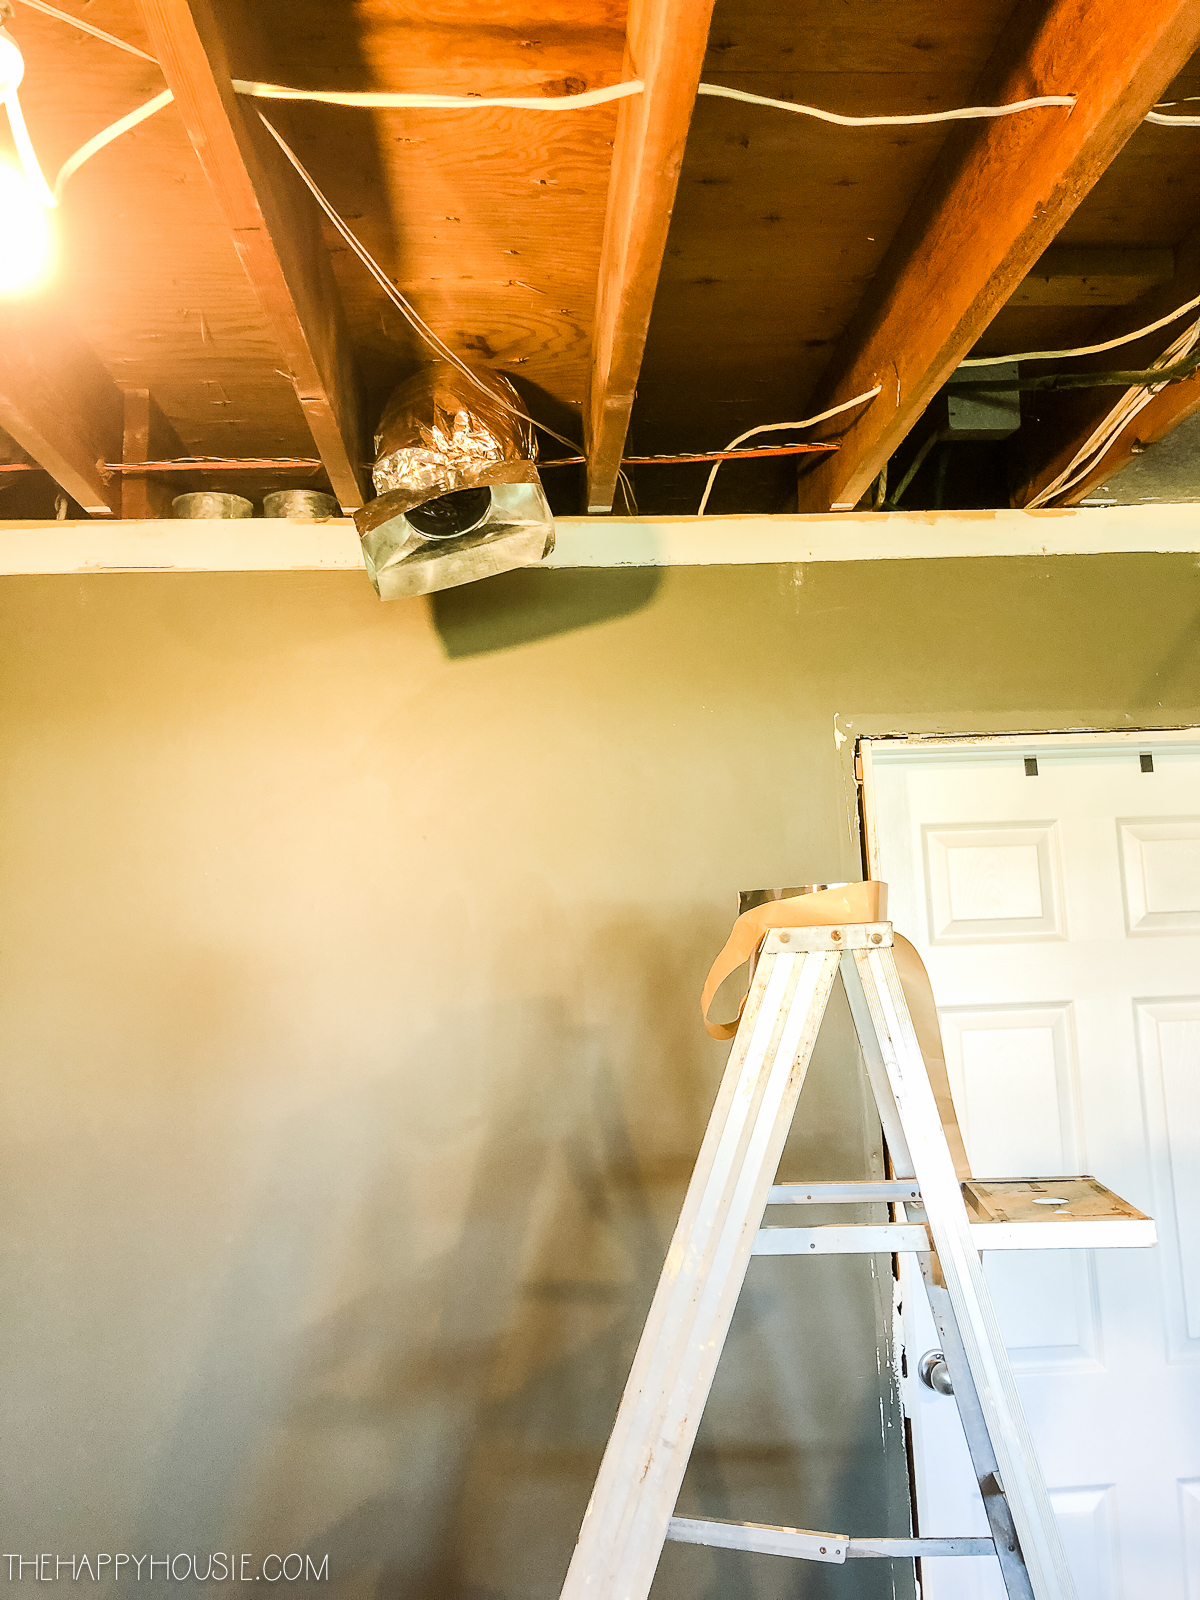
Step Two: Assess what’s there
From there we had a clear view of exactly what we were working with. We found two heat vents in the ceiling joists that previously did not have a down-pipe into the room (which was why it was often cold in there in the winter!). We picked up some angled vent pipes with duct openings and attached them to the open ends of the vents.
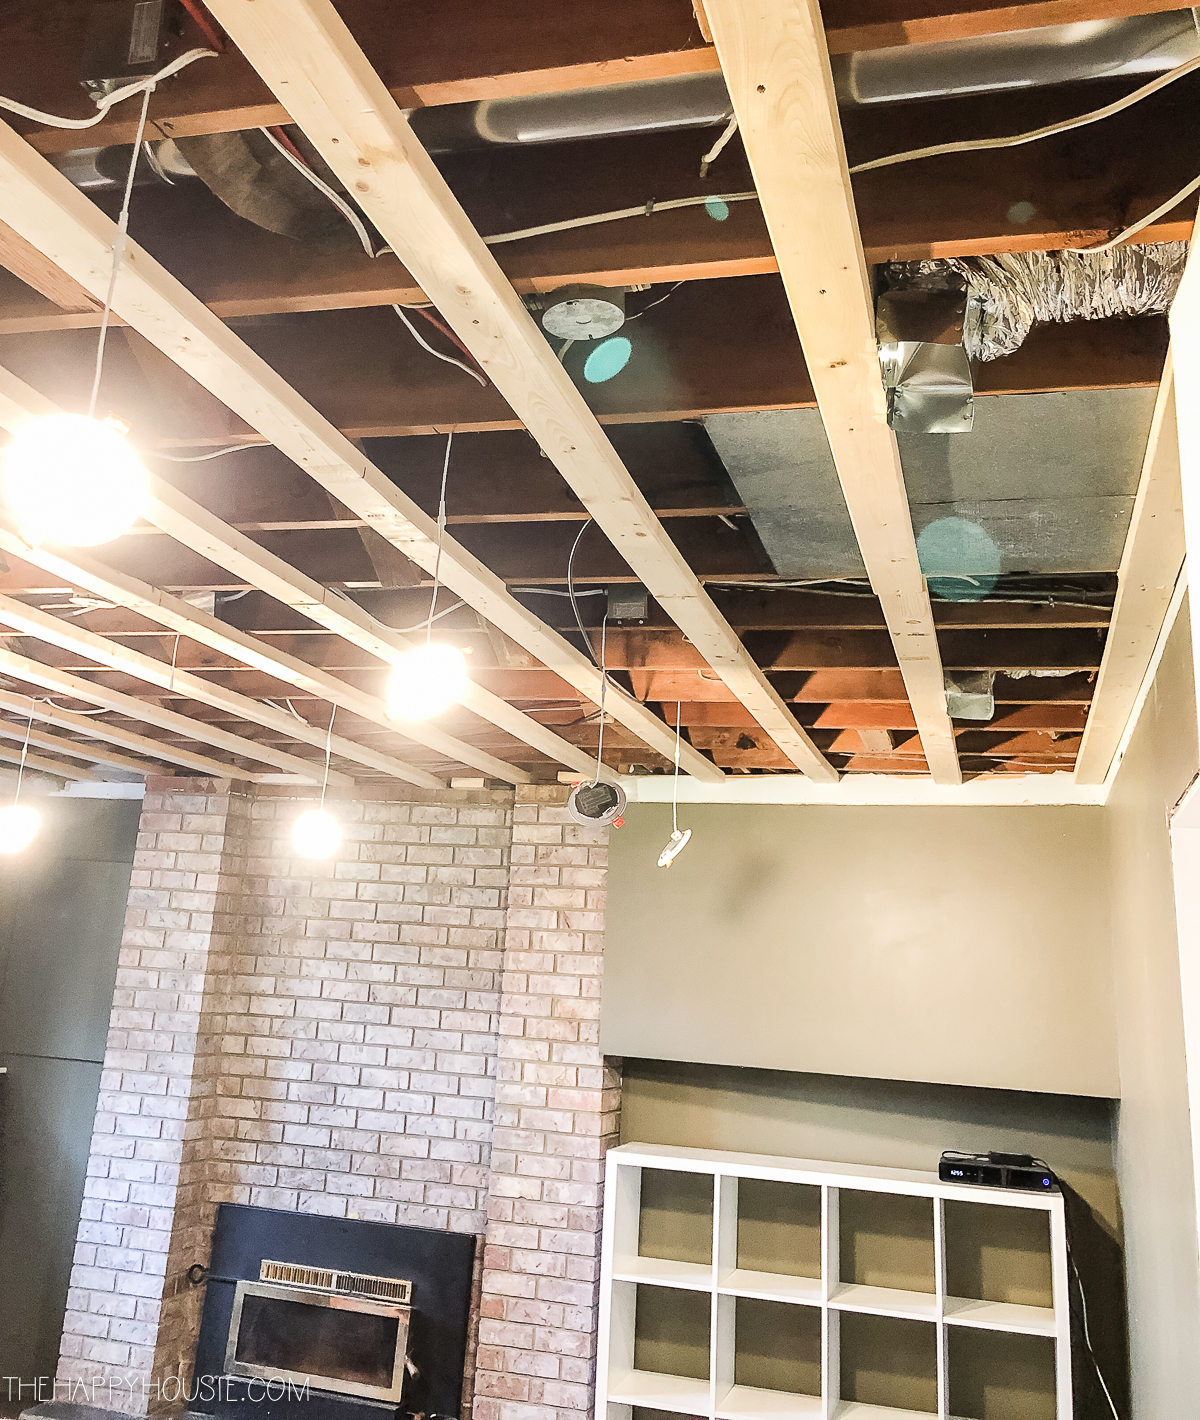
Step Three: Strap the Joists
We adding 2×4 strapping to the (upper floor) flooring joists in order to have a flat, level surface to attach the drywall to.
Step Four: Install Pot Lights
You may want to have an electrician complete this step, but we have some experience with this so we were able to add the wiring for the pot lights (which you can see below are hanging from the ceiling). We drew a very specific diagram marking where the pot light wiring was located as it was covered up in the next step.
Step 5: Drywall
This is where we had some professional help – we had a drywaller come and hang and finish the drywall for us as we didn’t feel up to the job of creating a totally smooth drywalled ceiling with our level of skill.
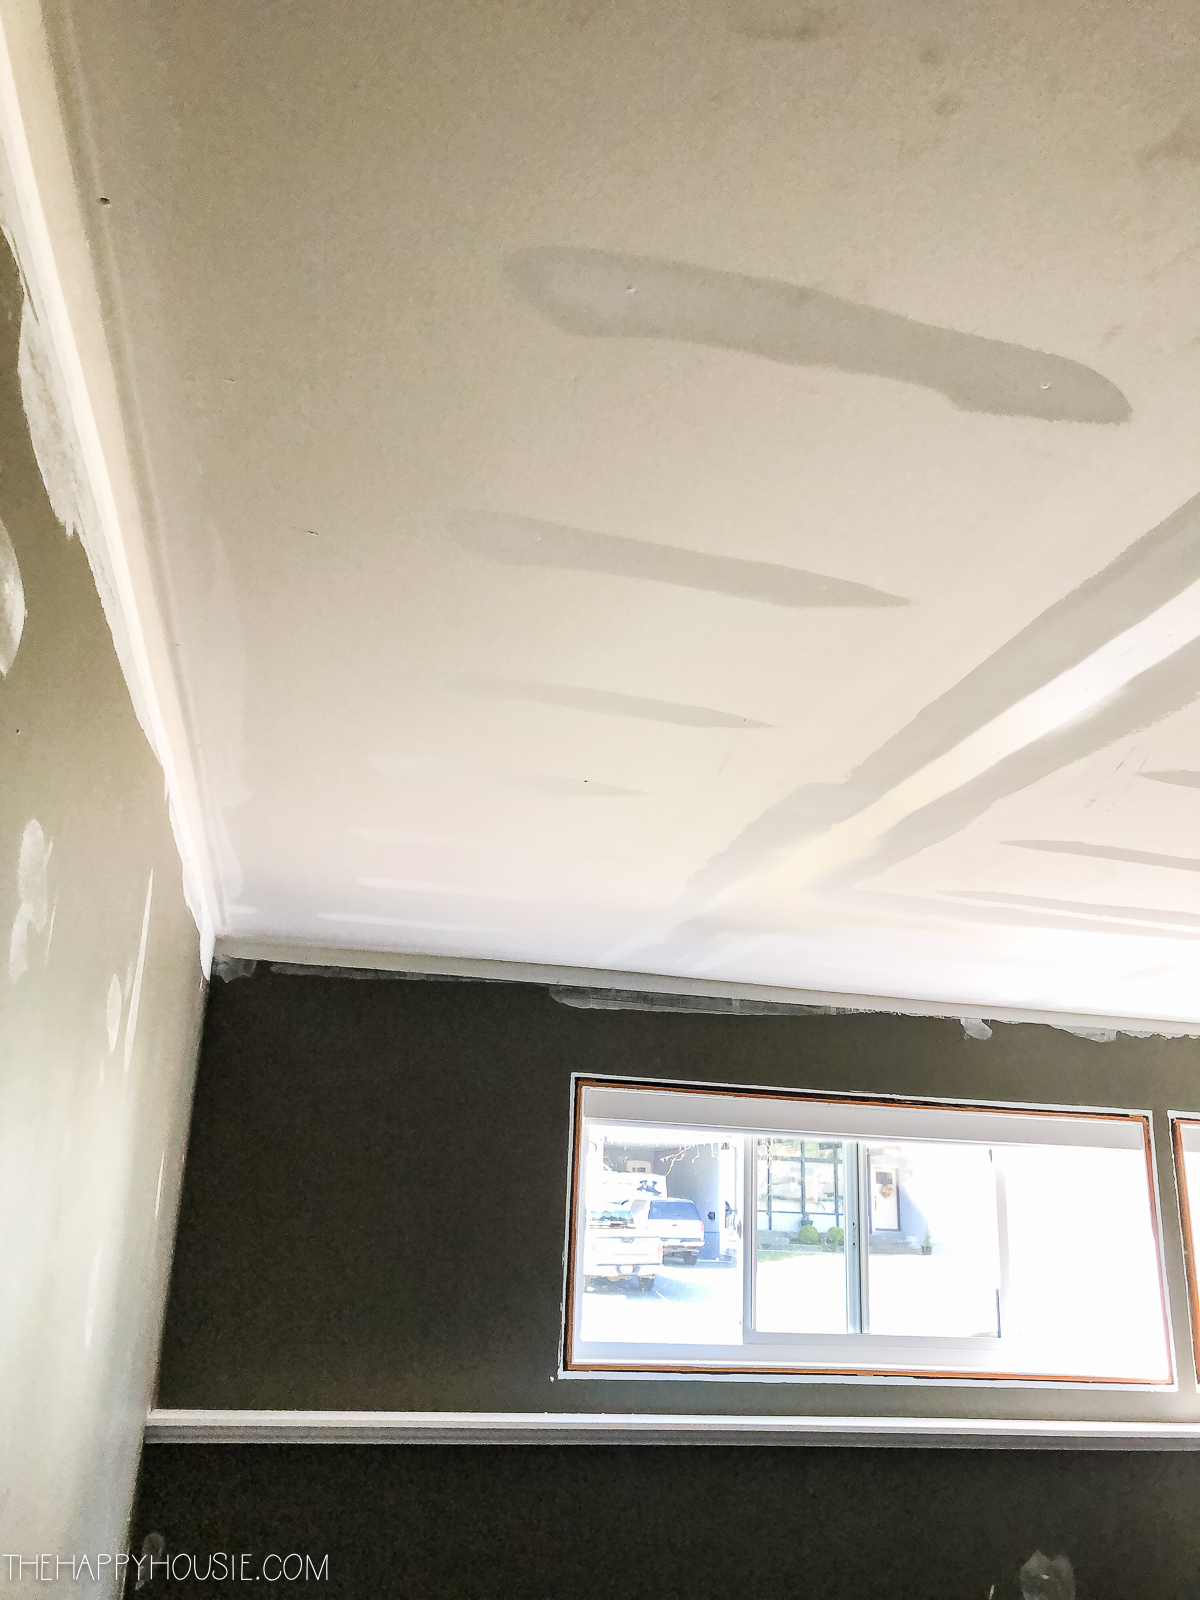
Step 6: Seal and Paint
Once the drywall was finished, we did one coat of sealer on it followed by two coats of flat white ceiling paint. Doesn’t it look so much better? But notice, none of those lights are there yet…the wiring is all up in the ceiling! Good thing we created a very detailed and accurately measured diagram of where they were hidden:)
Step 7: Find the Wire and Install the Pot Lights
We used our diagram and then drilled round holes to fish out the pot light wiring. Then we just attached it to the pot light pucks, and installed them in the ceiling. It was really easy! These are the type of pot lights that we installed…

Whew! It’s getting better already!
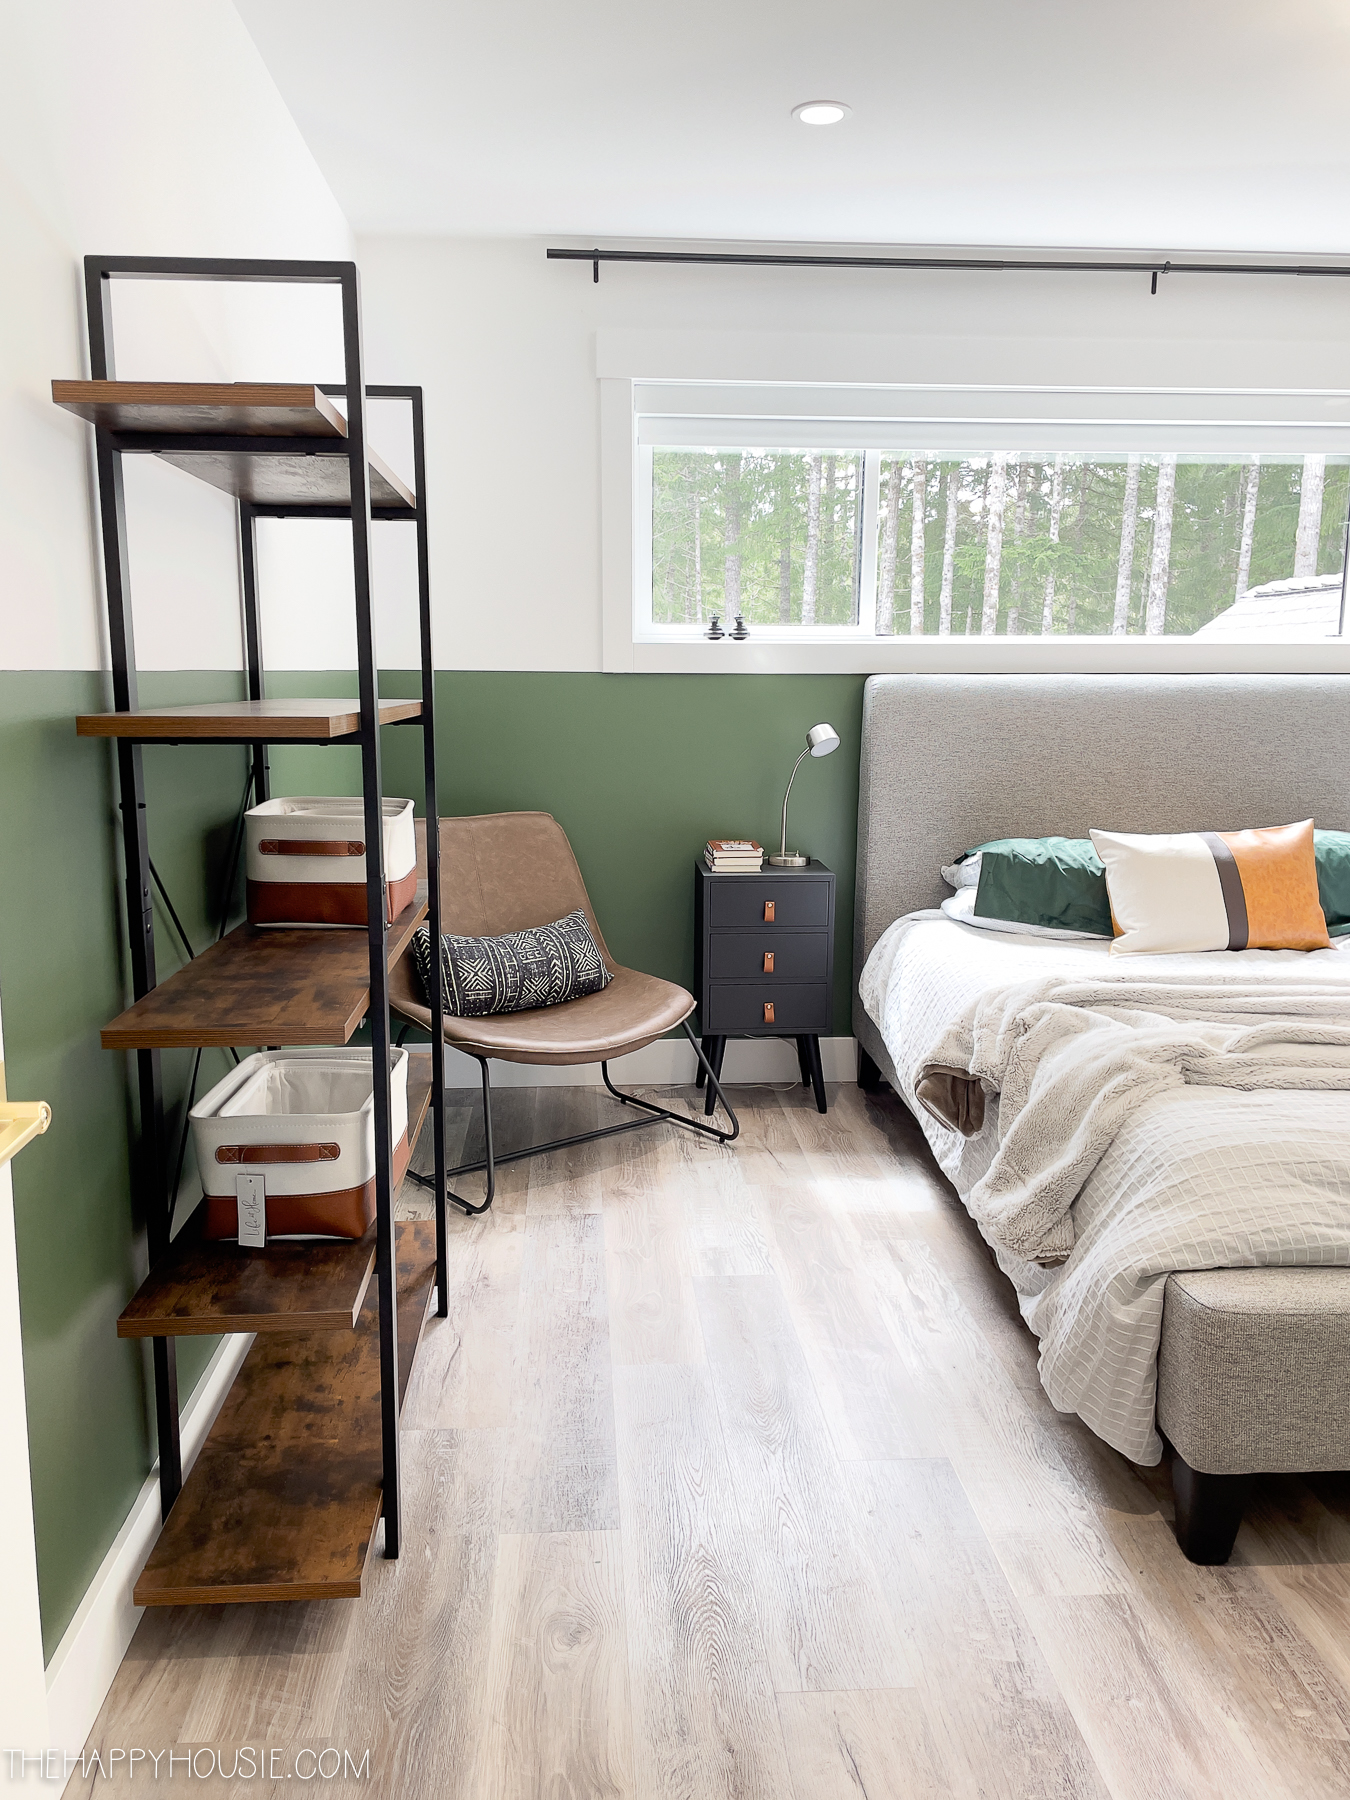
Next up – painting the whole room and moving onto installing the vinyl plank flooring!! I’m super excited to get that old carpet out of there and see how different this space looks with clean, new flooring and new paint and trim.


How many square feet was ceiling and how much was total cost?..
You may also want to verify that there isn’t contained asbestos in your ceiling tiles before removing as older tiles are known to contain harmful friable particles that can become airborne when removed.
Be safe.
Looks good.
Well done upgrading this ceiling! That is one tough job but it makes such a difference
Loving the progress! We just moved into a house with a full drop ceiling basement. I’d love to drywall it all, but have lots of projects we’ll need to access the ceiling to add wiring in future. Hopefully, you found all your lights!
I just removed my drop ceiling, I glued vinyl after cutting it to size of each piece. And put them back up, it was a hard timely job. I hate drop ceilings. But we found a leak and the roofers will fix it. I am older its a bit breaking job. But looks great, and hope it last
Would love to see pics of this