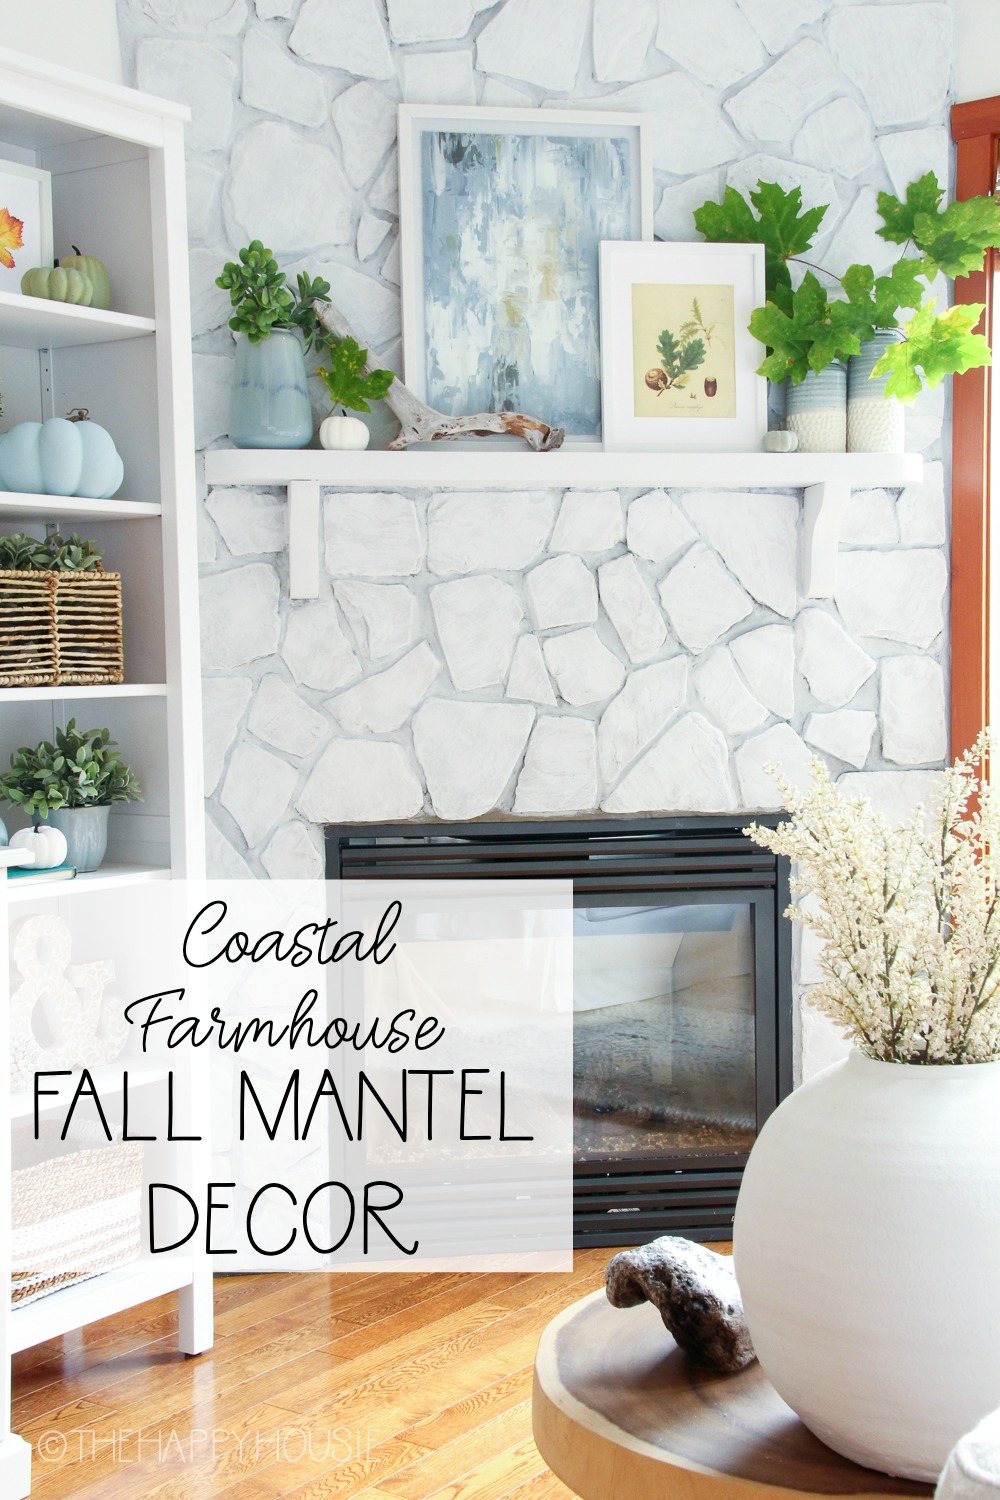
Coastal Farmhouse Fall Mantel Decor (& our fireplace refresh)
Today I’m sharing our coastal farmhouse fall mantel decor as well as a few details about how I updated our fireplace stone with chalk paint in a whitewash finish.
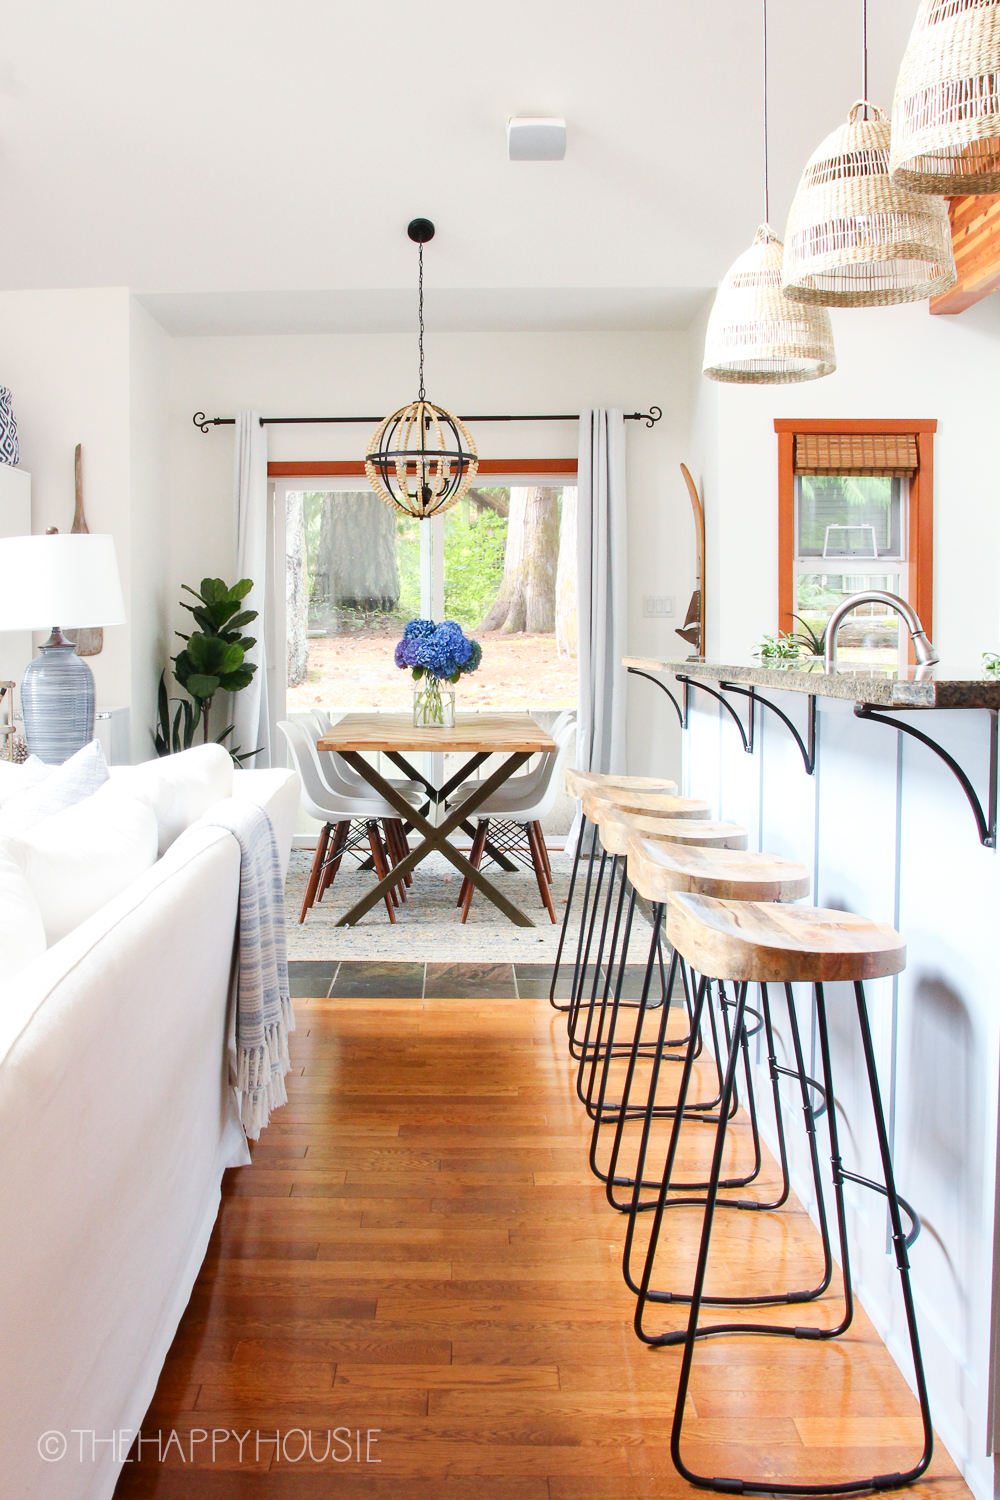
If you’ve been following along for the last while then you know that we sold our forest house and moved into our lake cabin while we build a new house in town. I’ll be sharing the details on our new house build project really soon, but since it will take several months before it’s finished I spent some time this summer freshening up and updating our lake cabin as we’ll be spending a lot of time here this winter. I started by painting all the walls in Simply White and left all of the natural fir trim around the windows, doors, and baseboards. You can see the before and after of our cabin great room space in this post.
I realize that a lot of people would tell me to paint the wood white, but it’s not going to happen. I talked more about the decision to keep the wood natural in this post. One thing that I wasn’t sure how I wanted to deal with was the stone fireplace.
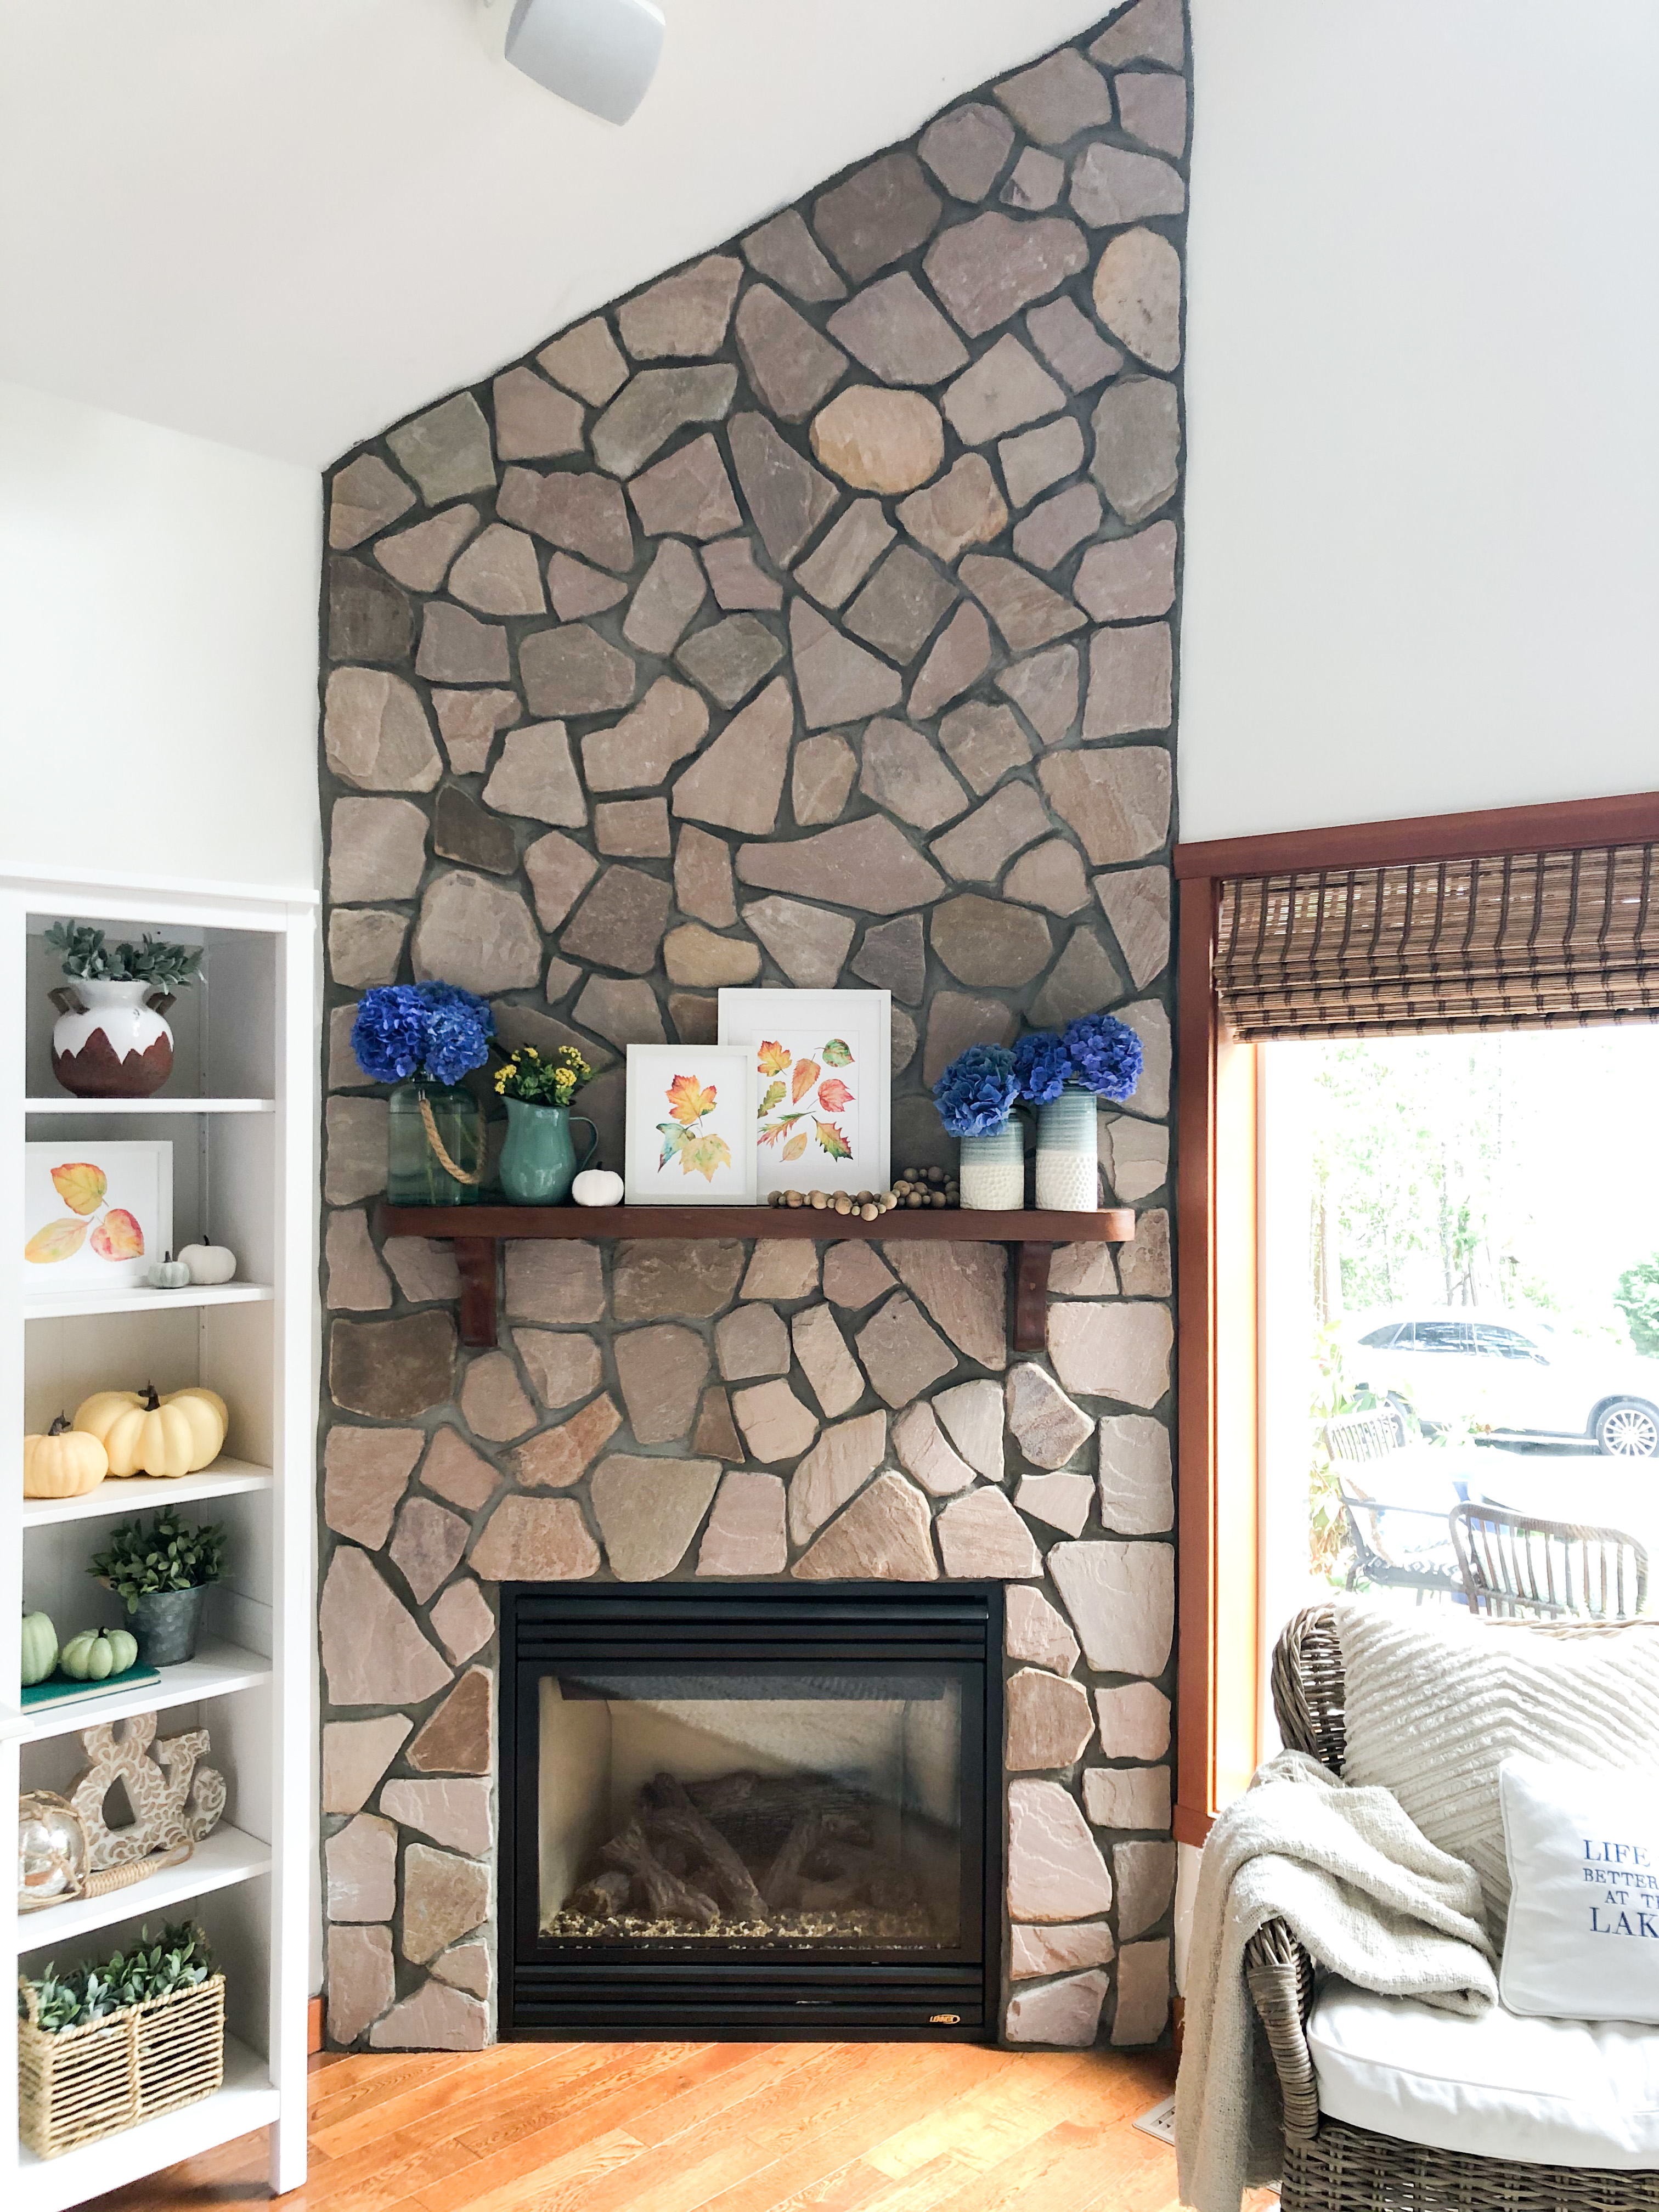
Initially, I thought for sure it needed a refresh since the stone was quite pink and orange in colour. After painting the walls out white, the fireplace stone looked better and crisper and I thought we might live with it. But… once I started to actually decorate the cabin this fall I decided that the natural stone was crying out for a refresh, so another project was born.
How to whitewash a stone fireplace with chalk paint:
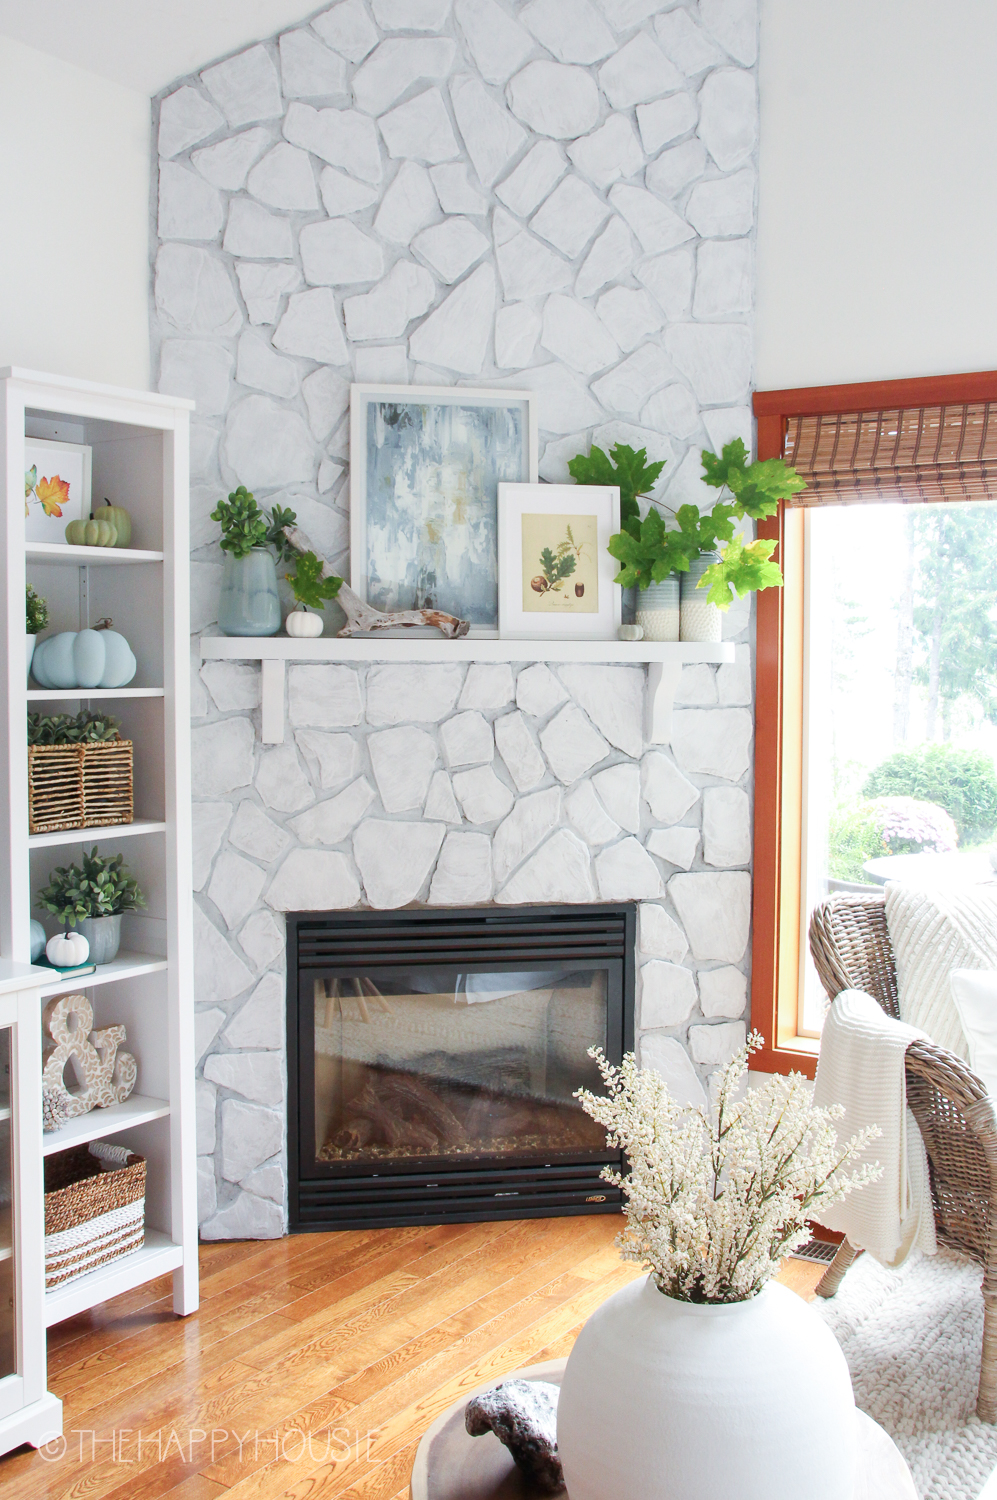
I used a basic white washing technique to update the stone colour, and it was actually a lot easier and faster than I thought it would be. I used Rustoleum chalk paint in linen white and mixed it in a 1-1 ratio with water. I applied the white wash chalk paint mixture to the entire fireplace, starting at the bottom and working my way up using a brush to get in and around each stone as well as over all the stones and mortar. After it was dry, I went back and used a dry-brush technique to add full-strength chalk paint over top of the stones. A technique dry-brush is just like it sounds: remove most of the paint from your brush and then brush lightly over the stone so that the paint hits the high spots on the stone. Doing this second step created much more dimension and texture than they had after the initial whitewashing.
I’ll be sharing a more detailed tutorial on this soon, but that gives you the gist of it!
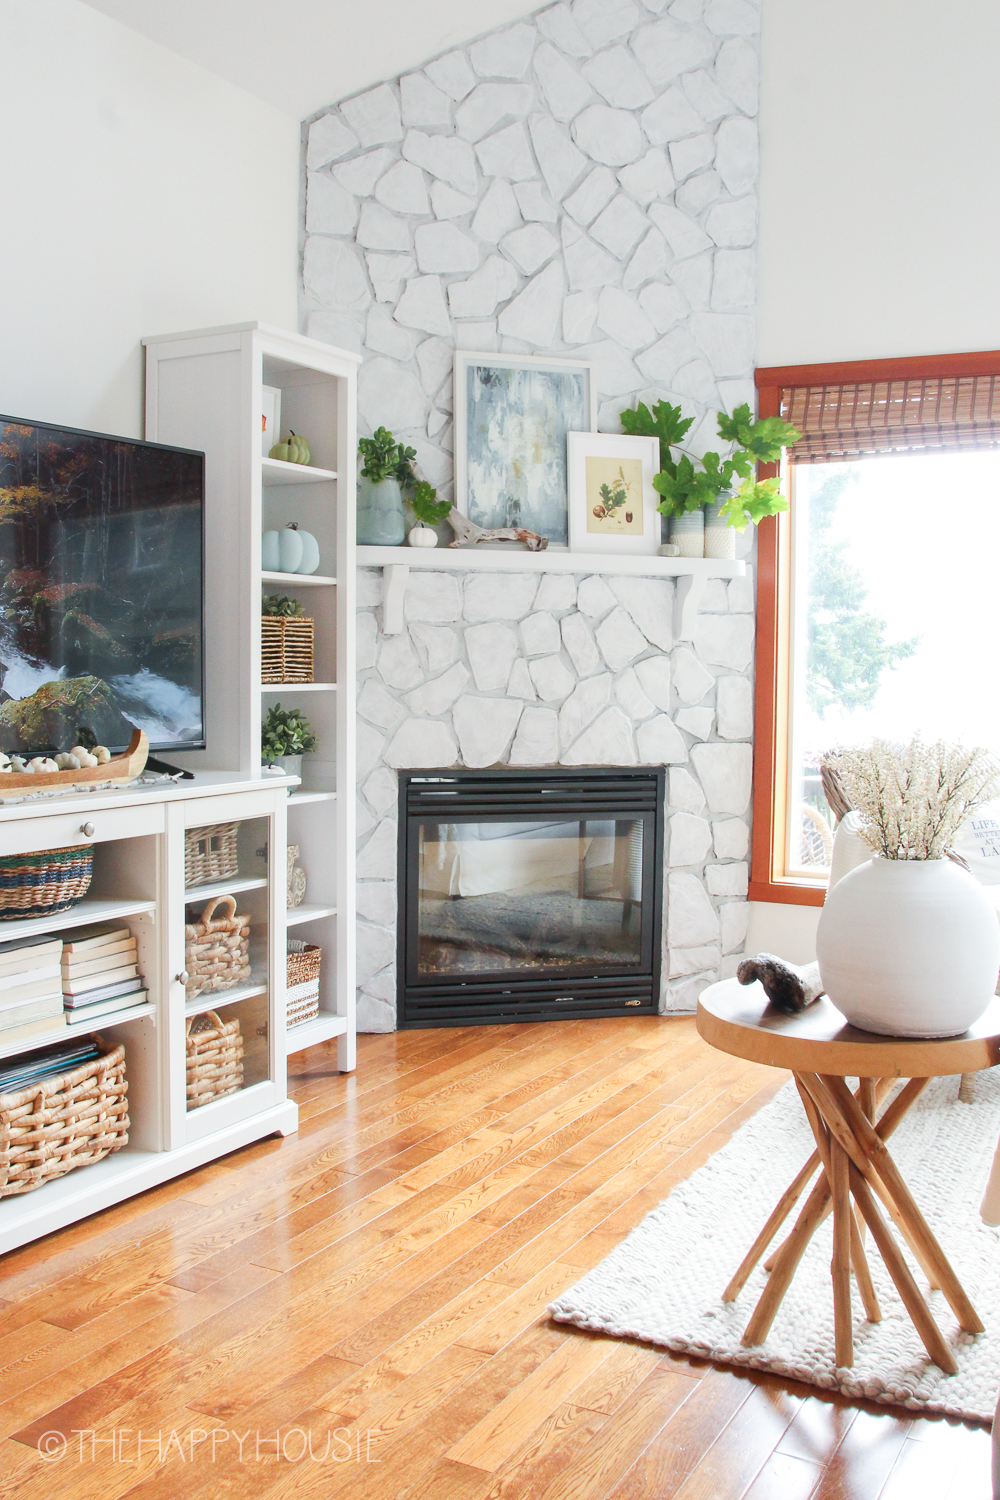
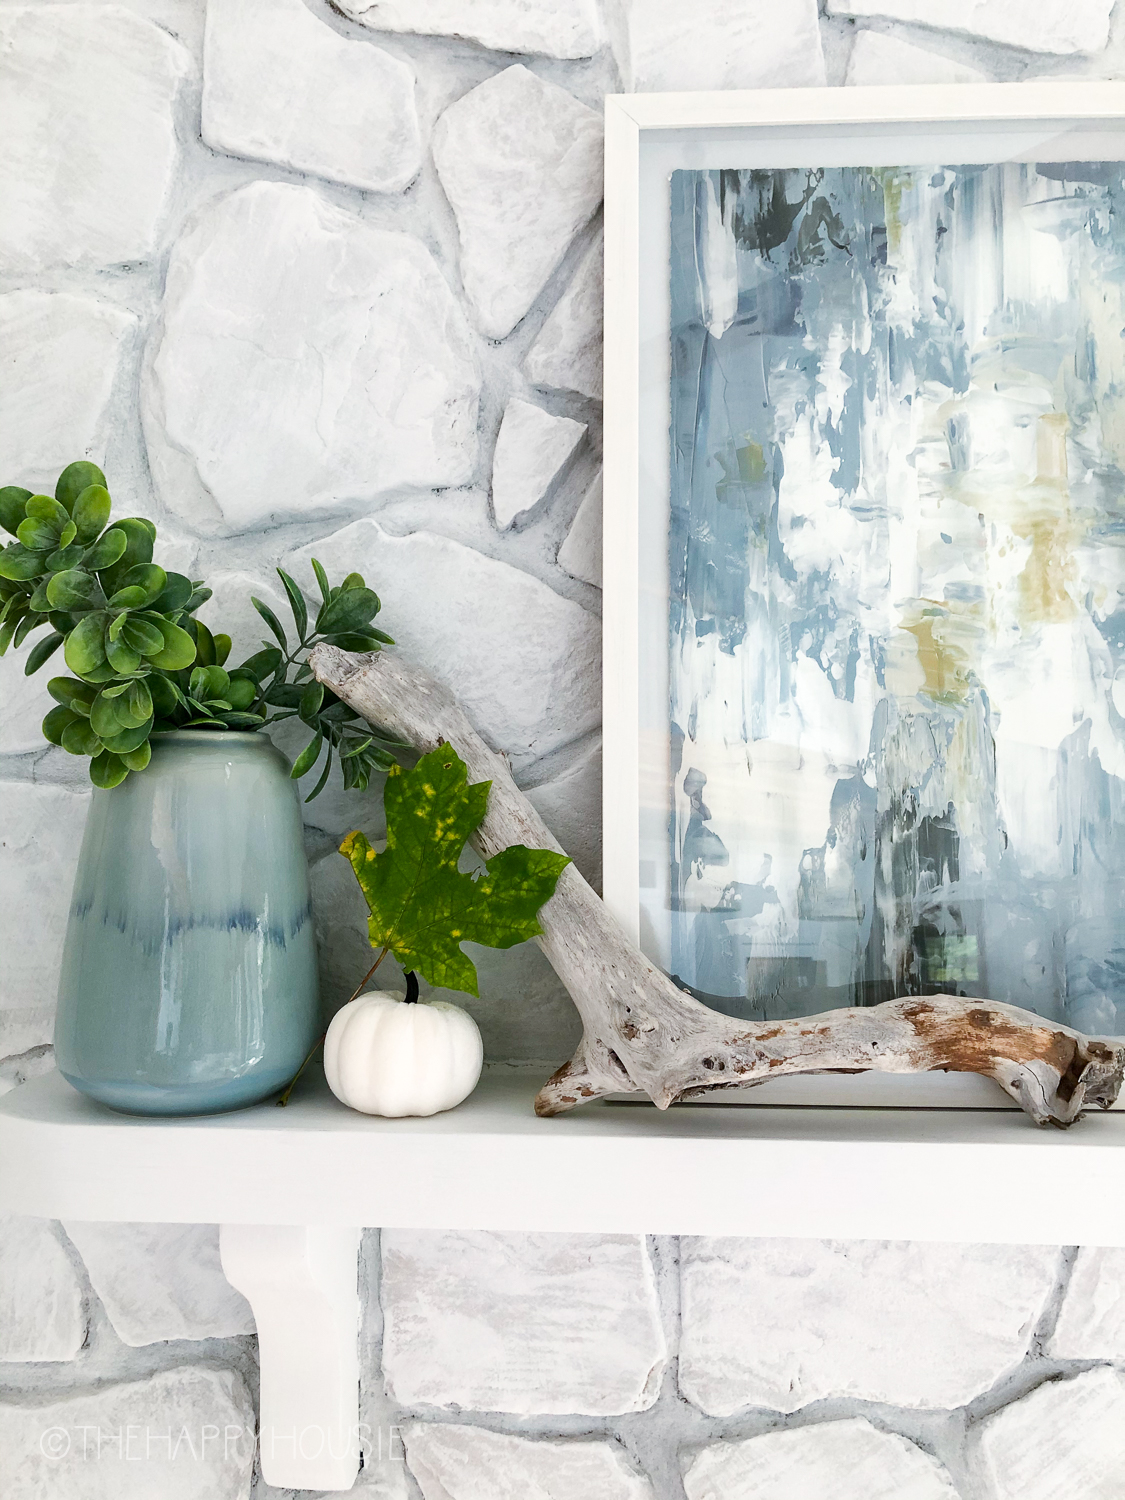
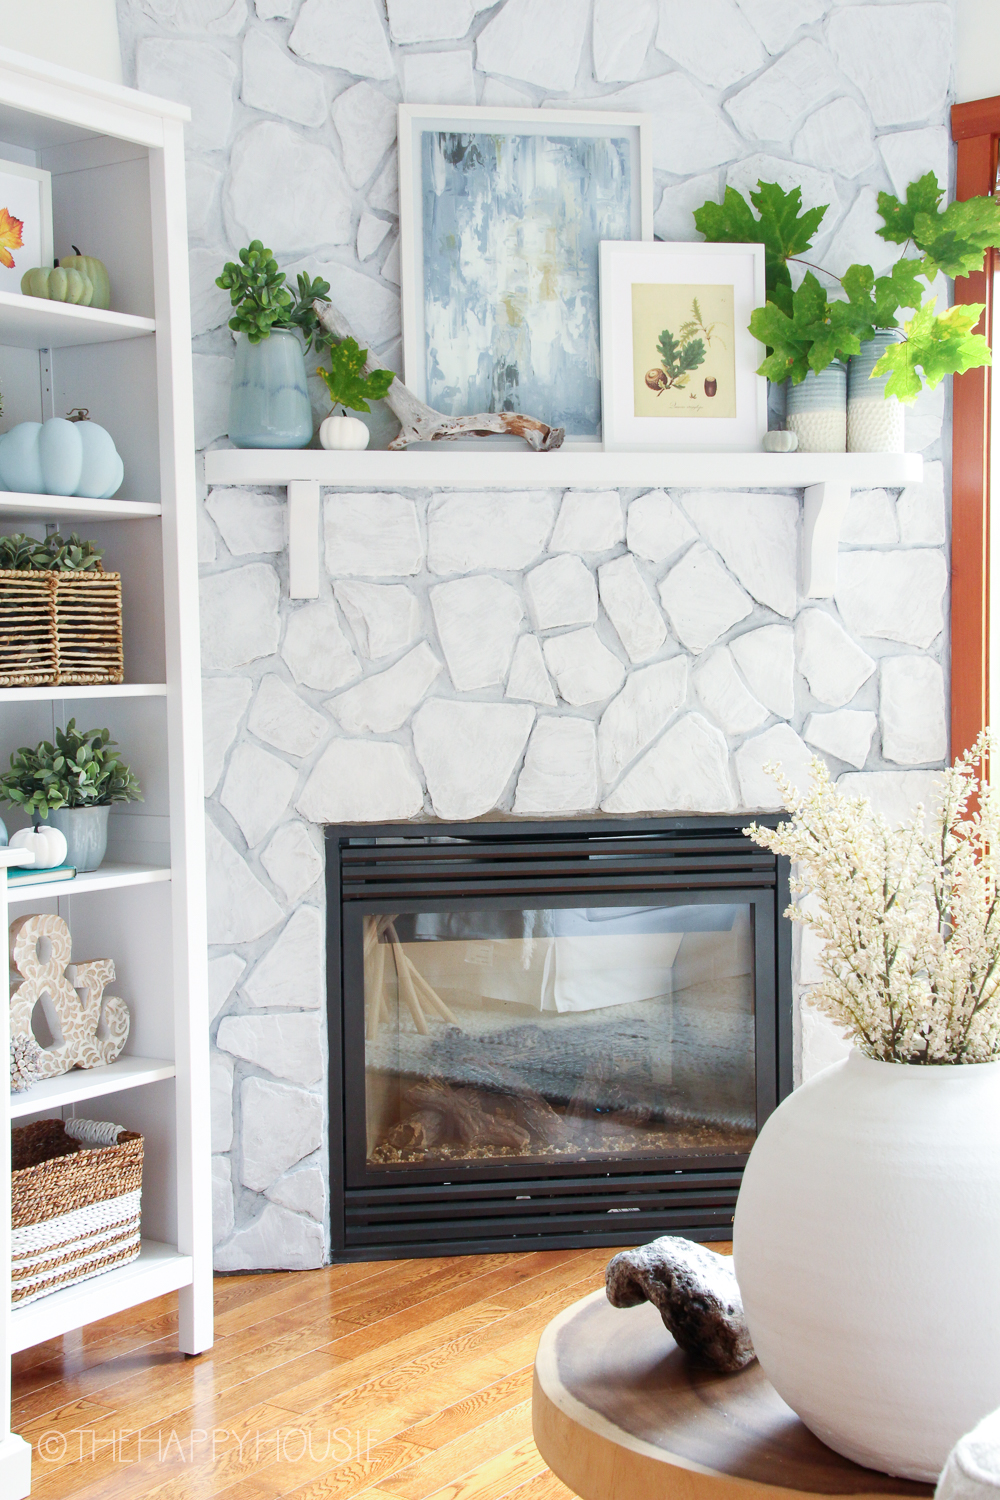
I love the new whitewashed feel of the mantel and, although it looks fairly solid in the image, you can see by the close-ups below that there is actually a fair bit of texture and dimension on the individual stones which replicates the look and feel of natural stone.
Now for that coastal farmhouse style fall mantel decor…
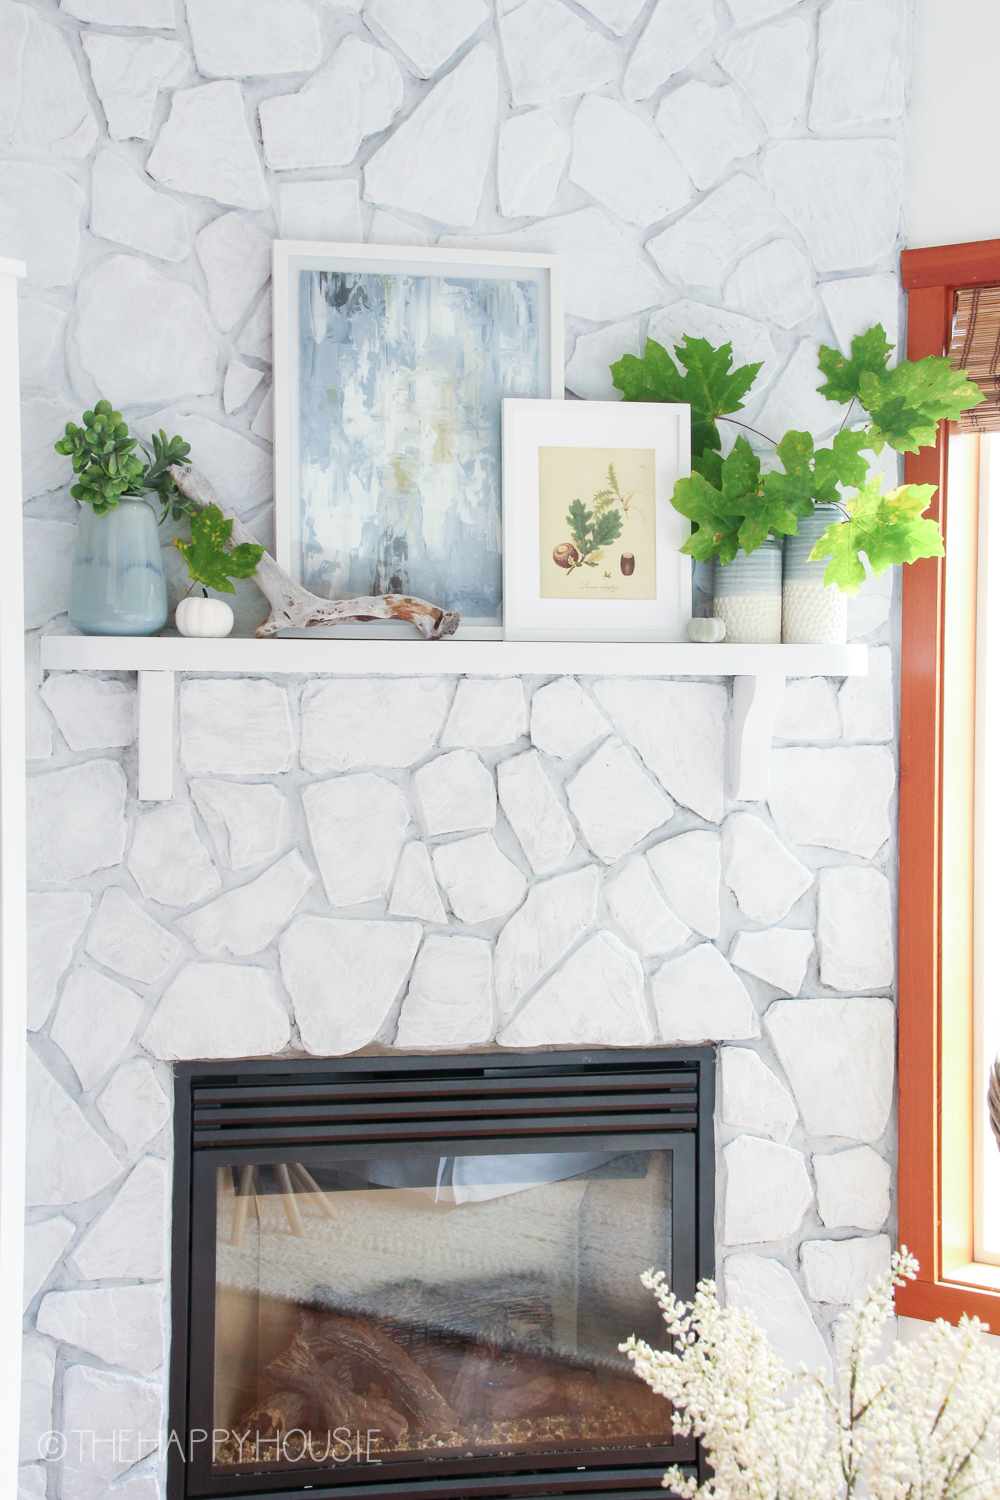
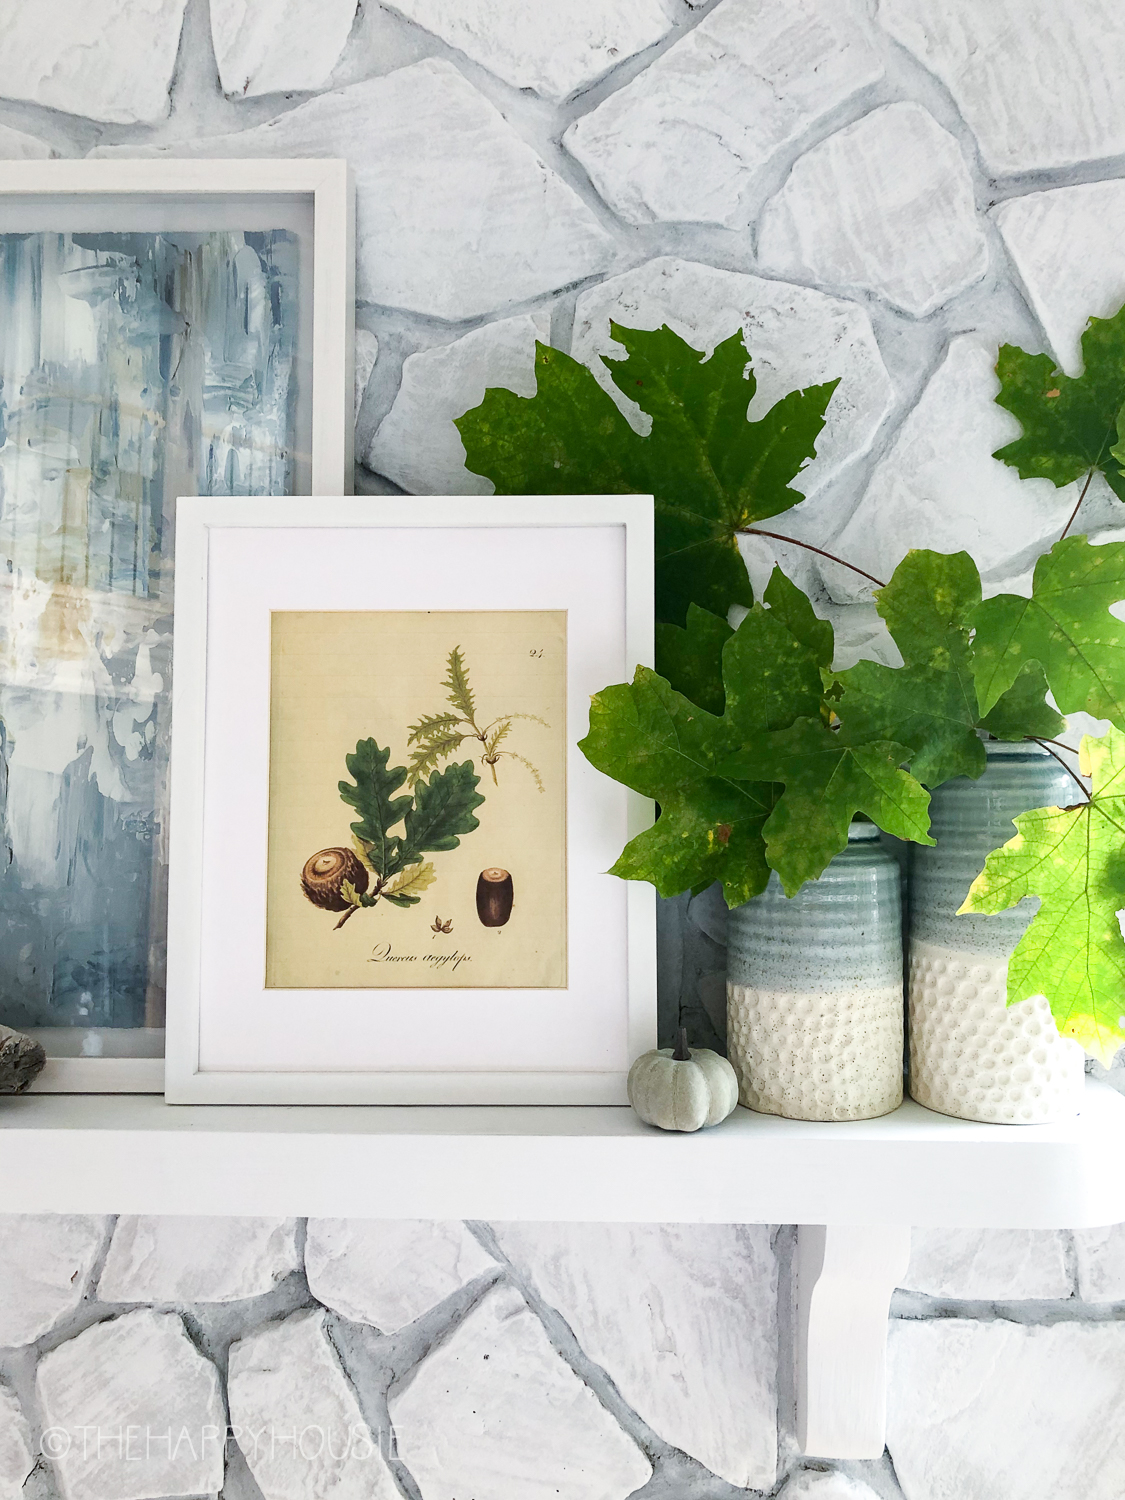
I kept things very simple with just some pretty vases that continue the blue and cream theme throughout the cabin, stuffed with a mix of natural and faux greenery.
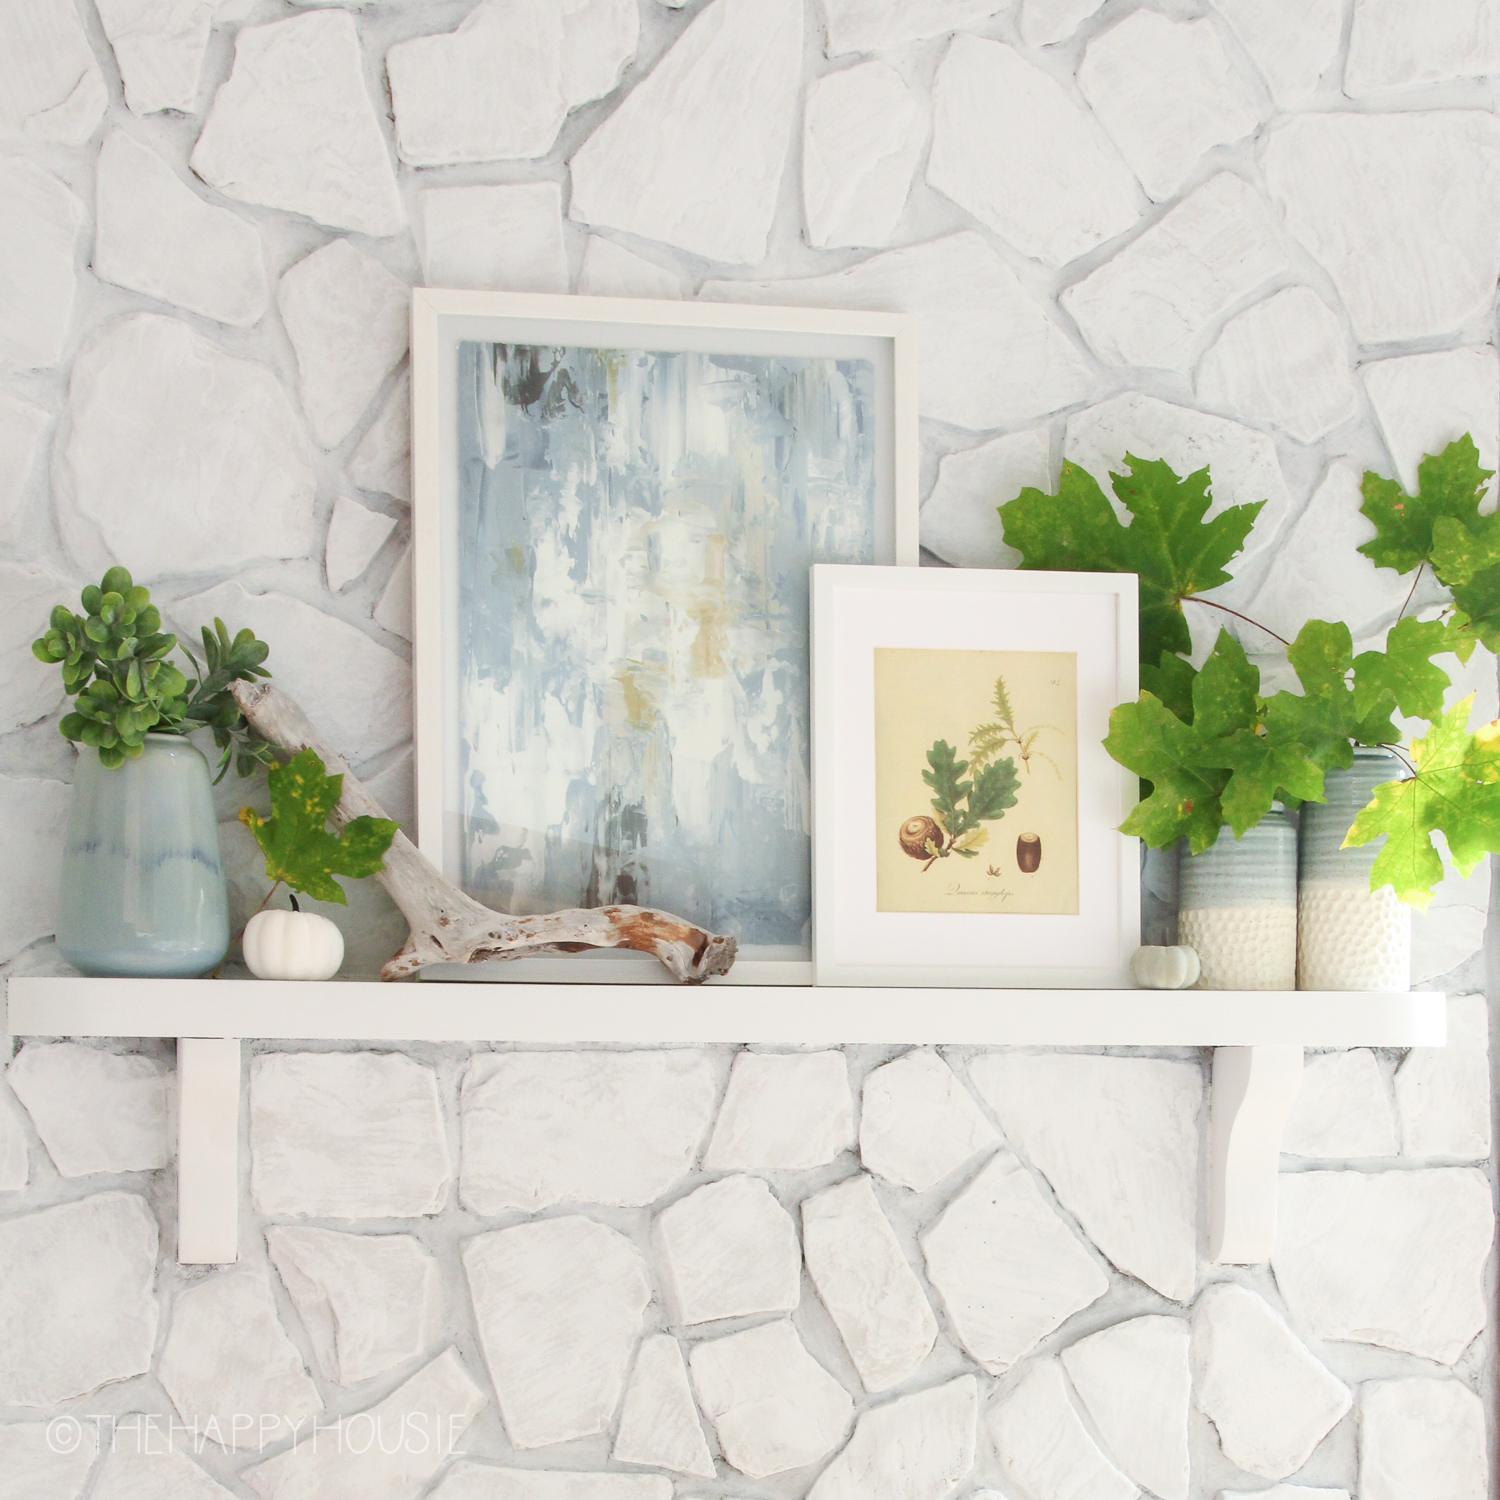
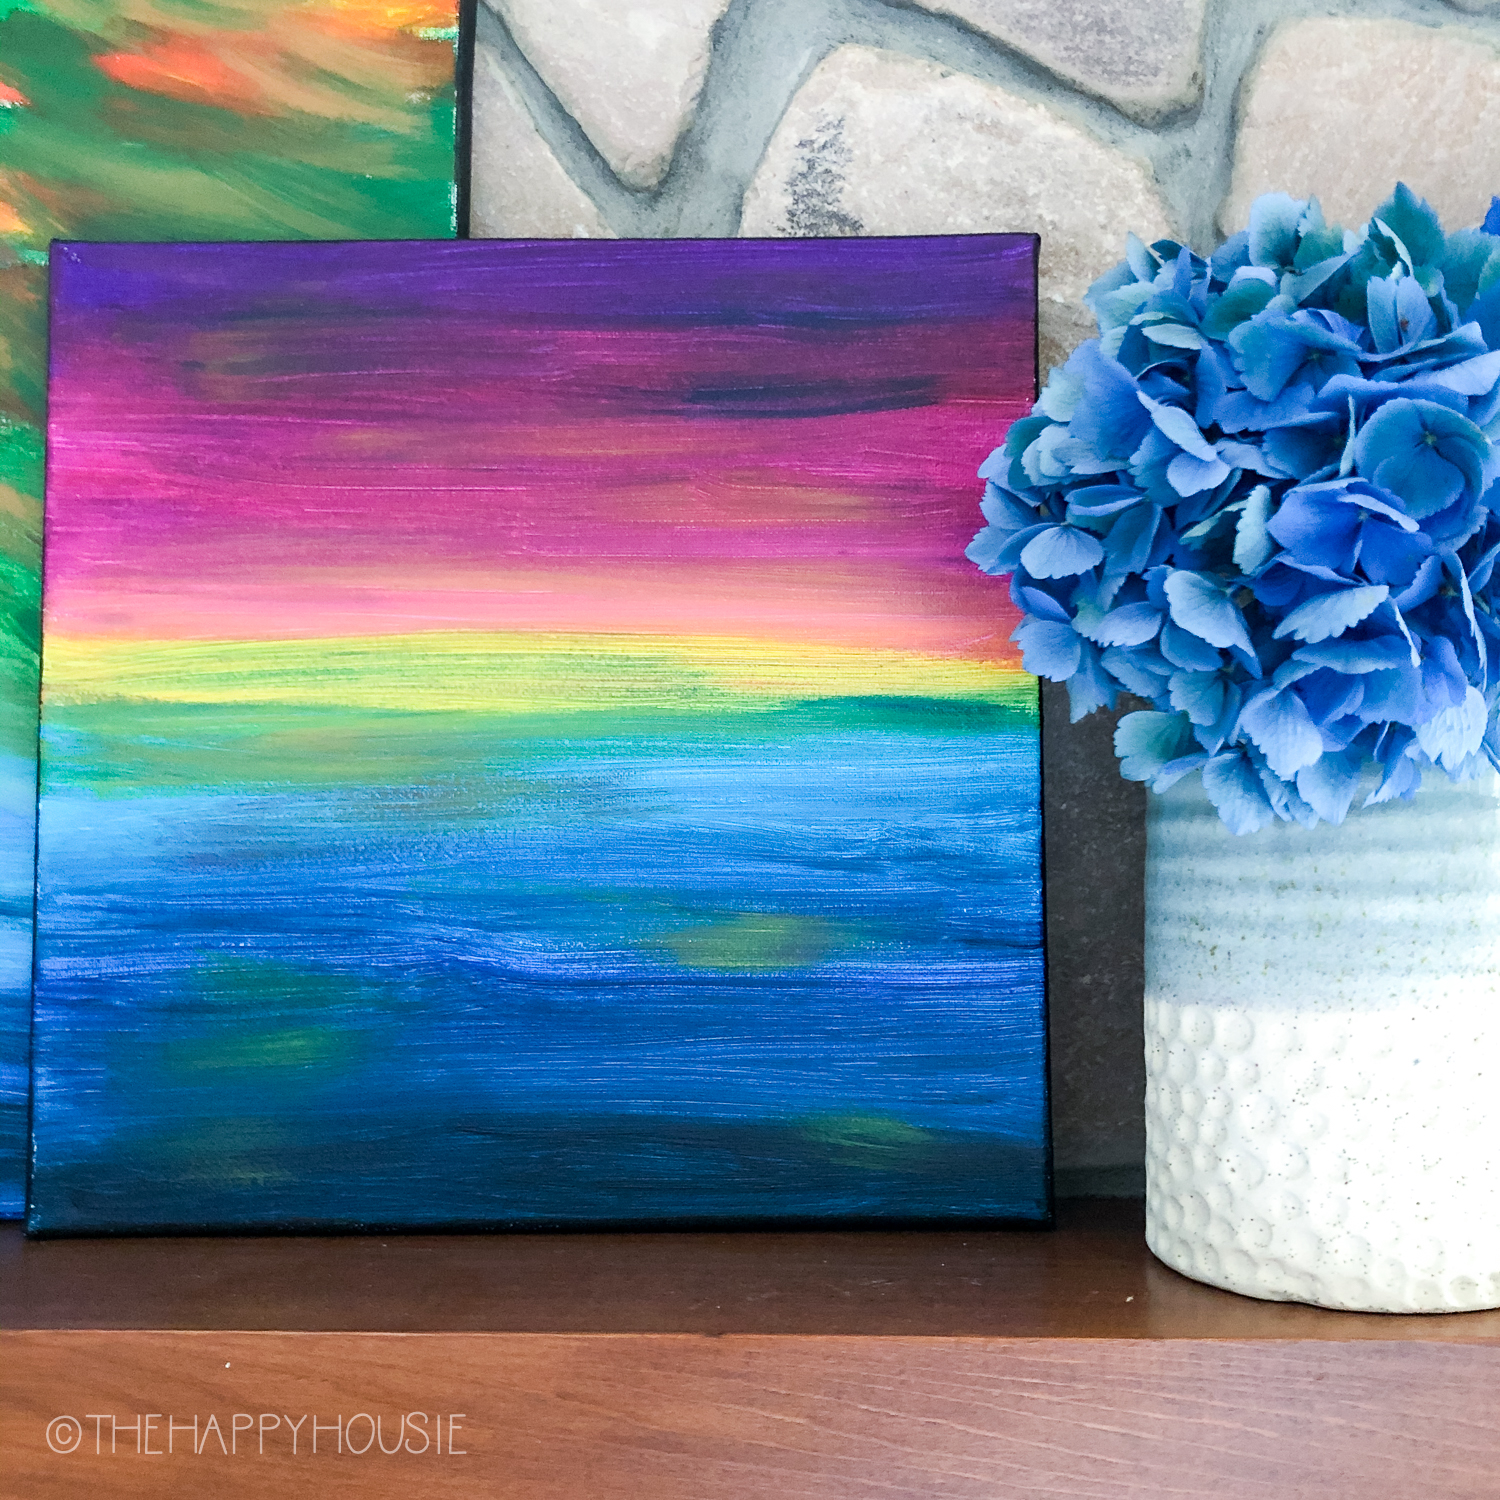
I used a watercolour painting that I brought from our forest house master bedroom/ensuite makeover (reveal here), and paired it with one of the fall farmhouse printables that I shared last year. These are still available in my printable library – head over here to learn how to get your own copy.
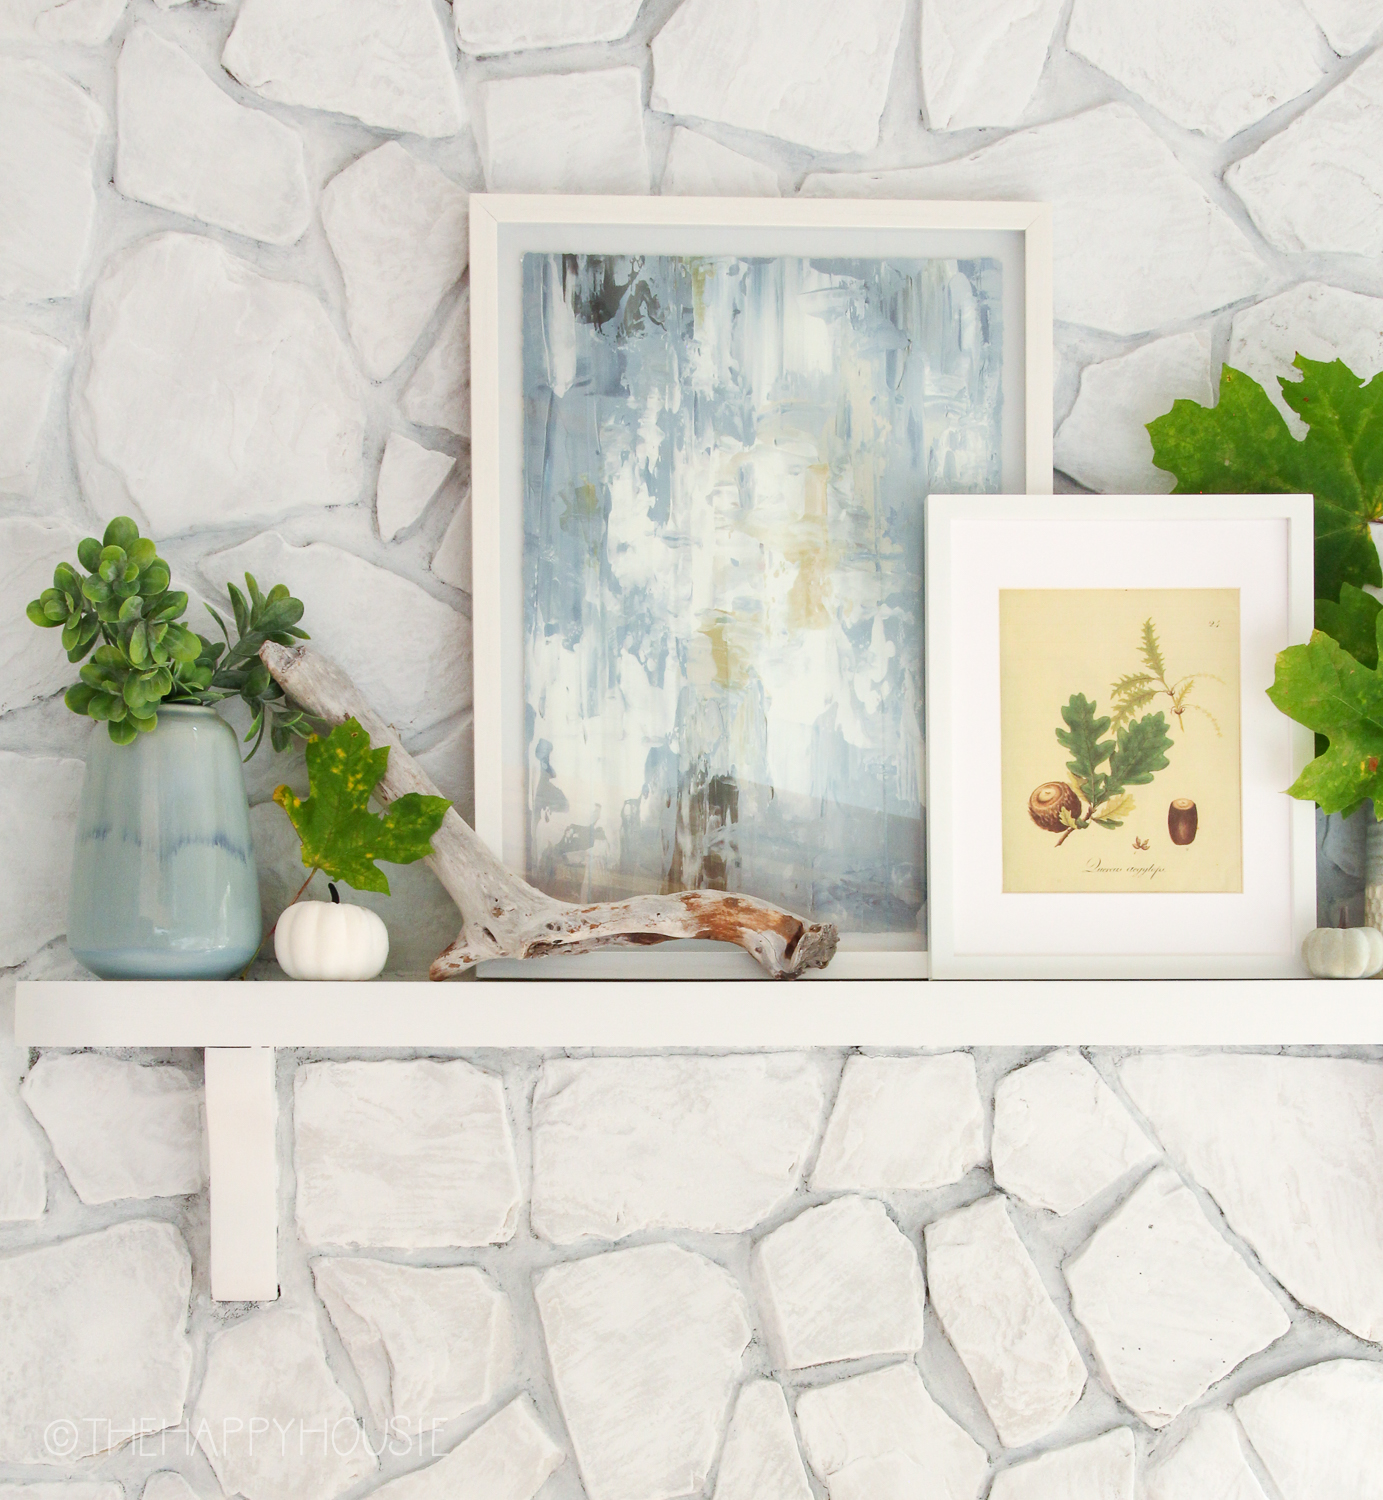
A couple of tiny faux pumpkins and a pretty piece of driftwood round if off nicely for a light, airy, simple mantel that feels both coastal and fall at the same time.
Head over here to see our whole cabin great room cozied up for fall!
Or head over to read my simple tips for styling your bookshelves for fall…